December and January were weird, am I right? How about that whole week of winter? Usually, Florida gardeners are doing the majority of their spring planting in February. I don’t know about you, but I certainly didn’t feel confident about starting anything in the greenhouse. Too often, temperatures will drop into the 30s and 40s in mid-March. So be prepared to cover tender vegetable plants or bring tiny seedlings indoors.
Here on the Gulf Coast, the two major hurricanes in the fall and the persistantly cold weather in December meant a non-starter on our spring seed sowing. My fall tomatoes went in late (in November), and managed to survive the cold spells. So, I’m just going with those. I do have some peppers ready to plant out and I did start some cucumbers that I’ll plant out soon.
It pays to follow the forecast and be prepared for anything and everything. However, for the most part, it’s definitely time to get planting in February, wherever in Florida you live.
South Florida
Gardeners in Zones 10-11 usually find that they can keep their starter trays outdoors through most of February. You’ll want to keep them under cover and move indoors in the case of a cold snap.
South Florida gardeners may find their fall vegetables are still cropping
Start Indoors in February for South Florida
In February, we’re sowing the following starter plants:
Other edible vegetables you can start indoors in February in South Florida Zones 10-11 include:
chives
cilantro
dill
fennel
luffa
marjoram
oregano
parsley
rosemary
thyme
Direct Sow in February for South Florida
I like to start almost all of my vegetable garden in cells or soil blocks and plant out in a few weeks. But I do direct sow a few things that simply perform better when planted directly.
Other edible garden plants suitable for direct sowing in February in Florida Zones 10-11 include:
arugula
beets
bush beans
cabbage
carrots
cassava
chaya
collards
comfrey
corn
daikon
ginger
green onions
Irish (white) potatoes
kohlrabi
leeks
lettuce
mustard
okra
peas
pole beans
radish
shallots
sweet potato slips
Swiss chard
turnips
Central Florida
The central strip of the state that extends from the Gulf Coast to the Atlantic covers Zone 9b and 10a. Zone 10a includes the cities of Tampa and Orlando, while some of the more inland areas remain in 9b. Ocala and Gainesville are in 9a. Jacksonville is in zone 9b.
Even though Jacksonville is technically located in the north of the state, its proximity to the coast means a warmer climate. Keep track of the different microclimates in your garden and adjust as needed to meet those conditions.
Sow Indoors in February for Central Florida
Gardeners in Central Florida in Zones 9a to 9b can sow starter plants indoors until they’re well established enough to plant out at the end of March:
basil
cantaloupe
Cape gooseberry
chives
cilantro
cucumbers
dill
eggplant
leeks
luffa
marjoram
okra
oregano
parsley
peppers, chili
peppers, sweet
rosemary
summer squash
thyme
tomatoes
winter squash
Direct Sow in February for Central Florida
Central Florida gardeners can sow many cold-hardy vegetables directly, if they prefer:
arugula
beans, bush, and pole
beets
broccoli
Brussels sprouts
cabbage
carrots
cauliflower
collards
comfrey
corn
daikon
green onions
Irish potatoes
kale
kohlrabi
lettuce
mustard
peas
pumpkins
radish
spinach
sweet potato slips
Swiss chard
turnips
watermelon
North Florida
North Florida gardeners find themselves in Zone 9a and 9b. A small few are in 8b, after the USDA zone map update of 2023.
But most of the northern span of the state is solidly placed in zone 9, which includes the city of Tallahassee and most of the panhandle.
Florida Gardeners along the Gulf Coast near Pensacola and Panama City may find that their proximity to water gives them more leeway for planting early. To pinpoint your growing zone, use the search tool on the USDA website.
Sow Indoors in February in North Florida
The last frost date for Zone 9 is in February, but it pays to be cautious considering how eratic our weather has been. North Florida gardeners may prefer to get a jump on spring by starting the following seeds indoors:
Temperatures will remain low enough for many cool-season vegetables that you can plant directly in Zone 9:
arugula
beans, bush, and pole
beets
broccoli
cabbage
carrots
cauliflower
collards
corn
garlic
green onions
Irish potatoes
kale
kohlrabi
lettuce
mustard
onion sets
peas
radish
spinach
Swiss chard
turnips
Getting Ready for Your Planting in February in Florida
It sometimes seems like the seasons change too quickly in Florida. And yes, we do actually have seasons. A few years of gardening here will teach you how to note the differences, and you’ll soon feel them in your bones.
It also sometimes seems like you have to plant everything all at once if you hope to get any kind of yield. The mildness of spring can quickly become the sweltering heat of summer. That’s if you don’t get a surprise frost in March!
But relax and take it one step at a time. If you start sowing your spring seeds in late January or in February, you’ll find you can pace yourself. You still have time for some cool-season vegetables early in the year, so take advantage of it.
Warm-season vegetables, like peppers and tomatoes, can be potted up as they grow until it’s safe to plant them into the garden. Be prepared to cover anything outdoors, if necessary, but otherwise, succession planting is your friend.
If you need a tool that will help you keep track of what to plant and when, as well as some helpful advice on the best vegetable varieties to plant in Florida, check out our Florida Gardening Planner. You’ll also find even more vegetable varieties for planting in February in Florida. You can purchase it in print from Amazon or as a digital download on Etsy to print out as needed.
Florida native plants are the original inhabitants of our state’s landscapes, flourishing here long before we arrived and built golf courses and housing developments. These plants evolved to thrive in Florida’s unique climate and soils, and along with our wildlife. This makes them ideally suited for local gardens.
Best of all, unlike exotic or non-native species, Florida natives require minimal intervention and minimal care.
Why Choose Florida Native Plants for Your Flower Garden?
Choosing native plants isn’t just a nod to Florida’s natural heritage — it’s a smart and sustainable gardening choice. Native plants are adapted to Florida’s often harsh conditions, meaning they need less water, fertilizer, and pesticides. This conserves resources and saves you money. Lots of money.
It also saves you lots of effort. I don’t know about you, but with our erratic weather and exhausting heat, the less physical effort I have to spend outdoors, the better. I like to save my energy for tending the vegetable garden. It’s nice to know that native flowering plants will keep my yard looking pretty without any pampering.
Even better, native plants create habitats for pollinators, birds, and other wildlife. Planting native promotes biodiversity and ensure the garden becomes a lively, thriving ecosystem.
Florida’s Diverse Ecosystems: A Garden for Every Condition
Florida’s ecosystems are as varied as its landscapes, offering gardeners endless inspiration. From the sun-drenched coasts to the shady hammocks and wetlands, there’s a native plant species for every type of growing condition.
Whether your yard is sandy, marshy, or somewhere in between, native plants are ready to meet the challenge. Understanding Florida’s ecosystems helps you select the perfect plants for your garden’s specific needs.
Why Home Gardeners Need This Guide to Florida Native Plants
Choosing the right plants for your Florida garden can feel overwhelming. When I first contemplated adding natives, I was frankly uninspired. I thought most of them looked a bit … weedy.
But since then, I realize I just didn’t have all the information. The same four or five “natives” pop up on every internet list, and many of them aren’t really suited to creating an attractive flower garden.
But now I know better, and that’s where this list comes in. You really can focus on Florida native plants while creating a garden that’s beautiful, low-maintenance, and contributes to the local environment.
Understanding Florida’s Growing Conditions
Florida’s USDA hardiness zones span from a tiny section of 8b in the cooler north to 11b in the tropical south. This offers a wide range of growing environments. These zones dictate which Florida native plants will thrive in your garden.
From frost-tolerant species in the north to heat-loving varieties in the south, knowing your zone helps you make informed plant choices.
How Temperature and Frost Affect Florida Native Plants
Temperature extremes in Florida can range from occasional winter frosts in zone 8b to balmy year-round warmth in zone 11b.
Frost dates are crucial for gardeners, especially in northern regions, where native plants must tolerate brief cold snaps. Southern Florida gardeners, on the other hand, can grow frost-sensitive natives with little care.
Adapting to Florida’s Rainfall and Humidity
Florida’s unique rainfall patterns and high humidity are central to selecting the right Florida native plants for your garden. With wet summers and drier winters, native plants have evolved to handle these fluctuations.
Choosing species that naturally tolerate these conditions ensures your garden remains lush and resilient year-round.
Microclimates: Tailoring Florida Native Plants to Your Garden
Your garden likely contains microclimates — small areas with unique growing conditions. These can include shady spots, areas with poor drainage, or wind-exposed corners.
Recognizing these variations allows you to select Florida native plants that thrive in each specific area, ensuring a thriving and visually balanced garden.
You can also create your own microclimates by using small trees or bushes for extra shelter. If you have the space, you can even create mini-wetlands or ponds for swamp-loving species.
Beautiful Florida Native Plants to Add to Your Garden
With Florida’s diverse climate and ecosystems, there’s a native plant for every type of garden. Florida native plants offer stunning options that thrive naturally in any conditions or growing zone in the state.
In this section, we’ll explore some of the most best native plants for your Florida garden. These plants not only add beauty and functionality to your landscape but also provide essential support for local wildlife and the environment.
Partridge pea is an annual leguminous plant that forms a bushy, upright habit. It has bright green, pinnately compound leaves and produces small, striking yellow flowers with red markings at the base. The flowers are 1 to 2 inches across, attracting various pollinators, including bees and butterflies.
The plant also produces slender, elongated seed pods that stay on the plant into the fall. Partridge pea is valued for its ability to fix nitrogen in the soil, helping to improve soil fertility, making it a popular choice for wildflower mixes and naturalized landscapes.
Best Growing Region / Zone:
In Florida, partridge pea grows best in USDA hardiness zones 8b to 10, which covers much of the state. It is especially well-suited for central and northern Florida, where it can thrive in the warmer months and handle mild winters.
Native to Florida’s upland habitats, it is commonly found in dry prairies, disturbed fields, and sandy pinelands. The plant does well in the state’s central and north-central regions, where it naturally grows in full sunlight.
Preferred Growing Conditions:
Partridge pea prefers full sun and well-drained soils that are either sandy or loamy. It is drought-tolerant once established and can adapt to various soil types, though it thrives best in moderately fertile soil.
The plant is often found in disturbed areas, such as roadsides and field edges, where it benefits from the exposure to direct sunlight and open space.
Partridge pea typically reaches 2 to 3 feet in height and spreads about 1 to 2 feet in width. Its compact, bushy growth habit makes it ideal for planting in wildflower gardens, meadows, or naturalized landscapes where it can create dense clusters of yellow flowers.
Lifespan:
As an annual, partridge pea completes its life cycle within one growing season. It germinates in the spring, blooms during the summer, and dies off after setting seeds in the fall. It relies on seed reproduction, dispersing its seeds for future generations.
Bloom Period:
In Florida, partridge pea blooms from mid-summer to early fall, typically from June to September. Its bright yellow flowers, which are adorned with red markings, bloom profusely in clusters, offering a striking visual display during the hottest months of the year.
Flower Color:
The flowers of partridge pea are a vivid yellow, often highlighted with red or orange markings at the base. This coloration makes it particularly attractive to pollinators, including bees and butterflies, helping to support the local ecosystem.
Partridge pea is highly beneficial to Florida’s local wildlife. Its flowers provide nectar for native bees, such as the Eastern Bumblebee (Bombus impatiens), and butterflies like the Tiger Swallowtail (Papilio glaucus).
The seeds produced in the pods serve as an important food source for birds, including species like quail and sparrows. This plant is especially valuable during the summer and fall when other food sources might be less available, helping to sustain various wildlife populations in Florida’s natural habitats.
2. Scarlet Paintbrush (Castilleja coccinea)
By Steve Redman (MORA) – NPGallery, Public Domain, Link
Scarlet Paintbrush is a striking perennial wildflower that can be recognized by its upright, slender stems and bright red flowers, which are surrounded by red bracts that resemble a paintbrush. The flowers themselves are tubular and clustered at the tops of the stems, with long, pointed leaves growing along the stem.
The plant is typically around 1–2 feet tall, and the leaves are lance-shaped and narrow, contributing to the plant’s delicate appearance. The brilliant red color of the flowers stands out in natural landscapes, adding a splash of color during its blooming period.
Best Growing Region / Zone:
Scarlet Paintbrush thrives in Florida’s central and northern regions, primarily in USDA Hardiness Zones 8b to 9a. This species is found in areas with slightly cooler conditions than southern parts of the state and performs best in the open, sunny landscapes of these regions.
It is particularly suited for environments such as sandy or well-drained soils in upland areas, meadows, and roadsides, where it can tolerate some disturbance and drought.
Preferred Growing Conditions:
By Steve Redman (MORA) – NPGallery, Public Domain, Link
This plant is typically found in areas with well-drained, sandy soils and is adapted to regions that experience moderate rainfall. It prefers full sun but can also tolerate partial shade, though it may not bloom as vigorously in lower light conditions.
Once established, Scarlet Paintbrush is drought-tolBy Steve Redman (MORA) – NPGallery, Public Domain, Linkerant, though it requires moisture during its growing season. The plant performs well in acidic soils with good drainage, often thriving in disturbed areas or places where other plants have difficulty growing, making it a useful species in reclaiming disturbed habitats or adding color to less fertile locations.
Height / Spread:
Scarlet Paintbrush grows to a height of 1 to 2 feet and spreads about 1 to 1.5 feet. It has a compact, upright growth habit, which allows it to fit well in native plant gardens, wildflower meadows, or areas where plant diversity is desired.
Lifespan:
This species is considered a short-lived perennial, typically living 2 to 3 years. While it does not persist for decades like some other perennials, its fast growth and vibrant blooms make it a valued addition to landscapes during its lifecycle. It will often self-sow in favorable conditions, creating new plants each season.
Bloom Period:
Scarlet Paintbrush blooms from late spring into early summer, generally between May and June. The plant produces its most abundant blooms during this period, with clusters of bright red tubular flowers, drawing pollinators to the area. The bloom period is relatively short, lasting for about 4 to 6 weeks, but it provides critical nectar during the early summer months.
Flower Color:
The most notable feature of this plant is its brilliant red flowers, which are clustered at the tops of the stems. The flowers are tubular and surrounded by red bracts that mimic the appearance of a paintbrush, giving the plant its common name. This vivid color provides a striking contrast to the green foliage and surrounding plants, making it a popular choice for adding color to gardens or natural landscapes.
Wildlife Value:
By Dr. Thomas G. Barnes, U.S. Fish and Wildlife Service –
Scarlet Paintbrush is an important nectar source for various pollinators. It attracts hummingbirds, particularly the Ruby-throated Hummingbird, which feed on the sweet nectar. Several species of native bees, such as bumblebees and mason bees, also visit the flowers to collect nectar and pollen.
In addition to being a valuable food source for pollinators, the plant supports various butterfly species, including the Eastern Tiger Swallowtail, which feeds on its nectar. It also serves as a food source for other wildlife in natural settings, making it a beneficial addition to ecosystems where pollinators are crucial.
Spanish Needles is a fast-growing, herbaceous perennial that typically grows as a bushy, multi-stemmed plant. Some people think it’s a weed, but it’s an official Florida wildflower.
It produces long, slender leaves with serrated edges and bright yellow, daisy-like flowers with distinctive dark centers. These flowers are held above the foliage on tall, slender stems.
The plant is known for its ability to spread rapidly, often forming dense patches in suitable habitats. Its seeds are equipped with needle-like barbs that easily attach to fur, clothing, and other surfaces, aiding in seed dispersal.
Best Growing Region / Zone:
Spanish Needles thrives in Florida’s warmer climates, generally performing best in USDA hardiness zones 8a to 11. It is commonly found in the central and southern regions of Florida but can be found in various habitats throughout the state, particularly in coastal and disturbed areas.
Preferred Growing Conditions:
Spanish Needles is adaptable to a wide range of soil types but prefers well-drained soils that are moderately fertile. It grows best in full sun but can tolerate partial shade, particularly in hotter regions. Once established, it is relatively drought-tolerant but benefits from occasional moisture during prolonged dry spells.
Spanish Needles also thrives in disturbed areas, roadsides, and field edges, often growing in areas that are subject to occasional flooding.
Height / Spread:
The plant typically reaches a height of 2 to 4 feet and spreads up to 3 feet wide. It can become bushy and sprawling if grown in favorable conditions, creating a dense ground cover.
Lifespan:
Spanish Needles is a fast-growing and prolifically reseeding annual.
Bloom Period:
Spanish Needles flowers from very early spring to early winter, with peak bloom typically occurring in late spring to early summer. Its ability to flower for much of the year makes it an important nectar source for various pollinators.
Flower Color:
The flowers are bright yellow with a prominent dark center, giving them a striking appearance. The petals are thin and ray-like, surrounding a central disc that attracts a variety of pollinators.
Wildlife Value:
Spanish Needles is highly attractive to a wide range of wildlife. Its abundant yellow flowers are a key nectar source for bees, butterflies, and other pollinators, including species such as the honeybee (Apis mellifera), the common buckeye butterfly (Junonia coenia), and various native bee species.
The plant’s seeds are eaten by birds, especially during the fall and winter months. It also provides habitat for small insects, making it an important plant for supporting biodiversity.
Beach Sunflower is a low-growing, sprawling perennial that thrives in sandy soils and coastal habitats. It has wide, dark green leaves with a rough texture and produces bright yellow flowers that resemble traditional sunflowers, though they are smaller in size. The plant’s stems are often reddish and covered with fine hairs.
Beach Sunflower is an excellent ground cover due to its spreading habit, often forming dense patches along the edges of dunes and beaches. It is salt-tolerant and can withstand occasional saltwater exposure, making it ideal for coastal gardens.
Best Growing Region / Zone:
Beach Sunflower is well-suited for Florida’s coastal regions and thrives in USDA hardiness zones 9a to 11. It is found in sandy, well-drained soils along coastal areas, including dunes, beaches, and roadsides in Florida.
This plant prefers full sun and well-drained sandy soils but is highly adaptable to a variety of conditions. It is tolerant of salt and drought, making it ideal for coastal gardens and areas prone to salty air and occasional sea spray. It performs best when given plenty of sunlight but can tolerate light shade, especially in hotter parts of the state.
Beach Sunflower requires minimal watering once established, but it can benefit from occasional irrigation during prolonged dry periods.
Height / Spread:
Beach Sunflower typically grows to a height of 1 to 2 feet and spreads 2 to 3 feet wide, making it an ideal choice for ground cover or as a border plant in coastal landscapes. Its spreading habit allows it to quickly cover large areas.
Lifespan:
This plant is a perennial in Florida, typically living for several years in the right conditions. It may exhibit some dieback during colder winter months but will regenerate each spring from its root system.
Bloom Period:
Beach Sunflower blooms from late spring through the fall, with its peak bloom typically occurring in the summer months. The plant produces an abundance of yellow flowers, which attract pollinators throughout its long blooming season.
Flower Color:
The flowers are bright yellow with a dark brown center, resembling the traditional sunflower shape but smaller in size. The yellow petals are often narrow, giving the flowers a distinctive appearance compared to other sunflower species.
Beach Sunflower is an important plant for local wildlife. The flowers provide nectar for various pollinators, including native bees and butterflies, such as the Gulf Fritillary (Dione juno) and the common buckeye (Junonia coenia).
The seeds are consumed by birds, including sparrows and other seed-eating species. Additionally, the plant offers shelter to insects and small wildlife, helping to support a diverse ecosystem in coastal areas.
Lanceleaf Coreopsis is a perennial wildflower that grows in a compact, upright form. The plant has narrow, lance-shaped leaves that are light to medium green. It produces bright yellow flowers with a central disk surrounded by narrow, petal-like rays. The flowers are typically held on long, slender stems above the foliage, creating a striking display of color.
Lanceleaf Coreopsis is a versatile plant that thrives in a range of landscapes, from meadows to roadside habitats. Its drought tolerance and long bloom period make it a reliable addition to native plant gardens.
Best Growing Region / Zone:
Lanceleaf Coreopsis is native to the southeastern United States and thrives in Florida’s USDA hardiness zones 8b to 11. It is found in natural areas such as prairies, fields, and open woodlands. The plant is well-suited for a variety of regions within Florida, from central to northern areas, and it is particularly well-suited for landscapes with poor, well-drained soils.
Preferred Growing Conditions:
This plant prefers full sun and dry to medium moisture levels, thriving in well-drained soils. It is highly adaptable to a range of soil types, including sandy, loamy, and slightly acidic soils. Lanceleaf Coreopsis is drought-tolerant once established, making it an excellent choice for xeriscaping and native gardens. It does best in areas with low humidity and can tolerate periods of dry weather, but it does not perform well in excessively wet or waterlogged soils.
Height / Spread:
Lanceleaf Coreopsis typically reaches a height of 1 to 2 feet and spreads about 1 to 2 feet wide. It forms clumps and can spread moderately over time, making it suitable for both borders and mass plantings.
Lifespan:
This plant is a perennial, meaning it will live for several years, producing flowers each season. It may die back in winter but regrows from its roots in the spring. Proper care, such as periodic division, helps to extend its lifespan and maintain vigor.
Bloom Period:
Lanceleaf Coreopsis typically blooms from late spring through early summer, often starting in May and continuing into June. During this period, it produces abundant yellow flowers that create a bright contrast with the surrounding foliage. A second, lighter bloom may occur in late summer or early fall, depending on environmental conditions.
Flower Color:
The flowers are a bright, cheerful yellow, with long, narrow petals surrounding a central disk that starts out yellow and darkens to brown as it matures. This striking combination of color makes Lanceleaf Coreopsis a popular choice for ornamental gardens.
Wildlife Value:
Lanceleaf Coreopsis is beneficial to a variety of wildlife. Its nectar-rich flowers attract pollinators such as native bees, including the carpenter bee (Xylocopa spp.), and butterflies, including the common checkered skipper (Pyrgus communis).
The plant also provides seeds that are eaten by birds such as sparrows. Its dense foliage offers shelter for small insects and beneficial creatures, making it an important part of the local ecosystem.
6. Black-eyed Susan (Rudbeckia hirta)
Black-eyed Susan is a striking perennial or biennial wildflower with daisy-like flowers that stand tall on sturdy, erect stems. The plant has dark green, coarse-textured leaves that are lance-shaped and covered with fine hairs. The flowers feature vibrant yellow petals surrounding a dark, cone-shaped central disk, which gives the plant its name.
Black-eyed Susan is a hardy and resilient plant, known for its ability to withstand a variety of growing conditions, and it is often used in gardens for its long-lasting blooms and attractive foliage. It forms clumps and can spread moderately by seed.
Best Growing Region / Zone:
Black-eyed Susan thrives in USDA hardiness zones 3 to 9 and is found throughout much of Florida. It is native to a wide range of habitats, including prairies, meadows, and open woodlands. In Florida, it is best suited to regions with moderate to well-drained soils, where it can be found in both natural settings and cultivated gardens.
Preferred Growing Conditions:
This plant prefers full sun but can tolerate light shade, especially in warmer climates. It grows well in well-drained soils, including sandy or loamy soils, and is adaptable to a range of pH levels, including mildly acidic to neutral.
Black-eyed Susan is drought-tolerant once established, making it a good choice for xeriscaping and areas with dry conditions. However, it does need consistent moisture during its growing season to perform optimally, particularly during dry spells.
Height / Spread:
Black-eyed Susan typically grows between 1 and 3 feet in height and spreads about 1 to 2 feet wide. Its upright, bushy habit and profuse flowers make it an excellent choice for borders, naturalized plantings, and wildflower gardens.
Lifespan:
Black-eyed Susan is generally a short-lived perennial or biennial, with a lifespan of 2 to 3 years. Though it may only survive for a few seasons, it often self-seeds and will return year after year in the same spot, providing long-term beauty. Regular deadheading and division can help prolong its flowering and vitality.
Bloom Period:
Black-eyed Susan blooms from early to late summer, typically from June through August. Its large, yellow flowers are borne on tall stems above the foliage and create a bright, cheerful display throughout the growing season. The plant may produce occasional blooms into early fall, especially if the weather is favorable.
Flower Color:
The flowers of Black-eyed Susan are a rich, golden yellow with a distinctive dark brown to black central disk. The petals are long and slender, and the flowers are held on tall stems that give the plant an airy, open appearance. This striking combination of colors makes Black-eyed Susan a favorite in wildflower and cottage gardens.
Wildlife Value:
Black-eyed Susan is an excellent plant for attracting pollinators. Its nectar-rich flowers attract native bees, including the honey bee (Apis mellifera), as well as butterflies such as the American lady (Vanessa virginiensis) and the painted lady (Vanessa cardui).
The seeds of Black-eyed Susan are consumed by birds, including finches and sparrows. The plant’s sturdy stems and foliage provide shelter for small insects and beneficial wildlife, making it an important addition to a pollinator-friendly or wildlife garden.
Indian Blanket Flower is an annual wildflower known for its vibrant, multicolored flowers. The plant has narrow, lance-shaped leaves that are green and slightly hairy. The flowers consist of bright red and yellow petals surrounding a central disk, which ranges from dark brown to purple.
Indian Blanket Flower has a bushy, upright growth habit and is often used in naturalized gardens or wildflower meadows for its cheerful color. This plant is drought-tolerant and can grow in poor, sandy soils, making it well-suited to arid or low-maintenance landscapes. It can self-seed readily, contributing to its spread and creating bright, colorful patches year after year.
Best Growing Region / Zone:
Indian Blanket Flower is native to Florida and is found in USDA hardiness zones 8a to 11. Even in Florida’s warmer climate, it has an annual growing cycle. It thrives in dry, open habitats, such as coastal dunes, roadsides, and disturbed areas. The plant does well in full sun and is commonly found in the central and northern parts of Florida.
Indian Blanket Flower prefers full sun and well-drained, sandy, or loamy soils. It is highly drought-tolerant once established and thrives in nutrient-poor soils. This plant does not require frequent watering, and it can survive periods of dryness, making it ideal for xeriscaping and coastal gardens.
It is adaptable to a variety of conditions but performs best in dry, sunny spots with minimal competition from other plants. While it can tolerate some light shade, it flowers best with ample sunlight.
Height / Spread:
Indian Blanket Flower typically grows between 12 to 18 inches in height and spreads about 12 to 18 inches wide. It is a compact, mounding plant that is well-suited for smaller garden spaces, edges of wildflower meadows, and containers. Its spreading habit can fill in areas with its bright, colorful flowers.
Lifespan:
Indian Blanket Flower is an annual in Florida, completing its life cycle within one growing season. The plant germinates, blooms, and sets seed during the spring and summer months, then dies back after the first frost. However, it readily self-seeds, allowing it to return the following year without replanting.
Bloom Period:
Indian Blanket Flower blooms from late spring through the fall, with peak bloom occurring in the summer months. The flowers are long-lasting, providing a burst of color throughout the warmer season. The plant is particularly attractive to pollinators during this time and continues to bloom until the first frost.
Flower Color:
The flowers of Indian Blanket Flower are a striking combination of red and yellow, often arranged in a fiery, sunset-like pattern. The petals are bright red with yellow tips, while the central disk is typically dark brown to purple, providing a stark contrast to the colorful petals. This makes the plant highly attractive to both humans and pollinators.
Indian Blanket Flower supports a variety of wildlife. The colorful blooms are rich in nectar, attracting numerous pollinators, including honeybees (Apis mellifera), bumblebees, and solitary bees. Butterflies such as the common buckeye (Junonia coenia) and painted lady (Vanessa cardui) are drawn to the flowers.
Birds, including finches, feed on the seeds, and the plant’s structure provides shelter to beneficial insects. This makes the Indian Blanket Flower a valuable addition to pollinator gardens and wildlife habitats.
Florida Tasselflower is an annual herbaceous plant with slender, upright stems and narrow, lance-shaped leaves. The leaves are bright green and often have a slightly wavy edge. The plant’s most striking feature is its unique flower heads, which resemble fluffy, red to orange tassels. These flowers are made up of numerous long, slender, tubular florets that give the plant a distinctive, feathery appearance.
Florida Tasselflower can grow in clumps, often reaching several stems per plant, and is used in wildflower gardens or naturalized landscapes for its showy blooms. The plant can sometimes reseed itself, though it is more commonly grown as an annual in Florida.
Best Growing Region / Zone:
Florida Tasselflower thrives in Florida’s USDA hardiness zones 8b to 11, and is found throughout the state in a variety of habitats, from disturbed areas to roadsides, fields, and coastal regions. This plant is native to tropical and subtropical regions, and it is well-adapted to Florida’s climate, performing well in areas with full sun and moderate to high humidity.
Florida Tasselflower prefers full sun and well-drained soils, including sandy, loamy, and occasionally clayey soils. It grows best in moist but not waterlogged conditions, though it is drought-tolerant once established. This plant is highly adaptable and can survive in disturbed sites, such as fields or the edges of roads.
It does best in areas with moderate rainfall but can tolerate drier periods if needed. Once established, it requires minimal care, only needing watering during prolonged dry spells.
Height / Spread:
Florida Tasselflower typically reaches a height of 2 to 3 feet, with a spread of about 1 to 2 feet. The plant has a bushy growth habit, with several stems emerging from a central base. It is relatively compact for an annual, making it a good option for smaller garden spaces or naturalized areas.
Lifespan:
This plant is an annual in Florida, completing its life cycle in one growing season. It germinates in the spring, flowers in the summer, and dies back in the fall after producing seeds. Though short-lived, Florida Tasselflower is often able to reseed itself and return the following year, depending on the growing conditions.
Bloom Period:
Florida Tasselflower blooms from late spring through the summer, often continuing into the fall. Its bright, colorful blooms attract a variety of pollinators during its long bloom period. The feathery flowers are most vibrant in the warmer months, creating a striking display in the garden.
Flower Color:
The flowers of Florida Tasselflower are primarily red to orange, with a fluffy, tassel-like structure. The tubular florets are densely packed, creating a rounded head that looks similar to a small, colorful pom-pom. The vibrant flower heads make the plant highly attractive to pollinators and a focal point in any garden setting.
Florida Tasselflower is beneficial to pollinators, attracting bees, butterflies, and hummingbirds. It is particularly valuable to native bees, such as the carpenter bee (Xylocopa virginica) and small native bees, which feed on the nectar of the flowers. Butterflies like the common buckeye (Junonia coenia) are also drawn to the plant.
Additionally, the seeds produced by Florida Tasselflower are eaten by birds, making it an important plant for seed-eating species. The plant provides habitat for small pollinators, enhancing biodiversity in gardens and naturalized spaces.
Scarlet Sage is a perennial herb that grows upright with a bushy form. It has lance-shaped, dark green leaves with serrated edges and aromatic foliage. The plant produces clusters of tubular flowers that are bright red, though they can also appear in shades of pink or white in some varieties. The flowers are arranged in spikes that rise above the foliage, attracting a wide variety of pollinators.
Scarlet Sage is typically grown for its striking, vibrant flowers and its ability to thrive in diverse conditions, from garden beds to naturalized areas. This plant’s height and spread make it an excellent choice for attracting pollinators and adding color to garden borders or as a background plant.
Best Growing Region / Zone:
Scarlet Sage grows well in Florida’s USDA hardiness zones 8b to 11, adapting to both tropical and subtropical climates. It is found naturally throughout Florida in disturbed areas, roadsides, and fields, where it thrives in full sun and can withstand the heat and humidity typical of the state.
Preferred Growing Conditions:
Scarlet Sage prefers full sun and well-drained soils, including sandy, loamy, or even slightly clayey soils. It is highly adaptable to a range of soil types and is tolerant of both drought and occasional flooding, though it performs best with regular moisture. Once established, the plant is relatively low-maintenance, requiring only periodic watering during dry spells. While it does well in sunny locations, it can tolerate partial shade, especially in the hotter parts of Florida.
Height / Spread:
Scarlet Sage typically grows to a height of 2 to 3 feet, with a spread of 1 to 2 feet. It has an upright habit, with flower spikes rising above the foliage to add vertical interest to the garden. Its relatively compact size makes it suitable for garden beds, containers, or as part of a wildflower mix.
Lifespan:
Scarlet Sage is a short-lived perennial in Florida, typically living for 2 to 3 years. It often behaves as an annual in certain conditions, especially when it does not survive colder winters, but it will self-seed and return year after year if the seeds are allowed to mature.
Bloom Period:
Scarlet Sage blooms from spring through winter, with the peak bloom time occurring in the summer. In Zones 10-11, it may even bloom year-round. The plant produces an abundance of red, tubular flowers throughout its bloom period, continuing to attract pollinators into the cooler months. Its vibrant flowers make it a standout in any garden.
Flower Color:
The flowers of Scarlet Sage are typically a striking red, though some varieties may exhibit lighter pink or white hues. The tubular shape of the flowers is characteristic of the Salvia genus, and they are clustered together in spikes that rise above the foliage. The bright red flowers make it a favorite of hummingbirds and bees.
Wildlife Value:
Scarlet Sage is highly beneficial to a range of pollinators, particularly hummingbirds, which are drawn to the plant’s tubular flowers for nectar. It also attracts a variety of native bees, such as honeybees (Apis mellifera) and bumblebees (Bombus species), as well as butterflies like the Gulf Fritillary (Dione juno).
The seeds produced by the plant are eaten by birds, providing additional wildlife value. Overall, Scarlet Sage plays an important role in supporting a healthy pollinator population in Florida gardens.
Spotted Beebalm is a perennial herb that forms clumps of upright stems with rough, aromatic foliage. The plant produces unique, tubular flowers that have distinctive purple-spotted yellow bracts, making them stand out in any garden. The flowers are borne in dense clusters at the tops of the stems, surrounded by the showy bracts. The plant has a spreading habit and produces square stems typical of the mint family.
It is relatively tall compared to other wildflowers, and its flowers provide a striking contrast to the surrounding greenery. Spotted Beebalm is commonly used in native plant gardens for its visual interest and its appeal to pollinators.
Best Growing Region / Zone:
Spotted Beebalm thrives in USDA hardiness zones 8a to 10, which includes much of Florida, particularly in areas with moist, well-drained soils. It is found naturally in open, disturbed habitats such as prairies, fields, and roadsides, making it well-suited for Florida’s diverse ecosystems. Its tolerance for a range of conditions makes it adaptable throughout the state.
This plant prefers full sun to partial shade and moist, well-drained soils. It is tolerant of a variety of soil types, including sandy and clay soils, but it performs best in loamy soils that are rich in organic matter.
Spotted Beebalm is drought-tolerant once established but benefits from regular watering during dry spells, especially in the warmer months. The plant is also somewhat tolerant of moderate flooding, which makes it ideal for garden areas with fluctuating moisture levels.
Height / Spread:
Spotted Beebalm typically grows to a height of 2 to 3 feet, with a spread of 1 to 2 feet. Its upright, clumping growth habit makes it an excellent background plant or a specimen in garden beds, borders, or naturalized areas. The plant’s bushy nature creates a dense structure that works well for filling in gaps or adding vertical interest to a landscape.
Lifespan:
Spotted Beebalm is a perennial in Florida, living for several years. It is typically long-lived in suitable conditions, though it may die back to the ground in the winter, regenerating from its root system the following spring. It often self-seeds in the wild, ensuring that it can continue to thrive in its native habitat for many seasons.
Bloom Period:
Spotted Beebalm blooms from late spring through the fall, with its peak bloom occurring in the summer. The plant produces abundant clusters of tubular flowers with unique purple-spotted yellow bracts, attracting pollinators throughout its long bloom period. The flowers provide color and nectar for bees, butterflies, and other beneficial insects.
Flower Color:
The flowers of Spotted Beebalm are tubular and pale yellow with prominent purple spots on the bracts that surround the flowers. The contrast between the yellow and purple creates an eye-catching display, making the plant a favorite for pollinators and gardeners alike.
Spotted Beebalm is an important plant for local wildlife, particularly for pollinators such as bees, including native bee species like the honeybee (Apis mellifera) and bumblebees (Bombus species). The plant is also visited by butterflies like the Gulf Fritillary (Dione juno), as well as hummingbirds, which are attracted to the tubular flowers.
The seeds produced by the plant are consumed by birds, contributing to its value as a wildlife-friendly garden addition.
Butterfly Milkweed is a hardy perennial that features bright orange to yellow flowers arranged in dense clusters. The plant has narrow, lance-shaped leaves with a rough texture and grows in an upright, bushy form. It is commonly found in prairies, open fields, and roadsides, where it adds a splash of color to the landscape. Its attractive flowers not only draw attention but are also a vital nectar source for pollinators.
The plant has a taproot system, which makes it drought-tolerant once established but also means it can be more difficult to transplant. The stems of the plant are typically thick and sturdy, providing support for the dense flower clusters.
Best Growing Region / Zone:
Butterfly Milkweed is well-suited for Florida’s climate, thriving in USDA hardiness zones 8a to 10. It grows best in well-drained, sandy or loamy soils and is commonly found in dry, open areas. This species is adapted to Florida’s summer heat and humidity and can be found in a variety of habitats, from coastal plains to inland prairies.
This plant prefers full sun and well-drained soils. It is highly drought-tolerant once established but does not perform well in areas with excessive moisture or poorly drained soils. Butterfly Milkweed is not particular about soil type but benefits from slightly acidic to neutral soils with good drainage.
It thrives in dry, sandy or loamy soils and is ideal for xeriscaping or wildflower gardens. While it is relatively low-maintenance, it will benefit from occasional watering during extended dry periods, especially during the hottest months.
Height / Spread:
Butterfly Milkweed grows to a height of 1 to 2 feet, with a spread of 1 to 1.5 feet. Its compact size makes it suitable for garden beds, wildflower meadows, or as a border plant. It has an upright, clumping growth habit, with a dense, bushy appearance when in full bloom. The plant’s size makes it an excellent choice for attracting pollinators without overwhelming smaller garden spaces.
Lifespan:
Butterfly Milkweed is a perennial in Florida, living for several years. It has a long lifespan and can continue to thrive if planted in the right conditions. The plant may die back to the ground in the winter, but it regenerates from its roots in the spring. It is a self-seeding species, ensuring it will continue to produce new plants in the area year after year.
Bloom Period:
This plant blooms from late spring through the summer, with its peak bloom occurring in early summer. The bright orange to yellow flowers are arranged in tight clusters that attract a variety of pollinators. The flowers are a rich source of nectar for butterflies, bees, and other beneficial insects, making it a valuable addition to any pollinator garden.
Flower Color:
Butterfly Milkweed produces vibrant orange flowers, though yellow varieties can occasionally be found. The flowers are arranged in tight clusters at the tips of the stems, forming a round, globe-like shape. Their bright color makes them highly visible to pollinators, particularly butterflies, and provides a striking contrast against the plant’s green foliage.
Butterfly Milkweed is an essential nectar source for many pollinators, including butterflies such as the Monarch (Danaus plexippus), Queen (Danaus gilippus), and Gulf Fritillary (Dione juno), as well as bees like the honeybee (Apis mellifera) and native solitary bees. The plant’s flowers attract these species throughout its bloom period, helping to support pollinator populations.
In addition to providing nectar, the plant’s seeds are eaten by birds, contributing to its wildlife value. Butterfly Milkweed is also a host plant for Monarch caterpillars, which feed on its foliage, making it an important part of the Monarch’s life cycle.
Blue-eyed Grass is a small, herbaceous perennial that produces delicate blue to violet flowers resembling miniature irises. The plant has long, narrow, grass-like leaves that grow in clumps, with flower stalks rising above the foliage. The flowers are typically 1 to 2 inches across, with six petals and a prominent yellow center, creating a striking contrast.
This plant is often found growing in moist, open meadows, prairies, and along roadsides, where it adds subtle color to the landscape. Blue-eyed Grass is well-suited to naturalized areas and wildflower gardens, where its compact size and attractive blooms make it an excellent choice for low-maintenance plantings.
Best Growing Region / Zone:
Blue-eyed Grass thrives in USDA hardiness zones 7 to 10, making it well-suited for most of Florida’s climate. It is commonly found in moist, well-drained soils throughout Florida’s uplands, including prairies, meadows, and roadsides. It thrives in areas with full sun to partial shade, and is a good choice for natural landscapes that require a low-maintenance, native groundcover.
This plant thrives in full sun to light shade and prefers moist, well-drained soils. While it can tolerate some drought once established, it does best in areas with consistent moisture, such as along the edges of ponds or in wet meadows.
Blue-eyed Grass is adaptable to a variety of soil types, including sandy or loamy soils, but it performs best in soils that are kept relatively moist. Once established, it requires minimal care and can handle occasional periods of dry conditions.
Height / Spread:
Blue-eyed Grass grows to a height of about 12 to 18 inches, with a spread of around 6 to 12 inches. Its compact size makes it well-suited for use in wildflower gardens, rock gardens, or as an edging plant. The plant has a clumping habit, and when in bloom, it forms a striking, colorful display that stands above its grass-like foliage.
Lifespan:
Blue-eyed Grass is a perennial, living for several years in the right conditions. It can self-seed, which allows it to spread and naturalize over time, though it may not always be as prolific as other species. It is relatively low-maintenance and can be left to grow and reseed without much intervention.
Bloom Period:
Blue-eyed Grass typically blooms from early spring to late spring, with the peak bloom occurring in late spring. The flowers bloom in succession, with new flowers opening up along the stem as older ones fade, providing a long-lasting display of color. The plant’s flowers are particularly attractive to small bees and other pollinators during its bloom period.
Flower Color:
The flowers are a vibrant blue to violet color, with a distinctive yellow center that stands out against the petals. The flowers are shaped like small irises, with six petals that form a star-like shape. Their bright color and distinctive appearance make Blue-eyed Grass a striking addition to any garden or landscape.
Blue-eyed Grass is a valuable plant for pollinators, particularly small bees and butterflies. The plant’s flowers provide nectar and attract a variety of insect pollinators during its bloom period.
Additionally, the seeds produced by Blue-eyed Grass are eaten by birds, providing an important food source for seed-eating species. Its compact size and attractive flowers make it a good choice for adding diversity to pollinator-friendly landscapes.
Swamp Sunflower is a tall, upright perennial that thrives in moist to wet conditions. It has narrow, lance-shaped leaves and produces clusters of bright yellow flowers with dark centers that resemble the traditional sunflower, though on a smaller scale. The plant has an airy, open habit, with its multiple stems branching upward, typically reaching 4 to 6 feet in height.
Swamp Sunflower is commonly found in wetlands, swamps, and along the edges of streams, where it adds a splash of color to these habitats. It is an excellent choice for rain gardens, naturalized areas, or as a tall background plant in native plant gardens.
Best Growing Region / Zone:
Swamp Sunflower thrives in USDA hardiness zones 8 to 10, making it well-suited for Florida’s climate. It is commonly found in Florida’s wetland areas, including swamps, marshes, and along streambanks. It can tolerate occasional flooding and is an excellent choice for planting in moist or seasonally wet soils.
This plant prefers full sun but can tolerate some light shade, especially in hotter parts of Florida. Swamp Sunflower thrives in moist to wet soils, including those in rain gardens or along water features, and it can tolerate standing water for short periods.
It does best in soils that are rich in organic matter but is adaptable to a variety of soil types, including sandy and loamy soils. Once established, it is relatively drought-tolerant but benefits from regular moisture, especially during prolonged dry spells.
Height / Spread:
Swamp Sunflower grows to a height of 4 to 6 feet, with a spread of 2 to 3 feet. Its tall, open habit makes it an excellent plant for the back of borders or as a striking vertical element in a naturalized landscape. The plant’s height and spreading habit allow it to create a bright, yellow backdrop when in full bloom.
Lifespan:
Swamp Sunflower is a perennial, living for several years in the right conditions. It may die back in colder winter months but will regenerate from the root system in the spring. Its long lifespan makes it an excellent choice for a permanent fixture in wetland or water-side plantings.
Bloom Period:
Swamp Sunflower blooms from late summer through fall, with peak bloom typically occurring in September and October. The plant produces numerous small yellow flowers arranged in large, branching clusters that provide an extended bloom period, often lasting into the cooler months.
Flower Color:
The flowers are a brilliant yellow with a dark brown to black center, resembling the classic sunflower but smaller in size. The flowers are arranged in loose clusters, and their bright yellow color stands out against the narrow green leaves, creating a cheerful display that attracts pollinators.
Swamp Sunflower is an important plant for a variety of pollinators, including native bees, butterflies, and other insects. The flowers provide nectar and pollen for these pollinators, and the seeds are consumed by birds, such as finches, sparrows, and other seed-eating species.
The plant’s tall structure also offers shelter for small wildlife, making it an important component of a diverse, wildlife-friendly garden or landscape.
14. Pineland Lantana (Lantana depressa)
Pineland Lantana is a low-growing, spreading perennial shrub native to Florida’s upland habitats. It has fragrant, lance-shaped leaves that are covered with fine hairs, and it produces small clusters of brightly colored flowers that range from yellow to orange, eventually turning pink as they mature. These flowers are arranged in tight, rounded clusters, attracting pollinators.
The plant has a spreading, ground-covering habit, making it an excellent choice for filling in gaps in native landscapes or for use as a ground cover in sunny locations. It is drought-tolerant and thrives in well-drained soils.
Best Growing Region / Zone:
Pineland Lantana is found in USDA hardiness zones 8a to 11, making it suitable for Florida’s climate, particularly in the central and southern parts of the state. It is commonly found in dry pinelands and scrub habitats, where it grows in sandy soils and areas that receive full sun. This species is well adapted to the conditions of Florida’s uplands and can tolerate heat and drought.
This plant thrives in full sun and well-drained sandy or loamy soils, making it ideal for dry, sandy landscapes and coastal areas. It is highly drought-tolerant once established and performs well in poor soils with low fertility, making it perfect for xeriscaping or native plant gardens.
Pineland Lantana prefers dry to moderately moist conditions and is well-suited for areas where water is not regularly available, though it can tolerate some irrigation during extended dry periods. It is a heat-tolerant plant that does not require heavy watering once established.
Height / Spread:
Pineland Lantana typically grows to a height of 1 to 2 feet with a spread of 3 to 4 feet. Its spreading, ground-hugging habit makes it an excellent choice for ground cover or for planting in areas where a low, dense plant is needed to fill in space. The plant’s width allows it to cover a large area quickly, making it useful for erosion control in dry landscapes.
Lifespan:
This plant is a perennial, living for several years in its native habitat. Pineland Lantana is hardy in Florida’s hot and dry conditions, often surviving for multiple seasons with minimal care. It may experience dieback during particularly cold winters but will generally regenerate from its root system when temperatures rise in the spring.
Bloom Period:
Pineland Lantana blooms from spring through fall, with its peak bloom occurring during the warmer months. The plant produces colorful clusters of flowers from early spring through late autumn, with flowers changing color as they age, creating a continuous, vibrant display of yellow, orange, and pink hues.
Flower Color:
The flowers of Pineland Lantana are small and clustered, with a color range that transitions from yellow to orange and eventually to pink as they mature. This color change creates an eye-catching display, with different stages of flowers blooming at once in the same cluster. The bright, multicolored flowers attract a variety of pollinators, including bees and butterflies.
Pineland Lantana is highly attractive to pollinators, especially native bees, butterflies, and hummingbirds. The flowers provide nectar for a wide range of species, including the Zebra Longwing butterfly (Dione zebra) and the Great Purple Hairstreak (Atlides halesus), both of which are native to Florida.
The plant’s berries, when they develop, are also consumed by various bird species, including finches and sparrows. Pineland Lantana plays a key role in supporting a diverse range of wildlife in native plant gardens and xeriscapes.
Lyreleaf Sage is a low-growing, perennial herb native to Florida’s sandy and forested areas. It has distinctive, dark green leaves that are shaped like the outline of a lyre, hence the name. The plant produces tall spikes of tubular purple flowers that are clustered at the top, which bloom in the spring and early summer.
The plant has a minty fragrance when disturbed, characteristic of the Salvia family. Lyreleaf Sage is often found in moist, well-drained soils, making it a good choice for rain gardens or wildflower gardens. It is also known for its ability to attract pollinators.
Best Growing Region / Zone:
Lyreleaf Sage is well-suited for USDA hardiness zones 7a to 11 and is native to the southeastern United States, including Florida. It grows in a variety of habitats, from sandy roadsides to pine forests and wetlands, thriving in the subtropical climate of Florida’s central and northern regions.
This plant prefers partial to full sun and well-drained, moist soils. It is tolerant of a variety of soil types, including sandy, loamy, and clay-rich soils. Lyreleaf Sage thrives in environments that receive regular rainfall but can also tolerate short periods of drought once established.
It benefits from occasional irrigation during drier times, especially during the blooming season. It also appreciates some protection from hot afternoon sun in the warmer regions of Florida, where it can tolerate light shade during the hottest months.
Height / Spread:
Lyreleaf Sage typically grows 1 to 2 feet tall and spreads about 1 to 2 feet in width. The plant’s compact size makes it an excellent choice for garden borders, mixed perennial beds, or as a low-growing accent plant in wildflower gardens. It forms a rosette of basal leaves, with flower spikes rising above the foliage during the blooming period.
Lifespan:
Lyreleaf Sage is a perennial, meaning it will return year after year in the right conditions. It has a relatively long lifespan for a native wildflower, often persisting for several years in the garden or natural landscape. In colder winters, it may experience dieback, but it will regenerate from the roots when temperatures rise in the spring.
Bloom Period:
The blooming period for Lyreleaf Sage is from early spring to early summer, with the peak bloom occurring in late spring. During this time, the plant produces showy spikes of tubular purple flowers that are highly attractive to pollinators. The flowers typically bloom in succession, providing a long-lasting display of color in the landscape.
Flower Color:
The flowers of Lyreleaf Sage are a deep lavender to purple, arranged in dense clusters along tall spikes. The tubular flowers are highly attractive to bees and hummingbirds, who visit the flowers for their nectar. The purple color stands out against the dark green, lyre-shaped foliage, creating an appealing contrast in garden settings.
Lyreleaf Sage is an excellent plant for attracting pollinators, particularly bees, butterflies, and hummingbirds. Native bee species, including honeybees and bumblebees, are frequent visitors to the flowers. The plant is also important for butterfly species such as the Common Buckeye (Junonia coenia) and the Red-banded Hairstreak (Calycopis cecrops).
The plant’s dense foliage provides shelter for small insects and larvae, making it a valuable addition to wildlife-friendly gardens. Additionally, the seeds of Lyreleaf Sage can attract birds, particularly during the winter months.
16. Scarlet Hibiscus (Hibiscus coccineus)
By Photo by David J. Stang – source: David Stang. First published at ZipcodeZoo.com, CC BY-SA 4.0, Link
Scarlet Hibiscus is a large, striking perennial that produces large, bright red flowers with prominent, long stamens. The plant has deeply lobed, dark green leaves that are often a bit rough to the touch. It grows as a tall shrub or herbaceous perennial, and its flowers can be up to 6 inches across, blooming at the top of long, slender stems.
This species thrives in moist, well-drained soils, particularly in wetlands, along pond edges, and in rain gardens. Its showy red flowers create a dramatic splash of color, especially during the warm months of the growing season.
Best Growing Region / Zone:
Scarlet Hibiscus thrives in USDA hardiness zones 7a to 11. In Florida, it is found in the northern, central, and coastal regions, particularly in areas with abundant moisture such as wetlands, stream banks, and the edges of ponds. It grows best in areas with high humidity and frequent rainfall, which are common conditions in Florida’s subtropical to tropical climate.
This plant prefers full sun to partial shade, with plenty of moisture. It thrives in wet soils and is ideal for rain gardens, boggy areas, and pond edges. Scarlet Hibiscus can tolerate occasional drought once established but requires consistent moisture for optimal growth.
It is well-suited for Florida’s humid climate and can tolerate high heat, making it a great choice for summer bloom in Florida gardens. Soil should be slightly acidic to neutral, and the plant may benefit from occasional fertilization to encourage strong flowering.
Height / Spread:
Scarlet Hibiscus can grow from 4 to 6 feet tall, with a spread of about 3 to 4 feet. Its large, upright stems make it an excellent background or focal plant in garden beds or naturalized landscapes. It’s often used in landscapes where its bold flowers can make an impact, but it also serves well as a screen or a border plant.
Lifespan:
Scarlet Hibiscus is a perennial that can live for several years in Florida, returning each spring from its root system. It may experience some dieback during the colder months but will regenerate once temperatures warm up. It’s considered a long-lived perennial in suitable conditions.
Bloom Period:
The blooming period of Scarlet Hibiscus occurs from late spring through the summer, with the peak bloom in the warmer months. The plant produces large, showy red flowers that last for a day or two, but new flowers continuously open over the blooming period. The flowers attract pollinators, including hummingbirds and butterflies, and provide a stunning display.
Flower Color:
The flowers of Scarlet Hibiscus are a bright, vibrant red with a central cluster of long, yellow stamens. Each flower can be up to 6 inches across, making it one of the more striking native hibiscus species. The deep red petals contrast beautifully with the green foliage, especially during the plant’s blooming season.
Scarlet Hibiscus is a valuable plant for pollinators. Its large, showy flowers are highly attractive to hummingbirds, which are drawn to the bright red color and rich nectar. Butterflies, including species like the Gulf Fritillary (Dione juno) and the Zebra Longwing (Dione idalia), also visit the flowers for nectar.
The plant’s leaves may provide shelter for various insects, and the seeds are consumed by birds, adding to its ecological value in the landscape. Its ability to thrive in moist, wet conditions also makes it important for supporting aquatic or riparian wildlife.
Swamp Milkweed is a perennial herb with narrow, lance-shaped leaves that are typically arranged in opposite pairs along the stems. The plant grows tall, with slender stems that reach up to 3 feet in height. Its flowers are clusters of small, star-shaped pink blooms with five petals and a characteristic five-lobed crown.
The plant has a smooth, upright growth habit and is known for its ability to thrive in moist, boggy soils. Swamp Milkweed produces attractive blooms in large clusters, which make it a striking addition to wetland gardens or naturalized landscapes.
Best Growing Region / Zone:
Swamp Milkweed is well-suited to USDA hardiness zones 7a to 11. In Florida, it is typically found in the central and northern regions, particularly in wetland areas, along stream banks, and in areas with consistently moist soil. It thrives in Florida’s humid climate, especially in locations that receive regular rainfall and in soils that retain moisture.
Swamp Milkweed thrives in full sun to partial shade, with a strong preference for moist, well-drained soils. It is ideally suited for wetland areas, rain gardens, or along the edges of ponds and streams where the soil remains consistently moist throughout the growing season.
It is not as tolerant of dry conditions as some other milkweed species but can adapt to slightly drier soils once established. The plant is also tolerant of high humidity and temperatures, making it well-suited for Florida’s climate.
Height / Spread:
Swamp Milkweed can reach up to 3 feet in height and typically spreads to about 2 feet wide. It grows in a clumping habit, which helps to create a dense, attractive mound of foliage and flowers. The plant can be used in groupings for a mass planting effect or as part of a naturalized wetland garden.
Lifespan:
Swamp Milkweed is a perennial in Florida and will return year after year from its root system. It is long-lived and can continue to thrive for many years when grown in appropriate conditions. During the cooler months, the plant may die back to the ground but will regenerate in the spring as temperatures rise.
Bloom Period:
The blooming period for Swamp Milkweed occurs in mid to late summer, typically from June to September. During this time, it produces clusters of small, pink flowers that are highly attractive to pollinators. Each flower cluster lasts for several weeks, providing a continuous source of nectar for butterflies, bees, and other pollinators.
Flower Color:
The flowers of Swamp Milkweed are a soft pink, forming small clusters with a characteristic star-shaped structure. Each flower has five petals and a unique five-lobed crown. The blooms are aromatic and highly attractive to pollinators, particularly monarch butterflies, which rely on milkweed species as a host plant for their larvae.
Swamp Milkweed is an important plant for wildlife, especially pollinators like butterflies, bees, and hummingbirds. Monarch butterflies (Danaus plexippus) rely on Swamp Milkweed as a host plant for laying their eggs and feeding their larvae.
The flowers also provide nectar for a variety of bee species, including native honeybees, and other butterflies, such as the Gulf Fritillary (Dione juno) and the Zebra Longwing (Dione idalia). Additionally, the plant’s dense foliage provides shelter for insects and small wildlife, making it a valuable plant in ecosystems that support biodiversity.
18. Coastal Mock Vervain (Glandularia maritima)
OLYMPUS DIGITAL CAMERA
Coastal Mock Vervain, sometimes called “Beach Verbena,” is a low-growing, spreading perennial with small, narrow, and aromatic leaves that are grayish-green in color. It produces dense clusters of small, tubular flowers that range from purple to violet, often with a lighter throat, giving it a delicate appearance.
The plant has a woody base and fine, spreading stems that form a low ground cover or mat. It has a compact growth habit and is well-suited for coastal gardens, dunes, and areas where salt-tolerance is required. Coastal Mock Vervain is often seen in sandy soils and is known for its drought tolerance once established.
Best Growing Region / Zone:
Coastal Mock Vervain thrives in USDA hardiness zones 8a to 11. In Florida, it is most commonly found in coastal areas, including the eastern and southern regions. It prefers areas with direct exposure to saltwater and sea breezes, making it particularly well-suited for the state’s coastal environments, dunes, and sandy roadsides.
It is a native species in Florida’s coastal habitats and is found in areas that are exposed to the elements and often prone to occasional saltwater exposure.
This plant prefers full sun and well-drained sandy or loamy soils. It is highly tolerant of salt, making it an excellent choice for coastal gardens, especially those that experience regular saltwater spray or exposure.
Coastal Mock Vervain thrives in dry, sandy conditions and can endure periods of drought once established. It is also tolerant of poor soils and does not require frequent fertilization. While it does best in full sun, it can tolerate light shade, especially in hotter climates.
Height / Spread:
Coastal Mock Vervain typically grows to about 1 to 2 feet in height and spreads 2 to 3 feet wide. Its spreading habit makes it an excellent ground cover plant, ideal for filling in gaps or stabilizing sandy soil along coastal areas. It can quickly cover large areas and is often used in landscaping to prevent erosion and promote soil stability.
Lifespan:
This plant is a perennial in Florida, capable of living for several years under the right growing conditions. It will typically die back during the cooler months but regrow in the spring, emerging from its root system. It is considered a hardy, long-lived plant in coastal landscapes, often surviving the toughest conditions.
Bloom Period:
Coastal Mock Vervain blooms from spring through summer, with peak blooming occurring in late spring to early summer. It produces an abundance of small, tubular flowers that are attractive to pollinators such as bees, butterflies, and hummingbirds. The flowers are produced in clusters, creating a striking display of color.
Flower Color:
The flowers of Coastal Mock Vervain are typically violet to purple, with a lighter, almost white throat. The tubular flowers are small and densely arranged in clusters, making them highly attractive to pollinators. The vibrant color of the flowers contrasts beautifully against the plant’s gray-green foliage.
Coastal Mock Vervain is an excellent plant for attracting pollinators, especially butterflies and bees. It is particularly favored by various species of bees, including native bumblebees, as well as by butterflies like the Gulf Fritillary (Dione juno) and the Monarch (Danaus plexippus).
The plant’s dense flowers also provide nectar for hummingbirds. Additionally, Coastal Mock Vervain offers shelter to small insects and wildlife, making it a valuable component of a coastal ecosystem.
Elliot’s Aster is a native perennial with slender, lance-shaped leaves that form a bushy clump. The plant’s stems are upright, reaching heights of 2 to 4 feet, and are often lightly hairy. Its vibrant, daisy-like flowers bloom in late summer to fall, with lavender to light purple petals surrounding a yellow center.
The flowers attract numerous pollinators, and the plant has a soft, airy appearance when in full bloom. Elliot’s Aster thrives in moist, well-drained soils and is typically found in natural settings like wetlands, floodplains, and coastal uplands.
Best Growing Region / Zone:
Elliot’s Aster is found in USDA hardiness zones 8a to 10b, making it ideal for the warmer parts of Florida, particularly in central and southern regions. It naturally grows in moist environments, such as wet prairies, marshes, and coastal plains, and can be found in Florida’s wetland areas and along riverbanks. It thrives in areas with high humidity and regular rainfall.
This species prefers moist to moderately wet, well-drained soils in full sun to partial shade. While it is adaptable to various soil types, it performs best in fertile, humus-rich soils. Elliot’s Aster is not particularly drought-tolerant, so it requires consistent moisture, especially during the hotter months.
It benefits from regular watering during dry periods but should not sit in standing water, as it prefers well-drained conditions. It is generally pest-resistant and requires minimal maintenance once established.
Height / Spread:
Elliot’s Aster typically grows to a height of 2 to 4 feet, with a spread of about 2 to 3 feet. The plant has a relatively compact growth habit, making it suitable for medium-sized landscapes or as part of a wildflower garden. Its erect stems and bushy form make it a good choice for adding vertical interest to garden beds or native plantings.
Lifespan:
Elliot’s Aster is a perennial that can live for several years in favorable conditions. While it will die back in the winter, the root system remains alive, and the plant will re-emerge in the spring. It can thrive for many years with minimal care, as long as it is in a location with adequate moisture.
Bloom Period:
This aster blooms from late summer through fall, typically from August to November, with peak flowering occurring in September and October. Its bright lavender flowers attract a wide variety of pollinators, especially bees and butterflies.
Flower Color:
The flowers of Elliot’s Aster are a soft lavender to pale purple, with a yellow center. The flowers are typically about 1 to 2 inches across and are arranged in loose clusters at the tops of the plant’s stems. The plant’s vibrant flowers stand out against its dark green foliage.
Elliot’s Aster is highly beneficial to wildlife, attracting a wide range of pollinators. It is particularly favored by native bees, such as honeybees and bumblebees, as well as butterflies like the American Snout (Libytheana carinenta) and the Painted Lady (Vanessa cardui).
The plant’s seeds are also an important food source for small birds, particularly sparrows. By supporting these pollinators and birds, Elliot’s Aster plays a crucial role in sustaining local ecosystems.
Spiderwort is a perennial herb known for its striking, triangular leaves and clusters of blue, three-petaled flowers. The plant’s leaves are long and lance-shaped, emerging from the base in a clump.
The flowers are bright blue with yellow stamens, and they bloom during the morning, often closing by the afternoon. Spiderwort’s grass-like foliage adds texture to gardens, while its vibrant flowers provide color from spring to early summer.
Best Growing Region / Zone:
Spiderwort thrives in USDA hardiness zones 5b to 9b, making it suitable for much of Florida, particularly in the northern and central regions. It grows well in moist, well-drained soils, especially in areas that mimic its natural habitat of meadows, prairies, and woodlands.
This plant prefers full sun to partial shade, though it blooms best when given at least a few hours of direct sunlight each day. Spiderwort is adaptable to a variety of soil types but does best in moderately rich, moist, well-draining soil. It tolerates both drought and wet conditions once established, though it generally prefers slightly moist environments.
Height / Spread:
Spiderwort generally grows between 1 to 2 feet tall and spreads about 1 to 1.5 feet wide. Its clumping growth habit makes it ideal for filling in borders or adding naturalistic texture to garden beds.
Lifespan:
Spiderwort is a perennial plant, typically returning each year. However, it is short-lived, with individual plants often dying back after a couple of seasons. It tends to self-seed freely, allowing it to persist in the garden even if older plants die off.
Bloom Period:
The bloom period for Spiderwort typically occurs in late spring to early summer, from April to June. It produces flowers that last only a day or two but continuously produces new blooms throughout the flowering season.
Flower Color:
Spiderwort flowers are bright blue or purple, often with a slight pinkish tinge in some varieties. The blooms have a unique, delicate appearance and are highlighted by the contrasting yellow stamens at their centers.
Spiderwort provides valuable nectar for pollinators, particularly bees and butterflies. Its flowers are especially attractive to native bees, and its seeds offer food for birds during the fall and winter months. It can also serve as cover for small wildlife.
Stokes Aster is a perennial herb known for its large, daisy-like flowers that bloom in shades of lavender to blue. The plant has smooth, dark green leaves and an upright, bushy growth habit.
It typically produces flowers from mid to late summer, attracting pollinators like bees and butterflies. Its large, showy blooms and long flowering period make it a striking addition to native gardens. The plant can grow in clumps and is ideal for attracting pollinators due to its abundant nectar-rich flowers.
Best Growing Region / Zone:
Stokes Aster thrives in USDA Hardiness Zones 7b to 9a. It is native to the southeastern United States, particularly in areas such as the Carolinas and Georgia. This plant does best in regions with mild winters and warm summers, making it well-suited for Florida’s climate, especially in the northern and central parts of the state.
Stokes Aster prefers well-drained, slightly acidic soil and a sunny location. While it can tolerate some light shade, it blooms best when given full sun. It is relatively drought-tolerant once established but will perform better with moderate watering during dry spells. This plant also appreciates good air circulation and benefits from occasional mulching to maintain soil moisture.
Height / Spread:
Stokes Aster typically grows between 1 to 2 feet in height and spreads about 18 to 24 inches. It forms clumps, with each plant producing multiple stems that rise from a central base. The flowers appear on sturdy stems that stand above the foliage, creating a neat, bushy appearance.
Lifespan:
Stokes Aster is a perennial, meaning it lives for several years, typically blooming every summer as long as the plant is well-maintained. The plant can thrive for 3 to 5 years, sometimes longer, if grown in ideal conditions with proper care.
Bloom Period:
Stokes Aster begins blooming in early to mid-summer and continues until the fall. The flowers typically last from June through September, with the peak bloom occurring in July and August. This extended blooming period provides vital nectar for bees, butterflies, and other pollinators during the growing season.
Flower Color:
The flowers of Stokes Aster range in color from lavender to a deep blue, with a central yellow disk surrounded by soft, petal-like ray flowers. The color of the blooms can vary slightly depending on the growing conditions, but they are generally a striking shade of purple to blue.
Stokes Aster is highly beneficial for pollinators, particularly for various species of native bees, such as the mason bee (Osmia spp.) and bumblebees (Bombus spp.). It also attracts butterflies, including the common eastern tiger swallowtail (Papilio glaucus) and the painted lady (Vanessa cardui), which feed on its nectar.
Additionally, the flowers provide a rich source of nectar for honeybees (Apis mellifera) throughout the blooming season, supporting local pollinator populations.
Swamp rosemallow is a striking perennial plant known for its large, showy flowers. The plant produces huge, trumpet-shaped blooms that can reach up to 6 inches in diameter. These flowers have a dramatic appearance with delicate, pale pink or white petals surrounding a prominent dark red center.
The plant’s foliage is deep green, and it tends to grow in a bushy clump. Its tall, erect stems add vertical interest to any garden, with the blooms positioned above the leaves for high visibility. Swamp rosemallow can be a wonderful addition to wetland areas or water gardens due to its moisture-loving nature.
Best Growing Region / Zone:
Swamp rosemallow thrives in USDA hardiness zones 8b to 11b, which covers much of Florida, especially in the central and southern regions. It is well-suited to the southeastern U.S. climate, where the warmth and humidity provide optimal growing conditions for this plant.
This plant prefers moist, well-drained soils and is often found growing near ponds, streams, or in marshy areas. It enjoys full sun but can tolerate partial shade in hotter climates. Swamp rosemallow can also tolerate occasional flooding, making it a great choice for areas with standing water during heavy rains. While it thrives in wet environments, it also does well in slightly drier, well-watered soil conditions.
Height / Spread:
Swamp rosemallow typically grows to a height of 4 to 6 feet, with a spread of about 3 to 4 feet. Its tall, upright growth makes it an excellent plant for adding height to garden borders, water features, or even as a background in larger garden beds.
Lifespan:
This plant is a perennial, meaning it will return year after year. Swamp rosemallow can live for several seasons when given the proper growing conditions, with new growth emerging in the spring as the weather warms.
Bloom Period:
Swamp rosemallow blooms during the late summer to fall months, typically from July through September. The large, beautiful flowers attract pollinators, and each individual bloom lasts only a day, but new ones appear continuously throughout the blooming period.
Flower Color:
The flowers of Swamp rosemallow are typically pale pink or white with a dark red or purple center. The dramatic contrast between the light petals and dark throat of the flower is a distinctive feature of this plant, making it a standout in the garden.
Swamp rosemallow is particularly attractive to pollinators, including bees such as the Eastern Bumblebee (Bombus impatiens) and butterflies like the Swallowtail species. The nectar-rich flowers provide an important food source for these pollinators, especially during the late summer when many other plants are past their blooming period.
It is also visited by hummingbirds, who are drawn to the bright, trumpet-like flowers.
Wild blue phlox is a perennial herbaceous plant with fragrant, delicate blue or lavender flowers that bloom in loose clusters. The flowers have five petals each, forming a star-like shape, and the plant has a soft, spreading growth habit. The leaves are opposite and lance-shaped, giving the plant a bushy appearance.
Wild blue phlox is a low-maintenance plant that is often found in woodland or meadow settings. Its beauty and pleasant fragrance make it a popular choice for naturalized gardens or as an underplanting in shady areas.
Best Growing Region / Zone:
Wild blue phlox is well-suited to USDA hardiness zones 4 to 8, which encompasses much of the northern and central United States, extending into parts of the Southeast. It grows particularly well in moist, shaded areas and is common in the woodlands of eastern North America, making it a good fit for gardens in the Midwest and Northeast.
Preferred Growing Conditions:
By Photo by David J. Stang – source: David Stang. First published at ZipcodeZoo.com, CC BY-SA 4.0, Link
This plant thrives in moist, well-drained soil that is rich in organic matter. It prefers partial to full shade, making it an ideal choice for woodland gardens or areas with dappled sunlight.
Wild blue phlox also tolerates some sunlight but performs best in cooler, shaded conditions. It appreciates consistent moisture, especially during the blooming period, and should be watered regularly to avoid dry spells.
Height / Spread:
Wild blue phlox grows to a height of 12 to 18 inches and spreads up to 18 inches wide. Its compact, spreading growth habit makes it suitable for use in ground covers or as a low border in garden beds.
Lifespan:
As a perennial, wild blue phlox returns year after year, typically living for several seasons with minimal care. It is a reliable addition to any garden, particularly in shady or woodland environments, where it thrives and naturalizes over time.
Bloom Period:
The bloom period for wild blue phlox is in spring, typically from April to June, depending on the climate. The plant produces abundant clusters of small, tubular flowers that last for several weeks, providing an early source of nectar for pollinators.
Flower Color:
The flowers of wild blue phlox are typically shades of pale to medium blue or lavender, with a slight pinkish hue in some varieties. The five-petaled flowers have a star-like shape and a pleasant fragrance that attracts pollinators.
Wild blue phlox is an excellent plant for attracting a variety of pollinators, including bees such as the Common Eastern Bumblebee (Bombus impatiens) and butterflies like the Spring Azure (Celastrina ladon) and Fritillary species.
Its early blooming period provides important nectar sources for these insects, particularly in areas where few other plants are in bloom. Additionally, it serves as a host plant for several species of caterpillars, making it beneficial for the broader ecosystem.
Benefits of Florida Native Plants
Focusing your garden planning to the use of plants native to Florida has a long list of benefits.
Environmental Benefits: How Florida Native Plants Help the Planet
One of the main benefits using native plants offer is helping to support the local ecosystems.
Save Water with Florida Native Plants
Florida native plants are water-saving heroes, requiring up to 60% less irrigation compared to non-native species.
Their natural ability to thrive on rainfall alone helps you conserve water and reduce dependency on supplemental watering systems, making them ideal for eco-conscious gardeners.
Create a Wildlife Haven with Florida Native Plants
Native plants are essential for supporting Florida’s ecosystems. They provide food and shelter for pollinators, birds, and other wildlife, ensuring your garden becomes a sanctuary for biodiversity.
By planting natives, you help sustain local species that rely on these plants for survival.
Prevent Erosion with Soil-Stabilizing Native Plants
Native plants are champions of soil health. Their deep and fibrous root systems stabilize the soil, preventing erosion even in Florida’s sandy or flood-prone areas.
Over time, they improve soil structure, making your garden more resilient.
Reduce Fertilizer Use with Low-Maintenance Native Plants
Florida native plants evolved to thrive in local soils, meaning they rarely require fertilizers.
This reduces nutrient runoff into waterways, protecting Florida’s fragile aquatic ecosystems from harmful algae blooms.
Shrink Your Carbon Footprint with Florida Native Plants
Native plants lower your garden’s carbon footprint. Since they don’t require extensive irrigation, fertilizers, or chemical treatments, they use fewer resources and reduce greenhouse gas emissions associated with their care.
Practical Benefits: Why Florida Native Plants Are a Gardener’s Best Friend
Using Florida native plants is also a great way to reduce your workload in the garden. While we may love to garden, spending fewer hours outdoors in July and August can make it even more enjoyable.
Lower Maintenance, More Enjoyment
One of the biggest perks of Florida native plants is their low-maintenance nature. These plants are adapted to local conditions, so they need less watering, pruning, and pest control, freeing up your time to enjoy your garden rather than work in it.
Cut Costs with Florida Native Plants
By reducing water usage and eliminating the need for fertilizers and pesticides, Florida native plants can lower your gardening expenses.
Additionally, their long lifespan means you’ll spend less on replacements over time.
Fewer Pest Problems, More Garden Harmony
Florida native plants are naturally resistant to many local pests and diseases. This means fewer infestations and less need for chemical treatments, making your garden healthier and safer for wildlife and people alike.
Stand Strong Against Florida’s Weather
From hurricanes to droughts, Florida’s climate can be extreme. Native plants are built to endure these challenges, standing up to high winds, heavy rains, and prolonged dry periods.
Their natural resilience makes them a reliable choice for disaster-prone regions.
Long-Term Savings with Florida Native Plants
Over time, the cost savings from reduced water bills, fewer plant replacements, and minimal maintenance add up.
Florida native plants are not only an environmentally sound choice but also a financially savvy one for homeowners looking to create sustainable landscapes.
I hate to say it, but Hurricanes Helene and Milton actually gave me a chance to regroup. I could sit back, think hard, and approach my winter garden more thoughtfully. They may not pay off, but it also gave me the opportunity to take some chances. But now it’s time to figure out what to plant in January.
We’re still cleaning up after the hurricanes. There’s still a lot of work to do, but my first step was to detox the garden beds. It seems that seawather inundated every square foot of my active gardening space. Plants don’t like seawater. Not a bit. This resulted in the loss of nearly everything except some very established ornamentals. So, flushing out the salt water from the storm surge from Hurricane Helene was my top gardening priority.
Some Gardening Product Recommendations
Some very nice horiticultural companies reached out and offered me their products to help restore the soil. The first was Elm Dirt, which I used to restore the potted plants that were my fall inventory. The fact that most of them survived after sitting in about a foot of saltwater overnight is a miracle.
Organic Plant Food: Elm Dirt Plant Food is a premium organic fertilizer crafted with utmost care and dedication. It harnesses the power of premium worm castings and high-quality organic nutrients, making it an ideal choice for nourishing a wide range of plants. From house plants to gardens, shrubs, roses, and even hydrangeas.
Another great company that offered their assistance was Simple Grow Solutions. They provided me a nice big bottle of their Sea Hume product to help restore the structural damage in my soil after the flood.
Some post-storm research suggested that humic acid and biochar may help remediate any long-lasting damage, so I was excited to try their product.
I’ve been making and applying my own biochar for the last couple of years, but had no ready source of humic acid. And yes, the irony that sea kelp may help sea-polluted soil didn’t fail to amuse.
Seaweed 8%: Liquid Sea Kelp Concentrate blended with Ascophyllum Nodosum Seaweed harvested in the Icy North Atlantic.
Humic Acid 1%: Sea Hume is a Highly Concentrated form of Liquefied Carbon Derived from the Highest Quality Humate Source, Leonardite. Leonardite is Considered by many to be the Highest Quality form of Humic Acid.
Last, but not least, my cuttings were not only also soaked for hours in seawater, but were late to potting up. If I was going to recover my inventory with any speed in time for spring sales, I needed to pamper them as much as possible to ensure they hadn’t been set back any further.
The folks at Smart Grower sent me a package of their SuperCharge Mycorrhizal Fungi Blend I used when potting them up. I’ll follow up with my results from them in another post, but I do recommend this stuff highly.
Save Sick Plants Fast – Revive struggling plants with a powerful blend of Mycorrhizal Fungi, Trichoderma, and Bacillus that restores root health and boosts nutrient uptake for vibrant growth
January is a Month of Transitions
January doesn’t just mark the start of a new year, it’s also the time to transition from cool-season crops to warm-season crops — at least in Central and South Florida.
Depending on the forecast, you can start planting warm-season crops in South Florida, and start warm-season crops indoors in North and Central Florida.
There’s also plenty of time to start fast-growing cool-season crops, like lettuces, spinaches, and cabbages. In North Florida, you could probably even still grow those that take a bit longer, like cauliflower and brocolli. No promises, though, as the climate has become increasingly erratic over the last decade.
I generally start all my vegetable plants in soil blocks or cell trays, anyway. (Except for those that really MUST be direct sown, like beans and peas. This allows me to make the most of succession planting and filling in the odd gaps here and there for more production.
We’re supposed to get an Arctic Blast over the next two weeks, so I’ll be sowing indoors exclusively and working to keep things toasty through the month.
What to Plant in January Indoors
The good news is that if you get the urge to garden and plant in January, it’s one of the times in Florida when you can pretty much start everything and anything. Start warm-season vegetables indoors, especially the long-season ones like tomatoes and peppers.
It’s also not too late to start some cool-season vegetables outdoors, particularly varieties that mature quickly.
Tomatoes
I always grow tomatoes. I always grow more tomatoes than I need. Sometimes, I sell the starter plants at local markets in the spring, but we’re thinking of relocating next year, and my focus has been on downsizing my inventory.
In Zone 10, you can start tomatoes from late December through January for planting out in late February. You can also start them indoors in Zones 9, though you’ may ‘ll need to be prepared to pot them up at least once if they outgrow their starter cells. It’s really one of the best arguments for using soil blocks.
You may even have tomatoes growing from fall, like I do. Despite the saltwater flood, I got a plethora of volunteers over winter. Just be prepared to cover them as necessary.
I normally rely on varieties like Gardener’s Delight for salads, and Marglobefor slicing, and San Marzano for sauce. I know a lot of people recommend Roma for Florida, but I’ve honestly found they’re too susceptible to fungal disease to produce well.
The Everglades seem to make their own arrangements.
If you’re not sure which varieties of tomatoes to look for, check out my list of the best vegetable varieties for Florida.
Peppers
Peppers don’t seem to be fazed by any kind of weather in my zone. Unless they’re hit by Whitefly or bacterial wilt, they’re nearly indestructible and certainly perennial. My tabasco peppers dropped all their leaves after the seawater flood, but are starting to leaf out and grow pretty abundantly.
You can start both sweet peppers and hot varieties indoors. Both types require a lot of time to mature and fruit, and they also produce more fruit if you prune them back at 12”. This means that it feels like forever before you get any peppers at all.
For this reason, start peppers as soon as reasonable or possible so they have a significant head start before spring. They take so long, it’s even worth setting up space indoors with a grow light if you really love peppers.
Melons
I have finally mastered watermelons – and the secret for me seems to grow small varieties, like Sugar Baby, and trellis them. I’ll try to fill up every trellis I can improvise now that I know what works best for me.
Cantaloupe and Honeydew are usually pretty reliable for me. Zones 10 and 11 can start any of them indoors in January, while Zone 9 should wait until next month.
While cucumbers are technically a type of melon, they quickly outgrow their seed tray cells and are too sensitive to cold to plant out in January. I’ll be starting these in cell trays so I can pull them indoors if necessary.
Many home gardeners find they don’t transplant well, so they prefer to direct sow. If you haven’t been successful with them to date, try experimenting with both methods to see what works for you.
Squash
Winter squash is a breeze in Zone 10a, but I haven’t mastered the knack of summer varieties. I planted out cocozelle zuchinni in November on a whim, and they look healthy and strong now. I’m just not sure how well they’ll produce.
Corn
Damage on corn from the Big Christmas Freeze 2022
Corn is another vegetable garden staple whose success seems to elude me here on the Gulf Coast. I did have it sussed a couple of years ago, and had a beautiful stand of Early Golden Bantam growing. Then the freak 3-night freeze of Christmas 2022 killed them all off.
If you have the space and the patience and enough Spinosad, January is a good time to start your corn in Central or South Florida.
When it comes to corn, Zones 10 and 11 can plant in January, while North Florida gardeners should wait until February.
Herbs
I only occasionally sow and grow herbs, and that’s because they tend to be much cheaper to buy than the time and attention they take to grow in my climate. Most culinary herbs prefer a drier climate than I can provide. I do have a few basil volunteers I’m tending.
Start both perennial and annual herbs indoors in January. Pinch back basil aggressively until planting out to increase bushiness.
Plant in January Outdoors
January is definitely not too late to plant another round of winter vegetables. I often opt for quick-growing varieties for this reason.
Brassicas
Early Jersey Wakefield cabbage is ready in 60 to 70 days. Collards and Brazilian broccoli are very heat tolerant and will continue to flourish into early summer, even though they’re technically cool-season veg.
Asian cabbages, bok choy, mustard, tatsoi, and other brassicas are also good candidates to plant in January. If you’re in Zone 9, you can even have time for cauliflower and celery. Those in Zones 10 and 11 should look for quick-maturing varieties, however.
Peas and Green Beans
January may be your last chance to plant garden peas and snow peas. It’s well worth the effort, and if if we get the long, cold winter that was predicted, take advantage of it.
You can also plant green beans in Zone 11, as well.
Root Vegetables
Consider adding some root vegetables too, like carrots and rutabaga. If you don’t think the cool weather will hold, plant radishes, most of which will be ready in 28 to 45 days. I recently sowed Daikonand French Breakfast radish, and there’s still enough winter days left to sow more.
Turnips are also quicker to harvest than other root veg, and generally more heat tolerant as well.
Onions
Alliums are nice additions to the mid-winter garden, and again, if you’re concerned the weather will get too hot too quickly, green onions grow quickly. Otherwise, it’s not too late for onion sets, leeks, or shallots.
No matter where you are in Florida, your county ag extension office can offer some reliable options for your gardening schedule.
For you floral fanatics, January also offers a lot of opportunities.
Most perennial flowering plants do best when planted in the fall. If sown from seed, it gives any cold snaps the ability to break the seed’s dormancy. When planted in the early fall, the plants have time to get established to then regrow and bloom in the spring.
But that doesn’t mean it’s too late to get them started now. You can sow starts of tropical salvia, blue salvia, purple coneflower and other perennials in January to plant out in February.
As far as annuals are concerned, you can sow or plant out cool-season flowers, like pansies, petunias, nigella, and bachelor’s buttons in January. A light frost will not set them back if they’re grown from seed. And placed with some protection from larger specimens will help starter plants weather through any cold snaps.
In North and Central Florida, you can plant Asters. For South Florida gardeners, add nasturtiums.
In North Florida, you can start lavender and snapdragons. Central Florida gardeners can plant dianthus. In balmy South Florida, calendula, nicotania, and sunflowers are three you can plant in January.
Plan Ahead or Pants It?
There’s a lot to be said for the joy of discovering a new flower or vegetable that you can start right away. Especially in the dreary days following the let-down of the holiday season. What greater joy than finding that there ARE many ways you can get started on a brand-new gardening season?
But there’s also much to advocate for when it comes to planning ahead. Knowing ahead of time what you’re going to plant and when you need to start it is one reliable way of providing food security for your family.
It’s certainly one way to narrow down those plants and varieties work best in your microclimate. Planning your garden ahead of time leaves a record of your successes and failures. In fact, I would have given up on watermelons and cucumbers years ago if I hadn’t planned for trellising two varieties and made note of a very abundant harvest.
I’ve compiled a garden planning tool for this very method. If you’d like to create a more productive garden that makes the most of Florida’s eccentric gardening calendar, check out my Florida Gardening Planner. (Those in Louisiana and Georgia will find the same), available on Amazon in digital download or print.
The Crinum Lily, renowned for its majestic beauty and resilience, is a captivating addition to any garden. This perennial plant boasts an array of attributes that make it both visually striking and a favorite among garden enthusiasts.
Crinum lilies, part of the Amaryllidaceae family, are characterized by their large, trumpet-shaped flowers that exude a sweet, sometimes overpowering fragrance. These blossoms come in a variety of colors, ranging from pure white to vibrant pinks and deep reds, often featuring subtle stripes or contrasting color patterns. The plant’s size is equally impressive, with some species reaching up to 5 feet in height.
The leaves of crinum lilies are another notable feature. They are long, strap-like, and can vary in color from bright green to a more muted, grayish-green hue. The leaves often form a dense rosette at the base of the plant, creating a lush and full appearance.
Crinum Lily Botanical Background
Crinum lilies are closely related to other members of the Amaryllidaceae family, such as amaryllis and narcissus. Their scientific classification places them in the genus ‘Crinum’, which comprises over 100 species.
Crinum lilies, with their diverse species, are indigenous to various parts of the world, including regions in the United States.
Native to Various Continents
Originally, crinum lilies were native to tropical and subtropical regions across Africa, Asia, and Australia. These continents host a wide array of Crinum species, each adapted to the unique environmental conditions of their habitats.
In Africa, for instance, crinums are often found in wet, marshy areas, while in Australia, they can adapt to drier, more arid conditions.
United States Native Species
Significantly, there are species of crinum lilies that are native to the southeastern United States. Crinum americanum, commonly known as the American Crinum Lily or Swamp Lily, is a notable example.
This species is particularly adapted to the warm, humid climate of this region, flourishing in wet, marshy environments such as riverbanks and pond edges. Its white, fragrant flowers make it a popular choice for water gardens and naturalized areas.
You’ll find it flourishing in the Southeastern U.S. from North Carolina to Florida and across the Gulf Coast states as far west as Texas.
Adaptation and Naturalization
In addition to the native species, several Crinum species have been introduced and naturalized in parts of the United States, particularly in warmer regions.
For example, Crinum bulbispermum, originally from Africa, has naturalized in areas of the southern United States, especially in Texas. These naturalized species have adapted well to local conditions and are often found in cultivated gardens as well as in wild areas.
Cultivated Regions and Conditions
In terms of cultivation, crinum lilies are most successful in USDA zones 7 through 11. They thrive in full sun to partial shade and prefer well-draining soil. However, their resilience allows them to adapt to various soil types and environmental conditions, making them a versatile addition to many gardens and landscapes in these regions.
In gardens across the United States, Europe, and other temperate regions, crinum lilies are often used in borders, as focal points in flower beds, or grown as pond-side plants due to their affinity for moisture.
Their robust nature allows them to adapt to various garden settings, making them a versatile choice for landscapers and home gardeners alike.
Types of Crinum Lily
Here are just a few of the many captivating varieties of Crinum Lily. Each brings its own unique charm and character to a garden.
The diversity in their flowering colors, leaf shapes, and preferred growing conditions make Crinum lilies a versatile and attractive choice for gardeners and landscapers around the world
American Crinum Lily or Swamp Lily (Crinum americanum)
The American Crinum Lily, native to the southeastern United States, is renowned for its elegant, fragrant white flowers. It thrives in wet, marshy areas, often found along riverbanks and pond edges.
This species typically blooms in the summer and is recognized for its long, strap-like leaves that form a lush rosette.
Giant Crinum Lily (Crinum asiaticum)
Crinum asiaticum, commonly known as the Giant Crinum Lily, is a large and robust plant. Native to tropical Asian regions, it features large clusters of white, fragrant flowers that sit atop tall stalks.
The plant can reach up to 6 feet in height, making it a striking specimen in any garden setting. It is especially popular in warmer climates and is known for its broad, glossy leaves.
Milk-and-Wine Lily (Crinum bulbispermum)
Crinum bulbispermum
Originally from Africa, the Milk-and-Wine Lily has naturalized in parts of the southern United States. Its name comes from the distinctive coloring of its flowers – white petals with striking red or burgundy stripes.
This hardy plant can tolerate a range of conditions, from wet to dry soils, and is often found in cultivated gardens and natural areas.
Crinum latifolium, or Broad-Leaved Crinum, is native to Southeast Asia. It’s known for its wide, dark green leaves and large clusters of pink or white flowers.
This species is often used in traditional medicine in its native regions and is also a popular ornamental plant due to its attractive foliage and flowers.
Native to South Africa, Moore’s Crinum is admired for its large, fragrant pink flowers. This species prefers shadier conditions compared to other crinums, making it suitable for planting under trees or in areas with partial sunlight.
It’s a popular choice for adding a splash of color to woodland gardens.
This hybrid crinum, a cross between Crinum bulbispermum and Crinum moorei, is well-loved for its robust nature and beautiful blooms. Powell’s Crinum Lily produces clusters of soft pink or white flowers and is particularly hardy, able to withstand colder temperatures better than many other crinum species.
It’s an excellent choice for a perennial border or as a statement plant in large gardens.
How To Care For Crinum Lilies
Crinum lilies, with their striking beauty and resilience, are a splendid addition to many gardens. To ensure these plants thrive and produce their large, fragrant blooms, it’s essential to understand the specifics of their care.
Where to Plant Crinum Lilies
The ideal location for planting crinum lilies is a spot where they can receive ample sunlight while being protected from harsh, direct afternoon sun in hotter climates.
These plants flourish in well-draining soil and can tolerate a variety of soil types, though they prefer a slightly acidic to neutral pH.
Crinum lilies do well in both garden beds and large containers, provided there’s enough space for their roots to spread.
When to Plant Crinum Lilies
The best time to plant crinum lilies is in the spring, after the threat of frost has passed. This allows the plant ample time to establish itself before the colder months.
When planting, ensure the bulbs are placed deep enough, with the top of the bulb just below the soil surface.
Spacing is also crucial – allow about 18-24 inches between each bulb to give each plant room to grow.
Crinum Lily Care Tips
From selecting the right planting location to regular maintenance, every aspect plays an important role in adding these beauties to your landscape.
Light
Crinum lilies thrive in full sun to partial shade. They need at least 4-6 hours of sunlight daily to bloom profusely. In regions with intense sun, providing some afternoon shade can prevent leaf scorch.
Soil
While crinum lilies are adaptable to various soil types, they perform best in rich, well-drained soil. If the soil is heavy or clayey, incorporating organic matter such as compost can improve drainage and fertility.
Water
Regular watering is essential, especially during the growing season. The soil should be kept moist but not waterlogged. Overwatering or poor drainage can lead to bulb rot.
Once established, crinum lilies are quite drought-tolerant, though consistent moisture will yield the best flowering results.
Temperature
Crinum lilies enjoy warm temperatures and are most active in growth during the summer months. They can tolerate brief periods of cooler weather but are not frost-hardy.
In Zones 6 and colder, it may be best to lift the bulbs before the first frost to overwinter indoors.
Humidity
These plants typically do well in average garden humidity levels. In very dry climates, occasional misting can help maintain adequate humidity, though it’s not usually necessary.
Fertilizer
Feeding crinum lilies with a balanced, slow-release fertilizer in early spring can encourage vigorous growth and abundant flowering. A layer of compost can also improve bloom performance.
Avoid over-fertilizing, as this can lead to more foliage at the expense of flowering.
Pruning
Pruning isn’t a significant requirement for crinum lilies. However, removing spent flowers and yellowing leaves can improve the plant’s appearance and health.
After flowering, it’s best to leave the foliage intact as it helps in photosynthesis, strengthening the bulb for the next season.
Caring for crinum lilies involves a blend of the right environmental conditions and attentive maintenance.
By providing these elegant plants with what they need, gardeners can enjoy their spectacular blooms and lush foliage for many years.
Overwintering Crinum Lilies
In regions where the climate turns cold and frosty, overwintering crinum lilies becomes an essential aspect of their care.
These plants, native to warmer climates, need special attention as temperatures drop. Gardeners in colder zones can still enjoy the beauty of crinum lilies by employing effective overwintering techniques, ensuring their survival through the winter months and vibrant regrowth in spring.
Potting and Repotting Crinum Lilies in Colder Climates
For gardeners in areas with harsh winters, growing crinum lilies in pots is a practical solution. This allows for the mobility of the plants, making it easier to move them indoors or to a sheltered location when the cold sets in.
When selecting a pot, ensure it is large enough to accommodate the bulb and allow for root growth, with ample drainage holes to prevent waterlogging.
Potting-Up Crinum Lily
In late fall, before the first frost, potted crinum lilies should be moved to a cool, dry place such as a garage or basement where temperatures remain above freezing but do not exceed 50°F (10°C).
This period of dormancy is crucial for the health of the plant. During this time, watering should be reduced significantly, only enough to keep the soil from completely drying out.
As spring approaches and the threat of frost diminishes, gradually reintroduce the crinum lilies to outdoor conditions.
This process, known as hardening off, involves exposing the plants to the outdoors for a few hours each day, progressively increasing the time they spend outside over a week or two. This helps the plants acclimate to the changing environment, reducing the risk of shock from sudden temperature changes.
Lifting Crinum Lily Bulbs
For crinum lilies planted in the ground in colder climates, lifting the bulbs before the first frost and storing them in a cool, dry place over the winter is an effective strategy.
The bulbs should be gently dug up, cleaned of soil, and allowed to air dry for a few days. Once dry, store them in a breathable container, like a mesh bag or a box with peat moss, in a cool, dark place until it’s time to replant them in the spring.
By potting and appropriately caring for crinum lilies during the colder months, gardeners in virtually any climate can enjoy the splendor of these beautiful plants year after year. The key is to provide a period of dormancy and protect the bulbs from the harsh winter conditions.
Common Problems with Crinum Lilies
Crinum lilies, known for their robust nature and striking appearance, are generally low-maintenance plants. However, like all garden plants, they can occasionally face challenges.
Understanding and promptly addressing common problems such as pests, diseases, and other issues is key to maintaining the health and beauty of these plants.
Pests
While crinum lilies are not heavily prone to pest infestations, they can sometimes be affected by common garden pests.
Aphids, spider mites, and mealybugs are among the pests that may be attracted to these plants. These small insects can usually be found on the undersides of leaves or at the base of the plant. They feed on the sap, weakening the plant over time.
Regular inspection and prompt treatment with an insecticidal soap can effectively control these pests with diligent application.
Diseases
Crinum lilies can be susceptible to a few diseases, especially in conditions of poor air circulation or excessive moisture.
Root rot is a common issue, often caused by overwatering or poorly draining soil. Signs of root rot include yellowing leaves and a general decline in plant health. Ensuring proper soil drainage and avoiding overwatering are key preventive measures.
Fungal infections like leaf spot can also occur, usually manifesting as discolored spots on the leaves. These can be treated with organic fungicides and by removing affected foliage.
How To Get Crinum Lilies To Bloom
To encourage blooming in crinum lilies, several factors should be considered. Firstly, these plants need plenty of sunlight – at least 4-6 hours of direct sun per day. If they are planted in too much shade, their blooming may be sparse.
Nutrient availability is also crucial. Applying a balanced, slow-release fertilizer during the growing season can provide the necessary nutrients for blooming. Additionally, avoiding over-fertilization is important, as too much nitrogen can lead to lush foliage at the expense of flowers.
Finally, allowing the plants to establish themselves without disturbance can also enhance blooming. Mature crinum lilies, well-settled in their location, often produce the most spectacular blooms.
Propagating Crinum Lilies
Propagating crinum lilies is a rewarding process that allows gardeners to expand their collection and share these beautiful plants with others.
One of the most effective methods of propagation for crinum lilies is through bulbils. Bulbils are small bulbs that form below the flowers on the stem.
The process is straightforward and can be accomplished with a few simple steps.
Propagate Crinum Lily from Bulbils
The first step is to observe the flower stems of your crinum lilies. These can grow from 3 to 6 feet tall. After flowering, bulbils will start to form at the top of these stems.
As they mature, they will grow in size and develop a firmer, more bulb-like structure. As they mature, the stem bends or flops over due to the weight of the growing bulbils, bringing them closer to the ground.
This is where they like to root. If you’re wondering if Crinum Lilies spread, this is how they do exactly that. The stems are long enough to fall just near the mother plant.
In their natural growth process, these bulbils will eventually root where they fall, often at the base of the parent plant or in surrounding soil. This natural rooting process is a unique trait of crinum lilies, allowing for easy propagation.
To propagate Crinum Lily, or if you wish to share them, you can collect the bulbils once they have matured. Mature bulbils are typically firm and have developed a dry, papery outer layer.
Storing Crinum Lily Bulbils
I store Crinum Lily bulbils in damp sphagnum moss or coconut coir in a large plant container. This large pot goes into the greenhouse where the lighting is low, the humidity high, and the temperature warmer in the winter.
Planting the Bulbils
I generally allow the bulbils to sprout before planting, however, you can plant them at any time when the weather remains warm.
To plant them in containers, choose a well-draining soil mix for planting the collected bulbils. Plant them in pots with the top of the bulbil just below the soil surface. If they’ve already sprouted, ensure that the sprout can reach the light above the surface easily.
When planting in the ground, space them at least 12″ to 18″ apart to provide enough room for growth.
Initial Care and Growth
Water the newly planted bulbils moderately, ensuring the soil is moist but not waterlogged. Place them in a location where they receive bright, indirect light.
Transplanting
If you wish to plant your container crinums into the garden, you can do so once they have established a robust root system and the weather is conducive.
In this way, you can be sure they’re viable before transplanting them to a more permanent location in your garden or landscape. This is typically done in the spring or early summer.
Frequently Asked Questions About Crinum Lilies
This section offers quick and concise answers to some common questions about the care and cultivation of Crinum Lilies, aimed at helping gardeners of all levels.
Do hummingbirds like crinum lilies?
Absolutely! Crinum lilies are attractive to a variety of hummingbirds. Their large, trumpet-shaped flowers, particularly those with bright colors, are excellent sources of nectar. Species like the Ruby-throated Hummingbird and the Black-chinned Hummingbird, common in areas where crinum lilies grow, are often drawn to these vibrant blooms.
What pollinator insects like crinum lily?
Crinum lilies attract a range of pollinator insects, notably including various species of bees and butterflies. Bees such as the European honeybee (Apis mellifera) and native bee species frequently visit these flowers. Butterflies, including the Monarch (Danaus plexippus) and Swallowtails (Papilio spp.), are also drawn to crinum lilies for their nectar. These pollinators play a crucial role in the reproductive cycle of the plants.
Are Crinum lilies perennials?
Yes, Crinum lilies are perennials. They are known for their long-lasting nature, coming back year after year, and often increase in size and bloom capacity with each growing season.
How long do Crinum lilies live?
Crinum lilies can live for many years, often several decades, when provided with the right growing conditions. They are long-lived perennials that grow larger and more prolific with age.
How long does it take for a crinum lily to bloom?
A crinum lily typically takes two to three years to bloom when grown from a bulb. However, the time to first bloom can vary depending on factors like the age of the bulb at planting and the growing conditions. Once established, crinum lilies bloom annually, usually in the summer.
How often do crinum lilies bloom?
Crinum lilies typically bloom from spring to fall, usually in response to rainfall or adequate irrigation.
Do crinum lilies like sun or shade?
Crinum lilies prefer full sun to partial shade. They thrive in areas where they receive at least four to six hours of sunlight daily. While they can tolerate some shade, too much shade can reduce flowering. In extremely hot climates, providing some afternoon shade can be beneficial.
How deep do you plant a crinum bulb?
A crinum bulb should be planted so that the top of the bulb is just below the soil surface, usually about 3 to 4 inches deep. It’s important to ensure the bulb is planted at the correct depth to promote healthy growth and flowering.
Do crinum lilies spread?
Yes, crinum lilies can spread over time. They produce offsets or “pups” from the main bulb, which can be separated and replanted to grow new plants. They also produce bulbils at the tops of flower stems, which fall over, usually within a few feet of the parent plant. These root nearby and grow into new Crinum Lily plants.
Should I cut back Crinum Lily?
Yes, you can cut back crinum lilies, especially to remove spent flower stalks and yellowing or damaged leaves. This helps maintain the plant’s appearance and directs energy back to the bulb. However, it’s important to leave healthy foliage intact, as it continues to photosynthesize and strengthen the bulb.
Are crinum lilies hardy?
Crinum lilies are hardy in USDA zones 7 through 11. They can withstand temperatures down to about 0°F (-18°C) for short periods. However, prolonged exposure to freezing temperatures can be harmful. In colder zones, they may require mulching or overwintering indoors to protect the bulbs from harsh winter conditions.
How poisonous are crinum lilies?
Crinum lilies are considered moderately poisonous. All parts of the plant contain alkaloids that can be toxic if ingested, with symptoms ranging from nausea and vomiting to more severe reactions. It’s important to handle these plants with care and keep them away from pets and children who might ingest them.
Growing and Propagating Crinum Lily
Crinum lilies are a fascinating and diverse group of plants, offering a wealth of beauty and interest to gardeners and nature enthusiasts alike. From their stunning, fragrant blooms to their adaptability across various climates, these perennials add a unique charm to any garden setting.
While they require some basic care and attention, their resilience and ease of care make them a rewarding choice for both novice and experienced gardeners.
By understanding their needs and common issues, you can enjoy the magnificent presence of Crinum lilies in your garden for many years to come.
Whether you’re a novice or an experienced gardener, mastering the skill of seed germination is a fundamental skill. It’s the first step to a bountiful and abundant harvest. So, let’s dive into the seed starting basics of germination and provide you with valuable insights on how to successfully kickstart your garden from the very beginning.
How Seeds Germinate
Seed germination is a remarkable process by which a dormant seed transforms into a tiny, delicate seedling. Understanding the science behind this empowers you to become a more proficient seed starter. You’ll be able to give your plants the best possible start. Let’s take a look at nature at work.
The Anatomy of a Seed
Seeds are remarkable storehouses of life. They consist of three key parts:
embryo
endosperm
seed coat
The embryo is the embryonic plant inside the seed, containing the first leaves (cotyledons), the stem (hypocotyl), and the root (radicle).
The endosperm, a nutrient-rich tissue, provides nourishment to the developing embryo.
Finally, the seed coat acts as a protective shell, shielding the delicate contents from external threats.
Image from page 372 of “Plant life and plant uses; an elementary textbook, a foundation for the study of agriculture, domestic science or college botany” (1913)
The Trigger: Absorption of Water
The germination process begins with the absorption of water through the seed coat. As the seed absorbs water, it rehydrates. The dormant embryo awakens from its slumber.
This rehydration process also activates enzymes that break down stored nutrients within the endosperm, transforming them into simple sugars and other essential substances for the seedling’s early growth.
Activation of Growth Hormones
Water absorption triggers the production of growth hormones called gibberellins, which play a pivotal role in stimulating the embryo to initiate growth.
Gibberellins activate enzymes responsible for cell division and elongation, propelling the embryo’s root (radicle) to emerge from the seed coat in search of moisture and nutrients.
Emergence of the Root
As the root (radicle) elongates, it breaks through the seed coat and emerges into the surrounding soil.
The radicle becomes the primary root of the seedling, anchoring it in the growing medium and absorbing water and essential nutrients.
Unfurling the Cotyledons
Simultaneously, the stem (hypocotyl) elongates, pushing the cotyledons (seed leaves) above the soil surface.
Cotyledons vary in number and shape depending on the plant species and can be either one or two. These early leaves are instrumental in photosynthesis and provide the young seedling with initial sustenance until true leaves develop.
Photosynthesis Commences
With the cotyledons exposed to light, the process of photosynthesis begins.
Through photosynthesis, the seedling synthesizes glucose, a vital energy source, from carbon dioxide and water using sunlight.
This metabolic activity fuels the seedling’s growth, allowing it to develop into a robust and self-sustaining plant.
The intricate processes of water absorption, hormone activation, and the emergence of roots and cotyledons collectively orchestrate a marvelous transformation.
What Seeds Need to Germinate
Seed germination is a critical stage in a plant’s life cycle, and providing the right conditions is essential for successful germination.
While individual plant species have specific germination requirements, some general factors influence seed germination across most plants.
Understanding these factors will help you create an optimal environment for seedlings to emerge and thrive.
Moisture
Water is a primary trigger for seed germination. During imbibition, the seed absorbs water, leading to the activation of enzymes that initiate metabolic processes and growth.
Sufficient moisture is vital during germination to ensure the seed swells, softens the seed coat, and facilitates the emergence of the radicle.
Warmth
Temperature plays a crucial role in germination. Each plant species has an optimal temperature range for germination.
Seeds typically require warmth to activate enzymes and metabolism. Low temperatures can slow or inhibit germination, while high temperatures can cause damage or desiccation.
Seeds respire during germination, converting stored energy into usable forms. Adequate oxygen supply is essential for these metabolic processes.
Soil structure and porosity influence the availability of oxygen to seeds in the growing medium.
Light
Light requirements for germination vary among plant species. Some seeds require light to trigger germination, while others germinate best in darkness.
Photoreceptor proteins in seeds sense light levels and influence germination responses.
Factors that Affect Seed Starting and Germination
Seed Coat Permeability
The seed coat serves as a protective layer, and its permeability affects germination.
Some seeds have hard or impermeable seed coats, requiring scarification (mechanical or chemical abrasion) to enhance water absorption and germination.
Seed Dormancy
Scarification involves breaking or weakening the seed coat, promoting germination. Stratification refers to subjecting seeds to cold treatment, mimicking winter conditions.
Both techniques are used to overcome seed dormancy and synchronize germination with favorable conditions.
Germination Inhibitors and Hormones
Some seeds contain chemicals that inhibit germination until specific conditions are met.
Others require exposure to hormones like gibberellins or cytokinins to initiate germination.
Germination Time
Different seeds have varied germination periods. Some seeds germinate quickly, while others may require several weeks or even months.
Understanding the expected germination time helps manage expectations and avoid premature intervention.
Seeds that Need Light to Germinate
Some seeds need sunlight exposure to germination. Sunlight acts as a signal to the seed that it is close to the surface of the soil and has good conditions to begin growing.
Light-sensitive seeds won’t germinate if planted too deep in the soil.
Vegetable Seeds that Require Light to Germinate
Arugula (Eruca vesicaria subsp. sativa)
Bok Choy (Brassica rapa subsp. chinensis)
Cilantro/Coriander (Coriandrum sativum)
Dill (Anethum graveolens)
Endive (Cichorium endivia)
Lettuce (Lactuca sativa)
Mizuna (Brassica rapa var. japonica)
Mustard Greens (Brassica juncea)
Spinach (Spinacia oleracea)
Swiss Chard (Beta vulgaris)
Flower Seeds that Require Light to Germinate
Alyssum (Lobularia maritima)
Amaranthus (Amaranthus spp.)
Baby’s Breath (Gypsophila paniculata)
Calendula (Calendula officinalis)
Nigella/Love-in-a-Mist (Nigella damascena)
Pansy (Viola tricolor)
Portulaca (Portulaca grandiflora)
Stock (Matthiola incana)
Sweet Alyssum (Lobularia maritima)
Verbena (Verbena spp.)
Seeds that Need Darkness to Germinate
On the other hand, some seeds require darkness to germinate.
Light-sensitive inhibitors in these seeds prevent germination in the presence of light. When these seeds are covered by soil or kept in a dark environment, the light is blocked, and germination can occur.
Vegetable Seeds that Require Darkness to Germinate
Beets (Beta vulgaris)
Carrots (Daucus carota)
Parsnips (Pastinaca sativa)
Rutabaga (Brassica napus)
Salsify (Tragopogon porrifolius)
Scorzonera (Scorzonera hispanica)
Skirret (Sium sisarum)
Taro (Colocasia esculenta)
Turnips (Brassica rapa subsp. rapa)
Yam (Dioscorea spp.)
Flower Seeds that Require Darkness to Germinate
Browallia (Browallia speciosa)
Coleus (Plectranthus scutellarioides)
Cyclamen (Cyclamen spp.)
Dusty Miller (Senecio cineraria)
Forget-Me-Nots (Myosotis sylvatica)
Foxglove (Digitalis purpurea)
Impatiens (Impatiens walleriana)
Primrose (Primula spp.)
Sweet William (Dianthus barbatus)
Viola (Viola spp.)
Seeds that Need to be Soaked to Germinate
Some seeds have hard seed coats that create a barrier to water absorption, slowing germination.
To overcome this dormancy, you can soak these seed before planting. You can also nick the hard shell before soaking. This softens the seed coat, allowing water to penetrate and trigger germination.
List of Flower Seeds that Can be Soaked before Sowing
Four O’Clock (Mirabilis jalapa)
Moonflower (Ipomoea alba)
Morning Glory (Ipomoea purpurea)
Nasturtium (Tropaeolum majus)
Scarlet Sage (Salvia coccinea)
Sweet Acacia (Vachellia farnesiana)
Sweet Alyssum (Lobularia maritima)
Sweet Peas (Lathyrus odoratus)
Sweet Sultan (Centaurea moschata)
Sweet William (Dianthus barbatus)
Some seeds may require only a few hours of soaking, while others might need an overnight soak or even longer.
Seeds that Need Cold Stratification to Germinate
Many seeds from temperate climates have built-in dormancy mechanisms that prevent immediate germination.
This can be a problem when gardening in warmer climates in Zones 8-12. We rarely get enough cold or long enough during the winter to stimulate these kinds of plant seeds.
In this case, cold stratification, a process of subjecting seeds to cold and moist conditions before seed starting, mimics winter conditions. This breaks seed dormancy, allowing them to germinate.
This treatment triggers biochemical changes within the seeds, preparing them for germination once conditions become favorable.
Flower Seeds that Benefit from Cold Stratification
Black-Eyed Susan (Rudbeckia hirta)
Columbine (Aquilegia spp.)
Delphinium (Delphinium spp.)
Foxglove (Digitalis purpurea)
Hollyhock (Alcea rosea)
Larkspur (Consolida spp.)
Purple Coneflower (Echinacea purpurea)
Seeds that Germinate at Cold Temperatures (40-50 degrees F)
Plants that have evolved to germinate best under cooler conditions may require cooler temperatures to germinate. This gives them a head start in competing in temperate climates.
These cold-tolerant seeds germinate when the soil temperature is relatively low, which is often during early spring or late fall when the weather is cooler.
Vegetable Seeds that Germinate at Cold Temperatures (40-50 degrees F)
Arugula (Eruca vesicaria subsp. sativa)
Kale (Brassica oleracea var. acephala)
Lettuce (Lactuca sativa)
Mizuna (Brassica rapa var. japonica)
Mustard Greens (Brassica juncea)
Pak Choi (Brassica rapa subsp. chinensis)
Peas (Pisum sativum)
Radishes (Raphanus sativus)
Spinach (Spinacia oleracea)
Swiss Chard (Beta vulgaris)
Flower Seeds that Germinate at Cold Temperatures (40-50 degrees F)
Black-Eyed Susan (Rudbeckia hirta)
Delphinium (Delphinium spp.)
Hollyhock (Alcea rosea)
Larkspur (Consolida spp.)
Purple Coneflower (Echinacea purpurea)
Seeds that Germinate at Cool Temperatures (50-65 degrees F)
Some seeds germinate at temperatures within the range of 50-65 degrees Fahrenheit. These cool-tolerant seeds prefer milder conditions, making them suitable for seed starting during the cooler months of spring and fall.
In warmer growing zones, such as 9-12, these seeds can normally be planted and grown over the winter.
Vegetable Seeds that Germinate at Cool Temperatures (50-65 degrees F)
Beets (Beta vulgaris)
Carrots (Daucus carota)
Kale (Brassica oleracea var. acephala)
Mesclun Mix (Lepidium sativum, Eruca vesicaria, and others)
Mizuna (Brassica rapa var. japonica)
Radicchio (Cichorium intybus)
Spinach (Spinacia oleracea)
Swiss Chard (Beta vulgaris)
Flower Seeds that Germinate at Cool Temperatures (50-65 degrees F)
Alyssum (Lobularia maritima)
Baby’s Breath (Gypsophila paniculata)
Clarkia (Clarkia spp.)
Foxglove (Digitalis purpurea)
Iceland Poppy (Papaver nudicaule)
Love-in-a-Mist (Nigella damascena)
Nasturtium (Tropaeolum majus)
Seeds that Germinate at Moderate Temperatures (65-75 degrees F)
Moderate temperature conditions ranging from 65 to 75 degrees Fahrenheit are ideal for the germination of most garden seeds.
These seeds thrive in mild, favorable temperatures. In Zones 9-12, we generally plant these seeds under cover to plant out right after the last frost date, before it becomes too hot.
We also frequently start them indoors in the summer to plant out once temperatures drop in the fall.
Vegetable Seeds that Germinate at Moderate Temperatures (65-75 degrees F)
Corn (Zea mays)
Cucumbers (Cucumis sativus)
Eggplant (Solanum melongena)
Melons (Cucumis spp.)
Peppers (Capsicum spp.)
Pumpkins (Cucurbita pepo)
Squash (Cucurbita spp.)
Tomatoes (Solanum lycopersicum)
Flower Seeds that Germinate at Moderate Temperatures (65-75 degrees F)
Four O’Clock (Mirabilis jalapa)
Gaillardia (Gaillardia spp.)
Gazania (Gazania spp.)
Marigolds (Tagetes spp.)
Petunias (Petunia spp.)
Poppies (Papaver spp.)
Sunflowers (Helianthus annuus)
Seeds that Germinate at High Temperatures (75-90 degrees F)
Plants from tropical and subtropical regions of the world often germinate best at much warmer conditions. Their optimal germination temperatures range from 75 to 90 degrees Fahrenheit.
In Zones 9-12, we can sow these seeds directly in the garden in the early summer through early fall. They can also be started outside but should be kept under cover such as an awning to protect them from being flooded out by heavy rain or scorched by the summer sun.
Many of these plants are the few we can grow successfully through the summer in Florida. So, it’s worthwhile learning about these varieties and how to use them in your garden and your menu.
Vegetable Seeds that Germinate at High Temperatures (75-90 degrees F)
Flower Seeds that Germinate at High Temperatures (75-90 degrees F)
Calendula (Calendula officinalis)
Celosia (Celosia spp.)
Cosmos (Cosmos bipinnatus)
Globe Amaranth (Gomphrena globosa)
Marigolds (Tagetes spp.)
Morning Glory (Ipomoea purpurea)
Nasturtium (Tropaeolum majus)
Sunflowers (Helianthus annuus)
Vinca (Catharanthus roseus)
Zinnia (Zinnia elegans)
How to Nick and Soak Seeds to Improve Germination
Seeds with tough outer coverings often require some help stepping out of their shells. You can nick the casing and soak them to speed up germination when seed starting these types.
Step 1: Gather Materials
Gather the seeds you wish to nick and soak. Ensure they are seeds that require scarification (nicking) or soaking for enhanced germination.
Step 2: Prepare the Nicking Tools
Use a pair of sharp scissors, a nail file, or sandpaper to nick the seed coat. Sterilize the tools with rubbing alcohol before use to prevent the spread of pathogens.
Step 3: Nicking the Seeds
Hold the seed firmly but gently with your fingers or tweezers to avoid damaging the embryo.
Locate the seed’s opposite end from the hilum (scar) where it was attached to the parent plant.
Make a small, shallow cut or nick on the opposite end of the seed coat using the prepared tools.
The goal is to break through the hard outer layer without damaging the delicate inner part of the seed.
Step 4: Soaking the Seeds
After nicking the seeds, place them in a container suitable for soaking. Glass or plastic containers work well.
Fill the container with warm water, about 100 degrees F or so. It should feel slightly warmer than your skin temperature. Cover the seeds completely. Don’t use water that’s too cold or too hot, as extreme temperatures may harm the seeds.
Let the seeds soak for the specified duration, which varies depending on the type of seeds. Some seeds may require only a few hours, while others may need overnight soaking.
Step 5: Monitor the Soaking Process
Keep a close eye on the seeds while soaking to prevent over-soaking. Different seeds have different soaking times, and excessive soaking can lead to seed damage or rot.
Step 6: Drain and Plant
Once the soaking time is up, remove any seeds that are floating in the water. They will likely not germinate
Drain the water from the container. Place the nicked and soaked seeds on a damp paper towel to remove excess moisture.
Plant the seeds immediately after nicking and soaking, following the recommended planting depth and spacing for each seed type.
Remember that not all seeds require nicking and soaking for successful germination. Generally, those with hard shells can be soaked prior to planting
However, make sure you research the specific germination requirements of each seed type before proceeding.
How to Cold Stratify Seeds
Seeds from plants native to cold climates or those with natural dormancy mechanisms may require cold stratification before planting.
Find a sealable plastic bag or airtight container. To this, add a small amount of moistened coconut coir, perlite, or vermiculite to the container.
Then, place the seeds on top of the damp medium.
Seal the container and label it with the seed type and the date of stratification.
Place the sealed container in the refrigerator, where it should remain at a consistent temperature between 32 to 45 degrees Fahrenheit.
The duration of cold treatment varies depending on the seed type, so you’ll need to do some research on your specific seeds. Some require a few weeks while others require several months.
Check the container periodically to ensure the medium remains consistently moist. Add a few drops of filtered water if the medium seems too dry.
After the required cold stratification period, remove the seeds from the refrigerator and allow them to warm up gradually at room temperature for a few days.
You can then sow your cold-stratified seeds following the recommended planting depth and spacing for each seed type.
Cold stratification is a valuable technique for enhancing the germination of certain seeds. It mimics natural winter conditions and prepares seeds to sprout when the warmer temperatures of spring arrive.
Planting Depth and Its Impact on Successful Growing
Planting depth is a critical factor in seed germination and seedling establishment, as it directly influences various physiological processes in plants.
Understanding the scientific aspects of why planting depth matters can help gardeners make informed decisions to achieve optimal growth in their gardens.
Here’s a scientific perspective on the importance of planting depth and its impact on successful growing:
1. Soil Temperature and Moisture
Planting depth affects the soil temperature experienced by the seed. Seeds planted closer to the surface experience higher soil temperatures, promoting faster germination.
Deeper planting can result in cooler soil conditions, which may delay germination.
Additionally, proper planting depth allows seeds to access adequate soil moisture levels, which are essential for initiating metabolic activities and cellular processes during germination.
2. Seed Respiration and Oxygen Availability
During germination, seeds undergo respiration, a process that provides energy for growth.
Adequate oxygen availability is crucial for efficient respiration.
Shallow planting ensures better oxygen diffusion to the embryo, promoting healthier seedling development.
Deeper planting may reduce oxygen diffusion, leading to suboptimal respiration and potentially weak seedlings.
3. Photomorphogenesis and Light Perception
Photomorphogenesis is the process by which light influences plant growth and development. Some seeds exhibit photoblastic behavior, responding to light for germination.
Seeds that require light for germination (positive photoblastic) should be surface-sown to ensure they receive sufficient light.
On the other hand, seeds with negative photoblastic behavior, which require darkness for germination, should be planted at the appropriate depth to shield them from light.
4. Hypogeal and Epigeal Seedlings
Hypogeal and epigeal seedlings are terms used to describe two distinct types of seed germination and the initial stages of seedling development.
These terms highlight the differences in how seeds sprout and the subsequent growth patterns of emerging seedlings.
Understanding these concepts is crucial for successful gardening and plant propagation.
Hypogeal Seedlings
Hypogeal germination is characterized by the emergence of seedlings where the cotyledons, or embryonic seed leaves, remain below the soil surface.
In this type of germination, the cotyledons do not emerge above the ground but stay within the protective shell of the seed coat.
Instead, the epicotyl (the embryonic shoot) elongates and pushes the cotyledons and growing point above the soil.
Key Features of Hypogeal Germination
Cotyledons remain below ground.
Epicotyl elongates and emerges above the soil.
Cotyledons remain enclosed in the seed coat.
Typically observed in plants like beans, peas, and sunflowers.
Examples of Hypogeal Seedlings
Beans (Phaseolus vulgaris): Beans are a classic example of hypogeal germination. When a bean seed germinates, the cotyledons remain underground while the shoot (epicotyl) elongates and emerges above the soil. The cotyledons stay enclosed within the seed coat until the shoot reaches the surface.
Peas (Pisum sativum): Peas also exhibit hypogeal germination. As the pea seed germinates, the shoot pushes upward, bringing the growing point and cotyledons above the soil. However, the cotyledons themselves remain below ground, protected by the seed coat until the shoot emerges.
Sunflowers (Helianthus annuus): Sunflowers demonstrate hypogeal germination. The shoot of the germinating sunflower seed elongates and emerges above the soil, while the cotyledons remain within the seed coat below ground.
Epigeal Seedlings
Epigeal germination, on the other hand, involves the emergence of seedlings where the cotyledons are lifted above the soil surface.
As the embryonic shoot elongates, it pushes the cotyledons and growing point upward, breaking through the soil.
Once exposed to light, the cotyledons expand and begin to perform photosynthesis.
Key Features of Epigeal Germination
Cotyledons emerge above ground.
Cotyledons expand and perform photosynthesis.
Hypocotyl (stem below cotyledons) remains short.
Common in plants like lettuce, cucumber, and sunflower.
Examples of Epigeal Seedlings
Lettuce (Lactuca sativa): Lettuce is an example of epigeal germination. In lettuce seeds, the cotyledons emerge above the soil surface as the shoot elongates. Once exposed to light, the cotyledons expand and start performing photosynthesis.
Cucumber (Cucumis sativus): Cucumber seeds undergo epigeal germination. The cotyledons of cucumber seedlings emerge above ground, and as they unfurl, they begin capturing light energy for photosynthesis.
Melons (Cucumis melo): Melons, such as watermelon and cantaloupe, also exhibit epigeal germination. The cotyledons break through the soil surface and become exposed to light, where they start their photosynthetic activity.
For hypogeal seedlings, it’s crucial to plant seeds at the right depth to ensure that the epicotyl can push through the soil.
For epigeal seedlings, proper exposure to light is essential for the development of healthy cotyledons.
Understanding these examples of hypogeal and epigeal germination provides insight into how different plants handle the initial stages of growth. This knowledge can guide gardeners in providing the appropriate care and conditions for various types of seedlings.
5. Root Elongation and Establishment
The depth at which seeds are planted affects root growth and establishment.
Shallow planting encourages early root elongation near the soil surface, allowing seedlings to access surface nutrients effectively.
Deeper planting promotes downward root growth and establishment in search of deeper water and nutrient resources.
6. Seed Coat Integrity and Imbibition
Planting depth can impact seed coat integrity and imbibition (absorption of water by seeds).
Shallow planting minimizes the risk of seed coat damage during germination, enabling optimal water uptake by the seed.
7. Seedling Competition and Spacing
Proper planting depth helps maintain adequate spacing between seedlings. Appropriate spacing reduces competition for resources such as light, water, and nutrients, ensuring healthier individual plant growth.
8. How to Determine How Deep to Plant Seeds
Planting seeds at the appropriate depth is crucial for successful germination and seedling establishment.
The ideal planting depth varies depending on the size of the seed and its germination requirements.
Here are a few ways to determine the proper planting depth for different seeds:
Research the Seed: It often helps to read the seed packet, but additional research is a good idea.
Consider Seed Size: As a general rule, smaller seeds are typically planted at shallower depths, while larger seeds can be sown deeper.
Small seeds, like lettuce or petunias, may require only a light covering of soil or none at all.
Larger seeds, such as beans or squash, may need to be planted at a deeper depth.
Observe the Seed Shape: Some seeds have distinct shapes that influence planting depth. For example, flat seeds, like sunflower seeds, should be sown horizontally at a depth equal to their width.
Rounded seeds, like peas, are often sown at a depth two to three times their diameter.
Follow Recommendations: Pay attention to any specific recommendations provided for the seed variety you’re planting.
Some seeds, particularly those that require light for germination, should not be buried and should be surface-sown instead.
Soil Type Considerations: In heavy or clayey soils, it’s essential not to plant seeds too deep, as this can hinder seedling emergence.
In loose or sandy soils, consider planting slightly deeper to ensure adequate moisture retention.
Watering Considerations: Keep in mind that seeds planted too deep may struggle to reach the surface, and their access to moisture may be limited.
Planting at the correct depth ensures that seedlings can emerge and access essential water and nutrients after germination.
When to Start Seeds
Understanding the ideal timing for seed starting is crucial for successful gardening. Properly aligning seed sowing with the distinct growth preferences of warm-season and cool-season crops is essential to achieve robust and thriving plants.
What Are Warm Season Crops?
Warm-season crops flourish in the warmth of the spring through fall growing season. These crops, including tomatoes, peppers, cucumbers, and squash, exhibit specific characteristics that make them well-suited for the elevated temperatures of these seasons.
Characteristics of Warm Season Crops
Warm season crops require temperatures between 70-85°F (21-29°C) for optimal germination and growth. They thrive when exposed to abundant sunlight and have a longer growing cycle.
Requirements of Warm Season Crops
These crops need well-draining soil, ample sunlight (8-10 hours daily), and regular moisture. They are sensitive to frost, requiring careful timing for both indoor and direct sowing.
Seed Starting Times for Warm Season Crops
Indoors: Around 6-8 weeks before the anticipated planting months, aligning with the end of winter or early spring.
In Zones 9-12, we frequently start warm-season crops indoors in late December through January for planting out after the last frost date in February or March.
We also start seeds indoors or undercover in the late summer for planting out during the milder months of September and October after the heat of summer has worn down.
Outdoors: When the danger of frost has passed and temperatures consistently stay within the preferred range.
Examples of Warm Season Crops
Tomatoes
Peppers
Cucumbers
Squash (zucchini, butternut, etc.)
Eggplant
Okra
Watermelon
Cantaloupe
Pumpkin
Sweet potatoes
Corn
Beans (pole beans, lima beans, etc.)
Peanuts
Sunflowers
What Are Cool Season Crops?
Cool-season crops thrive in the moderate temperatures of fall and early spring.
These crops, including lettuce, spinach, carrots, and peas, possess unique attributes that enable them to flourish during the cooler months.
Characteristics of Cool Season Crops
Cool season crops tolerate temperatures within the range of 40-70°F (4-21°C) and often have a shorter growth cycle. They can endure light frosts and have rapid growth.
Requirements of Cool Season Crops
These crops thrive with well-drained soil, moderate sunlight (6-8 hours daily), and regular moisture. They can withstand cooler temperatures and even benefit from them.
Sowing Times for Cool Season Crops
Indoors: Begin around 6-10 weeks before the desired planting months, aligning with the end of summer or early fall.
In Zones 8-12, we can start many of these indoors or undercover during the late summer or early fall. Because of our mild winters, we can generally plant cool-season crops throughout the fall and winter, ending only in spring around late March.
Outdoors: Plan for direct sowing during the milder months of fall through early spring, avoiding extreme heat.
Examples of Cool Season Crops
Lettuce
Spinach
Kale
Broccoli
Cauliflower
Brussels sprouts
Cabbage
Carrots
Radishes
Peas
Swiss chard
Beets
Turnips
Onions
Garlic
What are Long-Season Crops?
Long-season crops encompass plant varieties that require an extended period to reach maturity and produce a harvest.
These crops demand a substantial growing season to develop fully, making them a strategic choice for gardeners in Zones 8-12 who have the luxury of extended warm weather.
Characteristics of Long-Season Crops
Long-season crops are marked by their slower growth rate and longer time to maturity. They often necessitate consistent warmth and a lengthy frost-free period to thrive.
Requirements of Long-Season Crops
These crops typically require well-draining soil, abundant sunlight, and regular moisture. The extended growing period allows them to develop deep root systems and produce bountiful yields.
Sowing Times for Long-Season Crops
Indoors: Start sowing seeds around 8-10 weeks before the projected planting months, aligning with the onset of the growing season.
You may need to pot these up after 6 to 8 weeks to provide adequate growing space.
Outdoors: Plan for direct sowing when the danger of frost has passed, and temperatures remain consistently warm.
Examples of Long-Season Crops
Tomatoes
Eggplant
Peppers
Melons (muskmelon, cantaloupe)
Winter squash (acorn, butternut)
Pumpkins
Sweet potatoes
Corn
Beans (pole beans)
Okra
What are Short-Season Crops?
Short-season crops are characterized by their ability to mature and yield within a shorter timeframe.
This often makes them quite suitable for the challenging subtropical conditions of Zones 8-12. Their fast growth rate allows you to get a harvest before it gets too hot or the pest pressure becomes overwhelming.
Characteristics of Short-Season Crops
Short-season crops have a quicker growth cycle, allowing them to complete their lifecycle before extreme weather conditions set in. They are often adaptable and can be grown as a reliable source of fresh produce.
Requirements of Short-Season Crops
These crops necessitate well-drained soil, moderate sunlight, and regular moisture. Their accelerated growth allows them to efficiently utilize available resources.
Seed Starting Times for Short-Season Crops
Indoors: Commence seed sowing approximately 4-6 weeks before the targeted planting months.
Because of their fast growth rate, it’s a good idea to sow seeds in succession. Planting another cell pack of seeds every two or three weeks allows you to plug in your small starters as space opens up in the garden.
You can use them for underplanting or filling in empty spaces. Or you can simply replace exhausted annuals in the garden.
Outdoors: Direct sow seeds when outdoor temperatures provide favorable conditions for germination and growth.
Again, succession seed starting is your friend. For many of these crops, you can direct sow in any empty spots in the garden for a quick harvest.
Examples of Short-Season Crops
Lettuce (leaf and butterhead varieties)
Spinach
Radishes
Carrots (early varieties)
Beets
Green onions
Peas
Bush beans
Turnips
Swiss chard
Planning for Big Harvests and Garden Abundance.
Understanding the distinct characteristics and growth requirements of warm season, cool season, long-season, and short-season crops equips gardeners with invaluable insights for effective garden planning.
This knowledge empowers gardeners to make informed decisions on when to start your seeds, optimizing their gardening efforts for successful yields and a thriving garden ecosystem.
By applying this understanding, gardeners can:
Optimize Seed Starting Times
Gardeners can confidently initiate seed starting activities at the appropriate times, aligning with the unique temperature preferences of each crop.
This ensures that seedlings develop robustly and are ready for transplanting when outdoor conditions are favorable.
Maximize Space Utilization
Armed with knowledge of crop growth duration, gardeners can strategically allocate garden space to accommodate the varying needs of long-season and short-season crops. This efficient space utilization enhances overall garden productivity.
Extend Growing Seasons
Gardeners can take advantage of the subtropical climate in Zones 8-12 by two growing seasons by selecting a combination of warm season and cool season crops.
This enables continuous harvests throughout the year, capitalizing on both spring and fall gardening opportunities.
Plan Crop Successions
Understanding the distinct timelines for different crop types empowers gardeners to plan successive plantings. As one crop nears maturity, gardeners can prepare to replace it with a different crop, ensuring a constant supply of fresh produce.
Mitigate Climate Challenges
Knowledge of the climate-appropriate crops allows gardeners to navigate challenges posed by subtropical conditions. By choosing short-season crops during periods of extreme heat, gardeners can ensure a successful harvest without being adversely affected by temperature fluctuations.
Enhance Biodiversity
Gardeners can foster biodiversity by incorporating a mix of warm season and cool season crops, as well as long-season and short-season varieties. This diversity attracts beneficial insects, improves soil health, and promotes a balanced garden ecosystem.
Promote Soil Health
By strategically rotating warm season and cool season crops, gardeners can prevent soil depletion and maintain optimal soil health. Different crop types have varied nutrient demands, reducing the risk of nutrient imbalances.
Seed Starting Basics: How to Start Every Type of Seed
Starting seeds in seed tray cells, soil blocks, or individual pots is a practical and efficient way to kickstart your garden.
By starting them in a controlled environment, you can ensure that only healthy plant starts end up in your garden.
If you have little space to work with, seed starting in small containers is the most efficient way to use your limited garden space.
Starting Small Seeds
Small seeds, such as those of herbs and flowers, require special care during germination due to their delicate nature.
Follow these step-by-step instructions to ensure successful germination and healthy growth of small seeds in seed tray cells:
Step 1: Select the Right Seed Tray
Choose a seed tray with small individual cells. These cells provide ample space for each seed to germinate without crowding.
Step 2: Fill Seed Tray with Growing Medium
Fill the seed tray cells with a high-quality, sterile seed-starting mix. The mix should be light, well-draining, and rich in nutrients to support early seedling growth.
Step 3: Moisten the Growing Medium
Gently water the seed-starting mix until it is uniformly moist. Avoid overwatering, as excessive moisture can lead to seed rot.
Step 4: Sow the Small Seeds
Carefully sow one to two small seeds per cell, following the recommended planting depth for each seed type. Use a toothpick or tweezers to handle small seeds delicately.
If using old seeds or multi-sowing, you can drop two or three or four seeds per compartment.
Step 5: Cover the Seeds (Optional)
Some small seeds require darkness for germination, while others benefit from exposure to light.
Refer to seed packets or reliable gardening references to determine whether covering the seeds with a thin layer of vermiculite or seed-starting mix is necessary.
Step 6: Label the Seed Tray
Use plant labels to identify the seeds sown in each cell. Proper labeling ensures easy identification as seeds germinate and grow.
Step 7: Provide Bottom Heat (Optional)
To encourage germination, consider placing the seed tray on a heating mat or a warm surface. Bottom heat can improve germination rates for some small seeds.
This may be unnecessary in Zones 9-12, although you may want to start seeds indoors during the winter months to ensure consistent temperatures provided by your home heating system.
Step 8: Provide Adequate Moisture
Place the seed tray in a shallow tray filled with water to allow for bottom watering. Ensure that the seed-starting mix remains consistently moist, but not waterlogged.
Step 9: Cover the Seed Tray (Optional)
Cover the seed tray with a clear plastic dome or plastic wrap to create a mini greenhouse effect. This helps retain moisture and humidity for optimal germination.
Step 10: Place the Seed Tray in a Warm Location
Position the seed tray in a warm location with consistent temperatures suitable for germination.
A bright windowsill or indirect light on a covered porch can provide enough light for those that require light to germinate.
Step 11: Monitor Germination and Remove Cover
Keep a close eye on the seed tray for signs of germination. Once the seeds start sprouting, remove the cover to prevent mold growth and provide better air circulation.
For most plants, you’ll need to ensure that the new sprouts receive some light. Even seeds that require darkness to germinate will require sunlight once they’ve broken the surface.
Step 12: Thin Seedlings (If Needed)
If more than one seed germinates in a cell, gently thin the seedlings to leave only the healthiest one to grow.
You won’t want to do this if you’re multi-sowing, however.
Seed Starting for Large Seeds
Starting large seeds in soil blocks or pots provides ample space and nutrients for robust seedling development.
Large seeds, such as those of melons, cucumbers, and beans, benefit from a more substantial growing medium during germination. They grow so quickly that they’ll outgrow a smaller container before they’re ready to plant out.
Some plants benefit from up to three months of supervised cultivation before planting out, including tomatoes, peppers, and eggplant.
These long-season annuals are best planted once they’re well developed. To avoid stressing them with constant transplanting into larger containers, start with large soil blocks or small pots for germination.
Step 1: Choose the Right Containers
Select suitable containers for starting large seeds. Opt for individual pots or soil blocks with sufficient space to accommodate the size of the seeds and allow for root growth.
Step 2: Prepare the Growing Medium
Use a well-draining, nutrient-rich potting mix suitable for seed starting. Fill the containers with the growing medium, leaving about 1/2 inch (1.25 cm) space from the rim for easy watering.
Step 3: Water the Growing Medium
Moisten the potting mix thoroughly to ensure even moisture distribution. Avoid overwatering, as large seeds may rot in excessively wet conditions.
Step 4: Sow Seeds
Plant one large seed per pot or soil block. You can plant two per block when using old seeds.
Place the seed on top of the growing medium at the recommended planting depth for each specific seed type.
Step 5: Cover the Seeds
Cover the seeds with the recommended depth of soil mix.
Step 6: Label the Containers
Label each container or tray of soil blocks with the name of the plant variety to avoid confusion as the seedlings grow.
It’s also useful to add the date to your tags. This allows you to plan for succession crops based on the time to germinate.
Step 7: Provide Bottom Heat (Optional)
If starting in an unheated room during winter, using a heating mat or placing the containers on a warm surface encourages germination.
Step 8: Maintain Adequate Moisture
Keep the potting mix consistently moist by bottom watering the containers. Avoid overhead watering, which may dislodge the large seeds or create uneven moisture levels.
Step 9: Monitor Germination and Adjust Light
Keep a close eye on the containers for signs of germination. Once seedlings emerge, provide adequate light to ensure healthy growth.
Adjust the position of the containers to prevent leggy seedlings.
Step 10: Transplant Seedlings (If Needed)
As the seedlings grow, they’ll develop true leaves and become crowded in their pots. If the conditions in the garden aren’t optimal yet, consider transplanting them to larger containers or individual pots for further growth.
Step 11: Harden Off Seedlings
Before transplanting the seedlings outdoors, gradually expose them to outdoor conditions over several days. This process, called hardening off, prepares the seedlings for the change in environment.
How to Direct Sow Small Seeds in the Garden
Direct sowing small seeds in the garden allows for a natural and straightforward approach to gardening.
Whether you’re growing vegetables, herbs, or delicate flowers, direct sowing is the easiest method for many plant species.
I personally prefer seed starting in blocks or cells first, but if you’re establishing a wildflower meadow or looking to create large swathes of bedding annuals, direct sowing really is the most straightforward method.
Direct Sowing Small Seeds
Follow these step-by-step instructions to ensure successful germination and growth when direct seed starting small seeds in the garden:
Step 1: Choose the Right Location
Select a garden location that receives the appropriate amount of sunlight for the specific plant species you’re sowing. Consider factors like soil drainage and exposure to wind when choosing the site.
Step 2: Prepare the Soil
Clear the area of any weeds, rocks, or debris. Loosen the soil to a depth of about 2-3 inches (5-8 cm) using a garden fork or trowel. Rake the soil surface to create a smooth, level bed for sowing.
Adding a layer of compost or mixing some composted manure into the first inch or two of soil will help provide a good environment for your seeds to grow.
Alternatively, many wildflower seeds prefer poor soil condition, so don’t provide any garden amendments for these hardy troopers.
Step 3: Sow the Small Seeds
Gently sprinkle the small seeds evenly over the prepared soil surface. Follow the recommended planting depth and spacing for each seed type.
For very tiny seeds, mix them with fine sand or vermiculite to help distribute them more evenly.
Step 4: Cover the Seeds
Depending on the seed type, consider covering the seeds with a thin layer of fine soil, vermiculite, or compost. Some small seeds benefit from being exposed to light for germination, so do not cover them if indicated.
Step 5: Water the Seeded Area
After sowing, water the area gently to settle the soil and ensure good seed-to-soil contact. Avoid heavy watering, as it may dislodge the small seeds or cause them to clump together.
Step 6: Monitor Moisture Levels
Keep the seeded area consistently moist until germination occurs. Use a fine mist or a gentle watering can to avoid disturbing the seeds.
Step 7: Thin Seedlings (If Needed)
Once seedlings emerge and grow their first true leaves, thin them out if they appear crowded. This step ensures each seedling has sufficient space to develop properly. Consult the instructions on your seed packet for plant spacing.
Step 8: Mulch the Area (Optional)
Once seeds have germinated, been thinned, and have developed several sets of true leaves, consider applying a thin layer of organic mulch around the seedlings. This will conserve moisture, suppress weeds, and help to maintain an even soil temperature.
How to Direct Sow Large Seeds in the Garden
Direct sowing large seeds in the garden is a simple and efficient way to grow a variety of plants.
Although I generally recommend seed starting in blocks or cell trays and then planting out, species with deep tap roots, hypersensitive roots, or those that grow extremely quickly can be direct sown.
Whether you’re planting beans, squash, or sunflowers, follow these step-by-step instructions to ensure successful direct sowing of large seeds in your garden:
Step 1: Choose the Right Location
Select a sunny location in your garden with well-draining soil. Ensure that the chosen spot provides ample space for the large plants to grow.
If seed starting for climbers or vines, it’s a good idea to install your trellis or support structure before sowing your seeds.
This 1) prevents any damage done to delicate seedlings by trying to install the support after it has started growing. And 2) Allows you to better eyeball plant spacing by using the trellis or support as a measure.
Step 2: Prepare the Soil
Clear the area of any weeds, rocks, or debris. Decide where you’ll be planting each seed and cover each location with several inches of compost
If your soil is highly compacted, you can loosen the soil to a depth of about 4-6 inches in each location. We generally recommend no-dig methods and try to avoid disturbing the structure and living organisms below the soil surface.
Step 3: Sow the Large Seeds
Poke a hole to the depth recommended for the seeds and sow them directly into the prepared space.
Step 4: Cover and Firm the Soil
After sowing, cover over with the loose compost you provided. Firm the soil or compost over the seeds gently with your hands.
Step 5: Water the Seeded Area
Water the seeded area thoroughly after planting to help settle the soil around the seeds. Adequate watering is essential for proper germination.
Step 6: Monitor Moisture Levels
Keep the seeded area consistently moist until germination occurs. Regularly check the soil moisture and water as needed, especially during dry spells.
Step 7: Thin Seedlings (If Needed)
Once the large seedlings emerge and grow their first true leaves, thin them out if they are too close together. Thinning allows each seedling to have enough space to develop and access sunlight and nutrients.
Step 8: Feed and Mulch Your Plants
Once plants are a few inches high and have developed several sets of true leaves, you can apply vegetable fertilizer and mulch around the seedlings.
Consider applying a slow-release organic vegetable fertilizer or organic compost to support the growth of your plants. These once-a-month or once-a-season amendments can really save you many hours of hard work in the garden.
Water fertilizer or compost in well after application and then proceed to mulching.
Mulch can help retain moisture and keep the soil cool enough to support the beneficial microbiological organisms that plants need for healthy growth.
Consider straw or hay for mulching vegetable beds.
Wood chips are an excellent mulch for perennial plants, but don’t break down quickly enough for annual plantings and may interfere with your plants in future seasons.
Common Problems in Seed Starting, Prevention, and Remedies
Starting seeds can be a rewarding endeavor, but it is not without its challenges. Gardeners may encounter various problems during the seed starting process, leading to germination failure or stunted seedling growth.
Here is a list of common problems that may occur when starting seeds, along with their symptoms and remedies:
1. Problem: Poor Germination
Symptoms: Low percentage of seeds germinating or seeds failing to sprout.
Remedies: Ensure seeds are fresh and not expired. If you decide to use old seed up, double up on the number you plant.
Make sure the temperature is right for your seed type. You can find a chart of optimal temperatures on our website here.
You may have over-covered seeds that require light to germinate. Sometimes, seed packets lie and I’ve seen many that say to plant seeds ½ deep that won’t germinate without sunlight. Do some additional research on your seeds to be sure.
Avoid overwatering. This can cause seeds to rot before they can sprout.
2. Problem: Damping Off
Symptoms: Seedlings appearing weak, wilting, and collapsing at the soil level due to fungal infection.
Remedies: Use sterile potting mix and clean containers.
Improve air circulation around seedlings to reduce humidity.
Avoid overwatering and allow the soil surface to dry between watering.
3. Problem: Leggy Seedlings
Symptoms: Seedlings with elongated and weak stems reaching for light, often resulting from insufficient light or crowded conditions.
Remedies: Provide adequate light to seedlings, either with grow lights or by placing them in a sunny location. Thin out seedlings to allow ample space for each to grow.
In some cases, particularly tomatoes and peppers, you can salvage leggy seedlings by replanting them deeply into a larger container.
4. Problem: Seedlings Turning Yellow
Symptoms: Seedlings showing yellowing of leaves, usually due to nutrient deficiencies or overwatering.
Remedies: Although most seeds contain enough nutrients to support the initial growth of the seedlings, you may run into a nutrient deficiency if the seedling is in the cell too long.
You can use some dilute balanced liquid fertilizer when bottom watering.
To prevent this from happening, pot up your seedlings into larger containers sooner than later.
Yellowing may also be caused by overwatering. Bottom water with a very diluted fertilizer and allow the cells or pots surface to dry out before watering again.
5. Problem: Seedlings Growing Slowly
Symptoms: Seedlings not showing significant growth over time, possibly due to poor soil quality or low temperatures.
Remedies: Ensure the growing environment is warm enough to support seedling growth. Add a heat mat or move trays to a warmer location.
6. Problem: Fungal or Bacterial Diseases
Symptoms: Seedlings displaying discoloration, wilting, or lesions caused by fungal or bacterial infections.
Remedies: Remove affected seedlings promptly and destroy them.
Improve air circulation and avoid overcrowding to reduce disease spread. Use sterilized containers and tools.
Often, seed trays can show signs of algae growth on the tops. This is usually caused by exposure to sunlight when damp and is relatively harmless. The green sheen on top of your seed trays is annoying and unsightly, but it’s usually no detriment to the plant.
7. Problem: Insect Pests
Symptoms: Seedlings showing signs of pest infestations, such as chewed leaves or visible insects.
Remedies: Monitor seedlings regularly for pests and take appropriate measures, such as handpicking or using organic insecticides, to manage infestations.
If starting seeds outside, you may even find rodents digging into your seed trays to collect species like sunflowers, melons, or squash seeds. Cover seed trays with sturdy covers at night. You can also move them to a protected spot (like indoors) until they have sprouted to prevent this problem.
8. Problem: Lack of Hardening Off
Symptoms: Seedlings showing shock when transplanted outdoors due to insufficient acclimatization.
Remedies: Gradually expose seedlings to outdoor conditions for a few hours each day over several days before transplanting, a process known as hardening off.
If possible, transplant your young seedling during a cloudy day, especially if there’s rain in the forecast. I find this helps them transition to outdoor garden life much better.
9. Problem: Overcrowding
Symptoms: Seedlings growing closely together, leading to competition for resources and weak growth.
Remedies: It’s tough, but it has to be done. Thin out seedlings to provide adequate space for each plant to grow and develop.
10. Problem: Insufficient Watering
Symptoms: Seedlings showing signs of wilting or dry soil due to inadequate watering.
Remedies: Water seedlings consistently and ensure the soil remains evenly moist without becoming waterlogged.
FAQ
When is the best time to start seeds?
For successful seed starting in gardening Zones 8-12, there are generally two good times to start seeds. The first is four to six weeks before the last frost date in the spring for planting out in February and March. The second is in late summer in July and for planting out in September and October. This will vary depending on whether you’re planting warm season or short season crops.
Why should you start seeds indoors?
Starting seeds indoors in Zones 8-12 offers several benefits. It extends the growing season, giving delicate crops like tomatoes and peppers a head start before planting out. It also provides a controlled environment for germination, out of excessive heat and heavy rainfall.
Where is the best place to start seeds indoors?
In Zones 8-12, where warm and humid conditions prevail, the best location to start seeds indoors is a well-ventilated area with consistent warmth and ample sunlight. Choose a spot that receives abundant natural light or use grow lights. Be cautious not to overheat the seedlings. Adequate airflow is essential to prevent fungal issues, so ensure good ventilation while keeping the humidity in check.
How many seeds per starter pot should you sow?
When seed starting, it’s essential to strike a balance between providing adequate space for each seedling’s growth and maximizing your planting efficiency. Generally, aim to sow 2-3 seeds per starter pot, ensuring a higher likelihood of successful germination. If using old seeds from earlier seasons, consider sowing 3 to 4 seeds. This approach accounts for potential variations in seed viability and helps ensure at least one healthy seedling per pot. Once seedlings develop their first true leaves, you can carefully thin out the weaker seedlings, leaving the strongest ones to continue growing.
How many lumens for seed starting should a grow light have?
When using grow lights for seed starting, it’s important to provide your seedlings with the optimal amount of light to promote healthy growth. For most vegetable and flower seedlings, aim for a grow light that provides around 1000 to 1500 lumens per square foot. This light intensity mimics the brightness of natural sunlight and encourages sturdy stem development and vibrant leaf growth.
When do you begin starting fall seeds in Zones 8-12?
In Zones 8-12, the timing for starting fall seeds varies based on the type of seed you’re growing. In general, you’ll sow warm-season crops in late summer to plant out in the fall. You’ll sow warm-season crops again from late December through January to plant out after your last frost date.
For cool season crops, you can start seeds indoors in late summer and plant out from October through March as the weather allows. Most cool season crops can be planted in Zones 8-12 throughout the winter.
How many hours of light do seeds need to germinate?
Seeds require varying amounts of light for germination, depending on the plant species and its specific light preferences. In general, many seeds benefit from around 12-16 hours of light per day during the germination process. Remember that some seeds require darkness to germinate and should be covered or placed in a dark environment during this phase.
What are the 4 requirements for seed germination?
The four primary requirements for seed germination are water, proper temperature, oxygen, and suitable soil or growing medium. These factors work in conjunction to trigger the biochemical processes necessary for a seed to break dormancy, swell, and initiate growth.
Which seeds need light to germinate?
Seeds that require light for germination include lettuce, spinach, arugula, kale, radish, cilantro, dill, nasturtium, calendula, zinnia, sweet alyssum, and pansy. Providing these seeds with exposure to light during germination is essential for their successful sprouting and subsequent growth.
What not to do when germinating seeds?
When seed starting, it’s important to avoid overwatering, as excessive moisture can lead to fungal growth and rot. Additionally, refrain from planting seeds too deeply, as they may struggle to reach the surface. Avoid using contaminated soil, as it can hinder germination. Finally, placing seeds in an area with insufficient light or incorrect temperature can delay or prevent germination.
How do you know when a seed is germinating?
You can identify germination by observing the emergence of the seedling from the growing medium. As the seed absorbs water and swells, the outer shell cracks, and a tiny shoot, called the radicle, emerges. This initial growth is followed by the emergence of the seedling’s first leaves, called cotyledons.
How do you know if seeds are too old?
Seeds that are too old may exhibit reduced germination rates or fail to germinate altogether. You can assess seed viability by performing a simple germination test. Place a specific number of seeds on a damp paper towel, seal it in a plastic bag, and keep it in a warm location for the recommended time period. Afterward, count the number of seeds that have sprouted. If a significant percentage fails to germinate, it indicates reduced viability.
Which is the best seed starting mix?
We recommend a blend of coconut coir, perlite, compost, and a slow-release fertilizer that contains beneficial mycorrhizal fungi and beneficial bacteria. You can purchase a commercial blend like ProMix, or make your own. Avoid heavy garden soil or potting mixes, as they can impede seedling development.
How do I make my own seed starting mix?
A basic recipe includes mixing together coconut coir and perlite in equal parts. To make a larger batch, use a bucket or large container and thoroughly blend the ingredients until well combined. Optionally, you can add a small amount of finely screened compost or vermicompost for added nutrients. we also recommend adding a slow-release fertilizer for seed starting in small pots or soil blocks where the plants will remain for many weeks before planting out. This DIY mix offers a cost-effective and customizable solution for starting seeds, ensuring a suitable medium for germination and early growth.
What is a good recipe for soil block mix?
Mix the following components thoroughly to create a peat-free soil block mix. Coconut coir serves as an environmentally friendly alternative to peat moss, providing adequate moisture retention and aeration. It also adds structure to the soil block mix to ensure they hold together. Compost adds nutrients to support seedling growth, while vermiculite and perlite contribute to proper drainage and texture. This peat-free mix offers a sustainable option for starting seeds in soil blocks, promoting healthy germination and early development.
Adding flowering bushes to your Florida garden can save you so much time and keep you out of the heat. They offer gardeners year after year of color and texture with no yearly bed prep or planting out. They’re landscaping workhorses that deliver years of satisfaction. The best flowering bushes for Florida can create structure and tone and set the whole mood for your garden with a lot less hard work in the heat and humidity.
So, which are the best flowering bushes for Florida? Some good doers for our hot and humid climate include hardy and tropical hibiscus. Other great flowering perennials for Florida are Arabian jasmine, camellias, azaleas, plumbago, tibouchina, duranta, firebush, bougainvillea, and gardenias.
Which Are the Best Flowering Bushes for Florida?
Add drama and structure by using flowering bushes in your Southern garden. Most offer year-round color and evergreen foliage while attracting wildlife to your yard.
Best of all, you’ll only need to plant them once. After they’re established, you can rely on them for years to come with only the occasional feeding and pruning.
Arabian jasmine (Jasminum sambac) delivers
delicate and delicious-smelling white flowers. They’re also evergreen, so your
garden will never look bare and scrubby in the colder months.
Even better, they’re fine with a little
shade, though you may not get as many blooms. They can spread with a few viney
offshoots (perfect for cuttings), but you can also keep them pruned for
container gardening.
On the whole, they’re a large, showy bush that requires very little maintenance.
Jasminum sambac belongs to the Oleaceae family and is commonly referred to as Sambac Jasmine, Jasmine Sambac, or simply Arabian Jasmine. It is widely cultivated for its intoxicating scent and ornamental value.
Arabian Jasmine Description
Arabian Jasmine has glossy, dark green leaves with an oval to lanceolate shape. The leaves grow in opposite pairs along the stems and provide an attractive backdrop to its white flowers.
The hallmark of Arabian Jasmine is its exquisite and highly fragrant flowers. The blooms are small and star-shaped, with five or more petals, and they are pure white in color. The intoxicating scent of the flowers fills the air, especially during the evening.
Arabian Jasmine is a vining shrub with a semi-climbing growth habit. It can reach a mature height of 6 to 10 feet or more, depending on the support structure it grows on. It is often trained to climb trellises, fences, or walls, but it can also be pruned into a more compact form.
Arabian Jasmine Optimal Growing Conditions
Arabian Jasmine is believed to have originated in South Asia, specifically in India or the southeastern parts of Asia.
It thrives in warm and humid climates, making it well-suited for Florida’s tropical and subtropical conditions.
For optimal growth and flowering, Arabian Jasmine prefers full sun to partial shade. The plant prefers well-draining soil with good fertility and benefits from regular watering, especially during dry spells.
Arabian Jasmine flourishes in Florida’s hardiness zones 9 to 11. It is not frost-tolerant and requires protection during cold spells or freezing temperatures.
Arabian Jasmine produces its fragrant white flowers throughout the year in warm climates, with peak flowering usually occurring in spring and summer. The sweet scent of the flowers attracts bees, butterflies, and other pollinators, contributing to the garden’s biodiversity.
2. Azalea (Rhododendron indicum)
When you think of gardening in the South, you
think of azaleas. These big blousy bushes set blooms in such an explosion of
color that you can’t help but be tempted. And the range of colors is just as exciting,
with whites, creams, pinks, reds, purples, and even oranges. Their evergreen
foliage provides year-round structure
Most gardeners think it’s a must if you’re growing in warmer zones. However, if you’re gardening in Zones 10 and 11, you may need to pass.
Evergreen azaleas, also known as Rhododendron indicum, are often grown for their colorful and abundant blooms. These plants belong to the Ericaceae family and are commonly referred to as Azaleas.
Azalea Description
Azaleas feature small to medium-sized leaves with an elliptical or ovate shape. The leaves are often evergreen, but some deciduous varieties shed their leaves in the fall. The foliage can be glossy or matte, and its color ranges from dark green to bronze or even variegated patterns.
The highlight of azaleas is undoubtedly their profusion of showy flowers. You’ll find azaleas in a wide range of colors, including shades of white, pink, red, purple, and even bi-color combinations. The flowers are usually funnel-shaped or tubular.
Some Azaleas are compact and low-growing, while others can become large, upright shrubs. The mature size of Azaleas varies widely, with heights ranging from 1 to 10 feet and spreads of 1.5 to 10 feet.
Optimal Growing Conditions for Azaleas
Azaleas are native to Japan, and they thrive in the cool, moist forests and mountains of their native habitat.
Azaleas prefer partial shade to filtered sunlight. They thrive in well-draining, acidic soil with high organic matter.
Azaleas are well-suited for Florida’s climate and are typically grown in hardiness zones 8 to 10. They can tolerate mild winter temperatures but may need protection from freezing temperatures in some regions.
Generally, Azaleas bloom in spring, and the vibrant flowers attract bees, butterflies, and other pollinators, contributing to the garden’s ecological diversity.
This shade-tolerant flowering bush is a favorite of bees and butterflies and gives your garden a tousled, cottage feel. In 9B and below, it winters over well without any protection at all. It may even do well in Zones above if planted in a protected spot.
This is another one of those special plants that tolerate – and bloom well – in dappled shade. And best of all, it doesn’t sprawl out of control. While you can prune it, Nettle-leaf Porterweed rarely grows more than 4 feet high and 3 feet white. You may want to prune it back hard in the spring to encourage denser growth.
Blue Porterweed isn’t terribly thirsty, but it does require water once a week. And it may need more during hot dry spells and will let you know when it needs a drink in the summer.
4. Camellias (Camellia japonica)
Camellias are considered a go-to for best flowering bushes for Florida. They’ve been a favorite since they were imported from China over 200 years ago. That may be because they bloom in the fall and winter, when most other flowering bushes have settled down for the year.
Their evergreen foliage provides privacy screens, and they do well in shady areas. Finding good flowering plants for shade is a real task in the South, but camellias have your back on this one. They bloom better in dappled shady spots than in sunny areas.
Plant camellias in acidic soil and give them three years to get established. Fertilizer with plant food for acid-loving flowering shrubs right after they’re done blooming.
Make sure you choose the best type for your zone. Japonica thrives in warmer regions, while sasanqua flourishes further north, which makes it one of the better flowering bushes for Zone 8.
Camellia japonica Description
Camellias have lustrous, dark green leaves with a glossy texture. But the hallmark of Camellias is their exquisitely formed flowers. The blooms come in various colors, including shades of white, pink, red, and even bi-color combinations. The flowers are often large, measuring 2 to 5 inches in diameter, with a waxy texture.
Camellia japonica has a dense, compact growth habit with a rounded or pyramidal shape. The plant can reach a mature height of 6 to 12 feet and a spread of 6 to 10 feet, depending on the specific variety and growing conditions, although dwarf cultivars are also available.
Camellias Optimal Growing Conditions
Camellia japonica is native to Japan, and they in the cool, moist forests and mountains of its native habitat. For optimal growth and flowering, Camellias prefer partial shade to filtered sunlight. They prefer well-draining, acidic soil that is rich in organic matter.
Camellia japonica is well-suited for Florida’s climate and is typically grown in hardiness zones 7 to 9. It can tolerate mild winter temperatures but may need protection from freezing temperatures.
Camellia japonica typically blooms from late fall to early spring, providing a much-needed burst of color during the cooler months. The flowers are a valuable source of nectar for early-season pollinators, including bees.
Firebush, or Hamelia patens, is a magnet for bees and butterflies and is perfect for Zones 8 to 11. This semi-woody perennial produces bright red and orange flowers, although colors differ between cultivars. That includes its foliage, which can range from deep green to yellow.
This beauty loves sun, though it can manage a
little shade. Best of all, it’s pretty salt-tolerant, so it’s a good doer in
coastal gardens like mine.
This Florida native delivers blooms year-round and can get up to 10 feet tall. Or, you can keep it in a pot to keep it small or choose a dwarf variety.
Firebush Description
The highlight of the Firebush is undoubtedly its striking tubular flowers, which are a vibrant red-orange color. The flowers are small and arranged in dense clusters, creating a fiery display of color that is highly attractive to pollinators, especially hummingbirds and butterflies.
Firebush typically forms a multi-stemmed, semi-woody shrub with an upright growth habit. It can reach a mature height of 6 to 12 feet and a spread of 4 to 8 feet.
The plant’s moderate size and dense foliage make it an excellent choice for hedges and screens.
Optimal Growing Conditions for Firebush
Firebush is native to various regions in the Americas, including Florida, Mexico, and parts of Central and South America. It thrives in open woodlands, hammocks, and disturbed areas, demonstrating its adaptability to different habitats.
Firebush prefers full sun exposure and warm and humid conditions. The plant is reasonably tolerant of various soil types, but it prefers well-draining soil with moderate fertility. Once established, it displays good drought tolerance.
Firebush is well-suited for Florida’s climate and is typically grown in hardiness zones 9 to 11. It can withstand occasional light frost but generally thrives in frost-free regions, making it one of the better flowering bushes for Zone 9.
The tubular flowers are rich in nectar, making them highly attractive to pollinators, including hummingbirds, butterflies, and bees. Firebush is one of the flowering perennials for Florida that is a must-have for any butterfly garden.
Being native to various regions in the Americas, Firebush is well-adapted to Florida’s climate and soil conditions, making it a low-maintenance and sustainable choice for landscaping.
Some people think that the perfume of gardenias is just too cloying, but there’s nothing like catching that sweet aroma on the top of the breeze. They’re also prodigious bloomers, perfect for tropical and subtropical gardens.
They’re a bit fussy, so I grow mine in pots
so I can move them during the year to partially shady spots in the summer. They
also like a lot of water, and I find that easier to accomplish in a container.
The luxurious-looking flowers come in a range of white, from stark to cream to nearly yellow, depending on the cultivar. They prefer acidic soil but aren’t too fussy about its density as long as you ensure good drainage.
Gardenia Description
Gardenias have glossy, dark green leaves with an elliptical to ovate shape. And the deep green foliage forms an attractive backdrop for the pristine white flowers, creating a striking contrast.
Gardenia blossoms are typically pure white, with a waxy texture and a beautiful rose-like shape. Its classic beauty makes it one of the most popular flowering plants for Florida.
Gardenias are evergreen shrubs with a bushy growth habit. They can reach a mature height of 3 to 6 feet and a spread of 2 to 4 feet, though you’ll also find dwarf cultivars.
Optimal Growing Conditions for Gardenias
Gardenia jasminoides is native to China and other regions in Asia. In its native habitat, it grows in forests and woodlands, where it enjoys partial shade and a humid environment.
Gardenias prefer partial shade to filtered sunlight. They thrive in well-draining, acidic soil that is rich in organic matter.
Gardenias are well-suited for Florida’s climate and thrive in hardiness zones 8 to 11. They are well-adapted to the state’s warm temperatures and can withstand occasional light frost.
Gardenias typically bloom from late spring through summer, producing a profusion of fragrant white flowers.
Since Gardenias thrive in partial shade, they’re a boon to Florida gardeners with awkward shady spots in their landscape.
Duranta, or Golden Dew Drop (Duranta erecta), is another favorite of pollinators and it adds great flowering drama in any Southern Garden. The weeping branches become covered in tiny purple flowers, which then become bright golden berries – hence the name.
It can get shaggy and overwhelming, but if you’re competent with pruning shears, you can keep it from growing to its max height of 18 feet. I’ve trimmed mine to grow into trees, with hanging branches covered in flowers, because I’m just too impatient for wisteria.
Caveat: The berries on Golden Dew Drop are poisonous to humans, so make sure you keep children from eating them. Luckily, they don’t drop easily, so they’re easy to trim and dispose of regularly.
Golden Dew Drop Description
The Golden Dew Drop’s foliage consists of glossy, elliptic leaves that grow opposite each other along the stems. The foliage is evergreen, providing winter garden interest.
Duranta produces small, tubular flowers that form in pendulous clusters of purple, blue, or white. These flowers are highly attractive to pollinators like bees, butterflies, and hummingbirds. This is one of the most overlooked flowering perennials for Florida.
This flowering bush has a compact and bushy growth habit, typically reaching a mature height of 6 to 12 feet and a spread of 3 to 6 feet.
Optimal Growing Conditions for Golden Dew Drop
Golden Dew Drop is native to tropical regions of the Americas, including parts of Florida, Mexico, and the Caribbean. It thrives in warm and humid climates.
Golden Dew Drop prefers full sun exposure, receiving at least six hours of direct sunlight daily. It is reasonably adaptable to different soil types, but well-draining soil with a slightly acidic to neutral pH is ideal.
Once established, the plant exhibits good tolerance to drought conditions, making it suitable for Florida’s climate.
Duranta thrives in hardiness zones 9 to 11, which align perfectly with Florida’s tropical to subtropical climate. It can withstand occasional frosts, further contributing to its suitability for Florida landscaping.
Golden Dew Drop typically blooms from late spring to fall, offering an extended flowering season that attracts an array of pollinators. Its nectar-rich flowers draw bees, butterflies, and hummingbirds. Additionally, some species of Lepidoptera use it as a host plant for their larvae, supporting the life cycle of these insects.
Hibiscus gives your landscape a tropical
feel, but some hardy types will do well up to Zone 4. In the South, we can
usually grow both hardy and tropical hibiscus, which offers so much beauty for
little effort.
Hardy hibiscus is a slower-growing flowering bush, but they’re easy to care for. They’re one of the most popular flowering perennials for Florida, because they thrive in all corners of the state.
They like full sun and plenty of moisture and mulch. However, you won’t have to prune them as frequently as the tropical type. Best of all, hummingbirds love them.
Hardy Hibiscus Description
Hardy Hibiscus has heart-shaped leaves with a serrated edge and a deep green color. The leaves are usually quite large, ranging from 4 to 8 inches in length.
Hardy Hibiscus offers striking flowers, which are among the largest of any hardy perennial. The blossoms can reach up to 8 inches in diameter and come in a variety of colors, including shades of white, pink, red, and even bi-color combinations. These eye-catching flowers have prominent stamens and attract pollinators with their abundant nectar.
Hardy Hibiscus has a bushy growth habit, reaching a mature height of 4 to 7 feet and a spread of 3 to 6 feet, depending on the specific cultivar and growing conditions.
In temperate climates, the plant dies back to the ground in winter and regrows from the roots each spring.
Optimal Growing Conditions for Hardy Hibiscus
Hardy Hibiscus is native to North America and is commonly found in wetlands, marshes, and along riverbanks. It thrives in areas with adequate moisture and is well-adapted to various soil conditions.
For optimal growth and abundant flowering, Hardy Hibiscus prefers full sun exposure. It tolerates a wide range of soil types, including clay and loam, as long as the soil is well-draining.
Although it is naturally found in wetland habitats, it can tolerate periods of drought once established.
Hardy Hibiscus is well-suited for Florida’s climate and is typically grown in hardiness zones 4 to 9. It is a tough and resilient plant that can withstand colder temperatures.
Florida Native Hardy Hibiscus
There are several varieties that are native to Florida that can be grown in Zones 8-11.
Scarlet Mallow (Hibiscus coccineus)
One Florida native species of hardy hibiscus is the Scarlet Mallow or Hibiscus coccineus. This native hibiscus is well-adapted to Florida’s wetland habitats and can be found in marshes, swamps, and along riverbanks. It is also commonly known as the Swamp Rose Mallow or Crimson-eyed Rose Mallow.
Hibiscus coccineus is known for its striking red flowers, which have a deep crimson eye in the center. The flowers are large and showy, attracting pollinators like bees and butterflies. The plant’s foliage is also appealing, with deeply lobed, maple-like leaves.
As a native species, Swamp Rose Mallow is an excellent choice for Florida landscaping, as it is well-suited to the state’s climate and soil conditions. It can thrive in both sunny and partially shaded areas, and it can tolerate periods of standing water, making it an ideal choice for rain gardens and other wetland landscaping projects.
Additionally, native flowering plants for Florida provide valuable habitat and food for local wildlife, further enhancing their ecological value in the garden.
Salt Marsh Mallow (Kosteletzkya virginica)
Salt Marsh Mallow is another native hibiscus species found in Florida. It is commonly referred to as Seashore Mallow or Virginia Saltmarsh Mallow. This hibiscus species is well-adapted to coastal habitats, including salt marshes, coastal dunes, and brackish wetlands, making it suitable for areas near the coast.
Salt Marsh Mallow features heart-shaped, green leaves with serrated edges. The leaves are soft and velvety to the touch. The flowers are typically pale pink to lavender in color and have five petals arranged in a funnel shape. The blooms are attractive to pollinators like bees and butterflies.
If you’re looking for pink flowering bushes in Florida, Salt Marsh Mallow is a sustainable choice. This herbaceous perennial plant has an upright growth habit. It can reach a height of 3 to 6 feet. As the name suggests, it thrives in salt marshes and other coastal areas where it can tolerate brackish water and saline soil conditions.
Salt Marsh Mallow typically grows in hardiness zones 8 to 11. Salt Marsh Mallow is ideal for landscapes near the coast, where it can thrive in saline conditions and contribute to coastal ecosystem restoration projects. The dense growth of Salt Marsh Mallow helps stabilize sandy soils, offering some erosion control benefits in vulnerable areas as well as contributing to the preservation of local biodiversity.
9. Bougainvillea (Bougainvillea spp.)
Bougainvillea captivates with its brilliant display of colors. This plant is commonly referred to as Paper Flower, Bougie, or simply Bougainvillea.
Bougainvillea features ovate to heart-shaped leaves with a smooth texture and a glossy appearance. The leaves are typically small and green, acting as a beautiful backdrop to the striking floral bracts that surround the inconspicuous flowers.
The true flowers are actually small and white, while the colorful bracts steal the show. What makes Bougainvillea truly exceptional are the vibrant papery bracts, which can appear in a stunning array of colors, including magenta, purple, red, pink, orange, and white.
Bougainvillea is a vigorous and fast-growing shrubby vine that can climb or trail, depending on its support structure. It can reach a mature height of 15 to 30 feet or more, and its spread can vary widely based on the cultivar and growing conditions. Some varieties can be pruned and trained as a shrub or small tree.
Optimal Growing Conditions for Bougainvillea
Bougainvillea originates from South America, specifically the regions of Brazil, Peru, and Argentina. It thrives in warm and tropical climates, which makes it well-suited for Florida’s subtropical environment.
Bougainvillea is a sun-loving plant that thrives in hot and humid conditions. The plant is relatively drought-tolerant once established, but regular watering is necessary to promote consistent flowering. Well-draining soil is essential to prevent waterlogged conditions.
Bougainvillea is well-suited for Florida’s climate and is typically grown in hardiness zones 9 to 11. It is a tropical plant that can withstand occasional light frost.
Bougainvillea is a profuse bloomer, with its colorful bracts persisting for an extended period from spring to fall. The striking bracts are rich in nectar, attracting bees, butterflies, and other pollinators to the garden.
Once established, Bougainvillea exhibits good drought tolerance, making it suitable for sustainable Florida-friendly landscape designs.
Although it sounds like a Victorian disease of the aged, Plumbago auriculatais a real doer in the garden if you take time to establish it properly.
This flowering bush explodes after the first year
and is covered with blue flowers that resemble phlox. Bees seem to adore it, so
it’s worth adding to any Southern pollinator garden.
You can plant it out at any time of year in Zone 9 and higher, and it will flower all year round. Note that it can be a pretty hungry plant, though it seems pretty tolerant of drought. Feed it well the first year, and it will grow at a disconcerting rate of speed. Forget to feed it, and you’ll get a yellow and sad-looking scrubby bush.
You can also find a white variety (alba) that to me seems less vigorous than the blue types. I’ve struggled to grow the white type from cuttings, while the blue takes pretty easily.
Optimal Growing Conditions for Cape Plumbago
Cape Plumbago originates from South Africa, specifically the Eastern Cape, KwaZulu-Natal, and Mpumalanga provinces. In its native habitat, it thrives in a variety of environments, from coastal dunes to mountain slopes, displaying its adaptability.
Plumbago auriculata prefers full sun exposure for the best flowering performance, but it can also tolerate partial shade. It thrives in well-draining soil that remains consistently moist but not waterlogged. Once established, it displays moderate drought tolerance.
Cape Plumbago is well-suited for Florida’s climate and thrives in hardiness zones 9 to 11. Its ability to endure mild cold spells while thriving in tropical to subtropical climates makes it an excellent landscaping choice for Florida.
Plumbago blooms from late spring through fall, providing an extended flowering period. The nectar-rich flowers are highly attractive to butterflies, which will visit the plant frequently, supporting the local population.
Technically known as Tibouchina urvillena, Princess Flower is a gorgeous tropical flowering bush that grows well in Zones 9 to 11. Although it may reach tree-like stature, most Southern gardeners keep it trimmed to bush size.
It will die back if exposed to frost, but in lower zones, you can cover it on nights it gets below 40 degrees Fahrenheit. And it is also suitable for containers for overwintering indoors in cooler climes.
It also doesn’t like to sit in the wind, so plant it in a protected corner.
Princess Flower can be thirsty, but it’s worth the effort. They’re also shade-tolerant, and I’ve found that mine does poorly in the scalding, Zone 10 summer sun, so I give it partial shade.
It’s a tropical plant, so it’s used to rich soil; you’ll need to feed it regularly during the growing season. I feed mine a high nitrogen fertilizer once all risk of frost is gone and then switch to a high-potassium formula when it warms enough to flower.
Optimal Growing Conditions for Tibouchina
Princess Flower originates from Brazil, where it is native to the Atlantic Rainforest region. It thrives in the warm, humid climates of its native habitat. It’s one of the most flowering plants for South Florida
For the best growth and flowering performance, Princess Flower prefers full to partial sun exposure. It may produce fewer blooms if there is too much shade.
The plant thrives in well-draining soil that retains moisture but does not become waterlogged. Adequate watering and mulching help maintain soil moisture, especially during dry periods.
Tibouchina urvilleana is well-adapted to Florida’s climate and thrives in hardiness zones 9 to 11. It can tolerate occasional light frost while flourishing in tropical to subtropical climates makes it an excellent choice for Florida landscaping.
Princess Flower blooms from late spring through fall, with peak flowering usually occurring in late summer. The striking flowers attract various pollinators, including butterflies and hummingbirds, contributing to the garden’s biodiversity.
Popular in coastal gardens along the Gulf of Mexico, tropical hibiscus gives a very Caribbean feel to your landscaping. While most cultivars are hardy in Zones 10 and 11, you can easily nurse them through winters up to Zone 8.
Like hardy varieties, they love full sun and plenty of water. Mulch them heavily to keep them thriving.
Tropical Hibiscus has glossy, dark green leaves with a leathery texture, and they serve as an attractive backdrop for the striking flowers. In some cultivars, the foliage may have variations in color, such as burgundy-tinged edges or variegated patterns, adding to its visual appeal.
Tropical Hibiscus boasts large, showy, trumpet-shaped flowers, which come in a array of colors. These blossoms may appear in shades of red, pink, orange, yellow, and even white. Some cultivars feature captivating color combinations and intricate patterns on the petals, making each flower a unique work of art.
Hibiscus rosa-sinensis has a relatively compact growth habit, making it suitable for both container planting and landscaping. It can reach a mature height of 4 to 8 feet and a spread of 3 to 6 feet, depending on the variety and growing conditions.
Optimal Growing Conditions for Tropical Hibiscus
Tropical Hibiscus originates from East Asia, particularly China and has spread to many tropical and subtropical regions around the world, including Florida.
Tropical Hibiscus requires full sun exposure. It flourishes in well-draining soil with consistent moisture levels.
Tropical Hibiscus is suited for hardiness zones 9 to 11. Its preference for warm temperatures and ability to withstand mild frost make it a popular choice for Florida landscapes.
Tropical Hibiscus produces an abundance of showy flowers throughout the warm months, with peak blooming occurring in spring and summer. The nectar-rich blossoms attract various pollinators, such as bees and butterflies.
Thriving in warm and humid climates, Tropical Hibiscus is perfectly adapted to Florida’s conditions, making it a low-maintenance and sustainable flowering bush to add to the landscape.
How to Pick the Best Flowering Bushes for Florida
It should be easy to find flowering plants for Florida, including flowering shrubs and vines. Our subtropical climate is a garden designer’s dream because we can grow such a wide variety of ornamental landscape plants.
Check your local home improvement store or nursery to find starters or seeds. You can also purchase them in 1, 3, and 5-gallon size containers if you want instant gratification. One advantage to this is that you know what they’ll look like when they bloom and can take cuttings immediately to propagate.
You can also purchase online from nurseries. We frequently carry some of these varieties in our shop and in our Etsy store.
Patience pays off when it comes to flowering shrubs. Once they’ve gotten established, the best flowering bushes for Florida will bloom year after year, attracting bees and butterflies into your garden and giving your landscape real curb appeal. your perennial garden plants will bloom year after year.
Bougainvillea (pronounced boo-guhn-VIL-yuh) is a stunning and vibrant flowering plant that originates from the tropical and subtropical regions of South America. Named after the French navigator Louis Antoine de Bougainville, who discovered the plant in Brazil during the 18th century, bougainvillea is now widely cultivated for its breathtaking display of color.
Bougainvillea is a vigorous and woody vine that can either climb or sprawl depending on its surroundings. It features glossy green leaves that are ovate in shape and slightly textured. The foliage provides a lush and verdant backdrop to the magnificent flowers that steal the show.
What we often perceive as bougainvillea’s flowers are, in fact, modified leaves called bracts. The true flowers of the plant are small and inconspicuous, nestled within the center of the bracts. These bracts come in a wide range of vibrant colors, including shades of pink, purple, red, orange, yellow, and white, creating a dazzling visual spectacle.
The showy bracts serve an important purpose for bougainvillea. They help attract pollinators like bees and butterflies to the true flowers concealed within. Once pollinated, the true flowers give way to small, inconspicuous fruit that contains tiny seeds.
Bougainvillea is perennial in mild climates, providing years of vibrant beauty to your garden. With proper care and maintenance, it can reach an impressive height of 15 to 30 feet and spread out over a similar distance, creating a sprawling and eye-catching display of color.
Bougainvillea Varieties: Dwarf, Semi-Dwarf, and Extra Large
Bougainvillea cultivars come in various sizes, allowing you to choose the perfect fit for your garden or landscape.
Dwarf Bougainvillea
Dwarf Dougainvillea
Dwarf bougainvillea varieties are compact and well-suited for smaller gardens, containers, or areas where space is limited. They offer all the beauty of bougainvillea in a more manageable size range.
Popular Dwarf Bougainvillea Cultivars
‘Helen Johnson’: This dwarf variety features stunning magenta-pink bracts and a compact growth habit. It reaches a height of 3 to 4 feet and is perfect for borders or small spaces.
‘La Jolla’: ‘La Jolla’ displays vibrant pink bracts and has a trailing habit, making it an excellent choice for hanging baskets or cascading over walls. It grows to a height of 2 to 3 feet.
‘Pixie Queen’: With its variegated bracts in shades of pink and white, ‘Pixie Queen’ adds a touch of elegance to any garden. It has a bushy growth habit and reaches a height of 2 to 3 feet.
‘Vera Purple’: This dwarf cultivar boasts intense purple bracts and a compact, rounded growth habit. It is well-suited for borders or containers, growing up to 3 to 4 feet in height.
‘Tango’: ‘Tango’ offers vibrant orange bracts and a semi-dwarf growth habit. It is a prolific bloomer and reaches a height of 3 to 4 feet, making it an eye-catching addition to any landscape.
‘Singapore Pink’: This dwarf variety showcases delicate pink bracts and a low, spreading growth habit. It grows to a height of 2 to 3 feet, making it ideal for ground cover or rock gardens.
Semi-Dwarf Bougainvillea
Semi-dwarf bougainvillea varieties offer a balance between compact size and impressive floral displays. They are well-suited for hedges, trellises, or as standalone specimens.
Popular Semi-Dwarf Bougainvillea Cultivars
‘Torch Red’: With its vibrant red bracts, ‘Torch Red’ adds a fiery splash of color to the garden. It has a semi-dwarf growth habit, reaching a height of 4 to 6 feet, and is perfect for accentuating fences or arbors.
‘Double Gold’: This semi-dwarf cultivar features double-layered bracts in a dazzling golden-yellow hue. It has a bushy growth habit and grows to a height of 4 to 5 feet.
‘Raspberry Ice’: ‘Raspberry Ice’ displays striking raspberry-pink bracts with white accents. It has a semi-dwarf growth habit and reaches a height of 4 to 5 feet, making it a standout choice for borders or containers.
‘California Gold’: With its brilliant golden-yellow bracts, ‘California Gold’ adds a touch of warmth to the garden. It has a semi-dwarf growth habit, growing up to 4 to 6 feet in height.
‘Sundown Orange’: This semi-dwarf variety showcases vibrant orange bracts and a compact growth habit. It reaches a height of 4 to 5 feet, making it an attractive choice for landscaping or container planting.
‘Double Pink’: ‘Double Pink’ offers beautiful double-layered pink bracts and a semi-dwarf growth habit. It grows to a height of 4 to 6 feet and is a charming addition to any garden or patio.
Extra Large Bougainvillea
Extra large bougainvillea varieties make a bold statement in the landscape with their impressive size and profusion of colorful bracts. They are ideal for creating focal points or providing maximum coverage.
Popular Extra Large Bougainvillea Cultivars
‘Spectabilis’: ‘Spectabilis’ showcases stunning magenta bracts and has a vigorous climbing habit. It can reach a towering height of 20 to 30 feet, adding a dramatic touch to arbors or pergolas.
‘San Diego Red’: This extra large variety features brilliant red bracts and a sprawling growth habit. It can reach a height and spread of 15 to 25 feet, creating a breathtaking display in the landscape.
‘Purple Queen’: ‘Purple Queen’ offers vibrant purple bracts and a climbing habit. It can grow up to 20 to 30 feet in height, making it a striking choice for trellises or fences.
‘Royal Purple’: With its rich purple bracts, ‘Royal Purple’ adds regal beauty to any garden. It has a vigorous climbing habit and can reach a height of 20 to 30 feet.
‘Miss Alice’: This extra large cultivar displays pure white bracts and a sprawling growth habit. It can grow up to 15 to 25 feet in height and spread, creating a stunning display against dark green foliage.
‘Rosenka’: ‘Rosenka’ offers unique apricot-colored bracts and a climbing habit. It can reach a height and spread of 20 to 30 feet, adding a warm and inviting touch to trellises or walls.
Ideal Growing Conditions for Bougainvillea
Bougainvillea thrives in hot and humid subtropical climates, making it an ideal choice for gardeners in the southern regions of the United States. It flourishes in regions with warm summers and mild winters, where temperatures rarely drop below freezing.
It is most commonly grown in USDA Hardiness Zones 9 through 11, encompassing areas such as the Gulf Coast, Southern Florida, and parts of California and Arizona.
To ensure the successful growth and blooming of your bougainvillea, it’s crucial to provide it with the optimal growing conditions. Here are the key factors to consider:
Type of Climate Required
Temperature
Bougainvillea thrives in temperatures between 60°F (15°C) and 90°F (32°C), with temperatures around 70°F to 85°F (21°C to 29°C) being ideal for growth and blooming.
It is important to protect the plant from freezing temperatures, as they can damage or kill it. If you live in an area prone to frost, consider growing bougainvillea in containers that can be moved indoors during colder months.
Temperature Tolerance
When temperatures consistently drop below 50°F (10°C), bougainvillea’s growth may slow down or temporarily cease. However, it can resume growth when warmer conditions return.
Temperatures below 32°F can cause damage to bougainvillea. Prolonged exposure to freezing temperatures can result in wilting, leaf discoloration, leaf drop, and damage to the stems and branches. In severe cases, it can lead to plant death.
Bougainvillea can tolerate high temperatures, but extreme heat, especially above 100°F, can stress the plant. It may result in wilting, scorched leaves, reduced blooming, and overall decline. Providing shade or ensuring adequate hydration during hot spells can help mitigate the effects of excessive heat.
Free pink flower and window image, public domain spring CC0 photo.
Humidity
Bougainvillea appreciates moderate to high humidity levels, which are typically found in subtropical regions.
If you live in a drier climate, you can increase humidity around the plant by misting it regularly or placing a tray filled with water near the plant to create a humid microclimate.
Sunlight Exposure
Bougainvillea thrives in full sunlight. It requires at least 6 to 8 hours of direct sunlight each day to produce an abundance of colorful bracts. Choose a location in your garden that receives ample sunlight and is not shaded by trees or buildings.
Ensure you plant bougainvillea in a location with maximum exposure to sunlight.
Soil Type
Bougainvillea prefers well-draining soil that is rich in organic matter. Sandy loam or loamy soil is ideal for bougainvillea cultivation. If your soil is heavy or clay-like, consider improving its drainage and fertility by adding compost or well-rotted manure.
Bougainvillea thrives in slightly acidic to neutral soil with a pH range of 6.0 to 7.0. Conduct a soil test to determine the pH of your garden soil. If the pH is outside the preferred range, adjust it by adding amendments.
For increasing acidity, use elemental sulfur, and for increasing alkalinity, add dolomite lime.
When and How to Plant Bougainvillea
The best time to plant bougainvillea in the ground is during the warm months of spring or early summer when the soil has warmed up and all danger of frost has passed. This allows the plant to establish its roots before the colder months arrive.
However, if you live in a region with mild winters, planting can also be done in fall.
Planting Bougainvillea Step-by-Step
When you’re ready to plant your bougainvillea, follow these steps:
Find a Good Location
Choose a location in your garden that receives full sunlight and has well-draining soil. Ensure there is enough space for the bougainvillea to grow and spread comfortably.
Prepare the Soil
Amend the soil by incorporating organic matter such as compost or well-rotted manure. This helps improve soil fertility, drainage, and water-holding capacity. Remove any weeds or debris from the planting area.
Dig the Planting Hole
Dig a hole that is twice as wide and deep as the bougainvillea’s root ball. This allows the roots to spread out easily. Ensure the hole is deep enough to accommodate the entire root system without bending or crowding.
Remove the Plant from its Container
Gently tap the sides of the container to loosen the root ball. Carefully slide the plant out, holding it by the base of the stems.
Planting the Bougainvillea
Place the root ball in the center of the planting hole, ensuring the top of the root ball is level with or slightly above the soil surface.
Backfill the hole with soil, firming it gently around the roots to eliminate air pockets.
Watering and Mulching
After planting, thoroughly water the bougainvillea to settle the soil and encourage root establishment.
Apply a layer of organic mulch, such as wood chips or straw, around the base of the plant, leaving a small gap around the stems to prevent rotting.
Care and Maintenance of Bougainvillea
Once you’ve planted your bougainvillea, you’ll want to make sure it thrives.
Watering Throughout the Year
During the active growing seasons of spring and summer, water bougainvillea deeply and thoroughly, allowing the soil to dry out slightly between waterings. Aim to provide regular, consistent moisture without waterlogging the roots.
Reduce watering frequency during the dormant period around late fall through the winter. Water sparingly, allowing the soil to dry out more between waterings.
However, ensure the plant doesn’t experience prolonged drought stress, especially as temperatures begin to rise in February.
Optimal Fertilizer Composition and Schedule:
Fertilize your bougainvillea according to its stage of development and the needs of the season.
Spring
Use a balanced fertilizer with equal NPK (nitrogen, phosphorus, potassium) ratios or a slightly higher nitrogen content.
Apply the fertilizer every 4 to 6 weeks during the active growing season.
Summer
Switch to a bloom-boosting fertilizer with a higher phosphorus content to promote abundant flowering. Apply every 6 to 8 weeks.
Fall and Winter
Reduce or suspend fertilization during the dormant period. Bougainvillea generally requires less fertilizer during this time.
Follow the instructions on the fertilizer package for specific application rates and guidelines. Then, adjust fertilization based on the plant’s response and the quality of your soil.
Protecting Bougainvillea from Cold
Even though we can grow tropical plants, we can still get the occasional cold snap in Florida and in states around the Gulf Coast.
Our normally mild winters can even mean that a cold snap is that much more devastating to plants that aren’t equipped to deal with them.
How you protect your bougainvillea will vary depending on how long the cold snap is predicted to last.
Watering
If you’ve lived in Florida for any length of time, you know how insane our weather can be. In the winter, for example, the temperature during the day could be 85°F and then sink to 38°F during the night, usually with the lowest temperature right before sunrise.
This happens several times a year in Central Florida, sometimes in December, but usually in January and February.
If the forecast is for a brief overnight cold snap, you should water your bougainvillea well during the warmth of the day prior.
The moist ground will store the warmth of the sun during the day, carrying through the night. So, make sure you water as early as possible to make the most of the sunlight.
If the cold period is predicted to last through daylight hours or last for several nights, excess moisture in the soil is a bad thing. So, in that case, do not water your bougainvillea during cold days or when it will be below 40°F for several nights in a row.
Whether your water or not, it’s a good idea to apply a thick layer of organic mulch around the base of the plant, extending it to cover the root zone. This helps insulate the soil and protect the roots from extreme cold.
Covering
Before the arrival of frost or freezing temperatures, cover the bougainvillea plant with a frost blanket or horticultural fabric. Secure the cover to the ground to create a protective barrier against cold winds.
I generally try to cover my plants well before sunset and the warmth of the day fade.
Container Plants
If you have bougainvillea in containers, move them to a sheltered location, such as a garage or greenhouse, during periods of freezing temperatures.
Pruning Bougainvillea for Optimal Growth and Shape
Pruning bougainvillea is essential for maintaining its shape, encouraging healthy growth, and promoting abundant flowering. Here’s a guide on how and when to prune your bougainvillea:
Timing of Pruning:
The best time to prune bougainvillea is during late winter or early spring, just before new growth begins. This timing allows the plant to recover and produce new shoots and blooms during the active growing season. However, minor pruning to remove dead or damaged branches can be done throughout the year. You may also need to prune it to keep it under control.
Tools Needed:
Pruning shears or sharp bypass hand pruners
Gardening gloves
Loppers or a pruning saw for thicker branches (if necessary)
Disinfectant solution (such as rubbing alcohol or bleach) to sterilize your pruning tools (before and after use) to prevent the spread of diseases.
The Pruning Process
Pruning bougainvillea while avoiding the thorns.
Follow these steps to prune your bougainvillea effectively:
Step 1: Assess the Plant:
Observe your bougainvillea and identify the branches that need to be pruned. Look for dead, damaged, or diseased branches, as well as any overly long or unruly growth that needs shaping.
Step 2: Prepare Your Tools:
Ensure your pruning tools are clean and sharp. Sterilize them with a disinfectant solution to prevent the spread of diseases from one plant to another.
Step 3: Prune Dead or Damaged Branches:
Start by removing any dead, damaged, or diseased branches. Make clean cuts just above a healthy bud or side branch, using sharp pruning shears. Cut at a slight angle to allow water to drain off the wound.
Step 4: Control the Plant’s Size and Shape:
To maintain the desired size and shape of your bougainvillea, selectively prune long or unruly branches. Identify branches that are extending beyond the desired boundaries or obstructing walkways, fences, or structures. Make pruning cuts just above a bud or side branch, leaving a stub of the branch to promote new growth.
Step 5: Thinning Out the Canopy (Optional)
If your bougainvillea is dense and overcrowded, you may consider thinning out the canopy to improve airflow and light penetration. Remove some of the interior branches to open up the plant and reduce the risk of pests or diseases.
Step 6: Clean Up and Disinfect:
After pruning, gather and remove the pruned branches and debris from the area. Dispose of them properly. Clean and disinfect your pruning tools with a sterilizing solution to prevent the spread of diseases.
Step 7: Post-Pruning Care:
After pruning, water your bougainvillea thoroughly to help it recover and encourage new growth. Apply a balanced fertilizer to provide the necessary nutrients for the plant’s recovery.
Remember, bougainvillea blooms on new growth, so avoid excessive pruning that removes too many potential blooming branches. Pruning should focus on maintaining the plant’s shape, removing dead or damaged branches, and promoting healthy growth.
Propagating Bouganvillea Cheap and Easy
The method works for me, so thanks to David the Good for this video.
Common Pests, Diseases, and Special Care for Bougainvillea
Bougainvillea, like any other plant, can be susceptible to certain pests, diseases, and specific care requirements. Here’s a breakdown of common pests, diseases, and special care for bougainvillea:
Common Bougainvillea Pests
Aphids
Aphids are small, soft-bodied insects that feed on plant sap, causing leaves to curl, yellow, or become distorted. To remedy aphid infestations, you can:
Spray a strong stream of water on the affected plant parts to dislodge the aphids.
Apply insecticidal soap or horticultural oil following the product instructions.
Introduce natural predators like ladybugs or lacewings to control aphid populations.
Caterpillars
Caterpillars, such as the bougainvillea looper or cabbage looper, can chew on leaves, causing significant damage. To remedy caterpillar infestations, you can:
Handpick and remove caterpillars from the plant.
Apply Bacillus thuringiensis (Bt), a biological insecticide that targets caterpillars.
Use insecticidal sprays labeled for caterpillar control, following the product instructions.
Whiteflies
Whiteflies are tiny, sap-sucking insects that cluster on the undersides of leaves, causing yellowing, leaf drop, and a sticky residue called honeydew. To remedy whitefly infestations, you can:
Use yellow sticky traps to capture adult whiteflies.
Spray the affected foliage with insecticidal soap or horticultural oil, ensuring thorough coverage.
Encourage natural predators like parasitic wasps or ladybugs to control whitefly populations.
Common Bougainvillea Diseases
Leaf Spot
Leaf spot diseases, caused by fungi, manifest as dark spots or lesions on the foliage. To remedy leaf spot diseases, you can:
Prune and remove affected plant parts to improve airflow and reduce disease spread.
Apply copper-based fungicides according to the product instructions.
Powdery Mildew
Powdery mildew appears as a white, powdery coating on leaves, stems, and flowers. To remedy powdery mildew, you can:
Prune and thin out the plant to improve airflow.
Apply fungicides labeled for powdery mildew control, following the product instructions.
Root Rot
Root rot is a fungal disease caused by overly wet or poorly draining soil. It leads to root decay, wilting, and overall decline of the plant. To remedy root rot, you can:
Improve soil drainage by amending the soil with organic matter.
Adjust watering practices to avoid waterlogging the roots.
Apply fungicides labeled for root rot control, following the product instructions.
Special Needs and Care for Bougainvillea
Pruning and Training
Regular pruning is essential for maintaining shape, promoting airflow, and removing dead or diseased branches. Train bougainvillea to climb or grow in a desired direction using trellises, fences, or stakes.
Support for Climbing Varieties
If you have climbing varieties, provide proper support structures like trellises, arbors, or wires to guide the vines and prevent damage to nearby structures.
Winter Protection in Colder Zones
In regions with colder winters, protect bougainvillea from freezing temperatures by covering with frost blankets, moving potted plants indoors, or providing a sheltered location.
Landscape Design Ideas and Companion Plants for Bougainvillea
Bougainvillea’s vibrant colors and sprawling growth make it a fantastic addition to any landscape design in subtropical regions. Here are some design ideas and appropriate companion plants to complement bougainvillea.
Design Ideas Using Bougainvillea:
Colorful Fences and Walls
Use bougainvillea to add a splash of color and create a living tapestry along fences or walls. The vibrant bracts will create an eye-catching display and provide a beautiful backdrop for your outdoor space.
Pergolas and Trellises
Train bougainvillea vines to climb and adorn pergolas, trellises, or arbors. The cascading bracts will create a stunning overhead canopy, providing shade and a vibrant atmosphere.
Plant bougainvillea in large containers or pots to add a vibrant focal point to patios, balconies, or entryways. Choose compact or dwarf varieties to keep the plant size manageable and ensure it thrives in the container environment.
Courtyard Gardens
Create a Mediterranean-inspired oasis in your courtyard by incorporating bougainvillea. Use it as a backdrop for a tranquil seating area or plant it in containers for a burst of color amidst lush greenery.
Hedge or Border Planting
For privacy or to define garden boundaries, consider planting bougainvillea as a hedge or border. Prune it regularly to maintain a desired height and shape while enjoying its colorful display.
Plumbago’s delicate blue flowers provide a lovely contrast to the bold colors of bougainvillea. It is a versatile shrub that can be used as a low hedge or ground cover, adding depth and texture to the garden.
Mexican Flame Vine (Senecio confusus):
With its cascading orange or red flowers, Mexican Flame Vine creates a stunning combination when paired with bougainvillea. Allow it to climb or trail through the bougainvillea for a captivating display.
Dwarf bottlebrush is known for its vibrant, brush-like flowers in shades of red, pink, or yellow. Planted alongside bougainvillea, it adds height variation and attracts pollinators to the garden.
Hibiscus (Hibiscus rosa-sinensis):
Hibiscus and bougainvillea together create a tropical paradise. The large, showy flowers of hibiscus complement the bracts of bougainvillea, enhancing the overall visual impact of the landscape.
Bush Morning Glory (Convolvulus cneorum):
With its silver foliage and delicate white flowers, bush morning glory offers a beautiful contrast to the vibrant bracts of bougainvillea. Plant it as a low-growing ground cover or in containers.
When selecting companion plants for bougainvillea, consider their sunlight, water, and soil requirements to ensure they are compatible. Aim for a harmonious combination that enhances the visual appeal and complements the colors and textures of bougainvillea.
Bougainvillea can be incorporated into various landscape designs, from vibrant walls and fences to container plantings and courtyards. Pairing it with appropriate companion plants adds depth and creates a visually stunning garden.
The Beauty and Versatility of Bougainvillea in Your Garden
Bougainvillea, with its vibrant and abundant display of colorful bracts, is a true gem for subtropical gardens in USDA Zones 9 to 11. Its versatility, resilience, and stunning visual appeal make it a cherished addition to any landscape design. Bougainvillea’s ability to thrive in hot and humid climates, coupled with its preference for full sunlight, allows it to create a striking visual impact on walls, fences, trellises, and in containers. Whether used as a focal point, a living tapestry, or a cascading canopy, bougainvillea adds a touch of tropical beauty and splendor to outdoor spaces. With proper care, pruning, and companion planting, bougainvillea can transform your garden into a vibrant paradise, captivating the senses with its vivid colors and exuberant blooms. So, embrace the beauty of bougainvillea and let it infuse your garden with its warmth, charm, and botanical splendor.
FAQ – Frequently Asked Questions About Bougainvillea
Do bougainvillea like acidic soil?
Yes, bougainvillea prefers slightly acidic to neutral soil with a pH range of 6.0 to 7.0.
Do bougainvillea like coffee grounds?
Coffee grounds can be beneficial for bougainvillea as they help to slightly acidify the soil, which is favorable for their growth.
Is bougainvillea poisonous to dogs?
While bougainvillea is generally considered non-toxic to dogs, it’s always best to keep pets from ingesting any part of the plant to avoid potential digestive issues.
Do bougainvillea like sun or shade?
Bougainvillea thrives in full sunlight and requires at least 6 to 8 hours of direct sunlight each day for optimal growth and blooming.
Is bougainvillea better in pots or ground?
Bougainvillea can be grown both in pots and in the ground. However, they require proper care and attention in containers to ensure adequate drainage and regular watering.
How do you keep bougainvillea alive in the winter?
In colder regions, protect bougainvillea from freezing temperatures by covering them with frost blankets, moving potted plants indoors, or providing a sheltered location.
Do bougainvillea bloom year-round?
Bougainvillea typically blooms in cycles, producing vibrant bracts for several months at a time. While they may have intermittent blooms throughout the year, they don’t usually bloom year-round.
Do hummingbirds like bougainvillea?
Yes, hummingbirds are attracted to the bright and showy bracts of bougainvillea, making it a favorite plant to attract these delightful birds to your garden.
Does bougainvillea attract rodents?
Bougainvillea itself does not attract rodents. However, rodents may seek shelter in the dense foliage if the plant is grown against structures or near their nesting areas.
What month is best to plant bougainvillea?
Spring is the ideal time to plant bougainvillea, as the warmer temperatures and longer daylight hours promote healthy root establishment and growth.
Do bougainvillea need lots of water?
Bougainvillea prefers regular watering but should be allowed to dry out slightly between waterings. Avoid overwatering, as it can lead to root rot and other issues.
How do you get bougainvillea to spread?
Bougainvillea naturally spreads through its vining growth habit. You can encourage lateral spreading by pruning and training the plant, or by providing support structures for the vines to grow horizontally.
How do I keep my bougainvillea blooming all summer?
To keep bougainvillea blooming throughout the summer, ensure it receives adequate sunlight, provide regular watering, and fertilize appropriately during the active growing season.
How do you keep bougainvillea bushy?
Regular pruning helps to keep bougainvillea bushy and encourages branching. Prune back long or unruly branches to promote a compact and bushy growth habit.
Do you cut back bougainvillea?
Yes, bougainvillea benefits from regular pruning to maintain its shape, remove dead or diseased branches, and promote new growth. Pruning is typically done in late winter or early spring.
What does an overwatered bougainvillea look like?
An overwatered bougainvillea may exhibit yellowing leaves, wilting, root rot, and a general decline in health. The soil may feel excessively wet or waterlogged.
How often should bougainvillea be trimmed?
Bougainvillea can be trimmed as needed to control its size and shape. Major pruning is typically done once a year in late winter or early spring, but minor pruning for maintenance can be done throughout the year.
Featured Image via Wikimedia 阿橋 HQ, CC BY-SA 2.0, via Wikimedia Commons
If you’ve been paying attention to the weather forecast, it’s likely that the last thing on your mind is what to plant in July in Florida. The heat indexes have easily been in the triple digits, and the rainfall reports are way down.
The good news is that if you’re just as addicted to gardening as I am, there are a few things you can do to feed that urge, even in all this heat.
That’s right, Florida gardeners — it’s July! It’s not time to get back into the garden quite yet, but it IS time to start collecting supplies and sowing seeds indoors and under cover.
It’s time to get ready for the fall garden. Start stocking up on your favorite seeds and get cracking. It’s go time.
It’s Time to Get Seeding!
We had a ridiculously cold winter and a frighteningly dry spring. It’s even been a dry summer.
While you may have given up on your tomatoes months ago, you can certainly try again now.
While you can grow nearly anything between September and December in Florida (at least Central and South Florida), the time to start long-season crops is right now.
Tomato Time
Start tomato seeds in mid-July through Mid August in order to plant out into the garden or containers in September.
You’ll want to be sure that the temperatures have dropped low enough that tomatoes can flower and form fruit, so keep an eye on the weather.
The best way to be ready to have well-developed plants to add to the garden as early as feasible is to start them indoors in July.
You can grow your seedlings under cover and pot them up as they grow for up to three months if necessary. In containers, you can better control their exposure to scalding sun and downpouring rains.
We’ll be selling a new line of vegetable starters suited for Florida gardens in our nursery. If you’re not nearby, we invite you to check out our seeds for sale. We’ve curated the best varieties for the hot & humid Southeastern states, Gulf Coast region, and blistering hot Southwest garden.
And all of our tomato seeds come with a free pack of companion French Marigolds, because we know the tragedy that is root knot nematodes.
Peppers
Everyone loves peppers because they’re easy to grow, come in a wide variety of colors, and have different flavor profiles for a range worldwide cusines.
But boy, can they be lazy.
Peppers can take forever to take off. I don’t know how many times I’ve stared pointedly at cell trays of peppers wondering whether to even bother misting them after two weeks.
Because they do take some time to get going, start them now so you’ll have time to plant them out as early as possible.
They don’t like the cold at all, so if we get another chilly December, it will be nice to get some sweet bells before then.
Check out our California Wonder pepper seeds to plant in July in soil blocks or cells.
Protecting Your Seedlings
Sowing under cover in Florida isn’t an issue of protecting delicate seedlings from the cold. Here, it’s a matter of preventing them from getting washed out by heavy rainstorms.
Starting seeds out of the elements can help keep them from burning up when the heat index is in the triple digits and even your hot peppers are getting scalded.
Whether you start them on a patio, lanai, or indoors, make sure they get plenty of light once the seeds germinate.
Since the long-season peppers and tomatoes like to germinate in warm temperatures, keep your seed starting trays somewhere where they’ll stay at a minimum of 75°F.
They’ll also need some airflow, which not only reduces the chance of dampening off but also stimulates the growth of strong, sturdy stems.
What Else to Plant in July in Florida?
Along with starting your Fall crops by seed, there are also a few heat-loving veggies you can direct sow. Summer is great for planting Okra and Southern Peas. If you’re not a big fan of black-eyed peas or cowpeas, you can also sow them as cover crops to improve your soil for fall planting out.
If you’ve already sown or purchased starts of tropical vegetables or Mediterranean herbs, you can add them to your garden. You’ll find exotic veggies like Okinawa spinach or Longevity spinach at many Florida nurseries. We sell Okinawa spinach starts too.
Make sure your Mediterranean herbs have plenty of drainage, as they can get root rot from our persistent (and seemingly unending) rainfall.
And don’t forget to plant flowers! Many annual flowers you can add to the garden will attract pollinators and beneficial insects that help nurture and protect your crops. Some will grow and bloom in just 60 to 75 days. Quick-growing annual flowers add beauty and diversity to your garden, and many provide critical root exudates for your soil.
Start your broccoli and tomato plants in late July in Central and South Florida.
Here’s what you can start sowing in July in Florida, as well as other Gulf Coast states in the U.S>
South Florida (Zones 10 to 11)
If you’re in South Florida, and some parts of coastal Central Florida, the weather is steaming, even dangerous.
However, it changes fast, so it’s a good idea to be ready with healthy vegetable plants starts so you’re ready to plant out in September.
Scarlet Sage loves the heat and will draw in bees and hummingbirds to your garden.
Pace Yourself When Gardening in Florida in July
Don’t try to start everything at once. Remember, it’s still very hot out there, and it looks like it will stay dry. So, no regular summer storms to cool things off a bit. There’s still a risk of heat exhaustion and skin damage from UV rays.
The wonderful thing about gardening in Florida is our mild autumn and the length of our growing season. Start with vegetables that take the longest time to mature, such as tomatoes and peppers. In Central and South Florida, you can usually plant these out as late as October and overwinter them by covering them on cold nights.
I’m never happy to see the days get shorter, but I’m always excited for the Fall gardening season. To make the most of it, you can get many of your vegetables and flowers started in July.
With its glorious sprays of deep purple flowers that dangle in graceful sprays, Duranta erecta brings vivid tropical color to any Gulf Coast area garden. Native to the tropical regions of the Americas, the most used Duranta erecta common name is Golden Dewdrop, though some call it Pigeon Berry. It boasts vibrant color and an elegant weeping shape, blooming profusely and attracting bees and butterflies.
Duranta erecta is a multi-stemmed shrub that can reach a height of 6 to 15 feet with a spread of 6 to 10 feet. It features an upright and bushy growth habit, adorned with glossy green foliage and clusters of vibrant flowers.
The foliage of the Duranta erecta plant consists of small, elliptical leaves arranged in an opposite or whorled pattern along the stems. The leaves have a lustrous green color and provide an attractive backdrop to the blossoms. The plant is evergreen in subtropical and tropical climates.
One of the highlights of Duranta is its showy flowers. The pendulous flower clusters, known as racemes, dangle from the branches and are adorned with tubular blossoms. The flowers come in various colors, including shades of purple, blue, white, or a combination of these hues, creating a striking visual display.
Duranta erecta originates from the Caribbean, Mexico, and South America, where it thrives in warm and tropical climates. It has since become naturalized in many parts of the world, including the Gulf Coast region of the United States.
In its native habitat, you’ll find Duranta growing in open woodlands, thickets, and disturbed areas. It is well-adapted to tropical and subtropical environments, showcasing its resilience and versatility.
Duranta is generally suitable for growing in USDA hardiness zones 9 to 11. Growing Duranta in Florida provides a particularly favorable climate for the successful cultivation of this tropical beauty. It also thrives along the Gulf Coast in Texas and Louisiana.
Optimal Growing Conditions
Duranta erecta thrives in full sun to partial shade, making it adaptable to different light conditions. It prefers well-draining soil with moderate moisture retention. Once established, it can tolerate periods of drought.
Golden Dewdrop Duranta erecta delivers a prolonged flowering season, typically spanning from spring to late fall. During this time, the plant produces an abundance of blossoms, drawing in squadrons of delighted bees.
Duranta berries are small, spherical fruits that develop after the flowering period. They are a vibrant golden or yellow color, hence the common name for Duranta: “Golden Dewdrop.”
These berries, typically about 1/2 inch in diameter, add ornamental value to the plant and contribute to its overall visual appeal. However, it is important to note that the berries are considered toxic if ingested, especially to children and pets, so precautions should be taken to prevent accidental ingestion.
Wildlife Benefits of Golden Dewdrop Duranta Erecta
Duranta erecta serves as a valuable host plant for butterfly species such as the Gulf Fritillary (Agraulis vanillae) and the White Peacock (Anartia jatrophae). These butterflies lay their eggs on the leaves, and the resulting larvae, or caterpillars, feed on the foliage.
Duranta Erecta Care
Care of your Golden Dewdrop plant is relatively straightforward when grown under the right conditions.
Light Requirements
Duranta erecta thrives in full sun to partial shade. It prefers a minimum of 6 hours of direct sunlight per day for optimal growth and flowering. In areas with intense afternoon sun, providing partial shade during the hottest part of the day can help prevent stress and sunburn.
Soil Type
Duranta prefers well-draining soil that retains some moisture without becoming waterlogged. It adapts well to various soil types, including loam, sandy, or clay soils.
Soil pH
The ideal soil pH for Duranta ranges between slightly acidic to slightly alkaline, around 6.0 to 7.5. Conduct a soil test to determine the pH level and amend the soil if necessary to maintain the desired range.
Climate Requirements
Golden Dewdrop is well-suited to tropical and subtropical climates. It thrives in areas with warm temperatures, moderate humidity, and mild winters.
Temperature Tolerances
The optimal temperature range for Duranta is between 65°F and 85°F, providing the ideal conditions for growth and flowering.
Duranta growth may slow or temporarily stop when temperatures drop below 50°F.
Prolonged exposure to temperatures below 32°F can cause damage and the plant may experience leaf drop, browning, or dieback of branches.
In extremely hot conditions above 95°F, Golden Dewdrop may experience heat stress, resulting in wilting, leaf burn, or reduced overall vigor. Providing shade or adequate watering can help mitigate the effects of high temperatures.
Protecting Duranta from Cold
When temperatures drop below freezing, protect Duranta from cold damage:
Water well and deeply during the warmth of the day.
Apply a layer of organic mulch around the base of the plant to insulate the roots and retain soil moisture.
Cover the plant with a frost cloth or blanket during freezing temperatures to protect it from frost damage.
Elevation Concerns
Duranta is adaptable to various elevations within its suitable hardiness zones. However, keep in mind that colder temperatures at higher elevations may require additional protection during winter months.
Considering your landscape carefully before planting your Duranta. Remember, it will grow to a large size if not regularly pruned.
Choosing a Location
Select a site that receives full sun to partial shade, ensuring at least 6 hours of direct sunlight per day.
Consider the plant’s mature size and provide enough space for it to grow without overcrowding nearby plants or structures.
Ensure the planting location has well-draining soil to prevent waterlogging.
Step-by-Step Instructions for Planting a Duranta erecta Plant:
Dig a hole: Dig a hole that is twice the width and slightly deeper than the root ball of the Duranta erecta plant.
Prepare the soil
If the soil is heavy clay or lacks organic matter, mix in compost or well-rotted manure to improve drainage and fertility.
Remove the plant from its container
Gently tap or squeeze the container to loosen the root ball, then carefully slide the plant out.
Position the plant
Place the plant in the center of the hole, ensuring that the top of the root ball is level with or slightly above the soil surface.
Backfill the hole
Fill the hole with the amended soil, gently firming it around the root ball to eliminate air pockets.
Water thoroughly
Give the newly planted Duranta erecta a deep watering to settle the soil and establish good root-to-soil contact.
Aftercare
Provide regular watering, keeping the soil consistently moist but not waterlogged, especially during the first few months after planting.
Apply a layer of organic mulch around the base of the plant, keeping it a few inches away from the stem. Mulch helps conserve soil moisture and suppress weeds.
Watering Schedule
Duranta can be a thirsty plant, so consider the weather and temperature when deciding how frequently to water your plant.
Spring: Water thoroughly and regularly as new growth emerges.
Summer: Increase watering during hot and dry periods to ensure adequate soil moisture.
Fall: Maintain regular watering as the plant prepares for winter.
Winter: Reduce watering, allowing the soil to dry out slightly between waterings.
Optimal Duranta Fertilizer Composition and Schedule
To make the most of your fertilizer dollars, make sure you feed your Golden Dewdrop appropriately throughout the year.
Leafing Out (Spring)
Use a balanced slow-release fertilizer, such as a 10-10-10 or 14-14-14. Apply according to the package instructions, typically in early spring when new growth begins. Follow recommended rates based on the size and age of the plant.
Blossom (Summer)
Switch to a fertilizer higher in phosphorus, such as a 10-20-10 or 15-30-15. Apply as directed on the package during the active blooming period to support flower production and quality.
Pre-Winter/Over Winter
Avoid fertilizing during late fall and winter when the plant enters a period of dormancy. Instead, focus on providing adequate moisture and protecting the plant from cold temperatures.
Placing a thick layer of compost or other organic matter under the mulch to break down over winter will provide better growing conditions in spring.
Note: It is crucial to follow the specific instructions provided by the fertilizer manufacturer and adjust the amounts based on the plant’s needs and growing conditions.
There are a few pests that might make a meal of your Golden Dewdrop. Remember that you don’t have to remove them if you choose not to. Many of these pests provide food for wildlife, so you may want to refrain from treatment unless they threaten the life of your plant.
Aphids
These small, soft-bodied insects cluster on new growth, sucking sap from the plant. Use a strong jet of water to dislodge them and let ladybugs feast on the rest.
It’s also a good idea to look for ants if you see an aphid infestation. Ants will protect aphids from predators in order to farm them for their “dew.”. An ant trap with boric acid will reduce the number of ants and aphids in an environmentally friendly way.
Whiteflies
These tiny, white insects congregate on the undersides of leaves, causing yellowing and stunted growth. Remedy: Use insecticidal soap, neem oil, or introduce natural predators like ladybugs or lacewings.
Caterpillars
Various caterpillar species, such as the caterpillars of the Gulf Fritillary butterfly, can feed on the leaves. We recommend handpicking them, but only if they seem to be a real threat to your Duranta erecta plant.
Note that Oleander moth caterpillars may also infest your Duranta plant and become devastating. Unfortunately, it is easy to confuse them with Gulf Fritillary caterpillars.
Spider Mites
These tiny pests cause yellow stippling on leaves and produce fine webbing. Spray the foliage with a strong jet of water to dislodge them or apply insecticidal soap or horticultural oil. Spider mites usually appear only on dry and desiccated plants, so spray the plant frequently and water more regularly.
Golden Dewdrop Common Diseases
Leaf Spot: Fungal leaf spot diseases can cause dark spots or patches on the leaves. Prune infected branches to improve air circulation around the plant. Fungicidal sprays may be necessary for severe infections. Copper sprays are generally considered safe and affordable and most are listed for organic gardening.
Powdery Mildew
This fungal disease forms a white, powdery coating on the leaves, stems, and flowers. Prune to Improve air circulation, avoid overhead watering, and apply fungicidal sprays as needed.
A solution of 8-12 tablespoons of household hydrogen peroxide (3%) in 1 gallon of water sprayed every three days for a week will reduce powdery mildew with diligent application.
Root Rot
Overwatering or poorly drained soil can lead to root rot, causing yellowing leaves, wilting, and eventual plant decline. Remedy: Ensure proper drainage and adjust watering practices. If unable to remediate the soil quality, you may need to move the plant to a location with better drainage.
Duranta Eerecta Propagation
Although it may take several tries and some time to propagate Duranta from cuttings, it’s well worth your effort.
Select a stem cutting: Choose a healthy, non-flowering stem measuring about 4 to 6 inches (10 to 15 cm) in length.
Prepare the cutting: Use clean, sharp pruning shears to make a clean cut just below a leaf node.
Remove lower leaves: Remove the lower leaves, leaving a few leaves at the top of the cutting.
Apply rooting hormone (optional): Dip the cut end of the cutting into a rooting hormone powder or gel to enhance root formation.
Plant the cutting: Insert the cut end of the stem into a well-draining potting mix or a mix of peat moss and perlite, ensuring at least one node is below the soil surface. I use a 50/50 mix of coco coir and perlite that provides both moisture retention and excellent drainage.
Provide optimal conditions: Place the potted cutting in a warm, bright location with indirect sunlight. Maintain a consistently moist but not waterlogged soil.
Rooting process: Keep the soil moist and provide high humidity by covering the cutting with a plastic bag or using a propagation tray with a clear lid. Roots should develop in a few weeks to a few months.
Transplanting: Once the roots have developed, carefully transplant the rooted cutting into a larger pot or desired planting location.
Golden Dewdrop’s striking appearance and adaptability make it a valuable addition to various landscaping designs.
One of the benefits is that you can prune Duranta erecta into a tree shape. You can also create a Duranta erecta hedge with a row of specimens.
Here are some other creative ideas to incorporate this versatile plant into your landscape:
Colorful Hedges and Borders
Use Duranta erecta as a hedge or border plant to create a vibrant living fence. Its dense foliage and colorful flowers add visual interest and define spaces. Consider planting them in a row along a pathway or around garden beds for a lively and eye-catching border. Prune regularly to ensure bushy growth and increase the density of the hedge.
Focal Point in Mixed Borders
Plant Duranta as a focal point within mixed borders or perennial beds. Its tall stature and profusion of blooms draw the eye and provide a stunning centerpiece. Combine it with other flowering plants that complement its colors, such as salvias, lantanas, or petunias.
Container Gardening
Duranta is well-suited for container gardening. Place potted specimens on patios, balconies, or porches to add a tropical touch to your outdoor living spaces. Choose large containers to accommodate the plant’s mature size and pair it with cascading or trailing plants for added texture and visual interest.
Poolside Landscaping
The lush foliage and attractive flowers of Duranta erecta make it an excellent choice for poolside landscaping. Plant it as a backdrop to create a tropical oasis around your pool area. The reflection of the blooms on the water’s surface adds a touch of tranquility.
Butterfly and Pollinator Gardens
Duranta’s nectar-rich flowers attract butterflies, bees, and other pollinators. Create a dedicated butterfly or pollinator garden by incorporating Golden Dewdrop along with other butterfly-friendly plants, such as milkweed, butterfly bush, and zinnias. This will not only enhance the visual appeal but also contribute to the local ecosystem.
Landscape Ornamentals that Pair Well with Duranta
When choosing companion plants for Duranta, consider those with similar soil, light exposure, water, and fertilization requirements. Here are a few examples:
Native Lantana (Lantana depressa)
These colorful flowering perennials share similar growth habits and requirements with Duranta. Their vibrant yellow blooms complement the deep purple of Duranta and attract pollinators.
Pentas (Pentas lanceolata)
With their long-lasting clusters of star-shaped flowers, Pentas create a beautiful contrast when planted alongside Golden Dewdrop. They thrive in similar conditions and provide additional pops of color.
Tropical Sage (Salvia coccinea)
The upright, red flower spikes of Tropical Sage create an excellent complement to Duranta’s vivid purple blooms.
Plumbago (Plumbago auriculata)
The delicate blue flowers of Plumbago complement the colors of Golden Dewdrop and both plants thrive in similar conditions.
Cape Honeysuckle (Tecomaria capensis)
This evergreen shrub displays clusters of vibrant orange or red tubular flowers, creating a stunning contrast when planted alongside Duranta.
Firebush (Hamelia patens)
With its fiery red-orange tubular flowers, Firebush adds a splash of color and attracts hummingbirds, making it an excellent companion plant.
Society Garlic (Tulbaghia violacea)
This perennial herb features attractive gray-green foliage and clusters of purple flowers. It pairs well with Duranta erecta and adds a delightful fragrance to the garden.
Mexican Flame Vine (Senecio confusus)
Known for its bright orange blooms, Mexican Flame Vine creates a beautiful backdrop when combined with Duranta.
Coral Honeysuckle (Lonicera sempervirens)
This native Florida vining plant that produces attractive red-orange tubular flowers, which can create a beautiful contrast when planted near Duranta colorful blooms. Additionally, Coral Honeysuckle is known to attract hummingbirds, further enhancing your garden’s appeal to wildlife.
These plant selections will provide a diverse landscape, attracting pollinators, beneficials, and other wildlife to your subtropical garden.
Vivid Gulf Coast Garden Color
Duranta erecta, with its vibrant purple flowers, bright golden berries, and attractive foliage offers numerous opportunities for tropical landscaping designs. Planted with native Gulf Coast region flowering perennials and other wildflowers, your garden will soon be bursting with life, movement, and color.
FAQ – Frequently Asked Questions About Growing Duranta
Can Duranta take full sun?
Yes, Duranta erecta thrives in full sun but can also tolerate partial shade.
Is a Duranta a perennial?
Yes, Duranta erecta is a perennial shrub.
Will Duranta survive a freeze?
Duranta is sensitive to freezing temperatures and may experience damage or die back in severe freezes.
Does Duranta erecta like sun or shade?
Duranta prefers full sun to partial shade.
How cold can Duranta tolerate?
Duranta can tolerate temperatures down to around 25°F (-4°C), but extended cold periods can cause damage or even kill the plant.
Do hummingbirds like Duranta?
Yes, hummingbirds are attracted to the vibrant flowers of Duranta erecta.
What hardiness zone is Duranta erecta?
Duranta erecta is typically suitable for USDA hardiness zones 9 to 11.
Should I deadhead Duranta?
Deadheading spent flowers can encourage continued blooming and maintain a neat appearance, but it is not necessary. You may want to trim off and dispose of the berries if you have concerns about their toxicity.
How big does Duranta get?
Duranta erecta can grow to a height of 6 to 15 feet (1.8 to 4.6 meters) with a spread of 6 to 10 feet (1.8 to 3 meters).
Does Duranta bloom all summer?
Duranta erecta has a prolonged flowering season, typically blooming from spring to fall, but the intensity and duration of flowering can vary.
Is a Duranta a tree or a bush?
Duranta erecta is typically grown as a bushy shrub, but it can be trained into a small duranta erecta tree form with proper pruning.
How do you take care of Duranta in the winter?
In winter, protect Duranta erecta from frost by covering it with a frost cloth or blanket and applying a layer of organic mulch around the base to insulate the roots.
Does Duranta attract bees?
Duranta erecta does attract bees and butterflies with its nectar-rich flowers.
What is the common name for Duranta?
Duranta erecta is commonly known as Golden Dewdrop or Pigeon Berry.
Does Duranta erecta have medicinal uses?
While Duranta erecta has some traditional medicinal uses, it is primarily cultivated as an ornamental plant. In certain cultures, various parts of Duranta erecta, such as the leaves and roots, have been used in traditional medicine to treat conditions like fever, cough, respiratory ailments, and skin infections.
What is Duranta erecta aurea?
Duranta erecta aurea is a cultivar of Duranta erecta with golden or yellow foliage.
What is Duranta erecta alba?
Duranta erecta alba is a cultivar of Duranta erecta with white flowers.
Where can I purchase Duranta erecta?
We frequently carry Duranta in our nursery. You can check out our Etsy shop for the current inventory.
Plumbago, a genus comprising several species of flowering plants, has captured the hearts of gardeners and horticulturists around the world with its dazzling beauty and ability to thrive in tropical and subtropical climates.
Gulf Coast gardeners may find three species available within the Plumbago genus, each possessing its own unique characteristics and charm.
Originating from South Africa, Plumbago auriculata, commonly known as Cape leadwort, Cape Plumbago, or blue plumbago, thrives in the Gulf Coast region of the United States. This is the species you will most likely encounter in commercial nurseries. It is most often a light to bright blue, but you can also find a white variety of the flower.
In its native habitat, this evergreen shrub thrives in a variety of environments, from rocky slopes to coastal dunes.
It’s a versatile and visually striking plant. It typically grows into a dense, rounded shrub, reaching an average height of 6 to 10 feet with a spread of 6 to 8 feet. Its glossy, deep green leaves are elongated and lance-shaped, creating an elegant backdrop for the plant’s vibrant blue flowers.
Blue Plumbago is known for its proliferation of flowers. Throughout the warm months, usually from late spring to fall, even into winter in zones 10 and 11, the plant offers multiple clusters of tubular flowers in hues ranging from white to pale sky blue to deep cobalt blue. The delicate blossoms, about 1 inch in diameter, have a very subtle fragrance and attract various pollinators, including bees and butterflies.
When it comes to hardiness zones, it thrives in zones 8 to 11 within the U.S., making it a suitable choice for gardeners along the Gulf Coast and other mild-winter regions. However, in colder areas, it can be grown in containers and brought indoors during the winter months.
To achieve optimal growth and bloom, provide Plumbago auriculata with full sun to partial shade. This species is adaptable to a wide range of soil types, but it prefers well-draining soil enriched with organic matter. Regular watering is necessary, especially during drier periods, to maintain healthy growth.
This is one of the most reliable landscape ornamentals in my garden, and I find that it’s very fussy (hungry and thirsty) for the first three years but after that, it flourishes with very little care.
The plant’s nectar-rich flowers serve as a valuable food source for pollinators, while its foliage offers shelter for various insects and small animals. I frequently find Florida anoles napping in the branches.
Several butterfly species, such as the Zebra Blue (Leptotes plinius) and the Common Blue (Polyommatus icarus), utilize this species as a host plant for their larvae.
Plumbago indica (or Plumbago rosea), commonly known as Indianleadwort or red plumbago (or pink plumbago), is from India, so does wonderfully along the Gulf Coast in our hot, humid climate.
In its natural habitat, it thrives in the tropical and subtropical regions of Asia, including India and Sri Lanka. This species has adapted to a variety of environments, from open woodlands to rocky hillsides and coastal areas.
The plant itself presents a graceful and compact form, growing up to 3 to 6 feet in height and spreading 3 to 4 feet wide. Its slender branches bear lush, dark green leaves that create an attractive backdrop for the blossoms to come.
When it comes to flowering, this species offers a stunning display of vibrant red or pink clusters. These tubular flowers, measuring about 1 inch in diameter, emerge in abundance throughout the warm months, from spring to fall. The delicate blooms emit a gentle fragrance, attracting butterflies and hummingbirds to the garden.
In terms of hardiness zones, Plumbago indica thrives in zones 9 to 11 within the U.S. It appreciates full sun to partial shade and prefers well-draining soil that is rich in organic matter. Regular watering is essential for optimal growth and flowering, particularly during dry periods.
The flowering season coincides with the warmer months, providing a refreshing burst of color to gardens and landscapes. Its abundant flowers and compact growth habit make it an excellent choice for borders, hedges, or container gardening.
Hailing from tropical regions of Asia, but also native to coastal regions of Florida, Plumbago zeylanica, also known as Ceylon leadwort or wild plumbago, possesses a natural allure. This herbaceous perennial has made its mark in various ecosystems and now finds itself cherished by gardeners in the Gulf Coast region and beyond.
Wild Plumbago is not as showy as the other two species we’ve discussed, but it has the benefit of being a Florida native plant, supporting our unique ecosystems.
It thrives in diverse habitats, including grasslands, open forests, and scrublands. Its adaptability allows it to flourish in a range of soil types, from sandy to clayey compositions.
The plant itself displays a unique growth habit, forming clumps of sprawling, vine-like stems that reach a height of 1 to 3 feet. Its lance-shaped leaves, arranged alternately along the stems, add an attractive touch of green to the landscape.
Plumbago zeylanica showcases clusters of pale blue or white blossoms. These tubular flowers, about 0.5 inch in diameter, bloom throughout the warm months, from spring to fall. The delicate flowers emit a faint, sweet fragrance that entices pollinators, including bees and butterflies.
This species typically grows in zones 9 to 11 within the U.S., where it thrives in the warm and humid conditions of the Gulf Coast region. It prefers full sun to partial shade and well-draining soil enriched with organic matter. Regular watering is necessary to maintain its lush foliage and promote healthy growth.
The flowering season coincides with the warmer months, providing a delightful display of pale blue or white flowers. Its sprawling growth habit makes it an excellent choice for ground cover, cascading over walls, or spilling out of containers.
Plumbago zeylanica attracts various pollinators, contributing to the local ecosystem. While specific wildlife interactions may vary, Wild Plumbago is known to support the life cycles of several butterfly species.
Planting Plumbago: Creating a Beautiful Foundation
Plumbago brings a touch of tropical splendor to any Gulf Coast garden with its abundant flowers and ease of care. Plumbago is what they call “a doer” in the garden. It delivers nearly year-round and once established, it sets the foundation for a lush tropical landscape.
Choosing a Location to Plant Plumbago:
Selecting the right location for planting is crucial to its growth and overall health. Consider the following factors when choosing a spot:
Sunlight
This species thrives in full sun to partial shade. Choose a location that receives at least 6 hours of direct sunlight per day for optimal growth and flowering.
Soil Drainage
Plumbago prefers well-draining soil to prevent waterlogging, which can lead to root rot. Ensure the chosen location has soil that allows water to drain freely.
Space
Consider the mature size of the species you are planting. Allow enough space for the plant to spread and grow without overcrowding other nearby plants.
Step-by-Step Instructions for Planting a Plumbago Plant
Once you have chosen the ideal location, follow these steps to plant Plumbago:
Prepare the soil:
Dig a hole that is wider and slightly deeper than the root ball of the plant.
Loosen the soil in the hole to allow for easy root penetration.
Preparing the plant:
If the plant is in a container, gently remove it by tapping the sides of the container or squeezing the base. Avoid pulling the plant out forcefully to prevent root damage.
If the plant is root-bound, tease out the roots gently to encourage outward growth.
Planting the Plumbago:
Place the plant in the center of the hole, ensuring that the top of the root ball is level with or slightly above the surrounding soil.
Backfill the hole with soil, gently pressing it down to eliminate air pockets.
Water the plant thoroughly to settle the soil around the roots.
Mulching:
Apply a layer of organic mulch, such as wood chips or bark, around the base of the plant. This helps retain moisture, suppresses weeds, and insulates the roots.
Caring for Plumbago: Nurturing the Tropical Beauty
Plumbago, with its vibrant blooms and lush foliage, requires proper care to thrive and reach its full potential. Let’s delve into the details and discover how to care for these tropical beauties.
Light Requirements
It thrives in full sun to partial shade. It benefits from at least 6 hours of direct sunlight each day to promote healthy growth and abundant flowering.
Soil Conditions
Plumbago prefers well-draining soil that retains some moisture but does not become waterlogged. A loamy or sandy soil enriched with organic matter provides an ideal growing medium.
Soil pH:
Plumbago tolerates a wide range of soil pH levels, from slightly acidic to slightly alkaline. A pH range of 6.0 to 7.5 is generally suitable for optimal growth.
Climate Preferences
This plant is well-suited for tropical and subtropical climates. It thrives in warm and humid conditions, making it an excellent choice for the Gulf Coast region and similar regions.
Temperature Tolerances
Despite its tropical origins, plumbago is surprisingly hardy.
Optimal Temperature
It thrives in temperatures ranging from 70°F to 90°F (21°C to 32°C).
Temperature Limit for Growth
It may slow down its growth when temperatures drop below 50°F (10°C).
Temperature Causing Damage
Plumbago can suffer damage when exposed to temperatures below 32°F (0°C). Frost or freezing conditions can cause wilting, browning, and leaf drop.
Effects of High Temperatures
It can tolerate high temperatures, but extreme heat, especially when combined with prolonged drought, can lead to stress, wilting, and reduced flowering.
Protection from Cold
In regions with colder winters, provide protection for your plant during freezing temperatures. Mulch around the base of the plant to insulate the roots, and cover the plant with a frost cloth or blanket. If grown in containers, move them to a protected area or indoors during winter.
Elevation Concerns
Plumbago does not have specific elevation concerns and can be grown successfully at various elevations.
Watering Schedule
Water Plumbago regularly to keep the soil evenly moist but not waterlogged. Adjust the watering schedule based on weather conditions and rainfall. A general guideline is to provide deep watering once or twice a week during the growing season and reduce frequency during cooler months.
Fertilization
Adjust your plumbago’s feeding schedule to the season.
Leafing Out
In early spring when new growth appears, apply a balanced slow-release fertilizer according to the manufacturer’s instructions.
Blossoming
As the plant prepares to bloom, switch to a fertilizer higher in phosphorus to promote flower production. Follow the product recommendations for application rates.
Pre-Winter or Over Winter
In late summer or early fall, apply a balanced fertilizer to support root development and overall plant health before winter dormancy.
Pruning Schedule
Prune in late winter or early spring, before new growth emerges. Follow these steps:
Remove any dead, damaged, or crossing branches.
Prune back about one-third of the plant’s height to promote compactness and encourage new growth.
Lightly shape the plant to maintain an appealing form.
Common Pests and Diseases
Plumbago is generally resistant to pests, but it can suffer from disease.
Common Pests
Aphids: Use insecticidal soap or a neem oil-based spray to control aphids. Rinse the plant with water or use a gentle stream to dislodge them.
Whiteflies: Use yellow sticky traps or apply an insecticidal soap or oil spray to manage whiteflies.
Spider mites: Spray the plant with water to remove mites or use an insecticidal soap or horticultural oil for control.
Jack’s Dead Bug is an organic solution that uses a naturally occurring bacteria that has worked well for me for many pest problems.
Common Diseases:
Powdery Mildew: Ensure good air circulation and avoid overhead watering. Apply a fungicide labeled for powdery mildew if necessary.
Leaf Spot: Remove and destroy infected leaves. Maintain proper spacing and avoid overhead watering to reduce leaf spot occurrence.
Root Rot: Ensure proper drainage and avoid overwatering. Treat with a fungicide if root rot is detected.
Special Care Considerations
Plumbago may require regular pruning to maintain a compact shape and encourage abundant flowering.
Regularly monitor moisture levels to prevent overwatering or drought stress.
Apply a layer of organic mulch around the base of the plant to conserve moisture, suppress weeds, and protect the roots.
Provide support, such as a trellis or stakes, if growing a climbing variety of Plumbago.
Propagating Plumbago
Now that you’ve planted your plumbago and it’s growing nicely, you may decide you want more. What’s better than free plants?
Here’s how you do it:
Propagating Plumbago from Cuttings
Taking cuttings and rooting them in a soft, light medium is the easiest way to grow more plumbago from your existing plants.
Select a healthy stem
Choose a non-flowering stem from the parent plant that is free from any diseases or pests.
Prepare the cutting
Using clean, sharp pruning shears, cut a 4-6 inch section of the stem just below a node (where leaves emerge).
Remove lower leaves
Remove the lower leaves from the cutting, leaving only a few leaves at the top. Hormone application (optional): Dip the cut end of the cutting into a rooting hormone powder or gel, following the product instructions.
Plant the cutting
Insert the cut end of the cutting into a well-draining potting mix, ensuring that at least one node is below the soil surface.
I use a 50/50 mix of coconut coir and perlite, which stays moist without going anaerobic.
Provide optimal conditions
Place the pot in a warm, bright location with indirect sunlight. Maintain a consistently moist but not waterlogged soil.
Rooting process
Over the next few weeks, roots should begin to develop. Monitor the soil moisture and mist the cutting occasionally to maintain humidity.
Transplanting
Once the roots have formed, typically within 6-8 weeks, carefully transplant the rooted cutting into a larger container or desired planting location.
Here’s an excellent video showing the process step by step.
Propagating Plumbago from Air Layering:
Air layering is another technique that many use to grow more plants. For many plants, it’s a more reliable way to ensure rooting.
Select a healthy stem
Choose a healthy, non-flowering stem from the parent plant that is flexible and suitable for air layering.
Make a wound
With a sharp knife or pruner, make a 1-inch (2.5 cm) diagonal cut halfway through the stem, just below a node.
Apply rooting hormone (optional)
Apply a rooting hormone powder or gel to the exposed area of the wound to stimulate root development.
Moss and plastic wrap
Moisten sphagnum moss and wrap it around the wounded area. Enclose the moss with plastic wrap, securing it with twine or a rubber band at the top and bottom.
Alternatively, you may want to try air layering pods or propagation balls to ensure the sphagnum stays moist.
Provide moisture and wait
Keep the moss consistently moist by misting or watering as needed. After a few weeks to several months, roots will develop within the moss.
Check for root development
Once roots have formed and are visible through the plastic wrap, carefully cut below the rooted section of the stem.
Plant the new plant
Remove the plastic wrap and moss, and plant the rooted section in a well-draining potting mix or desired planting location.
Provide post-transplant care
Water the newly planted cutting thoroughly and keep it in a warm, bright location with indirect sunlight. Continue to care for it as you would for an established Plumbago plant.
By following these step-by-step instructions for propagating Plumbago from cuttings and air layering, you can expand your collection and share the beauty of these plants with others.
Landscaping with Plumbago
Use Plumbago as a vibrant hedge or border planting. Incorporate it into mixed shrub beds for pops of color.
Plant it near fences, trellises, or pergolas, and train it to climb for vertical interest.
Utilize containers and place Plumbago on patios, decks, or balconies to create a tropical ambiance.
Complementing Plumbago
Combine Plumbago with other colorful flowering plants in butterfly or hummingbird gardens. Here are some ornamental plants that can thrive alongside Plumbago while creating a harmonious and visually appealing landscape:
Native Lantana (Lantana involucrata and Lantana depressa)
Lantana’s colorful clusters of flowers in various shades, including yellow, orange, and pink, complement Plumbago’s blooms. It is also a pollinator magnet, attracting butterflies and hummingbirds.
Pentas (Pentas lanceolata)
Pentas produces clusters of vibrant star-shaped flowers in colors such as red, pink, and white. It attracts pollinators and adds a burst of color alongside Plumbago.
Mexican Bush Sage (Salvia leucantha)
Mexican Bush Sage features striking velvety purple or white flower spikes that add vertical interest and contrast to Plumbago’s mounding growth habit. It is also a favorite of hummingbirds.
Duranta displays clusters of vibrant blue or purple flowers, adding a complementary color contrast to Plumbago. Its glossy foliage and cascading growth habit make it an excellent choice for borders or hanging baskets.
Dwarf Poinciana (Caesalpinia pulcherrima)
Dwarf Poinciana features striking red, orange, or yellow flowers reminiscent of miniature bird-of-paradise blooms. Its vibrant colors can create a stunning visual impact alongside Plumbago.
Tropical Hibiscus
Tropical hibiscus are easy-care plants that add another layer of exotic beauty to your garden while enjoying similar growing conditions. They come in a range of vivid colors that will harmonize with plumbago into a stunning tropical display.
These plant suggestions share similar requirements with Plumbago, ensuring harmonious growth and care. When combined, they create an alluring landscape with a diverse range of colors, textures, and forms. Always consider the mature size of each plant and their compatibility in terms of growth habits and maintenance to achieve a well-balanced and cohesive garden design.
Reliable Beauty
With its ease of care, consistent and abundant flowering, and evergreen foliage in mild climates, plumbago is a reliable tropical beauty in the Gulf Coast garden. With a little pampering during the first three years of establishment, plumbago is a visually stunning addition to your garden.
Visit our Etsy shop for Blue Plumbago, Duranta, Pentas, and other perennial flowering plants for your butterfly garden.
FAQ – Frequently Asked Questions About Growing Plumbago
Is plumbago easy to grow?
Yes, Plumbago is generally considered an easy-to-grow plant, especially in tropical and subtropical regions, given its tolerance for various soil types, adaptable nature, and relatively low maintenance requirements.
What month does plumbago bloom?
Plumbago typically blooms from late spring to fall, depending on the mildness of your winter.
Do hummingbirds like plumbago?
Yes, hummingbirds are attracted to the tubular flowers of Plumbago and often visit them for nectar, making it a favorite plant for hummingbird enthusiasts.
Which butterflies, months, and other insects like plumbago?
Plumbago attracts various butterflies, including species such as Zebra Blue (Leptotes plinius), Common Blue (Polyommatus icarus), and other pollinators. The specific months of butterfly activity can vary based on the region, but generally, the warmer months from spring to fall are when butterflies are most active around Plumbago. Additionally, bees and other beneficial insects are also attracted to the nectar-rich flowers of Plumbago.
When should you plant plumbago?
Plumbago can be planted in the spring after the last frost date, as it thrives in warm weather. This allows the plant to establish itself and take advantage of the growing season.
Where is the best place to plant plumbago?
The best place to plant Plumbago is in a location that receives full sun to partial shade.
How do you keep plumbago blooming?
To keep Plumbago blooming, provide it with full sun to partial shade, regular watering, well-draining soil, and regular fertilization with a bloom-boosting fertilizer.
When should you prune plumbago?
Plumbago should be pruned in late winter or early spring before new growth emerges. This timing allows for rejuvenation, shaping, and stimulating new growth for the upcoming growing season.
Does plumbago come back every year?
Yes, Plumbago is a perennial plant that typically comes back every year in suitable growing conditions. It is an evergreen in subtropical and tropical climates.
How do you winterize blue plumbago?
To winterize blue Plumbago, provide a layer of organic mulch around the base of the plant to insulate the roots, and cover the plant with a frost cloth or blanket during freezing temperatures.
Should you cut back plumbago?
Yes, it is beneficial to cut back Plumbago in late winter or early spring before new growth emerges. Pruning helps maintain a compact shape, encourages new growth, and stimulates abundant flowering. You can also cut it back during summer if it overgrows its allotted space.
How do you make plumbago bushy?
To make Plumbago bushy, prune it back by about one-third of its height in late winter or early spring before new growth begins. This encourages branching and promotes a more compact, bushy growth habit.
What other ornamental plants pair well with plumbago?
Several ornamental plants pair well with Plumbago to create a visually appealing garden. Some suitable companions include Lantana, Pentas, Mexican Bush Sage, Duranta, Dwarf Poinciana, and other flowering perennials that share similar soil, light, and water requirements.
How big does plumbago get?
Plumbago can reach an average height of 6 to 10 feet (1.8 to 3 meters) and have a spread of 6 to 8 feet (1.8 to 2.4 meters), depending on the specific species and growing conditions.
Southern Garden is a participant in the Amazon Services LLC Associates Program, an affiliate advertising program designed to provide a means for sites to earn advertising fees by advertising and linking to Amazon.com.
We may earn a small commission from some of products or educational resources discussed on this site.
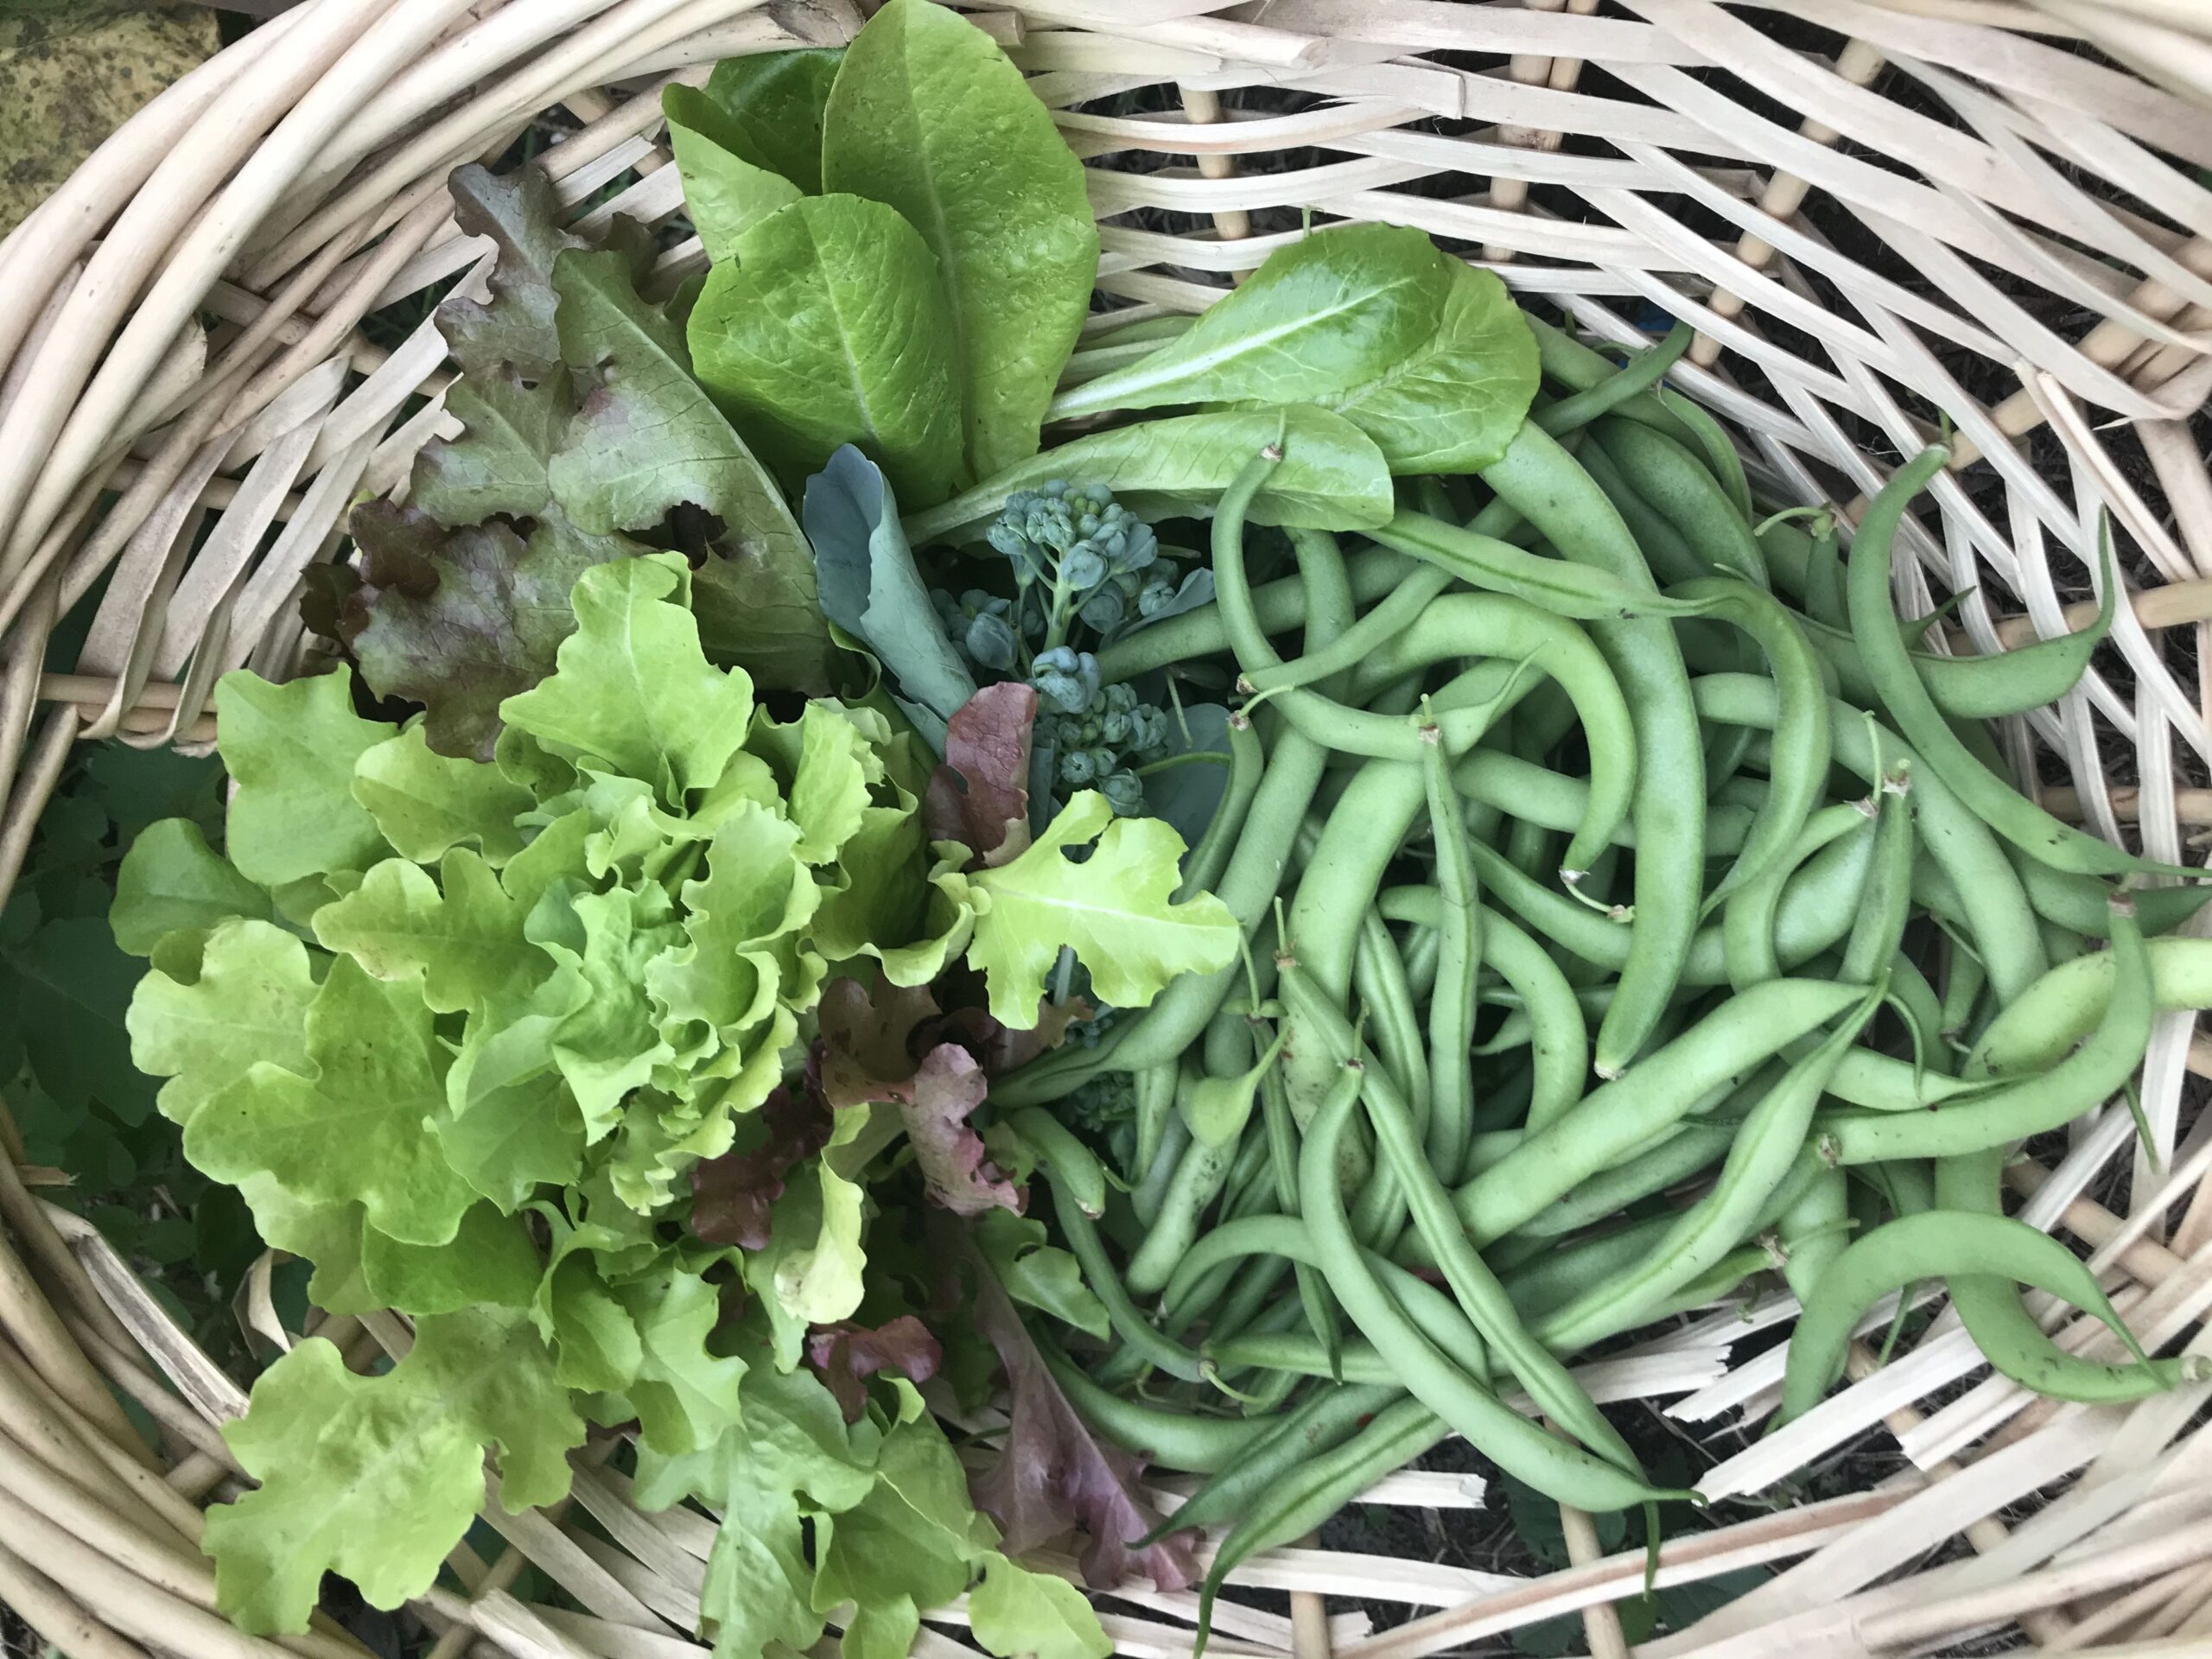
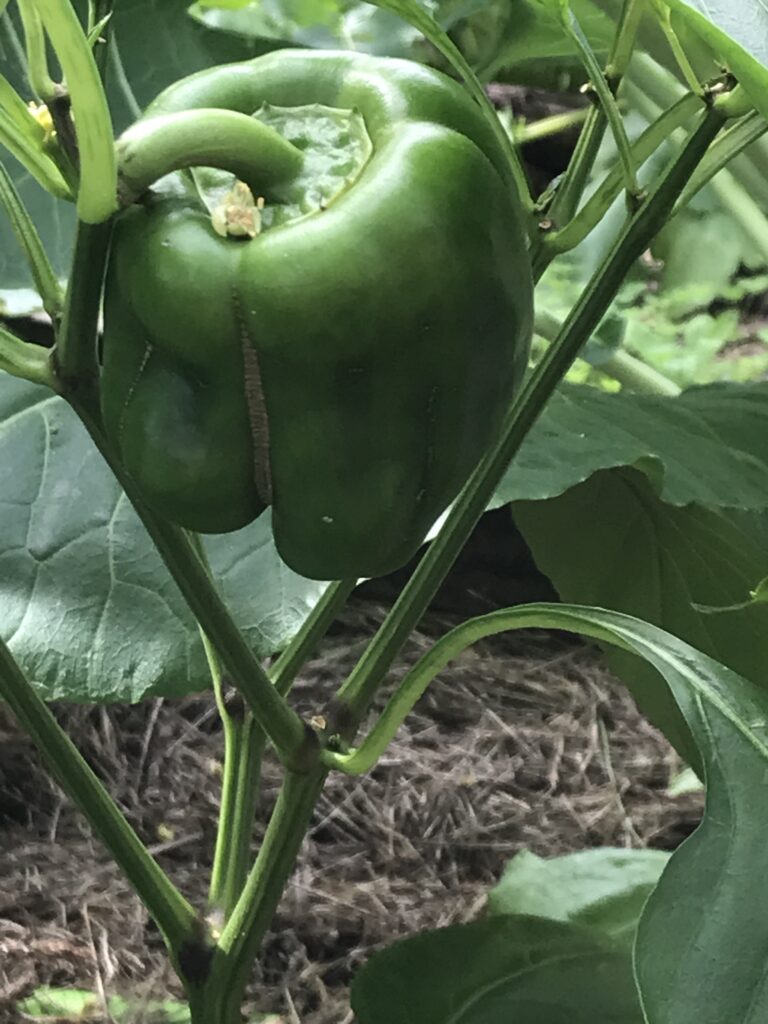


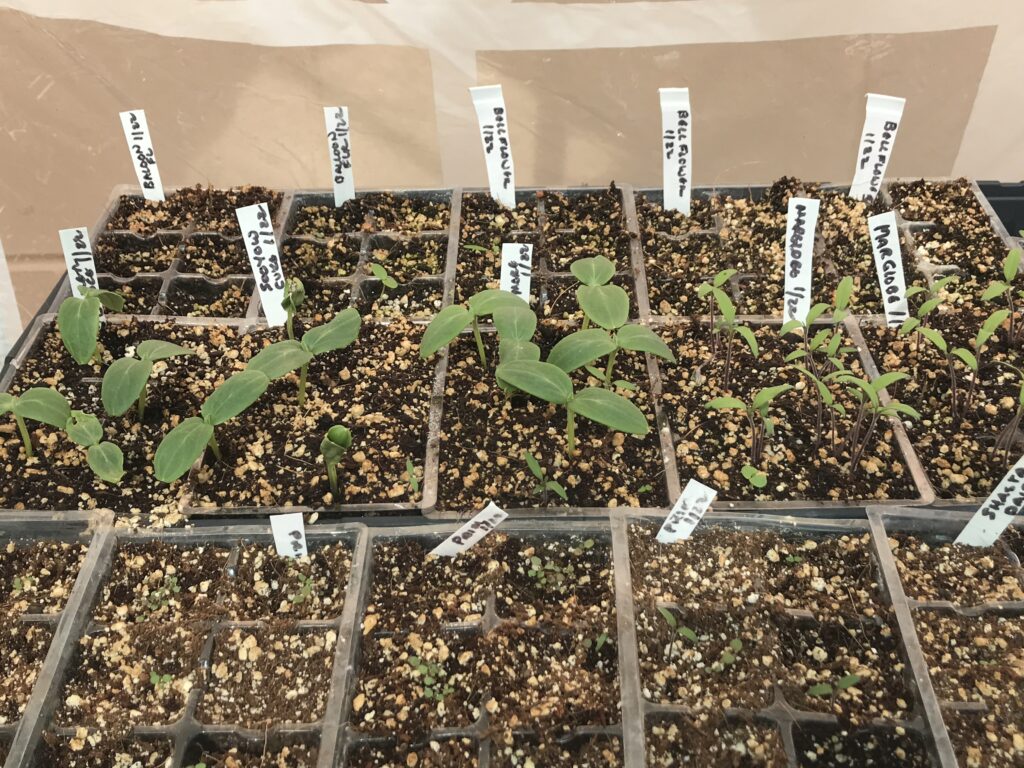
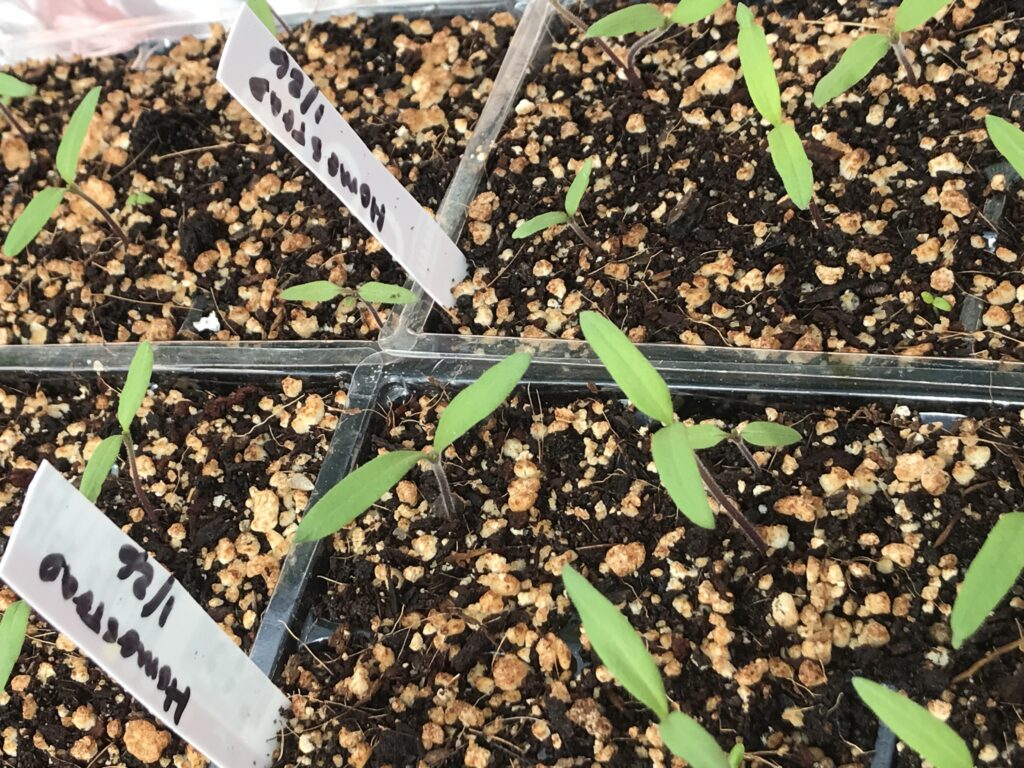
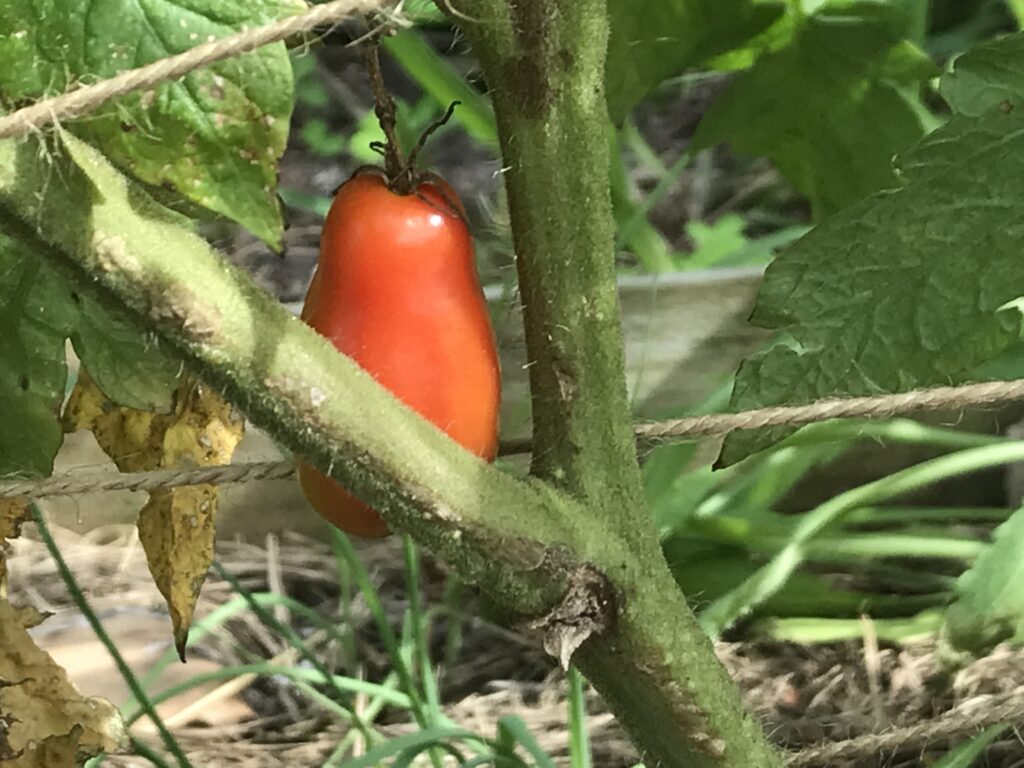


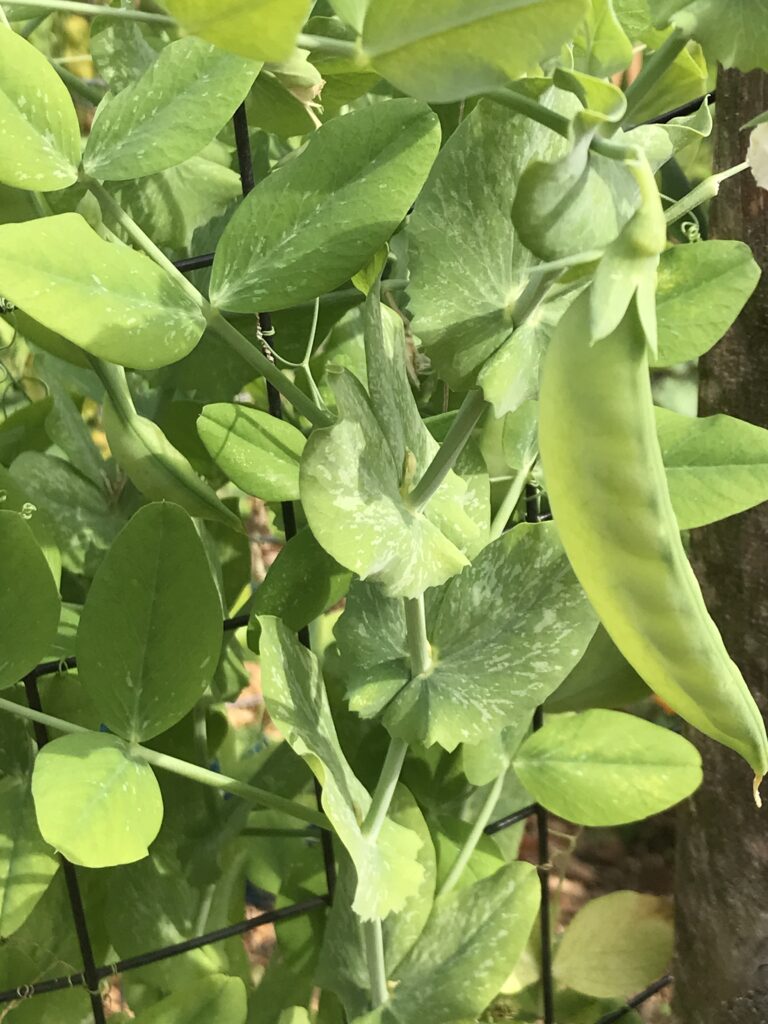
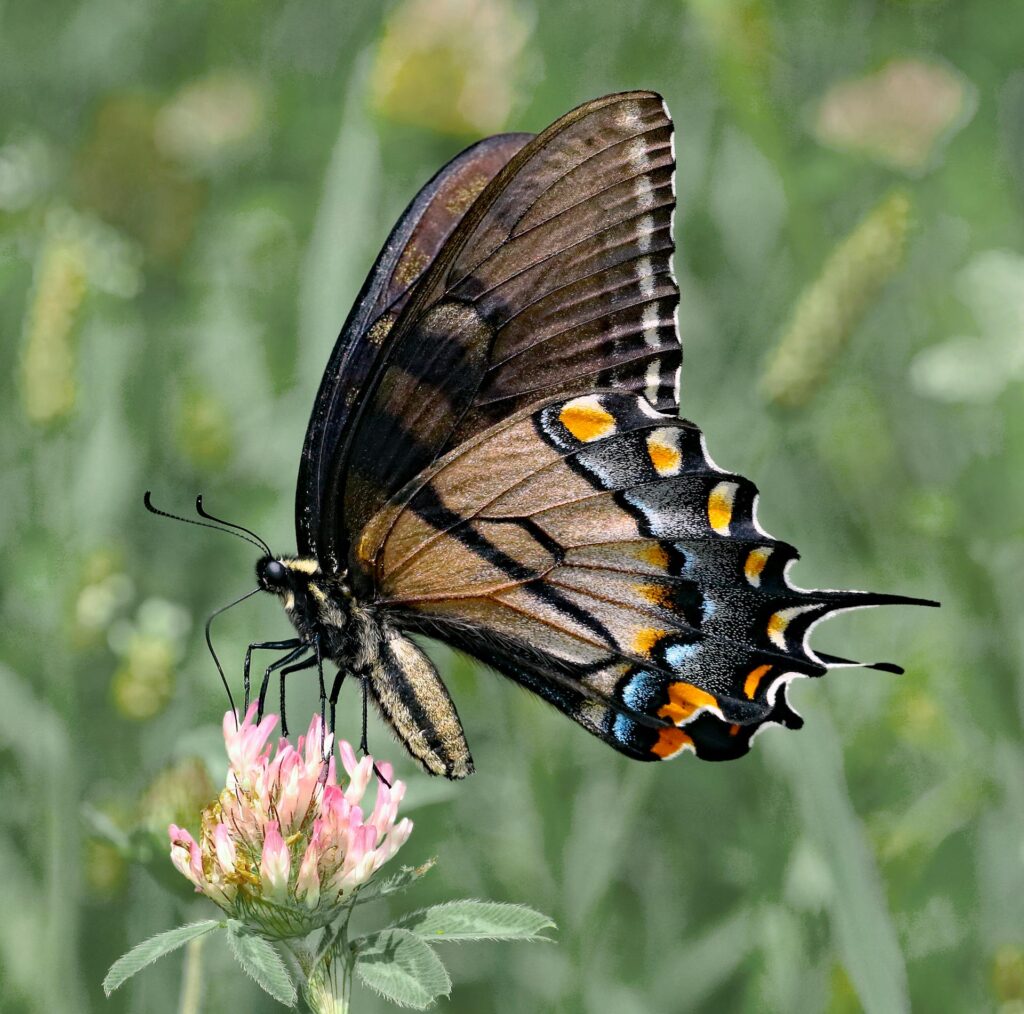
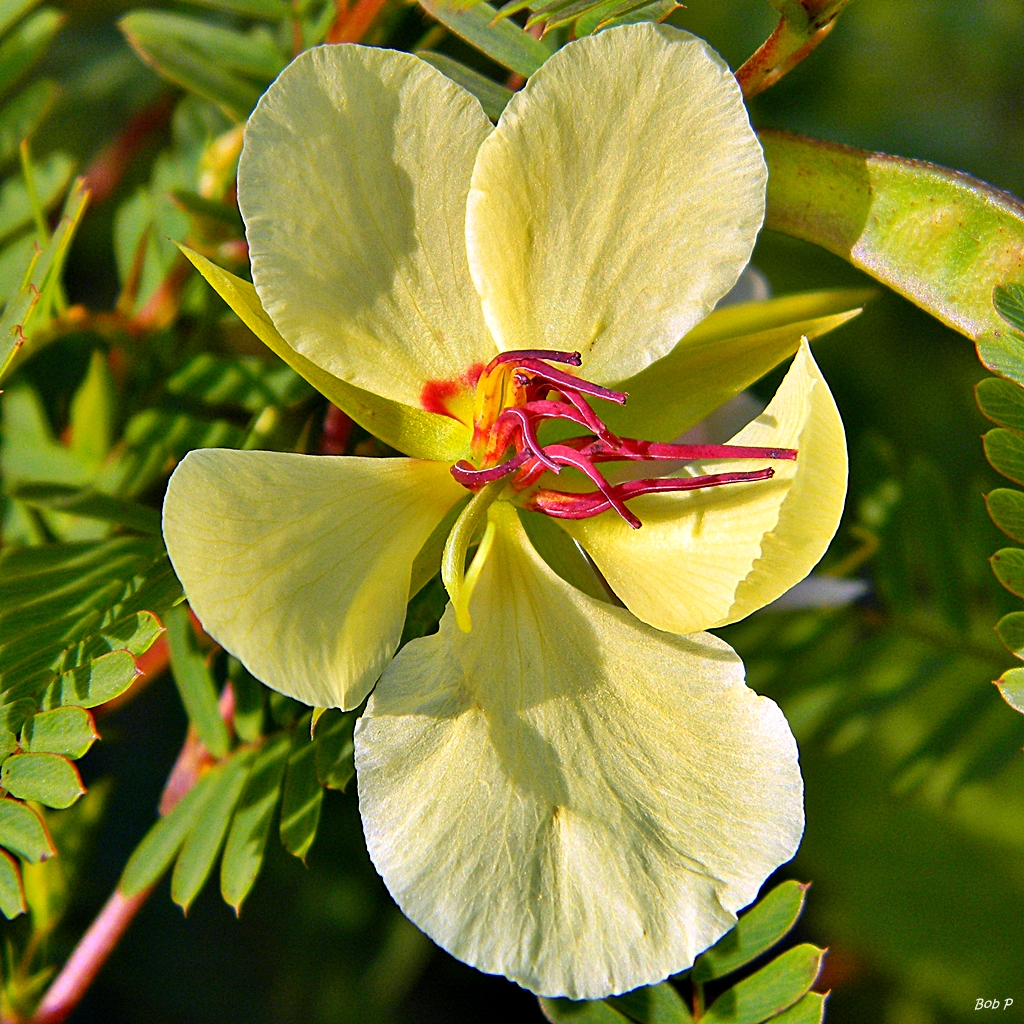
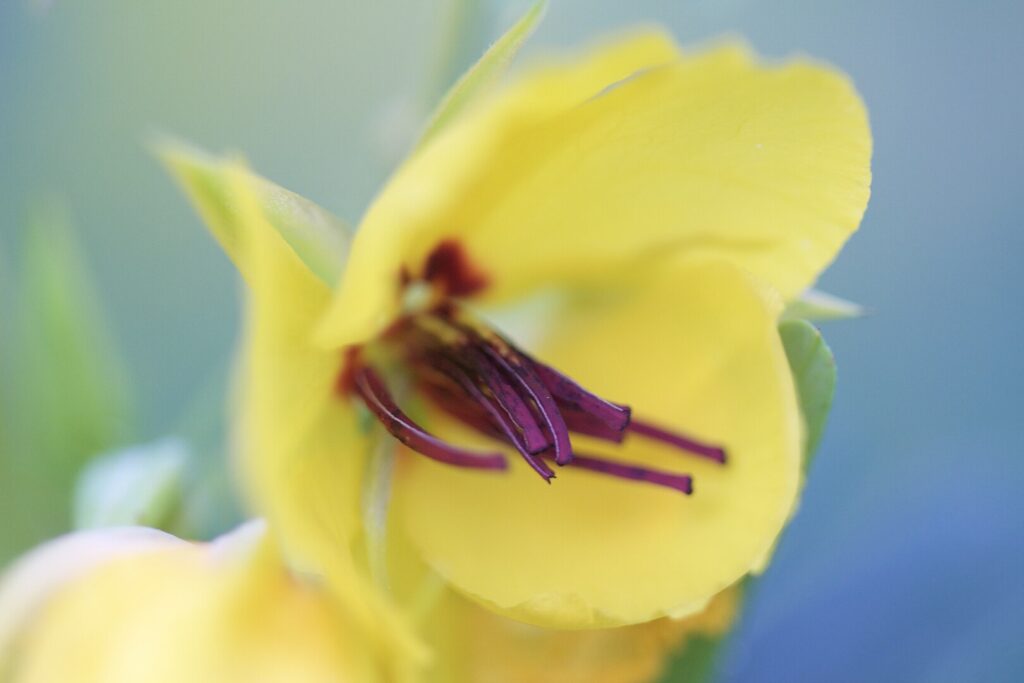
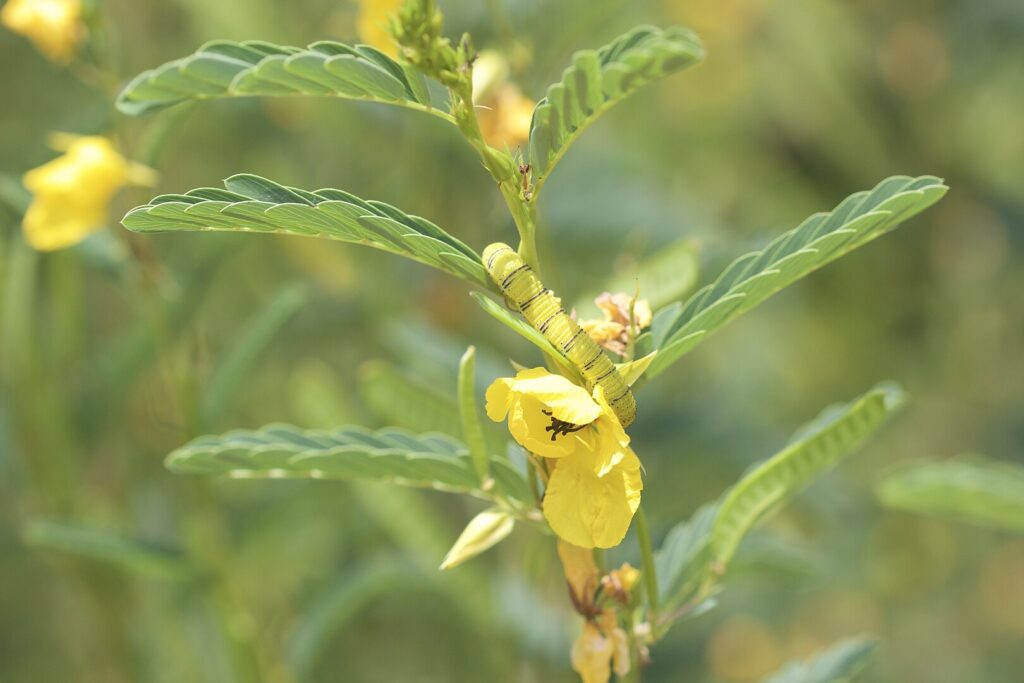
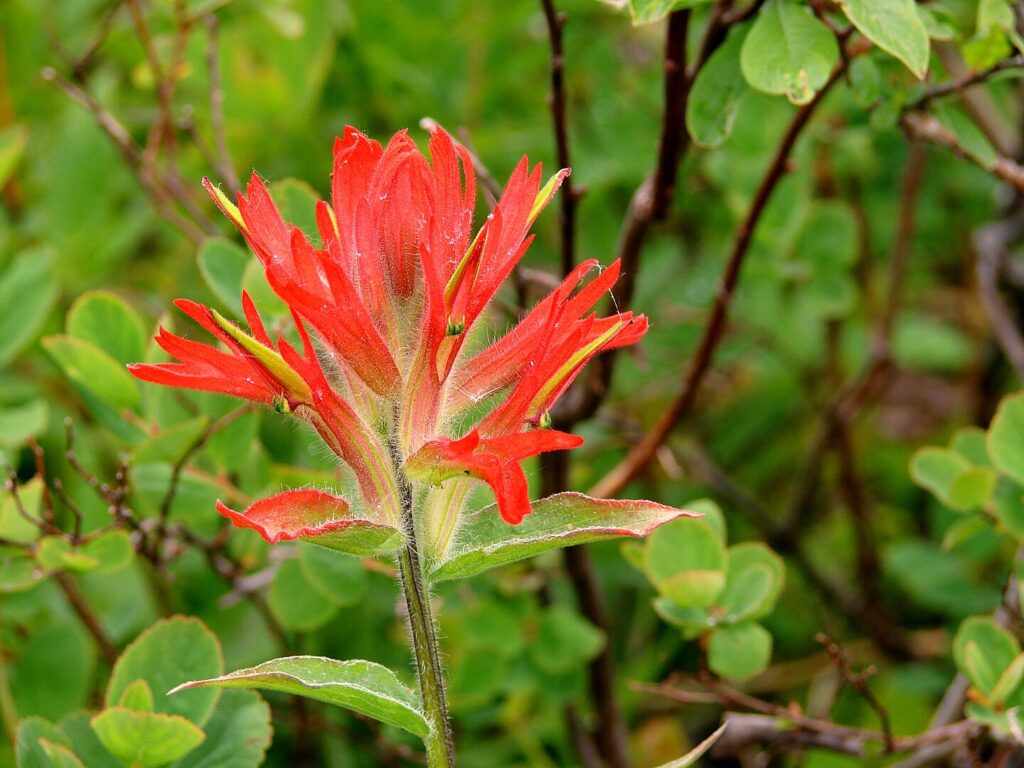
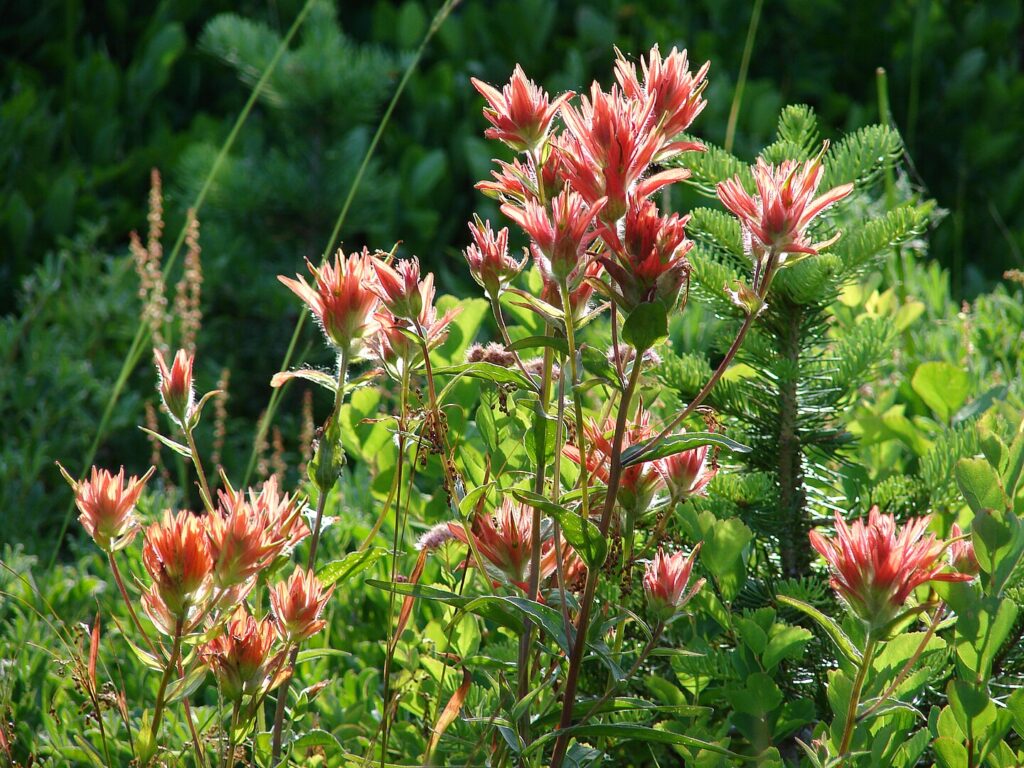

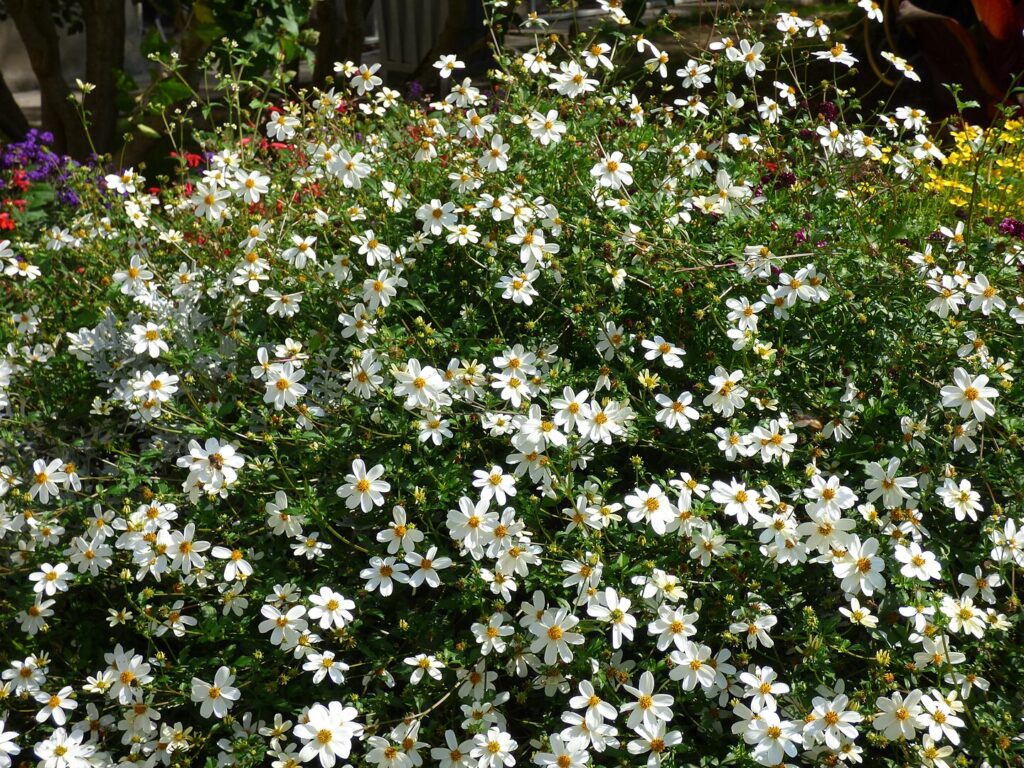
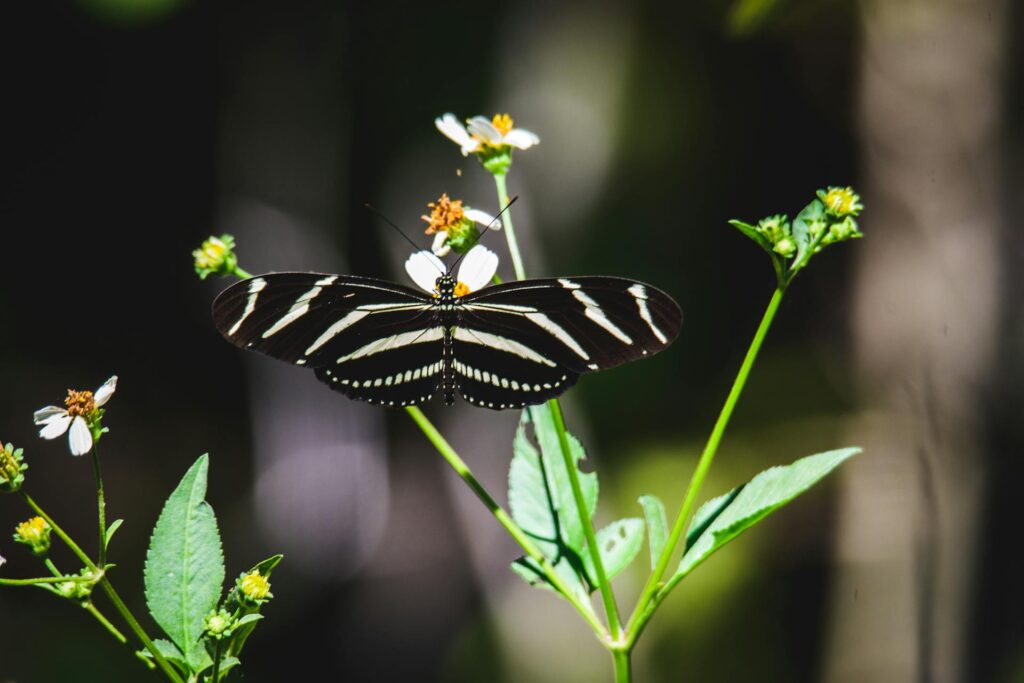
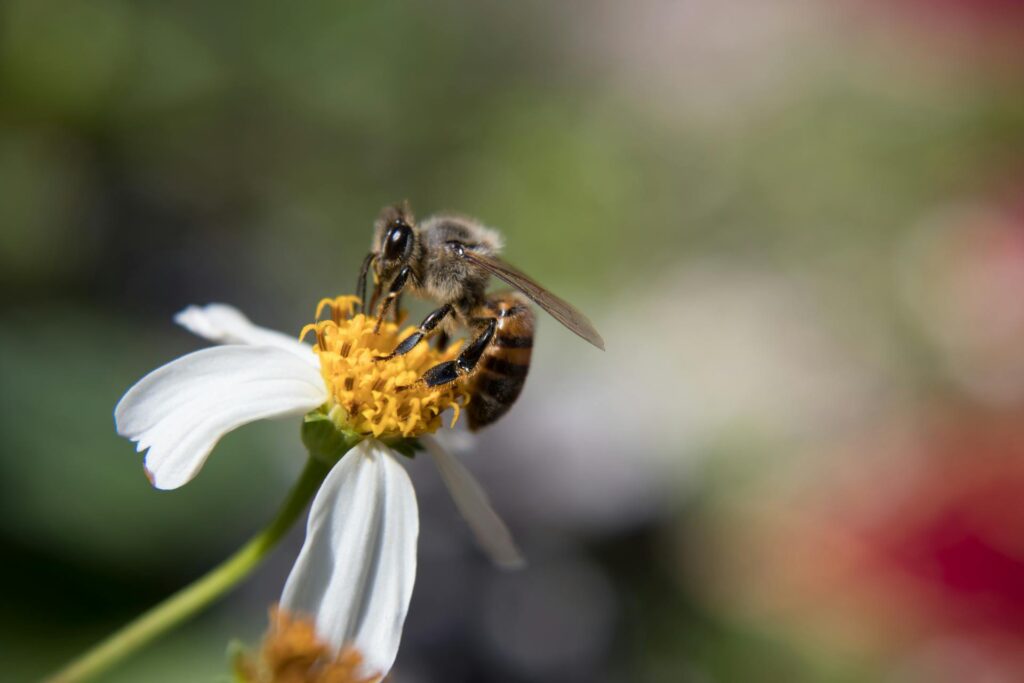


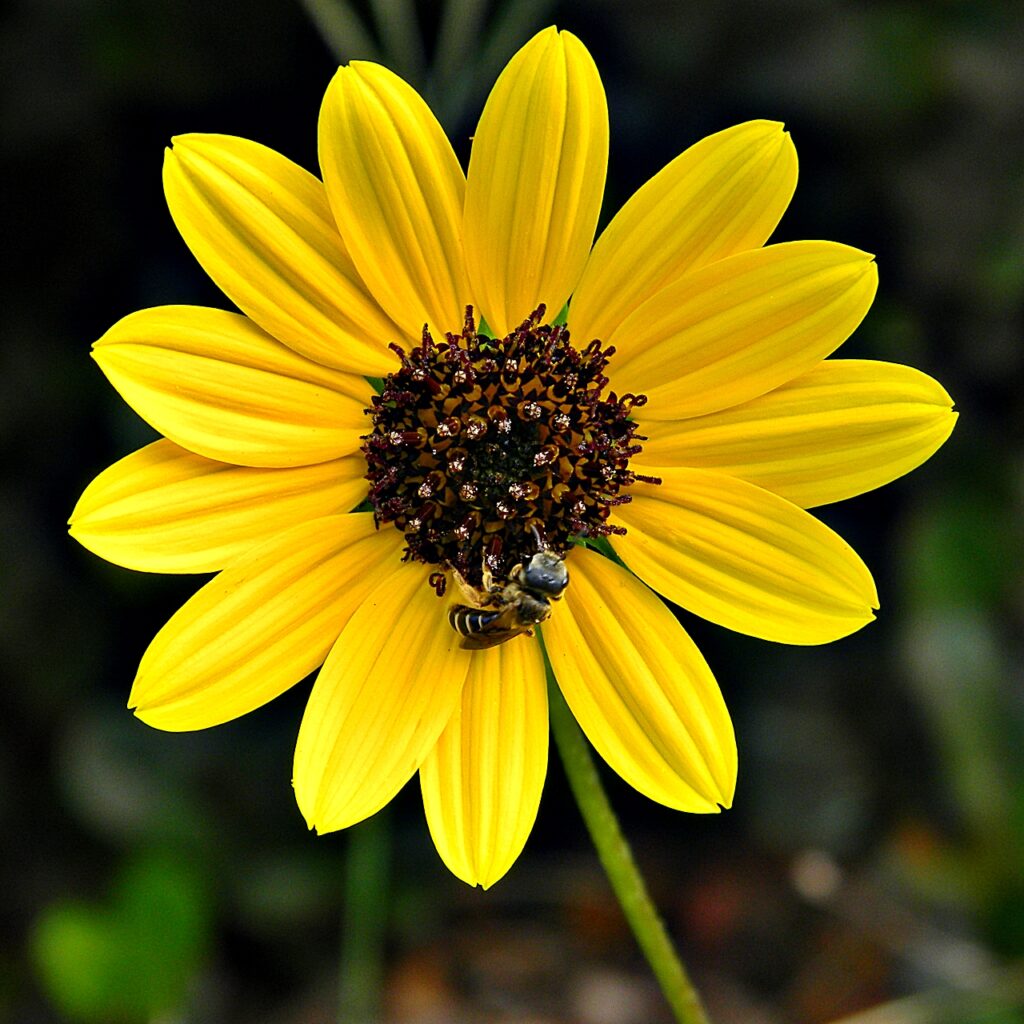
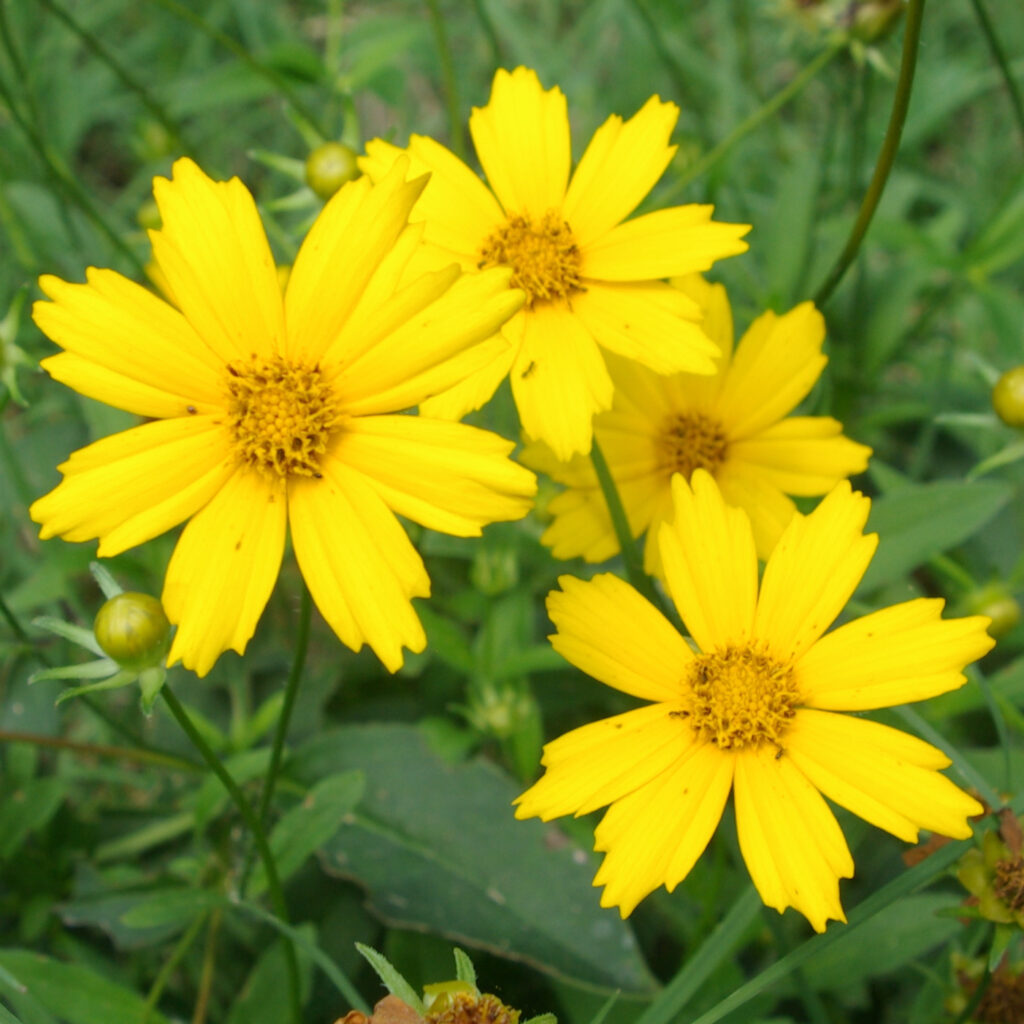
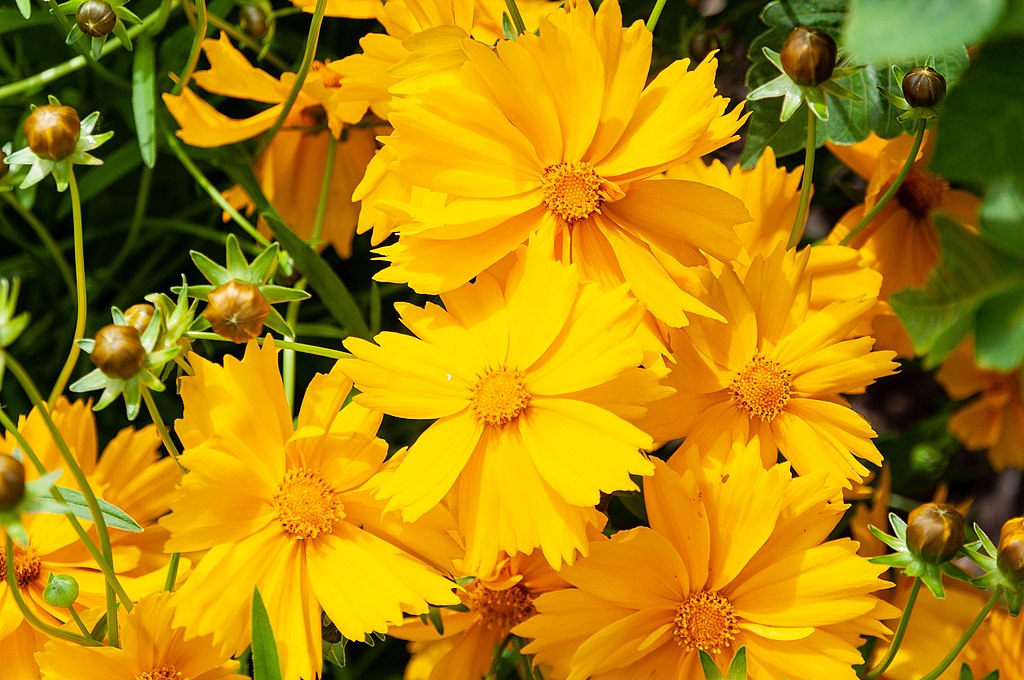
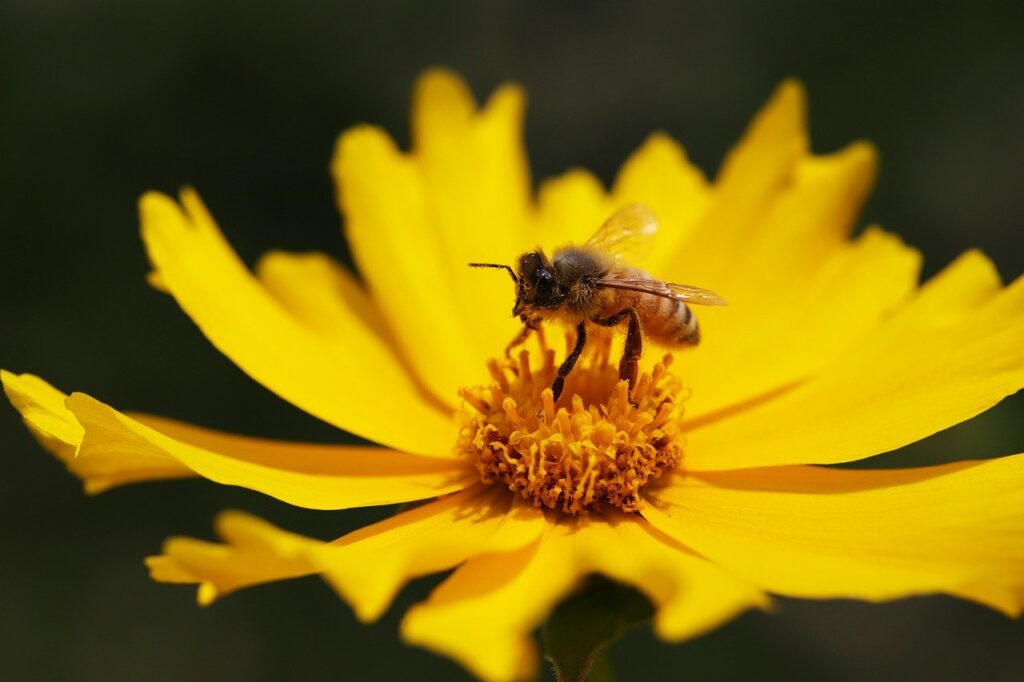
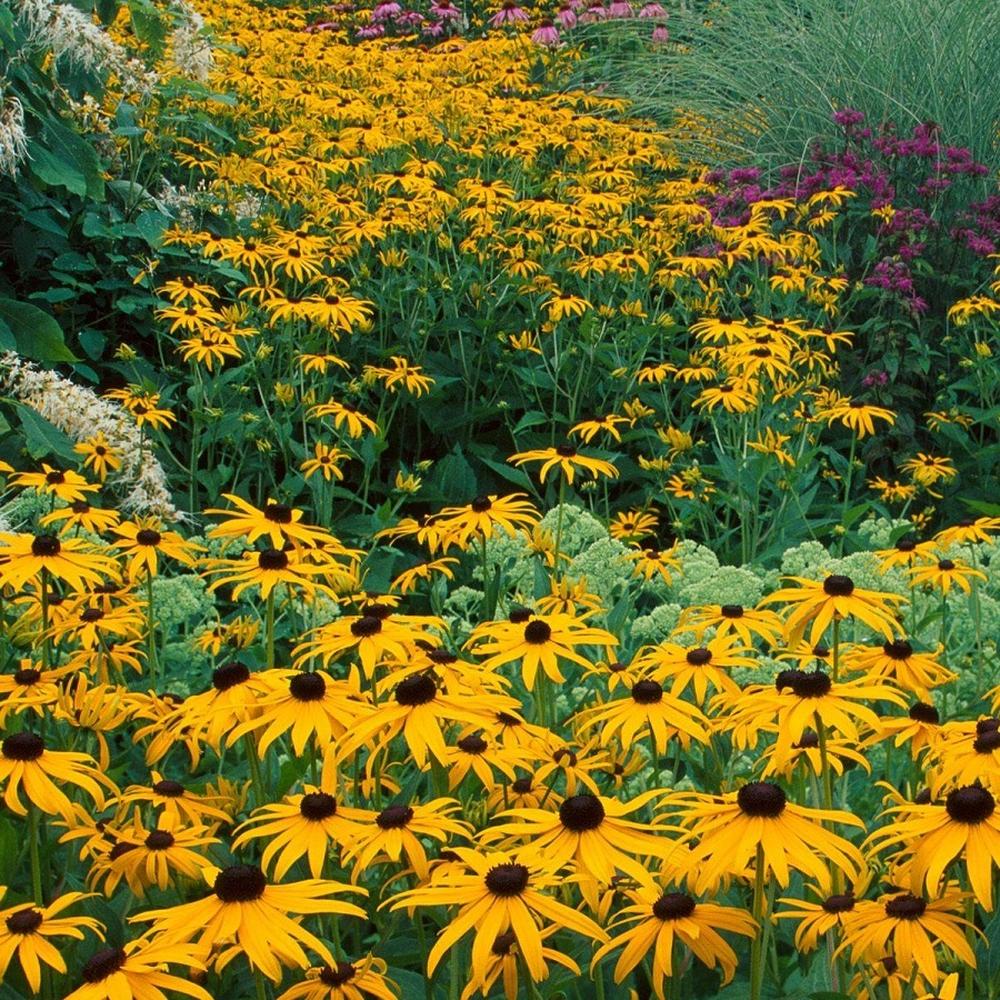
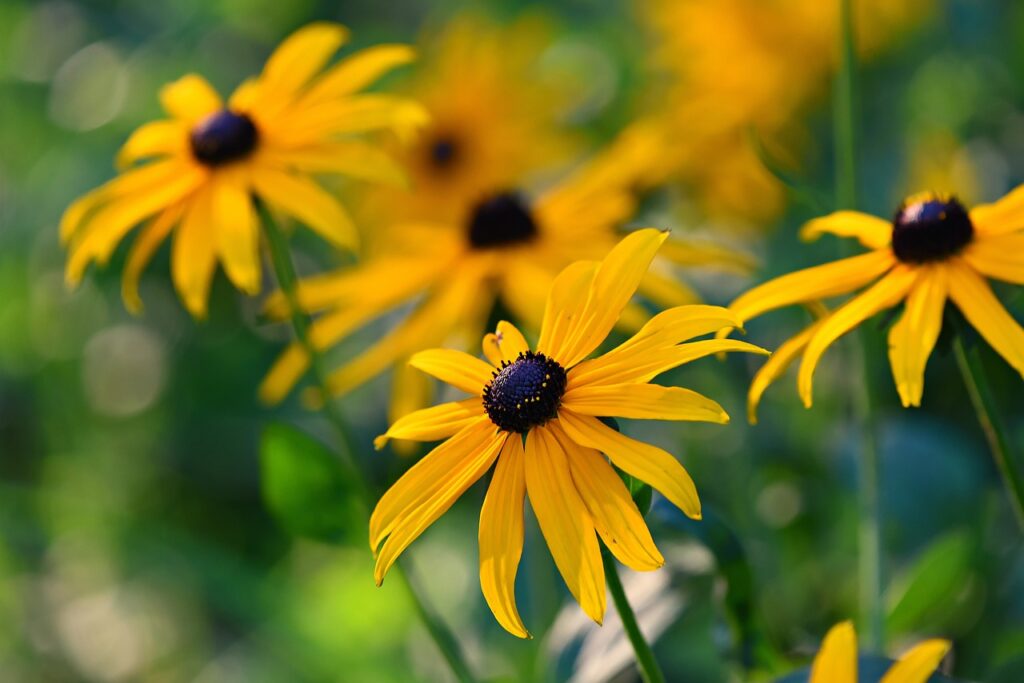
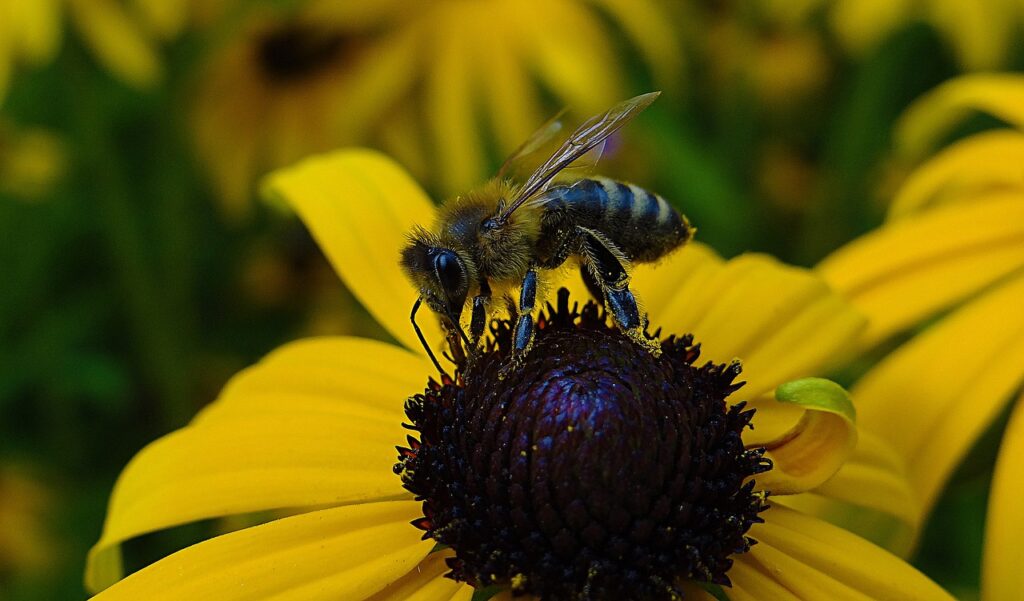
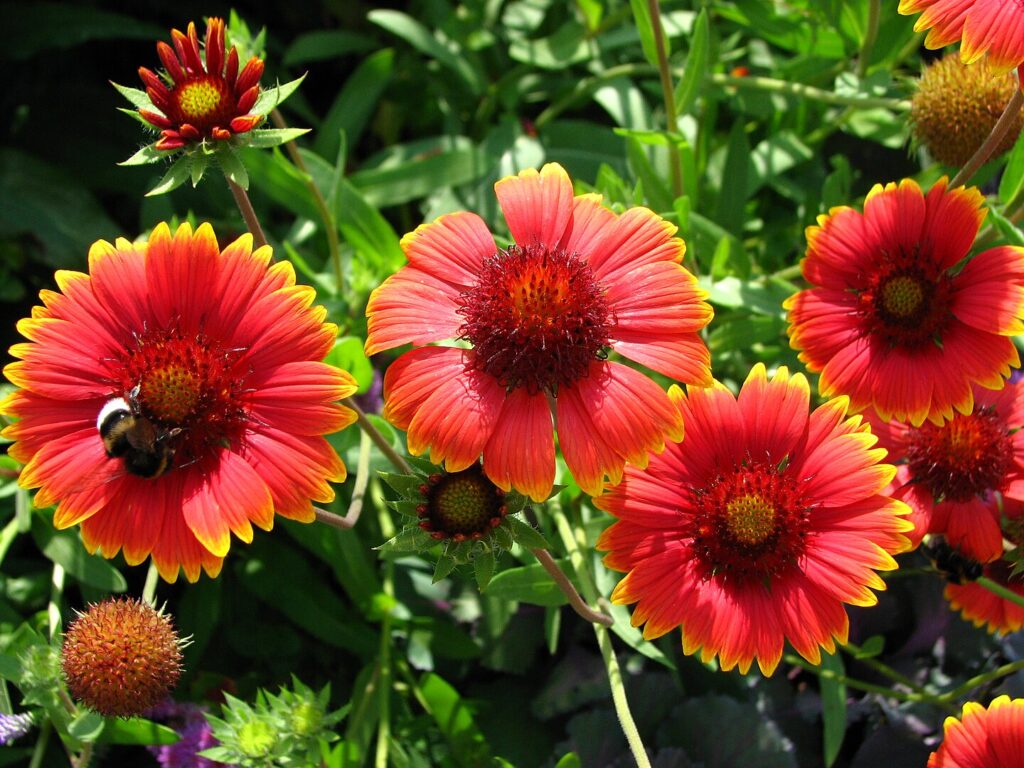
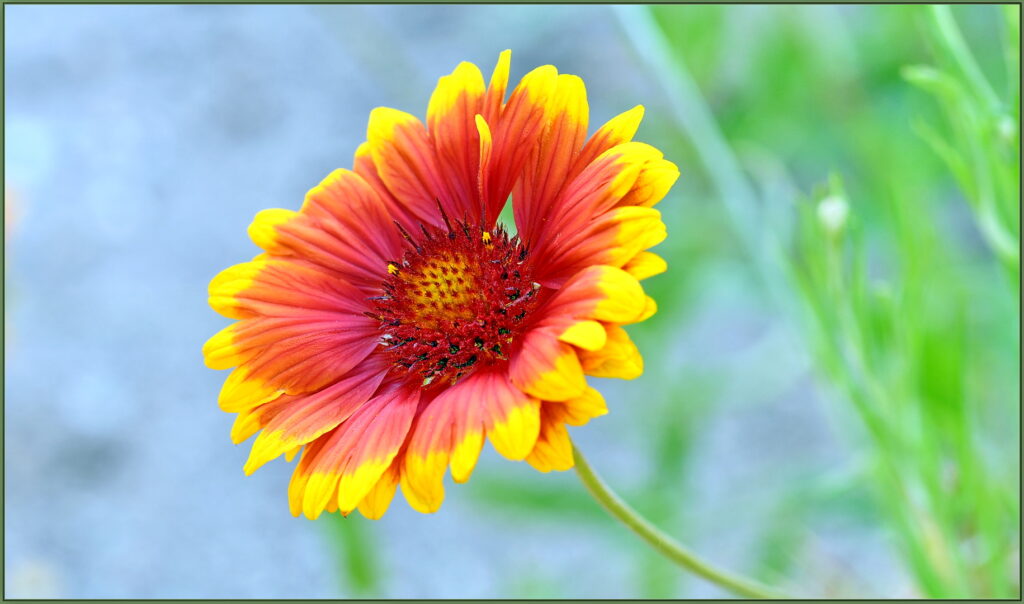


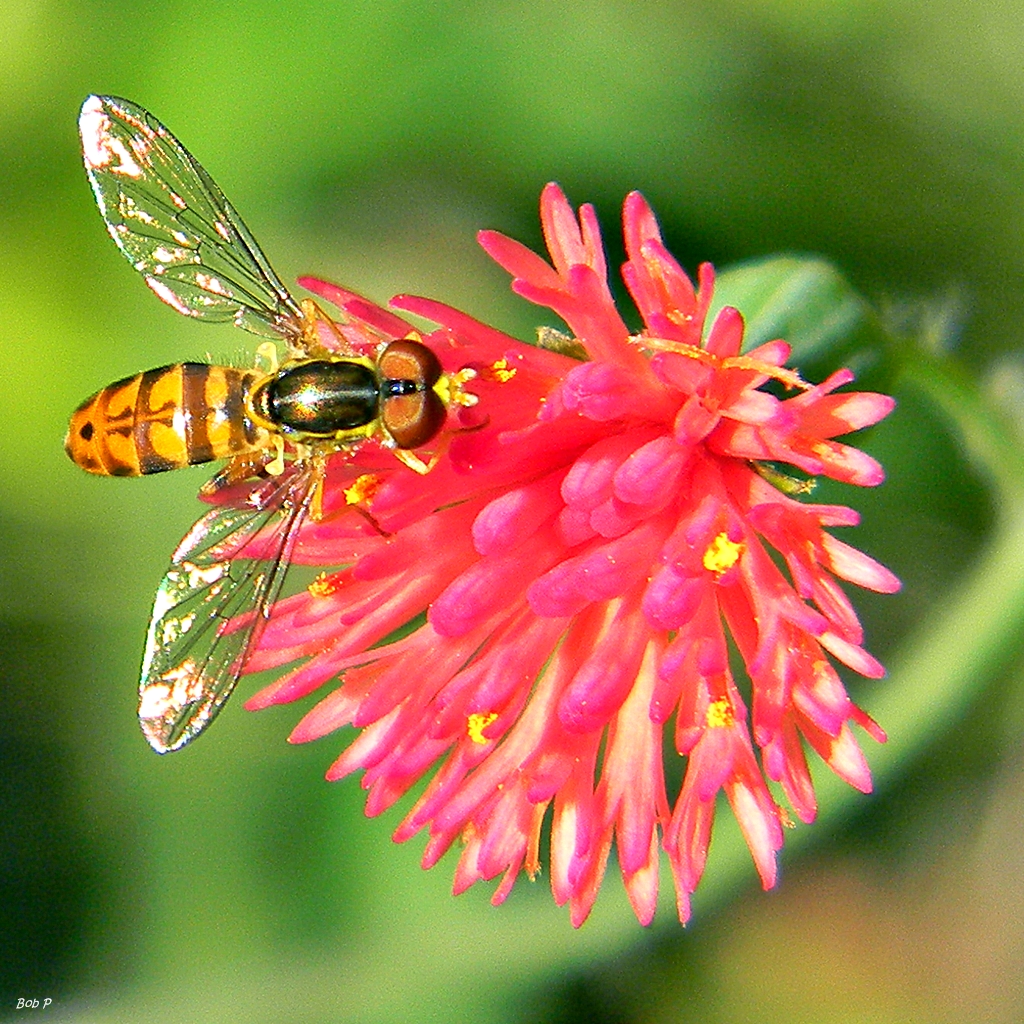
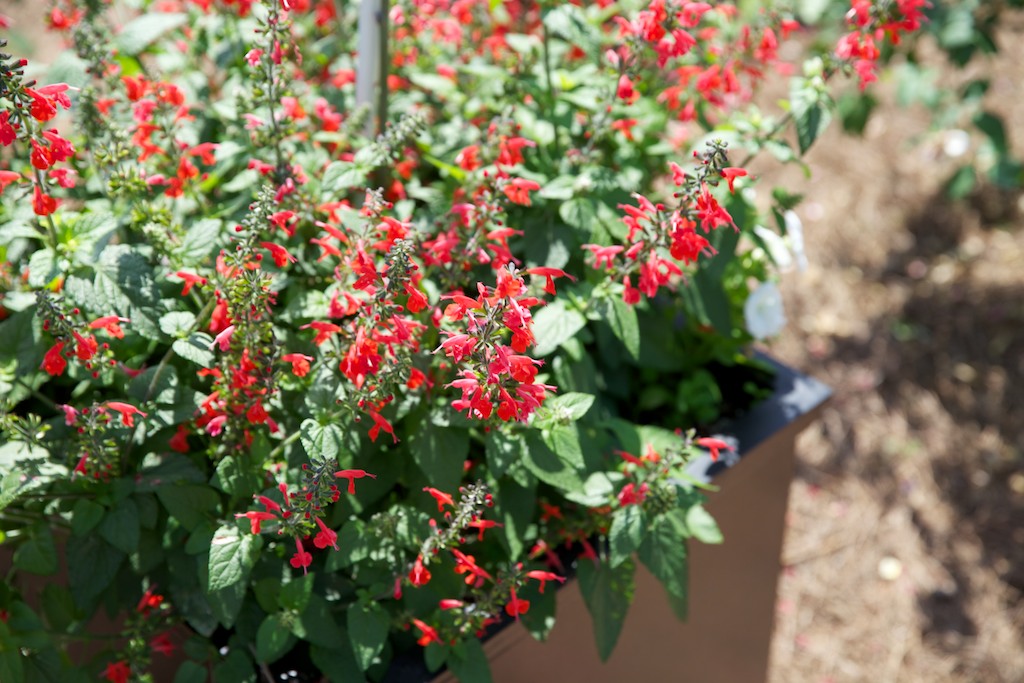
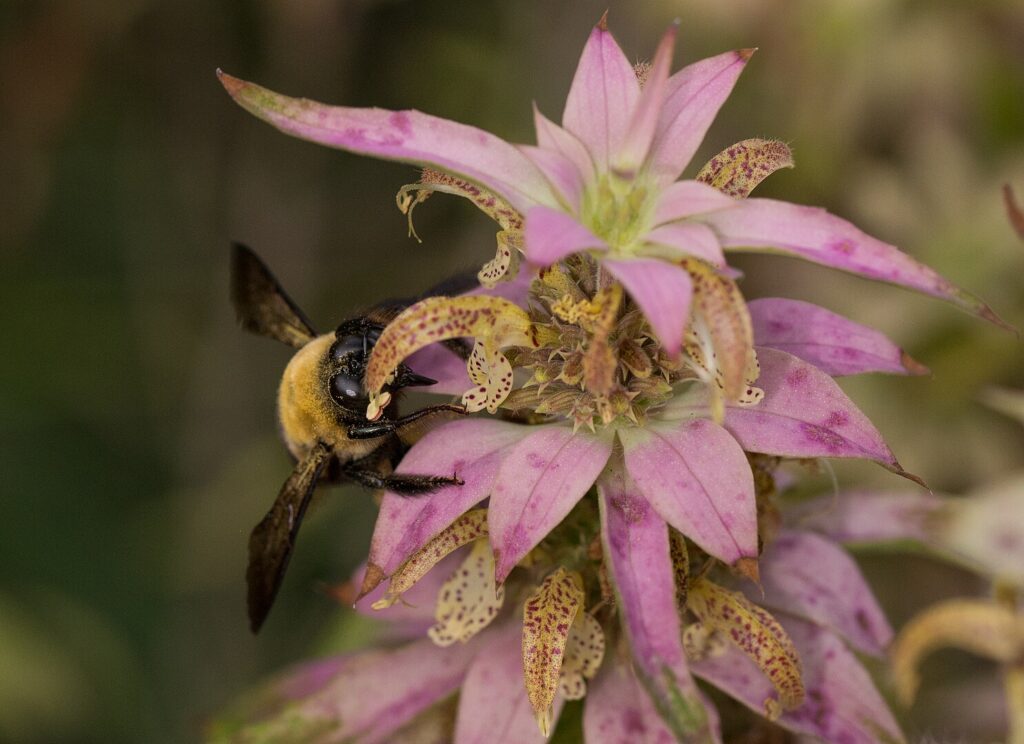
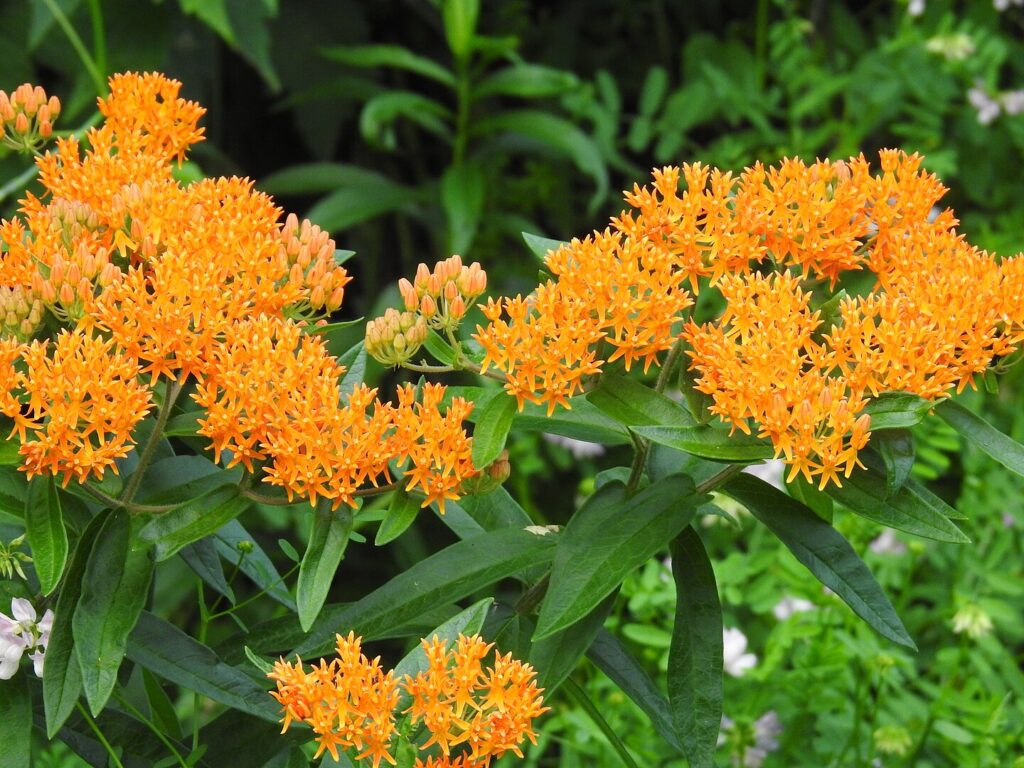
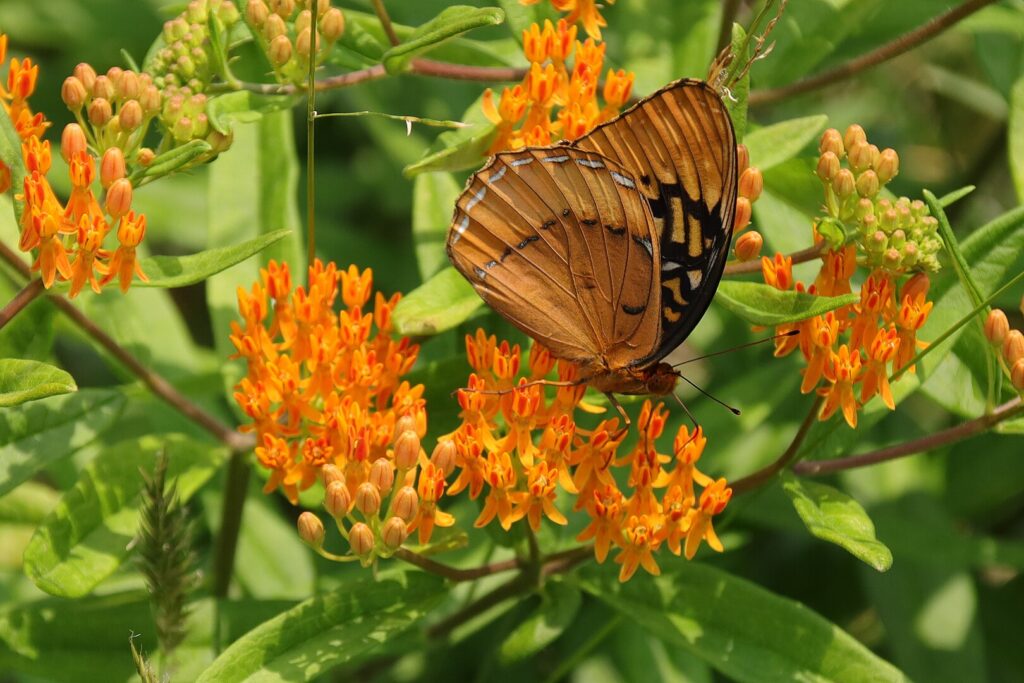
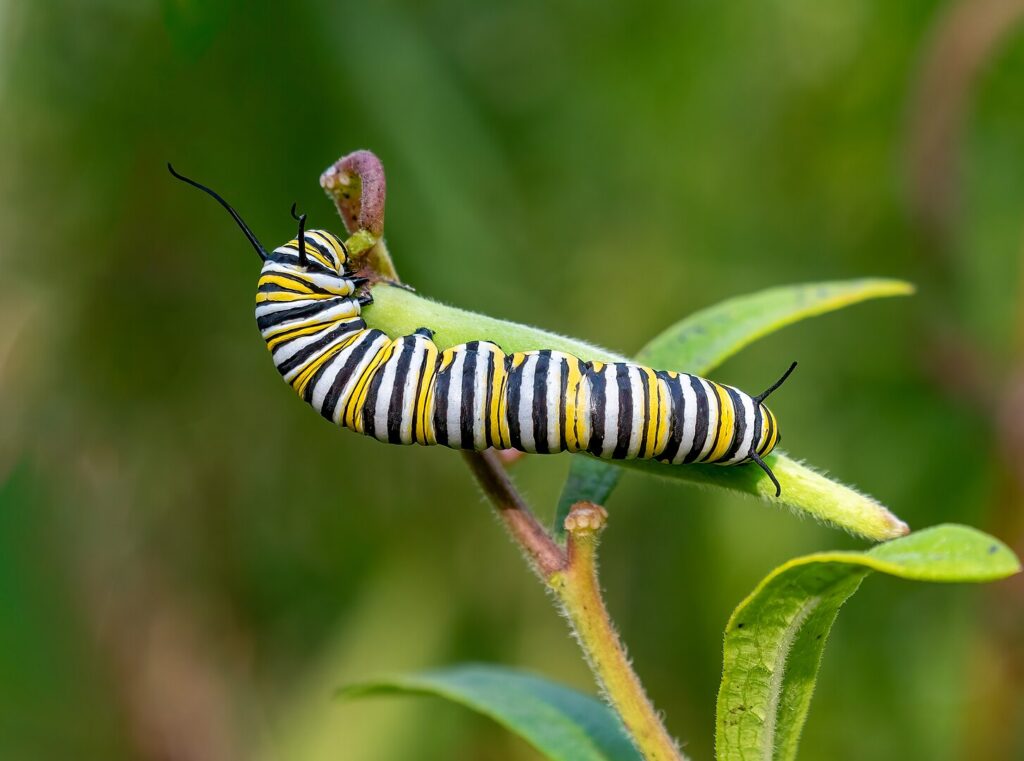
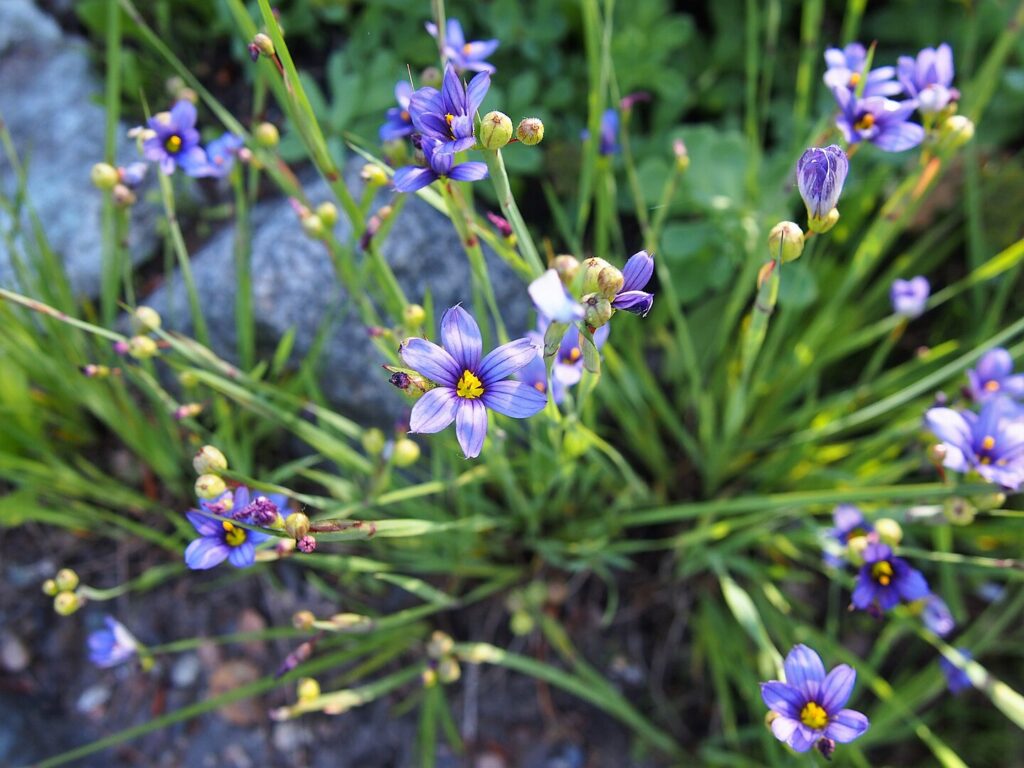
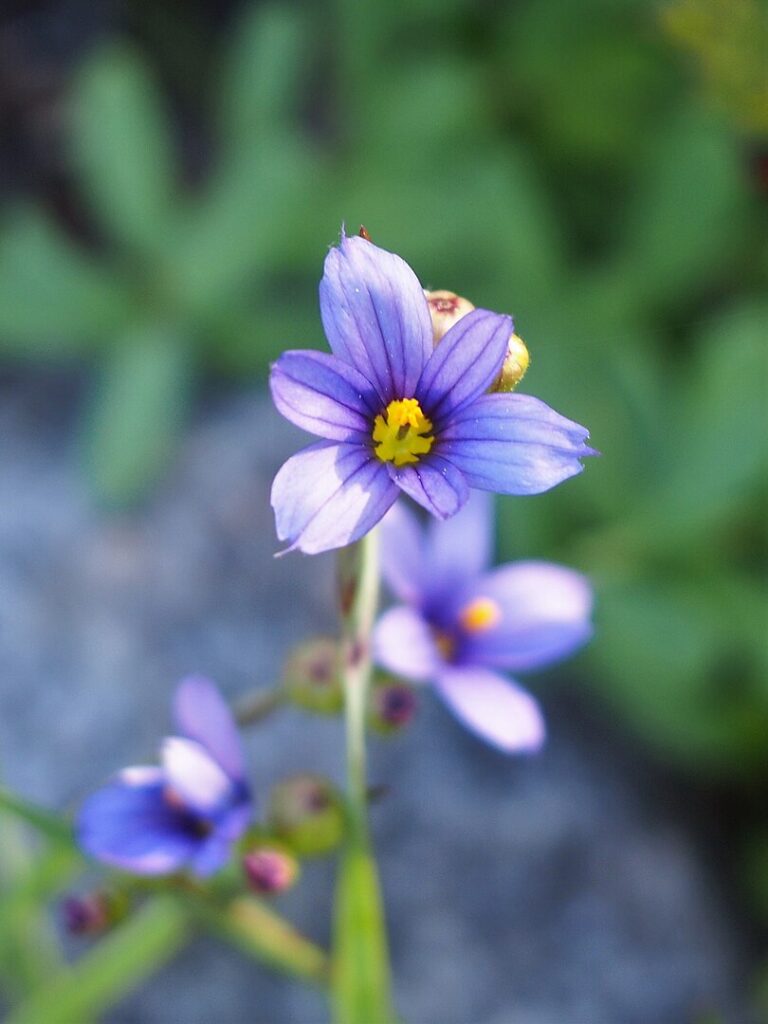
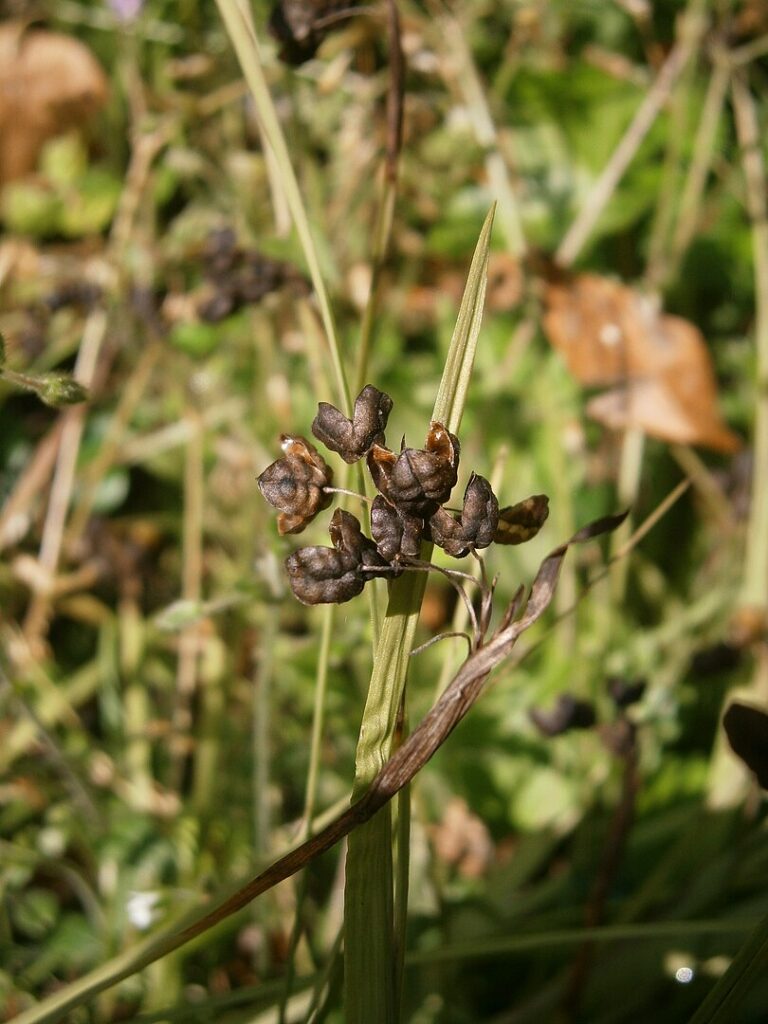
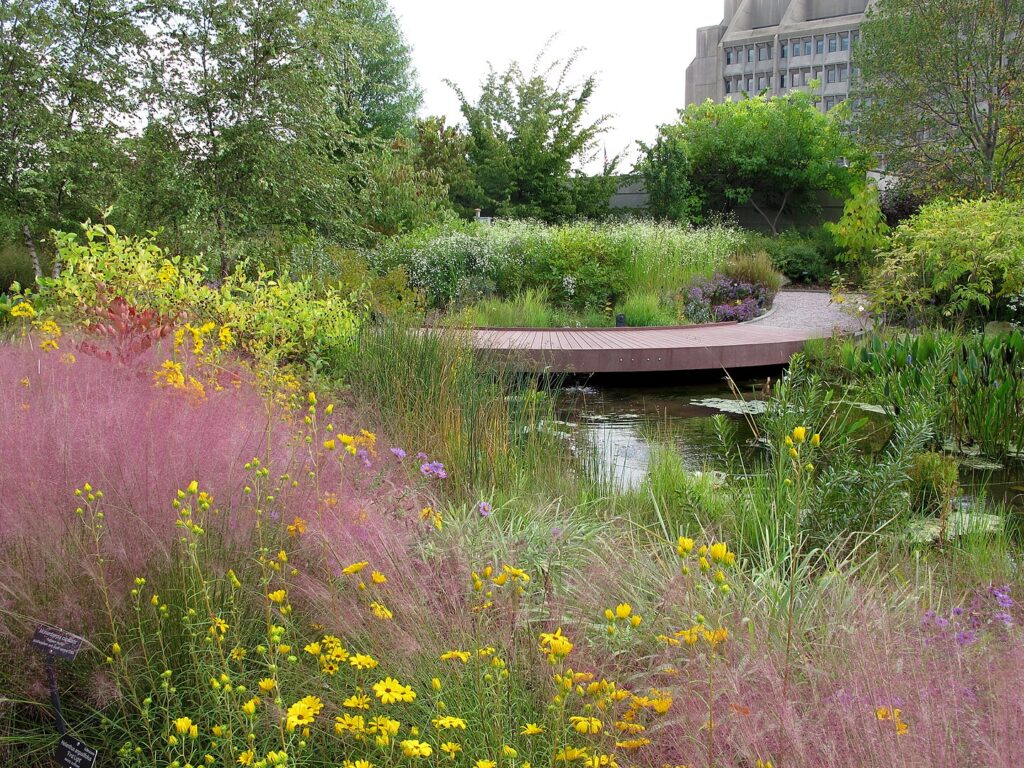
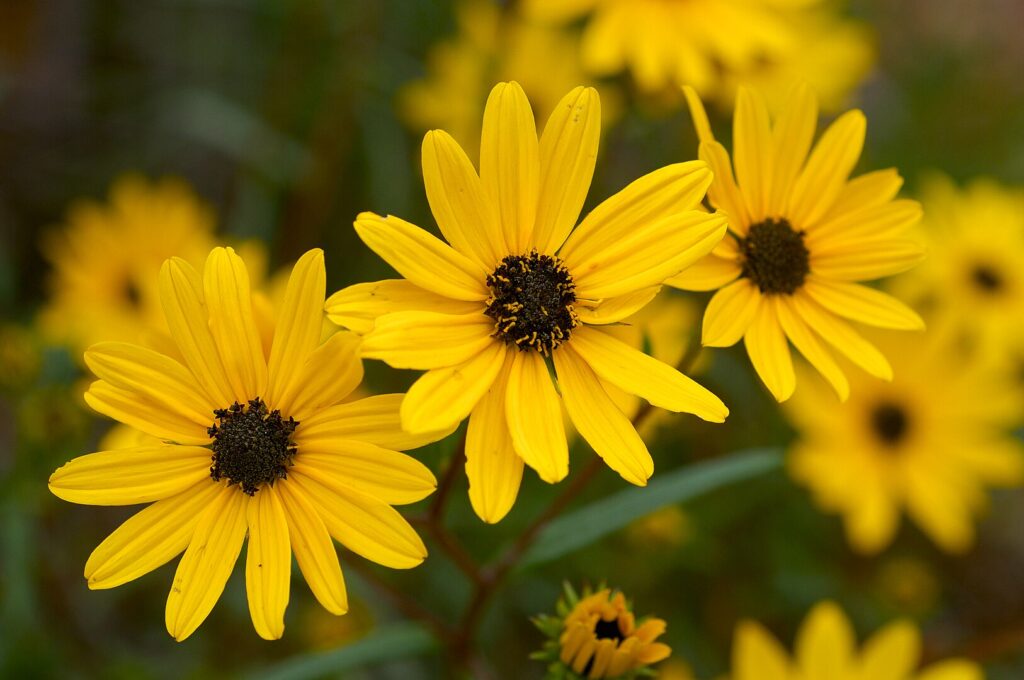
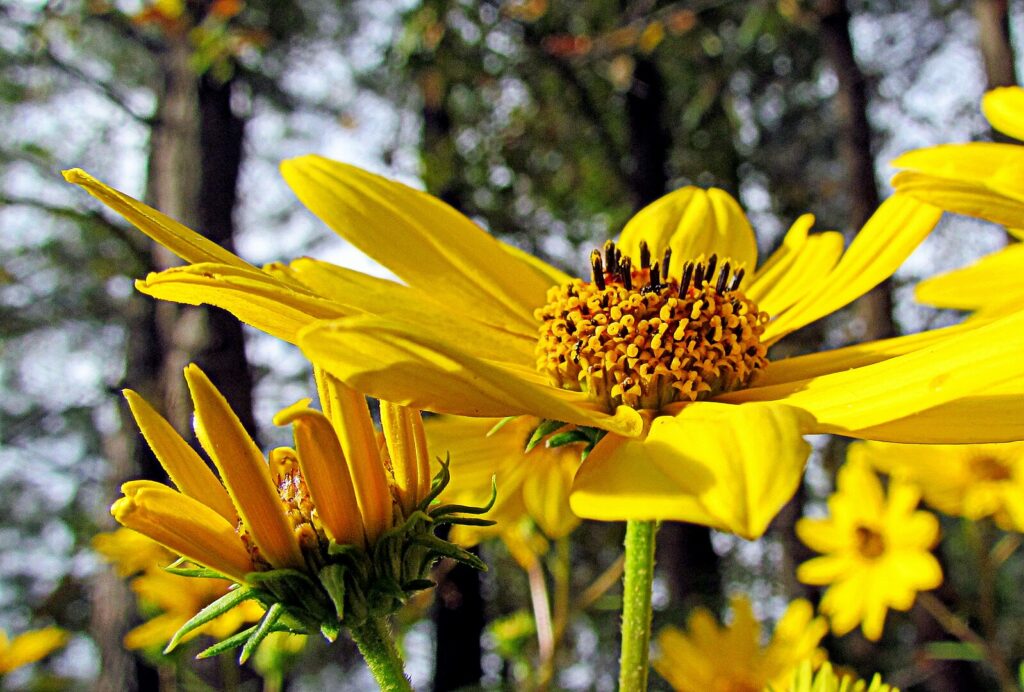
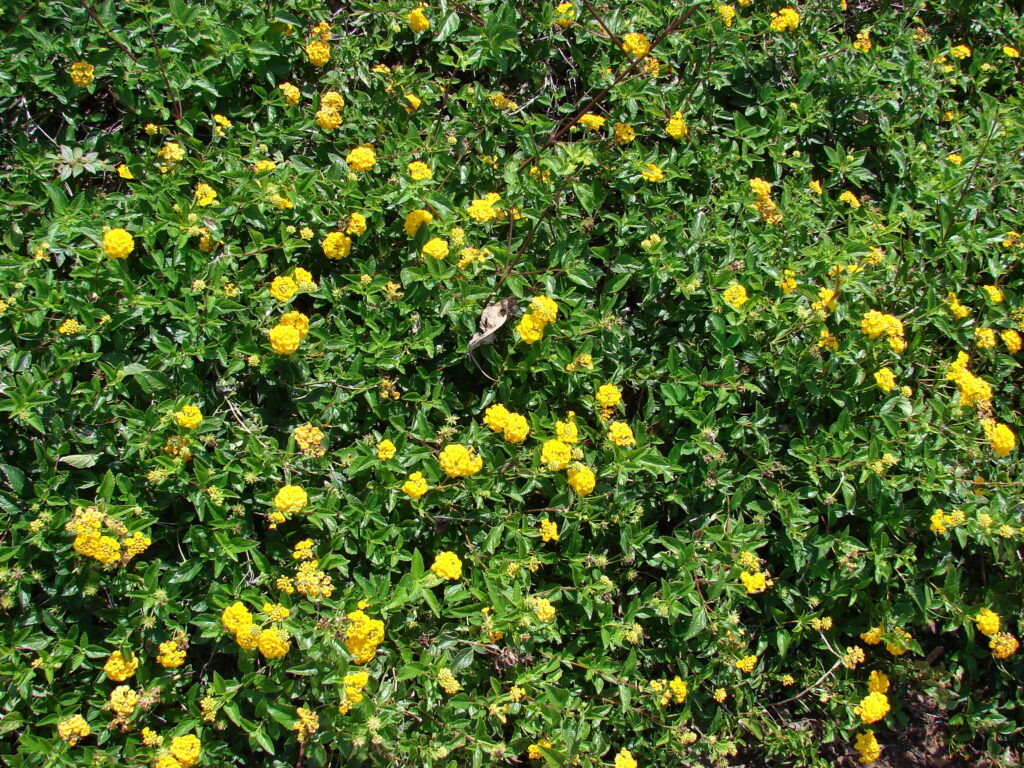
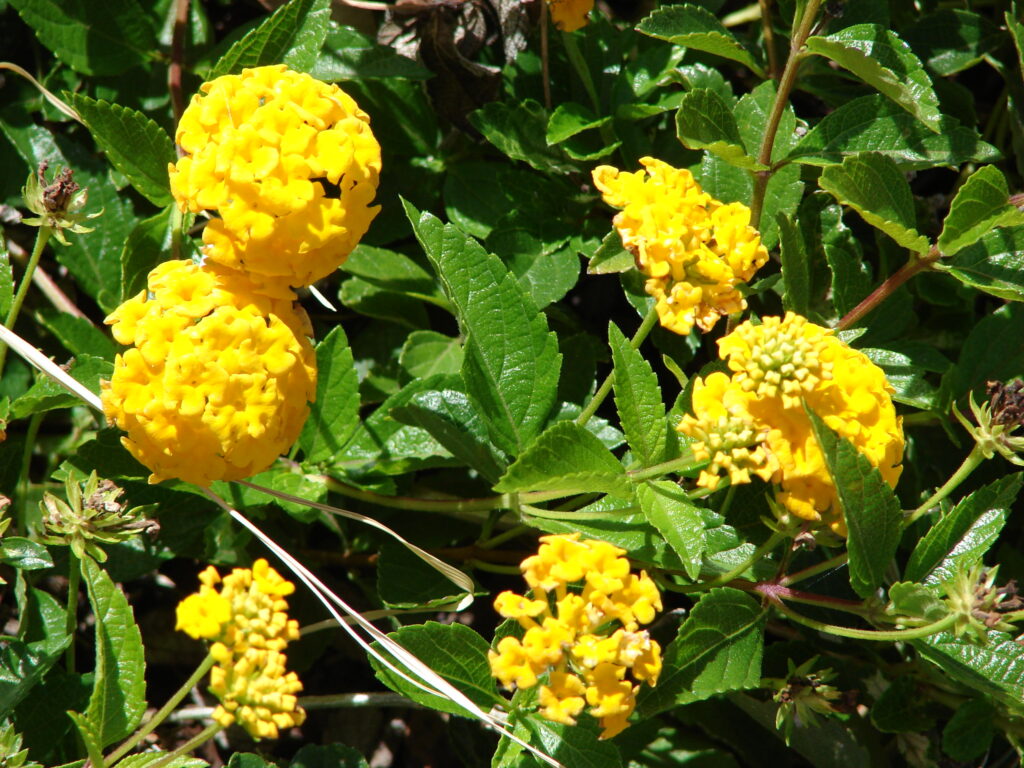
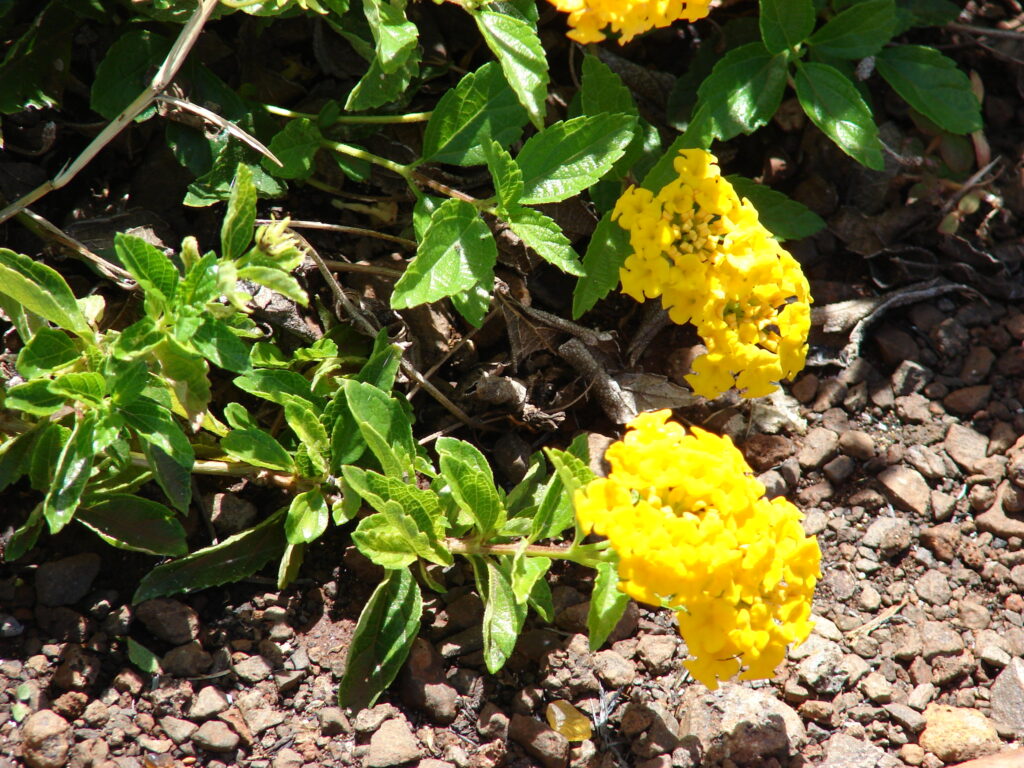
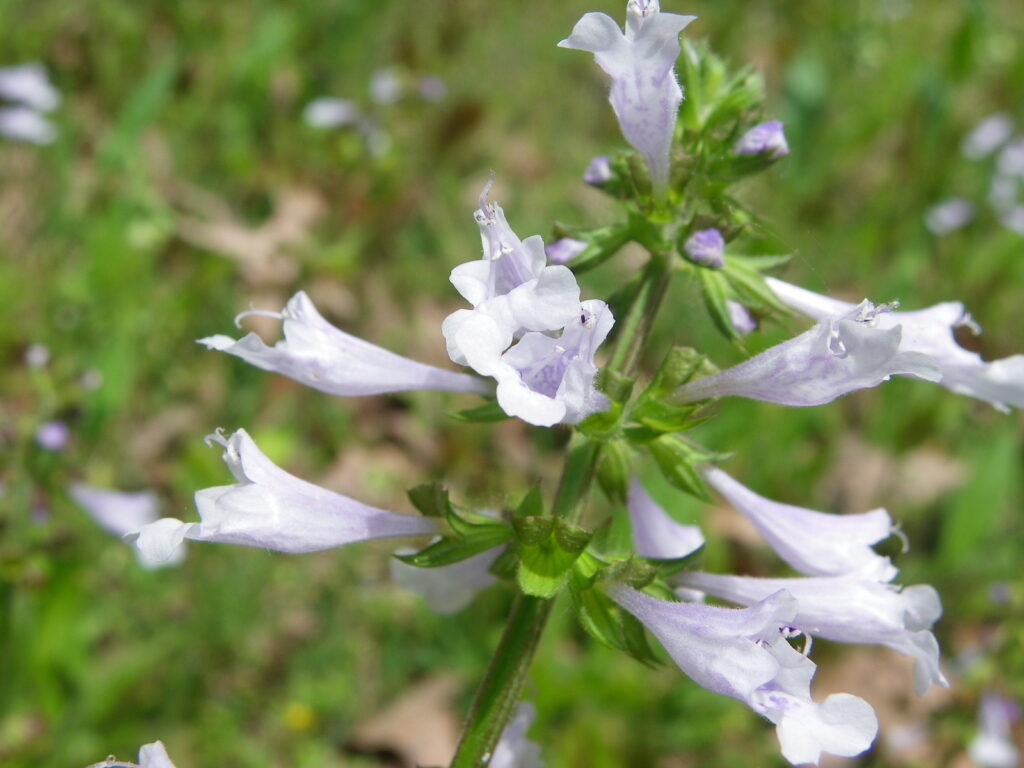
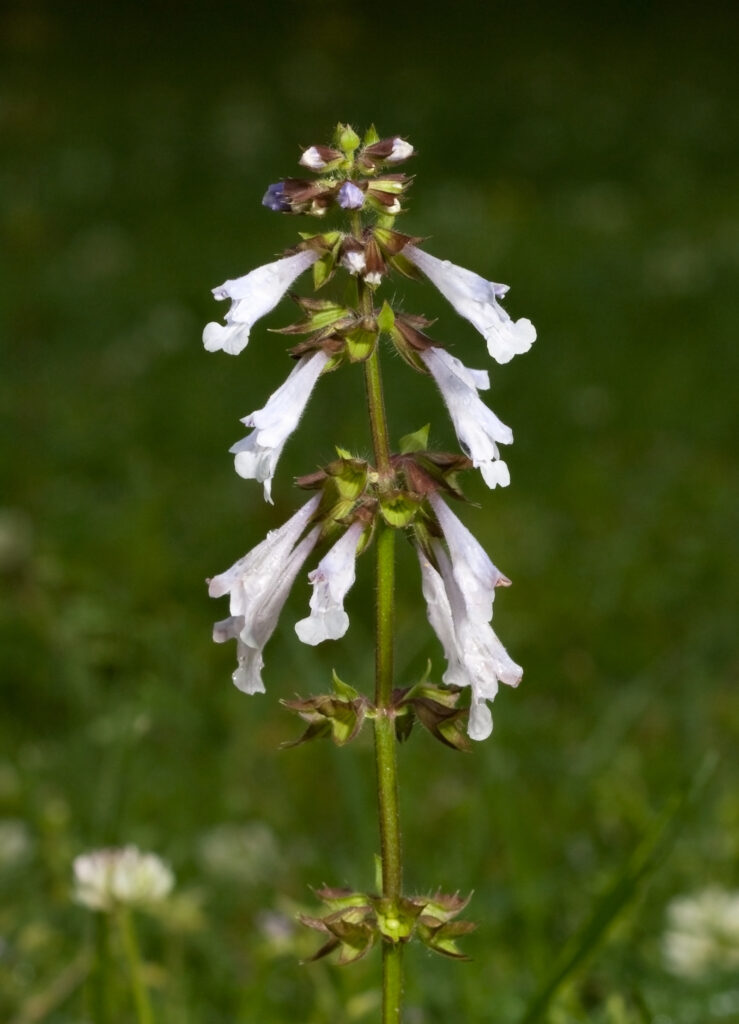
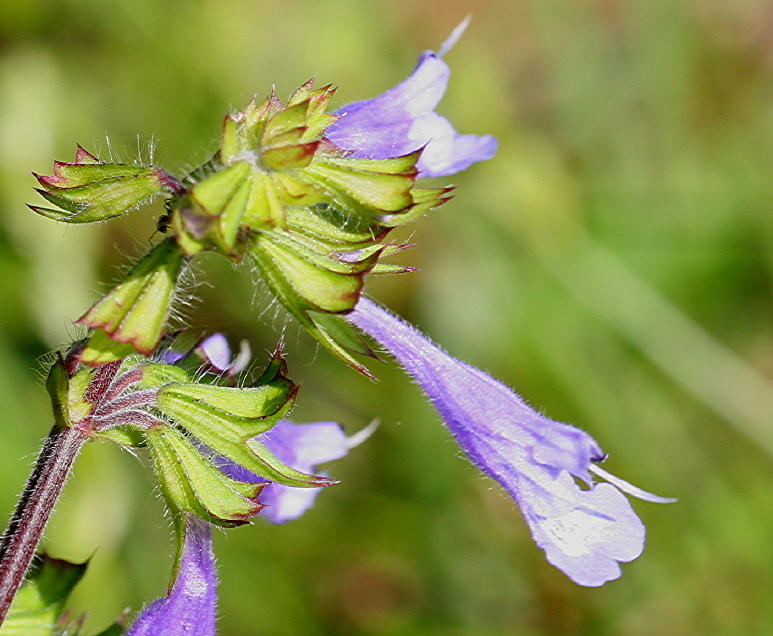
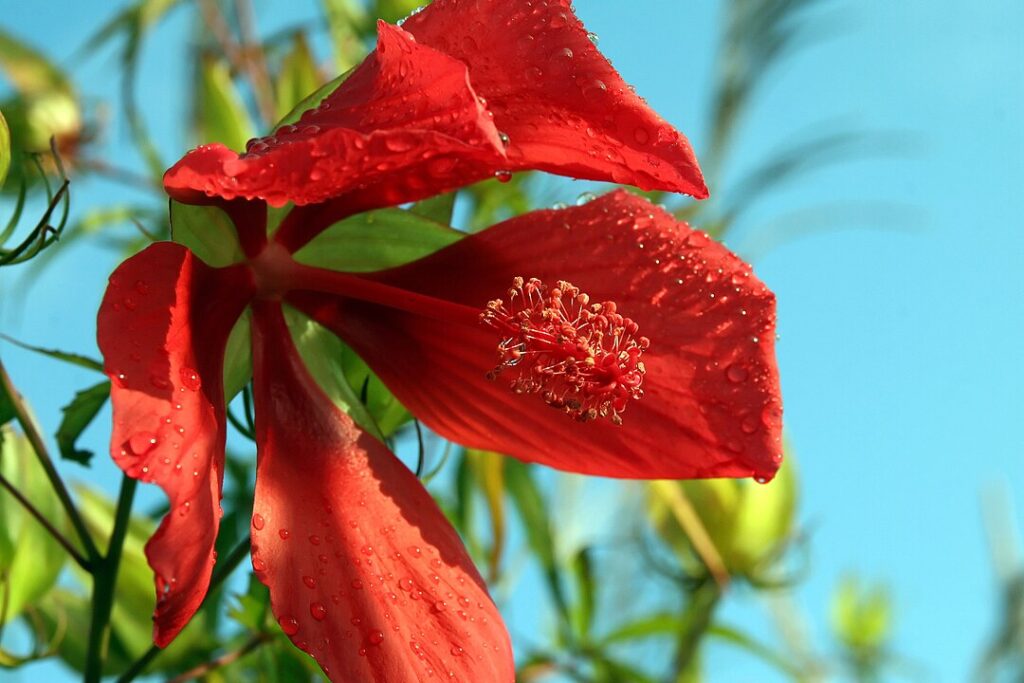
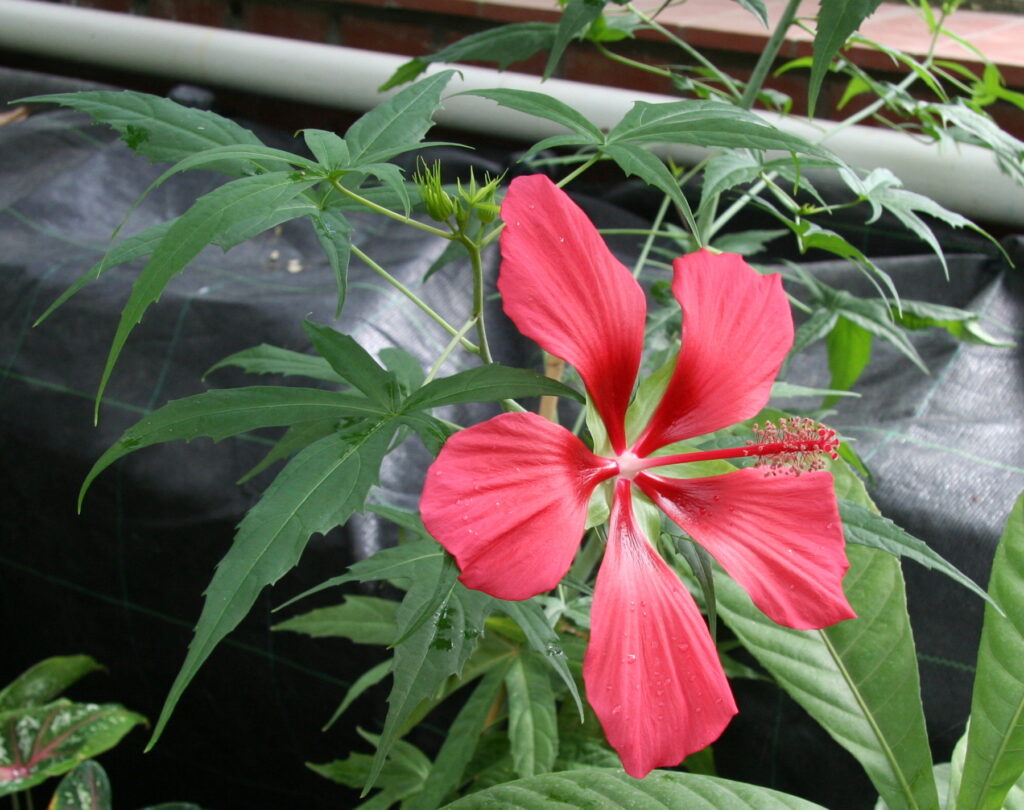
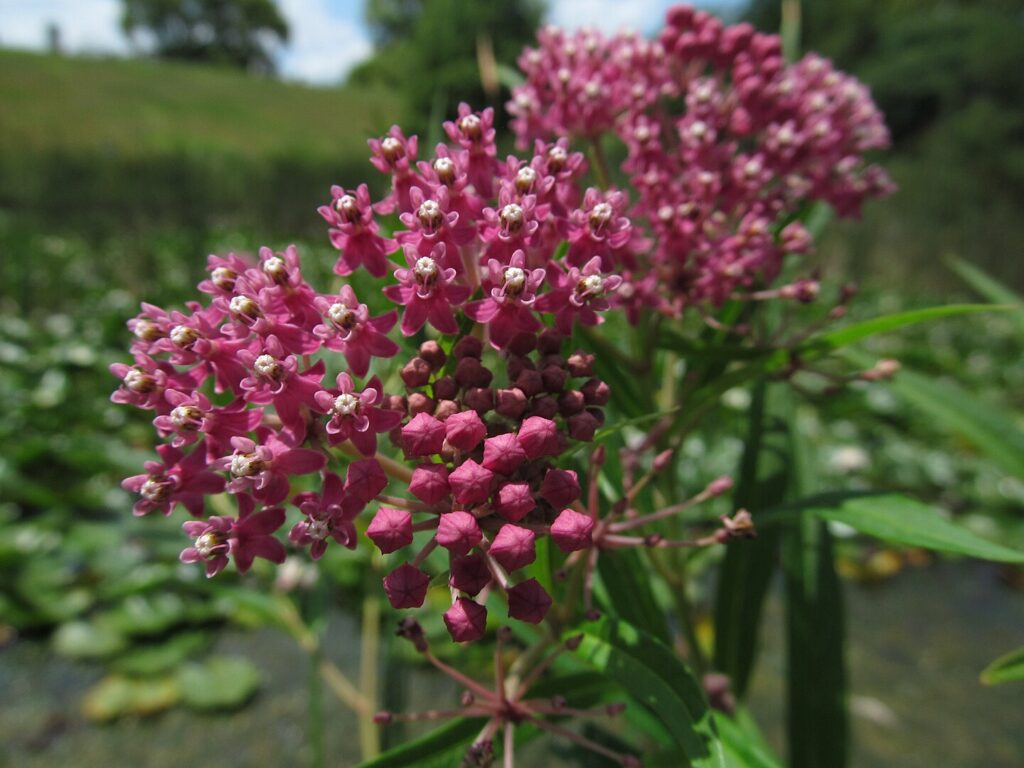
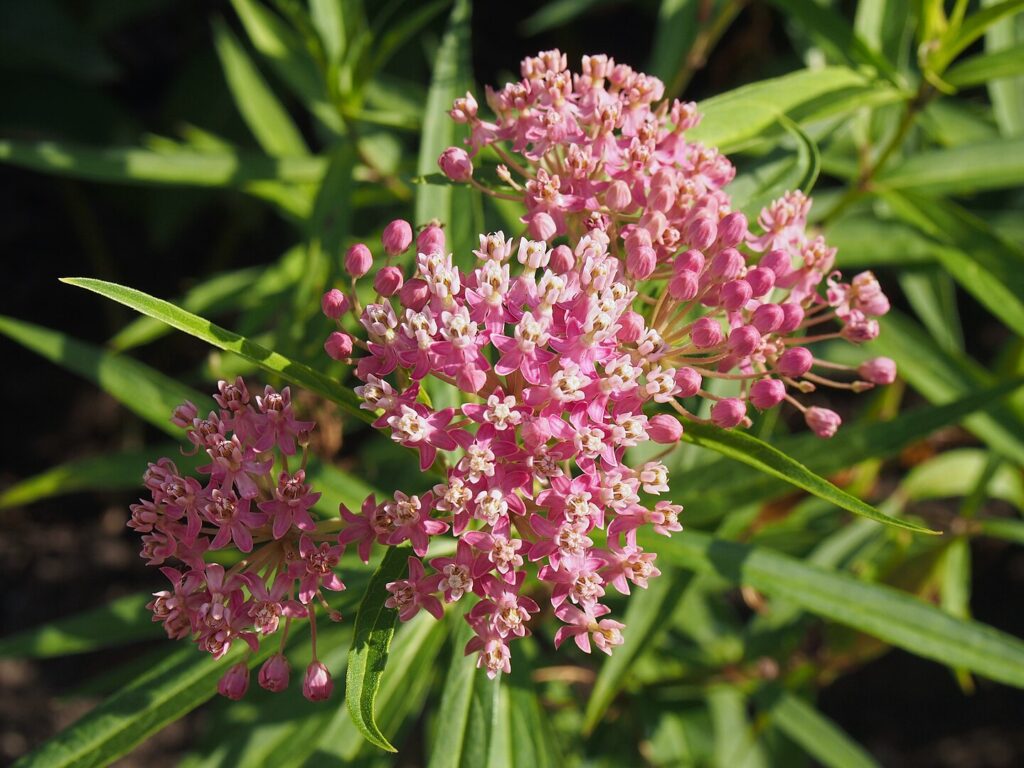
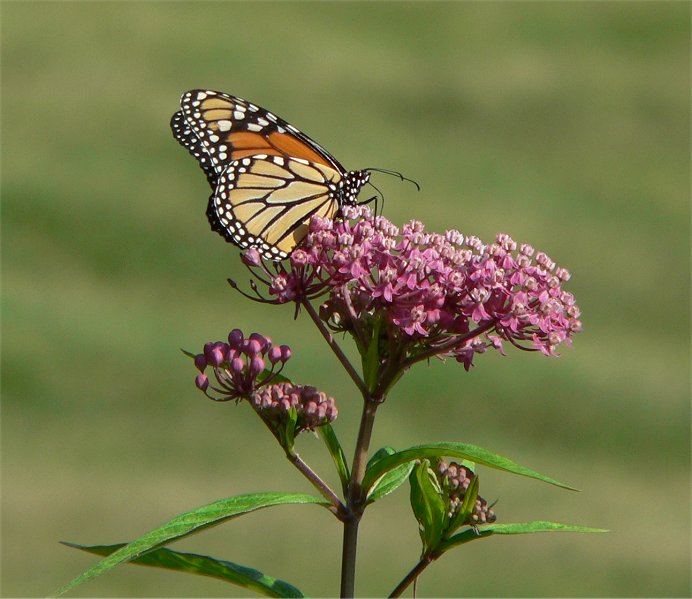
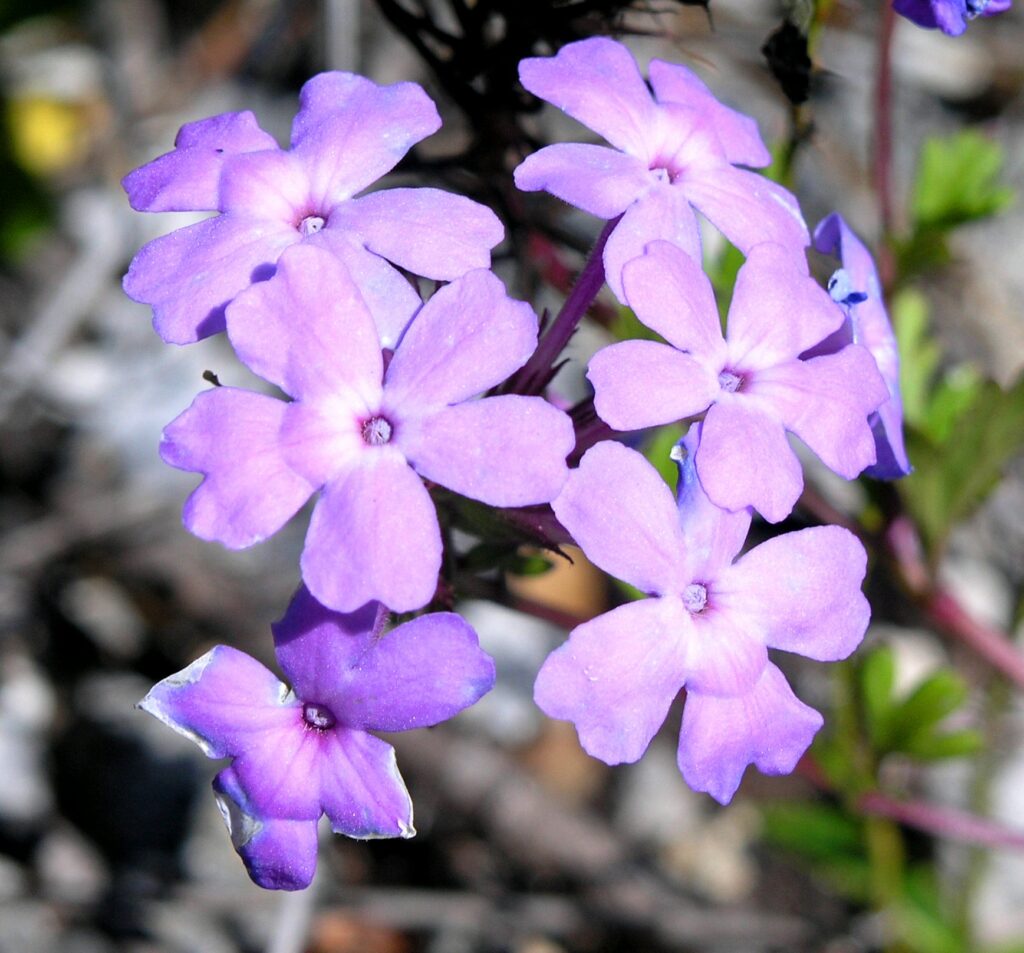
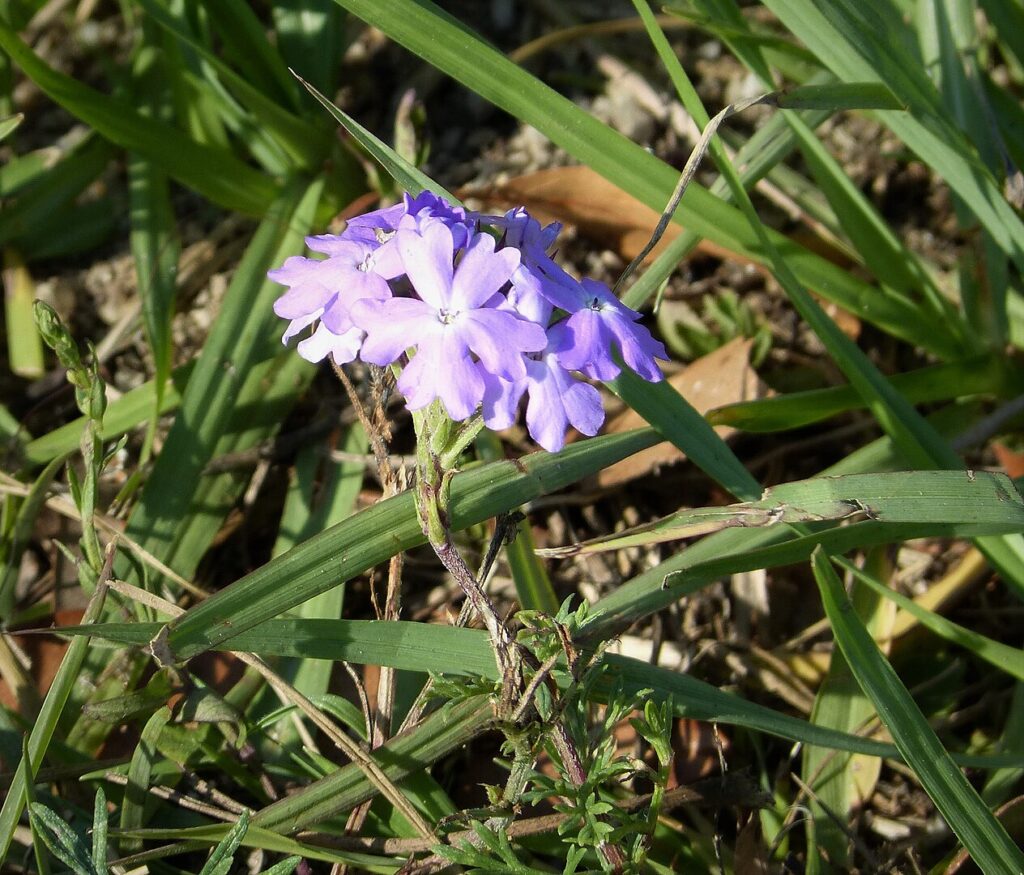
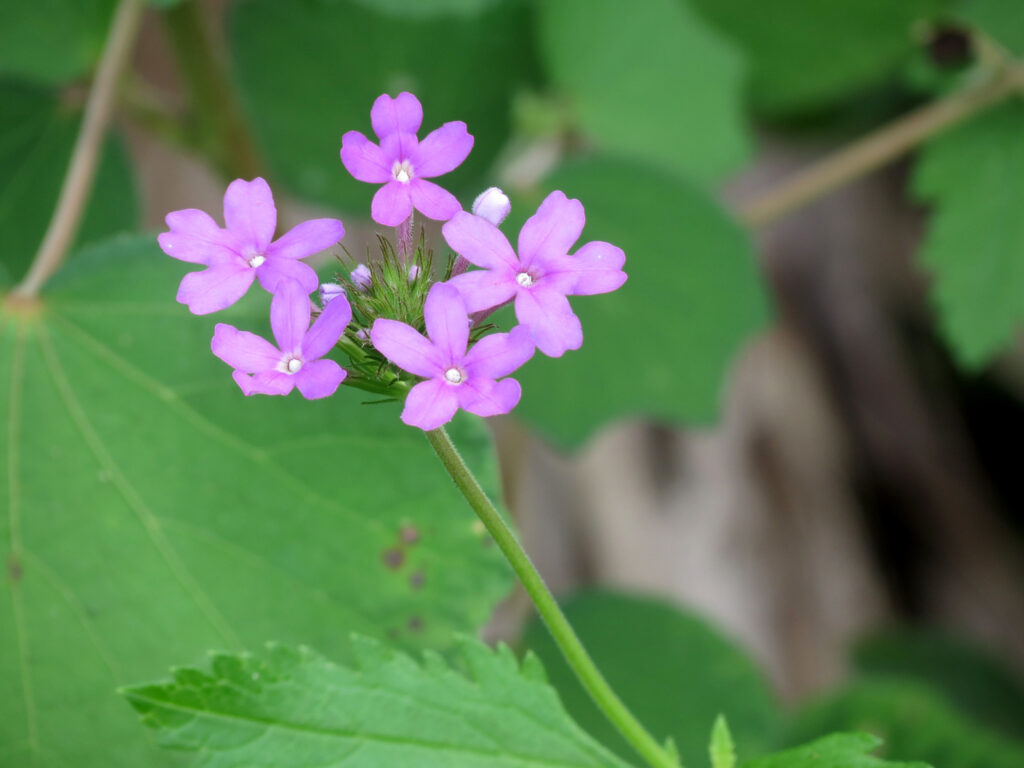

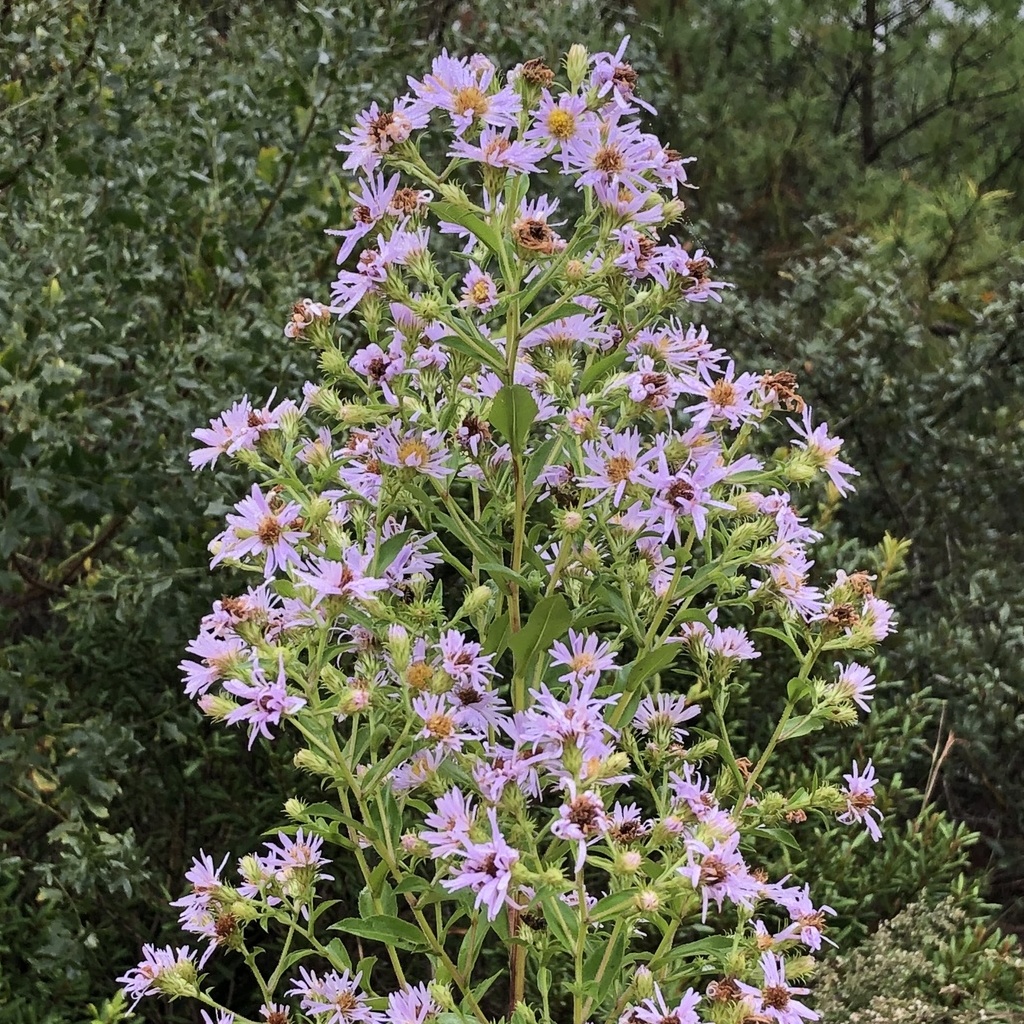
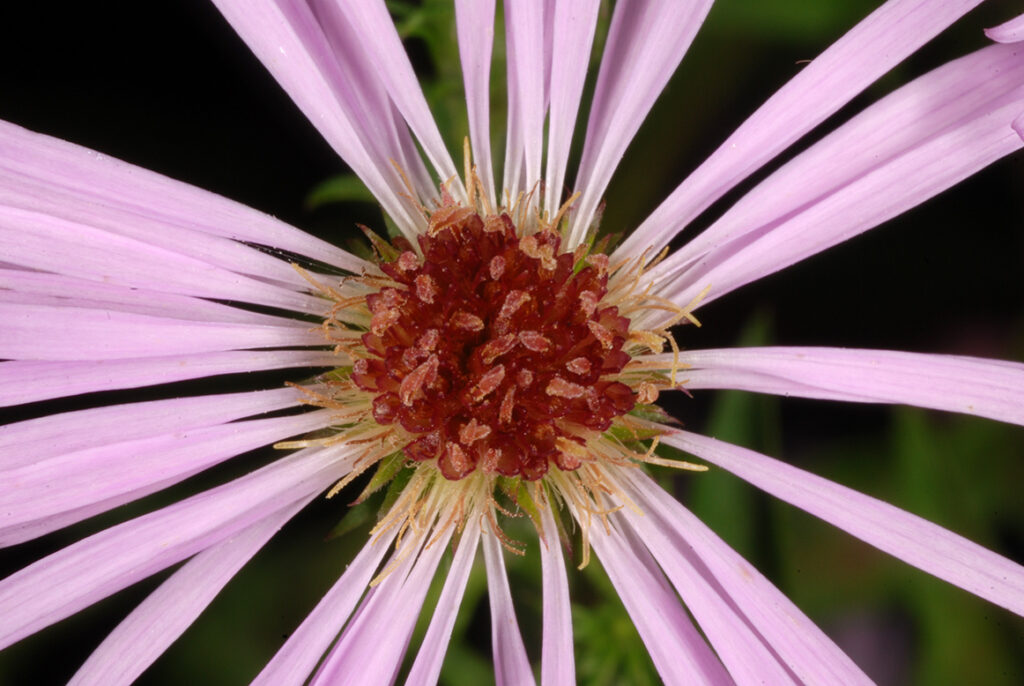
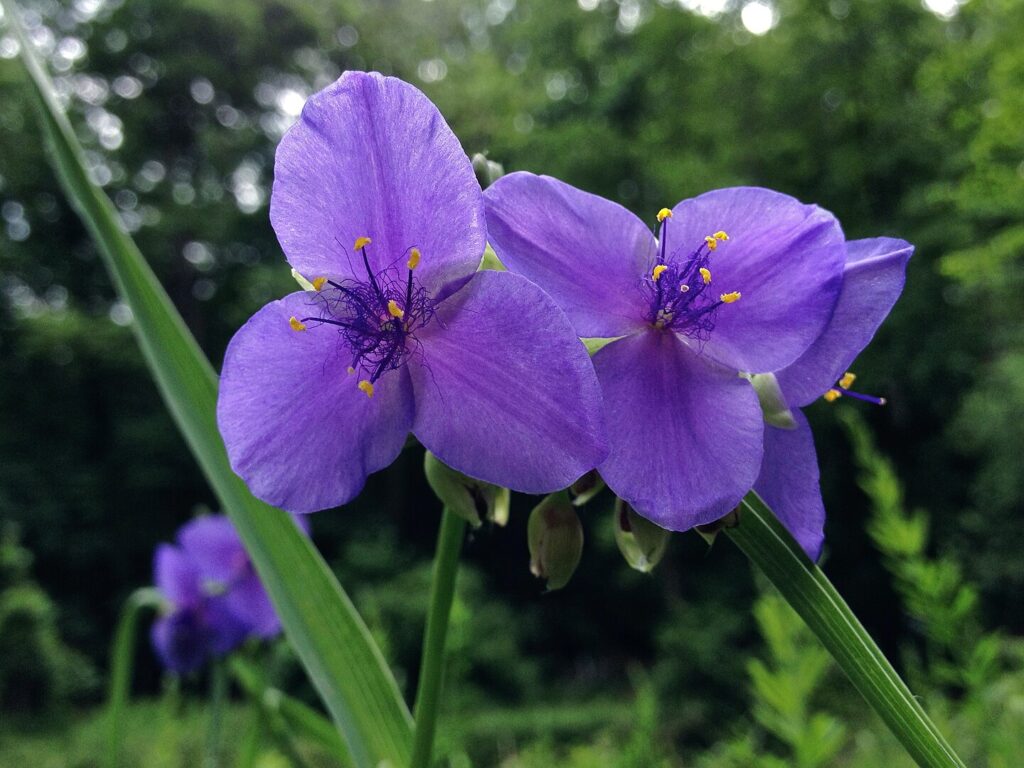
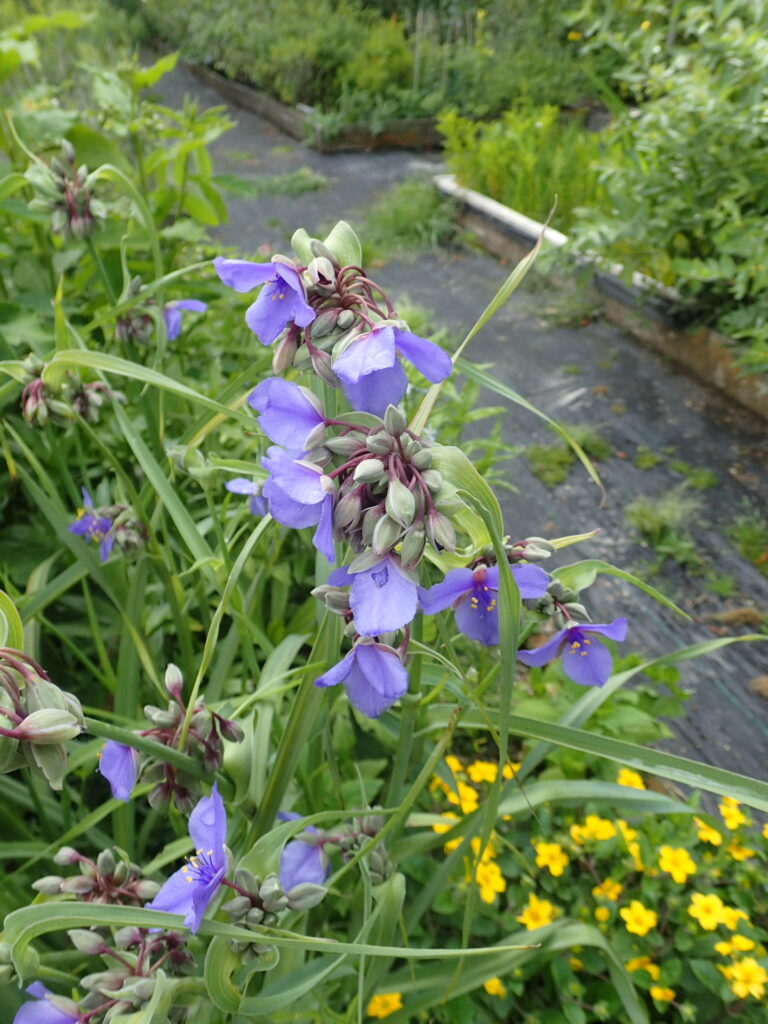
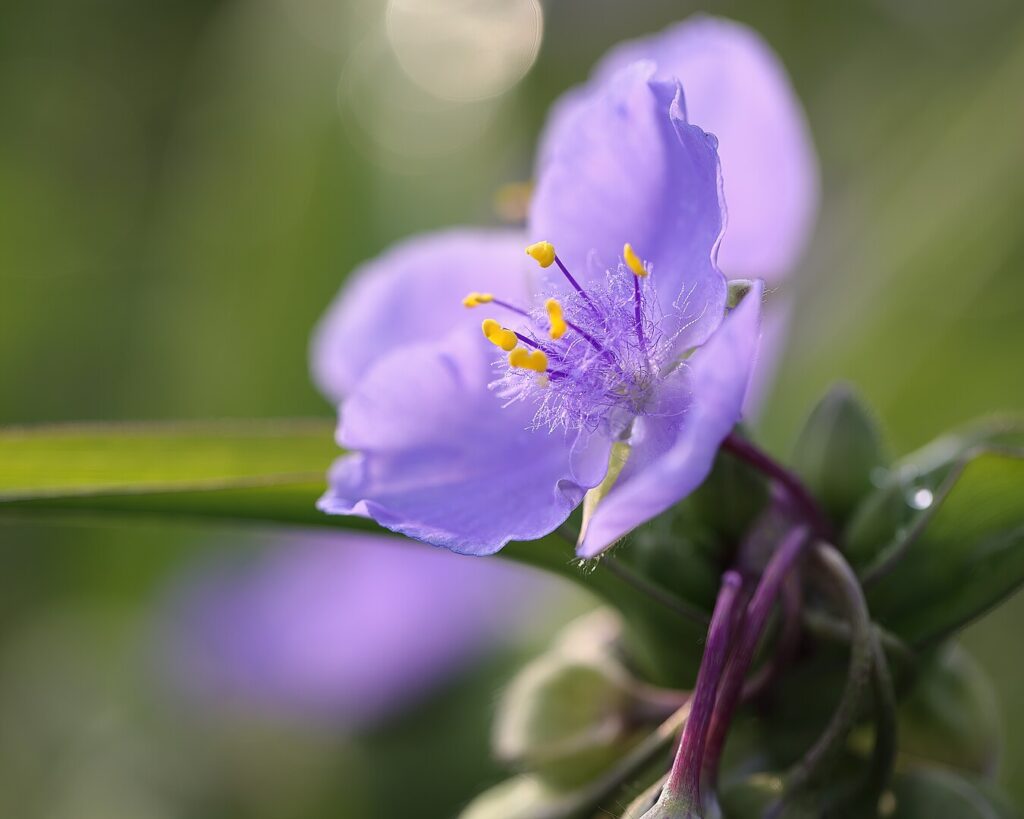
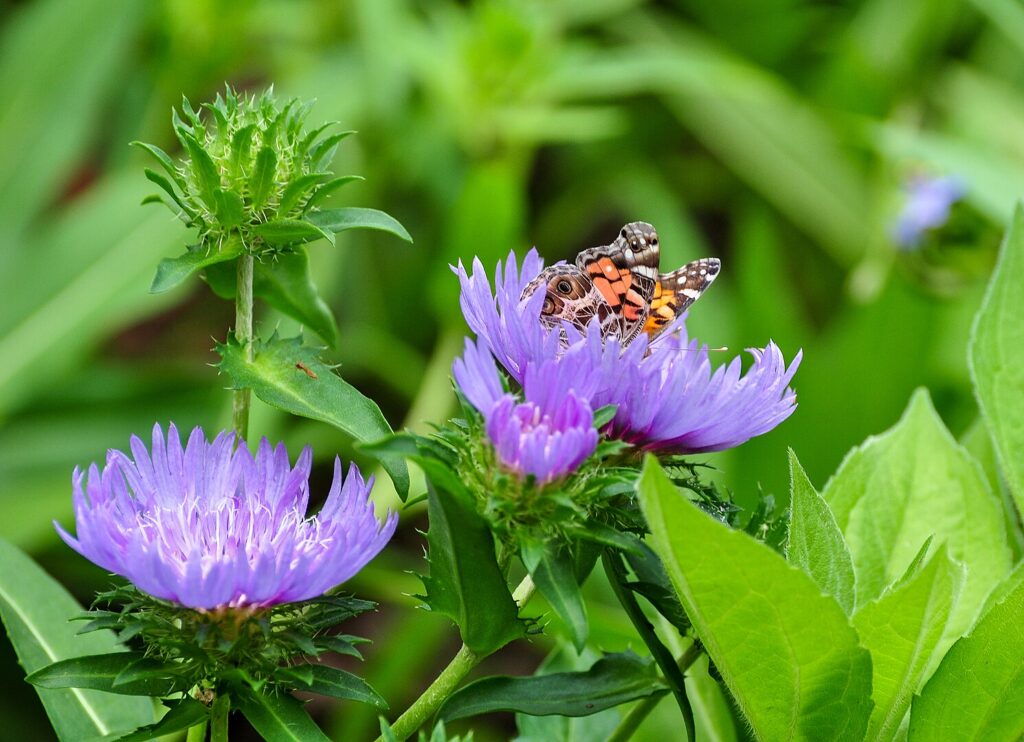
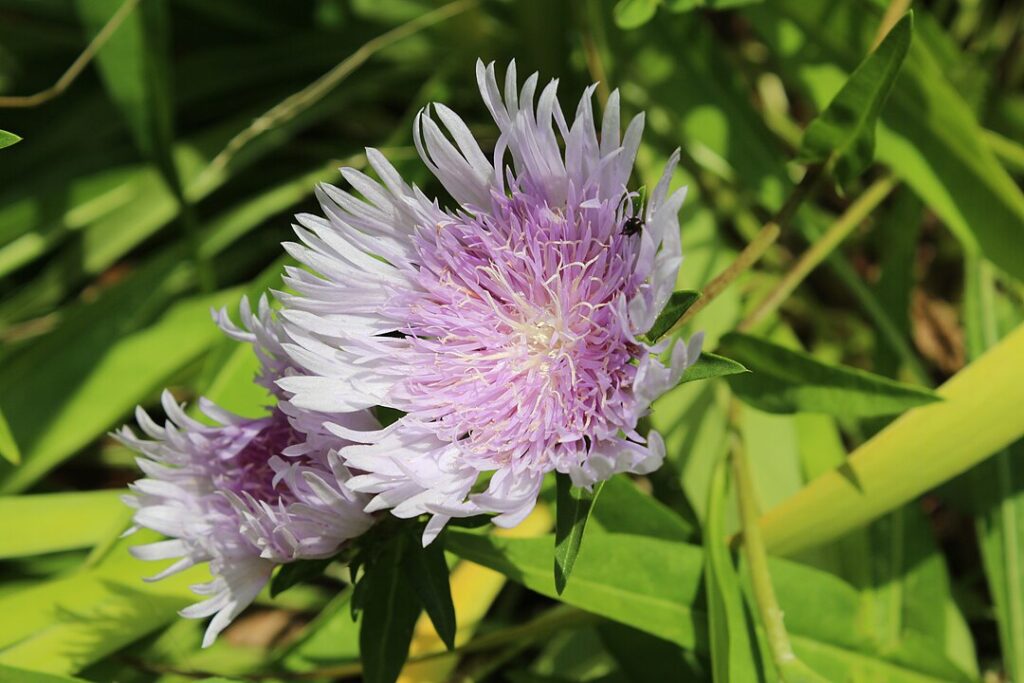
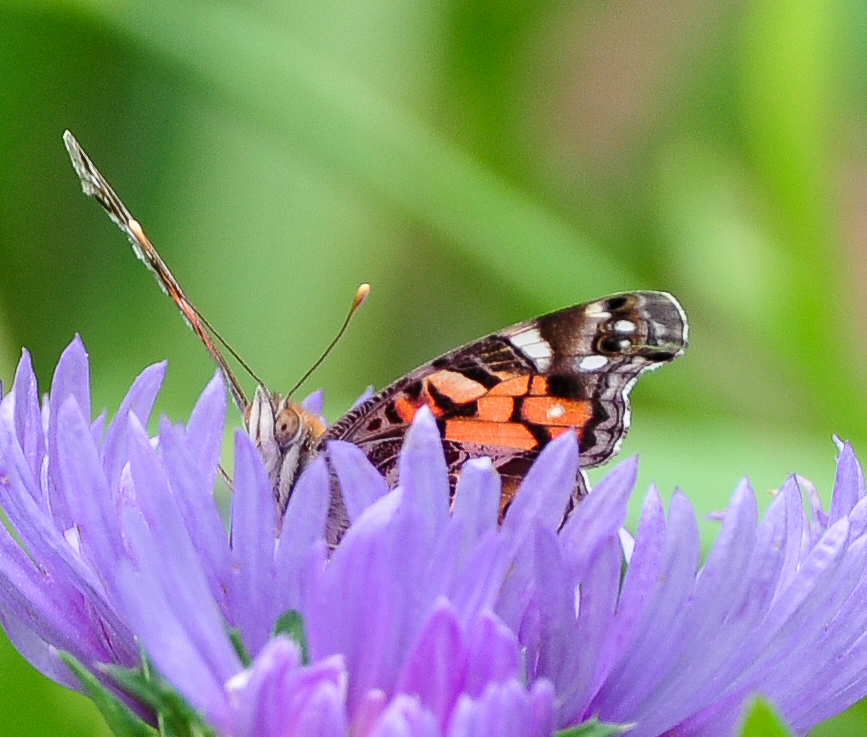

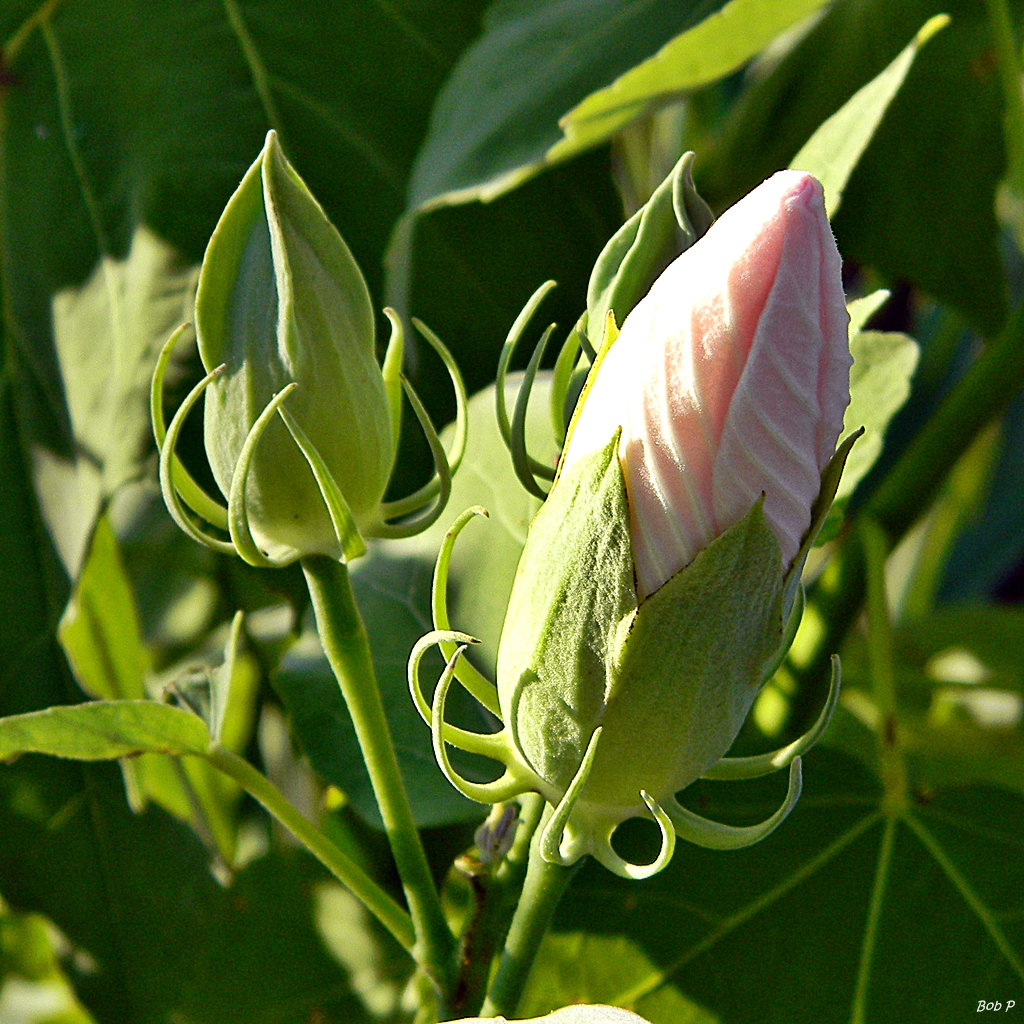
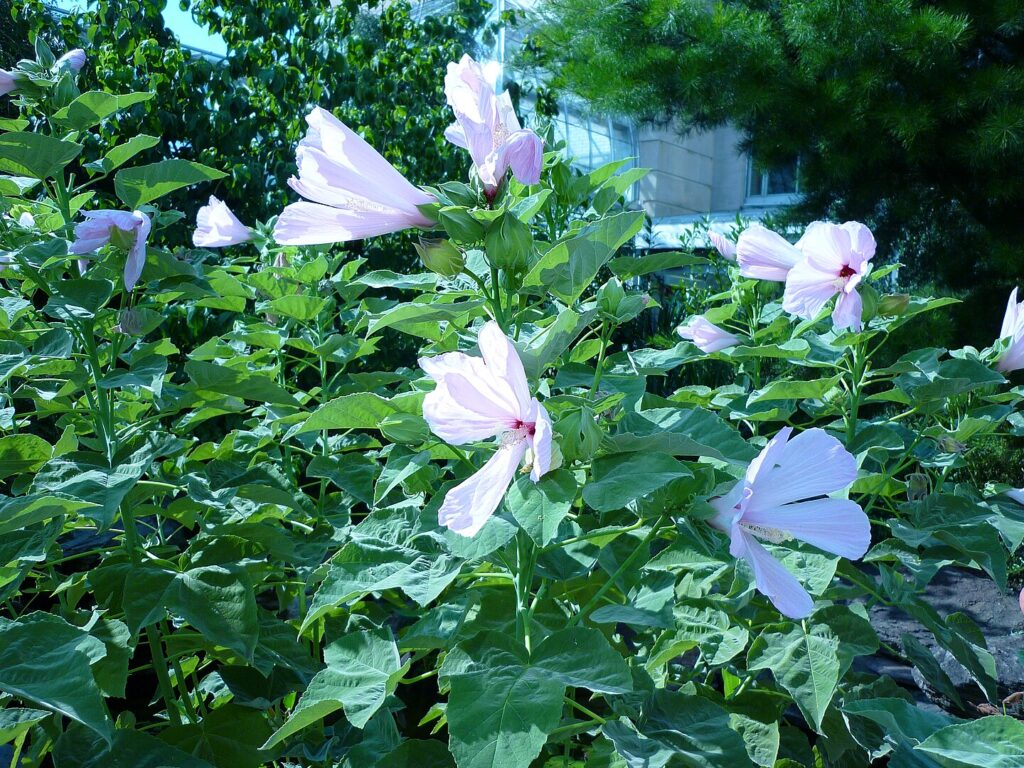
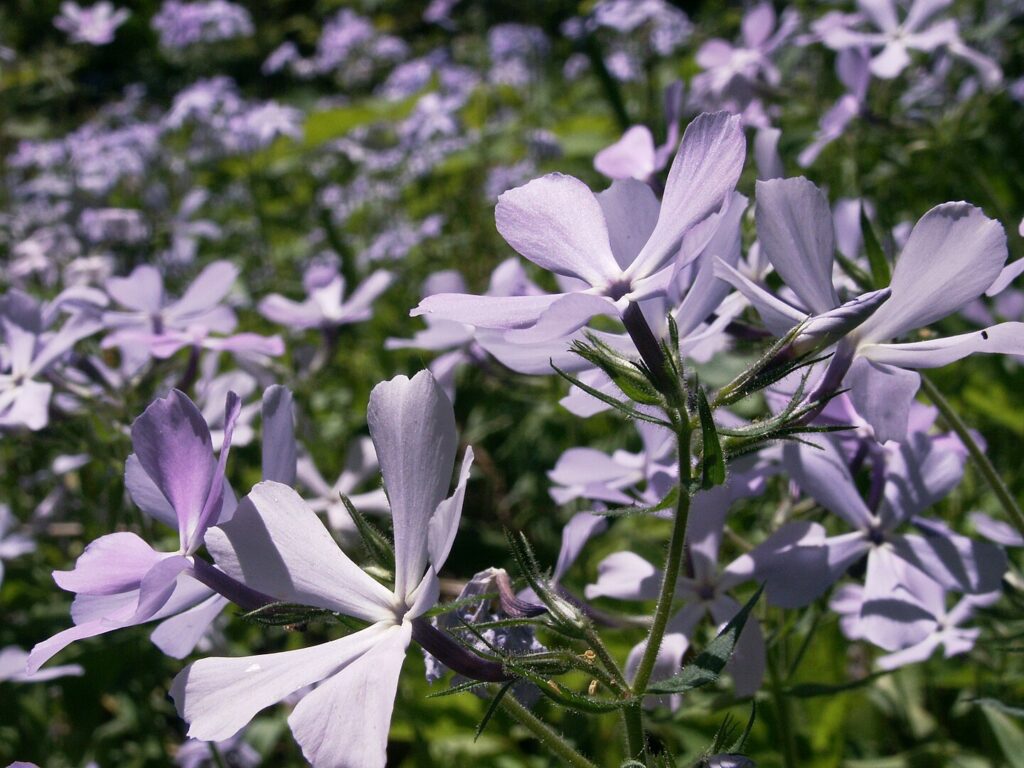
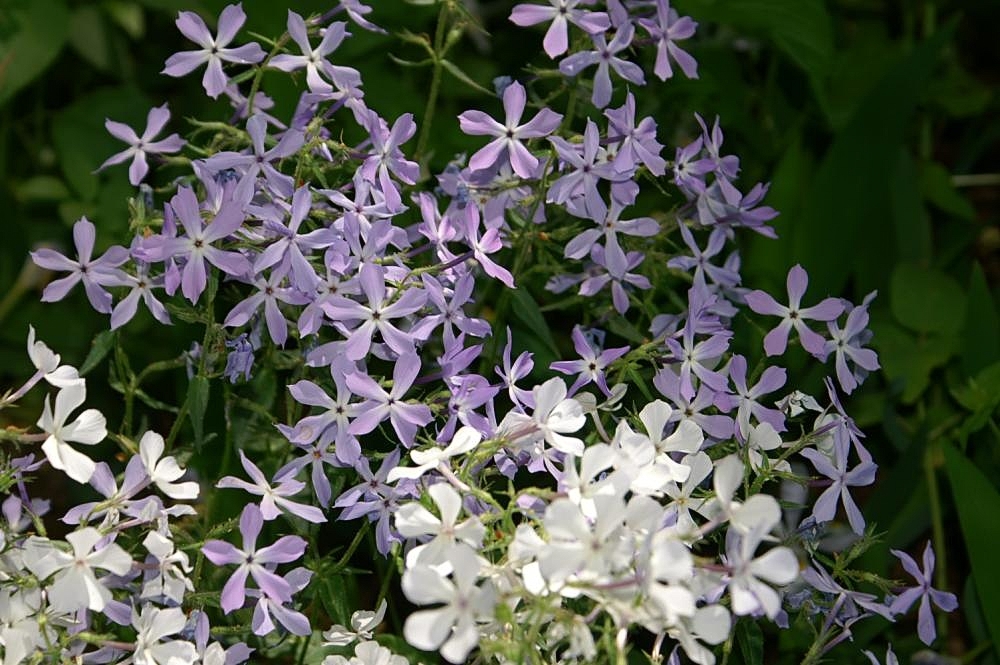
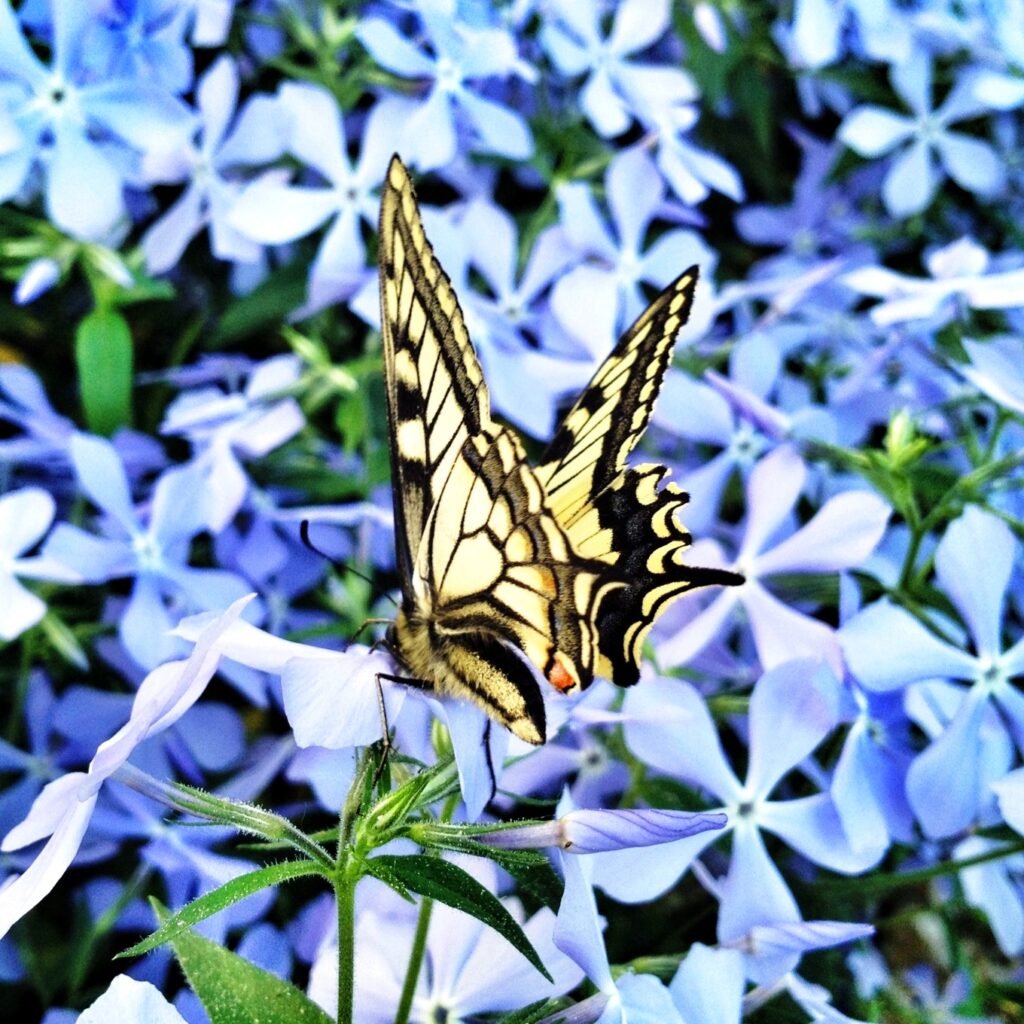
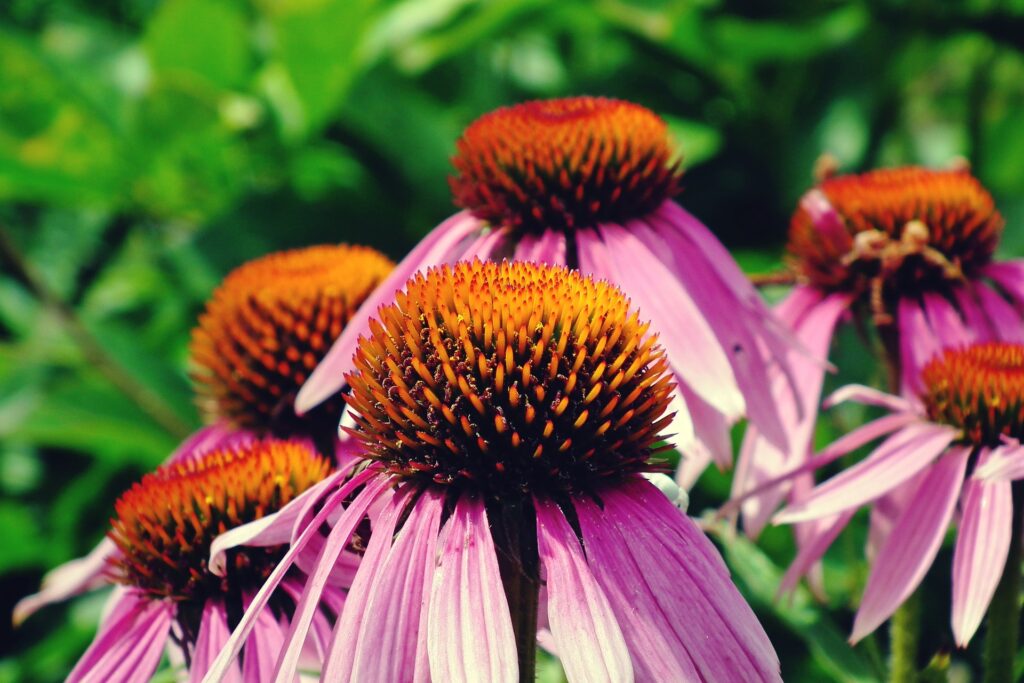
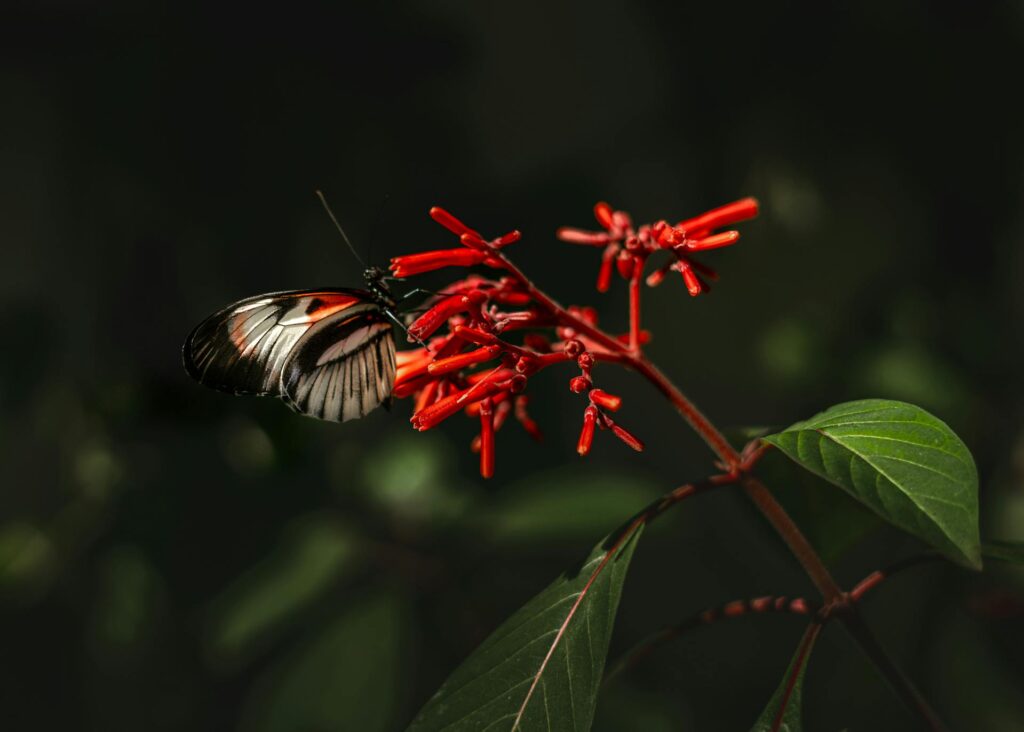
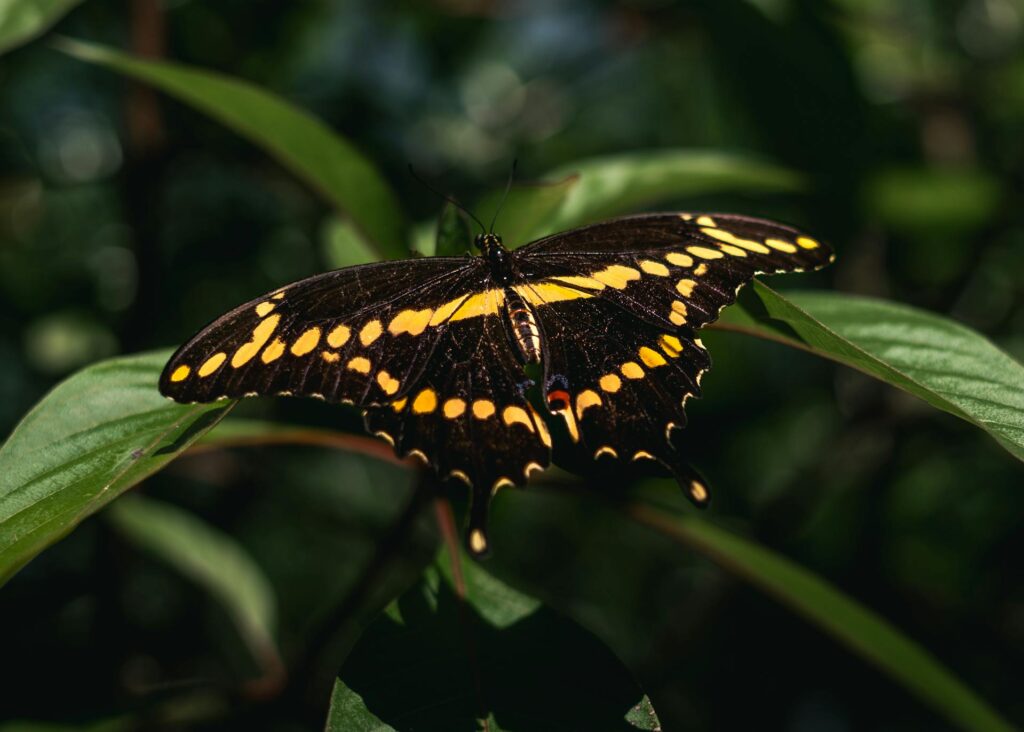
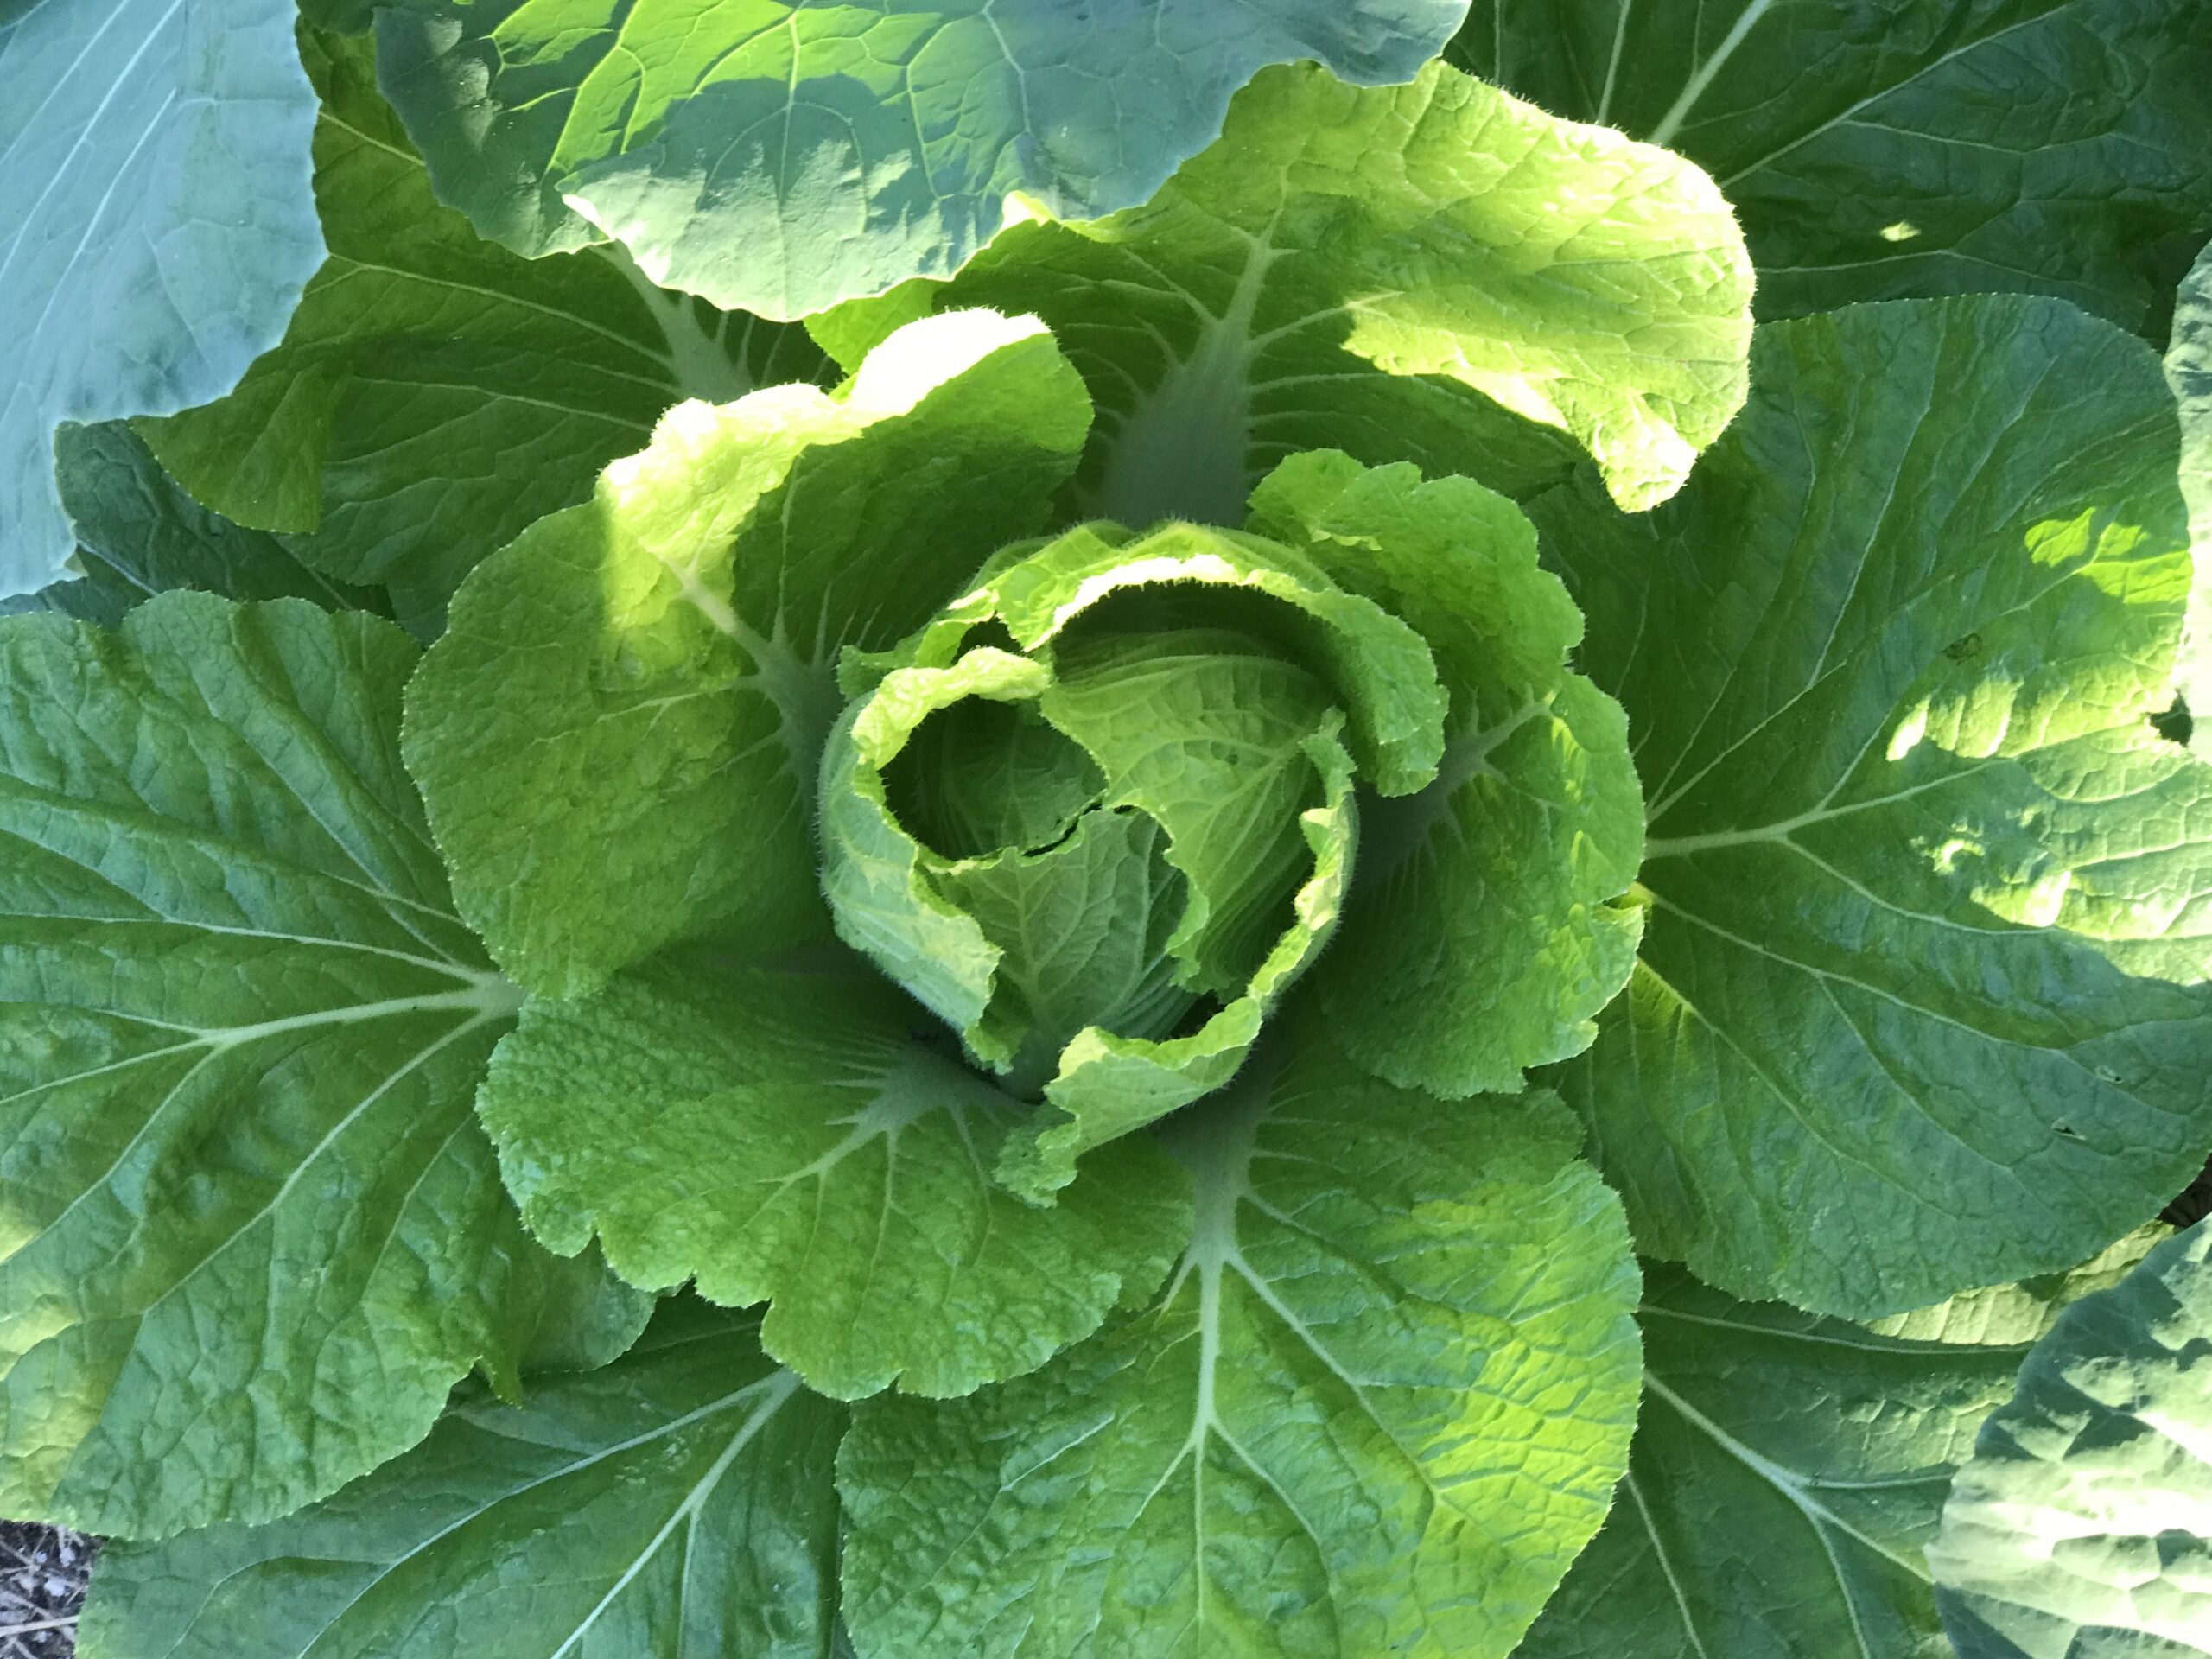


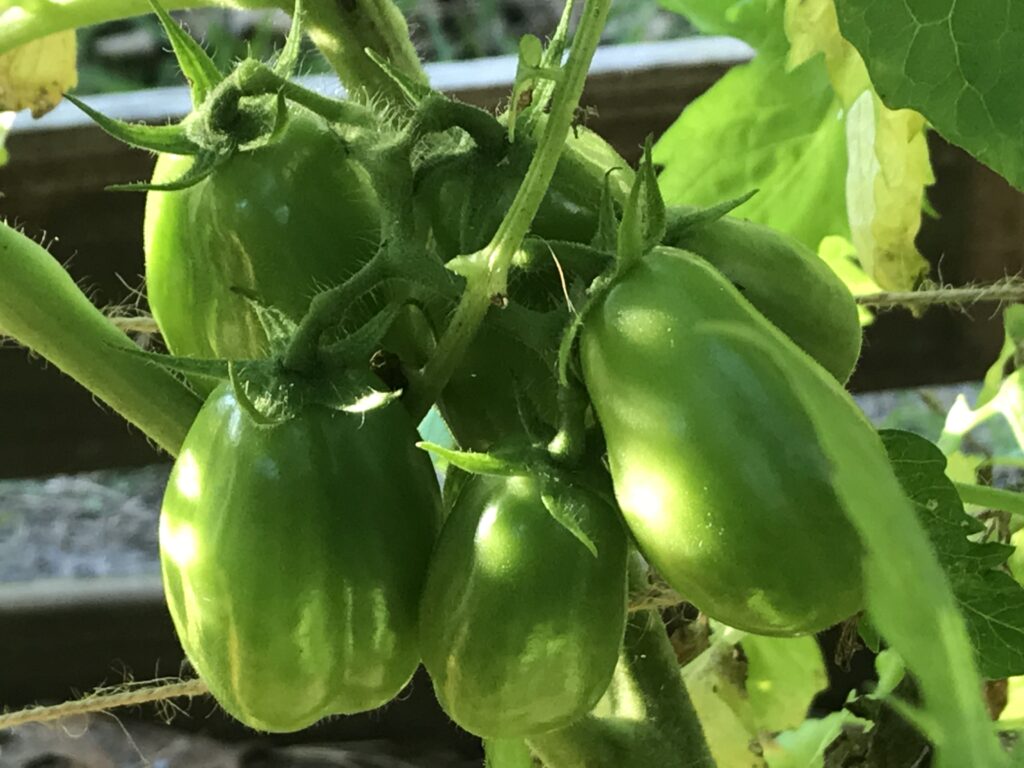
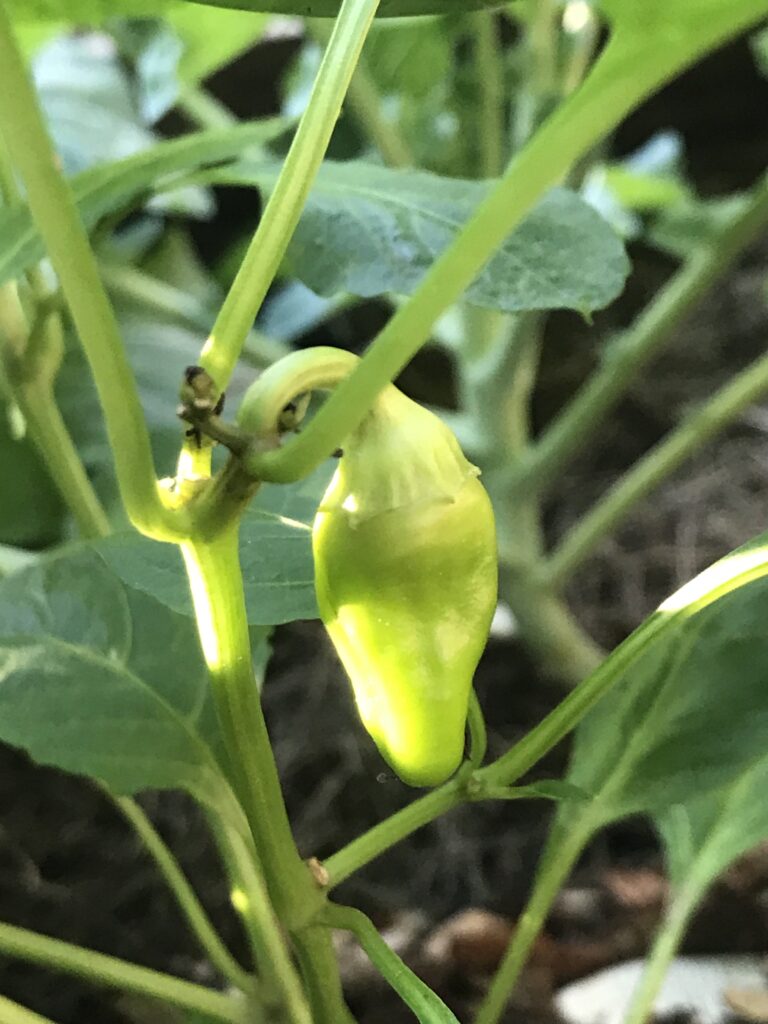
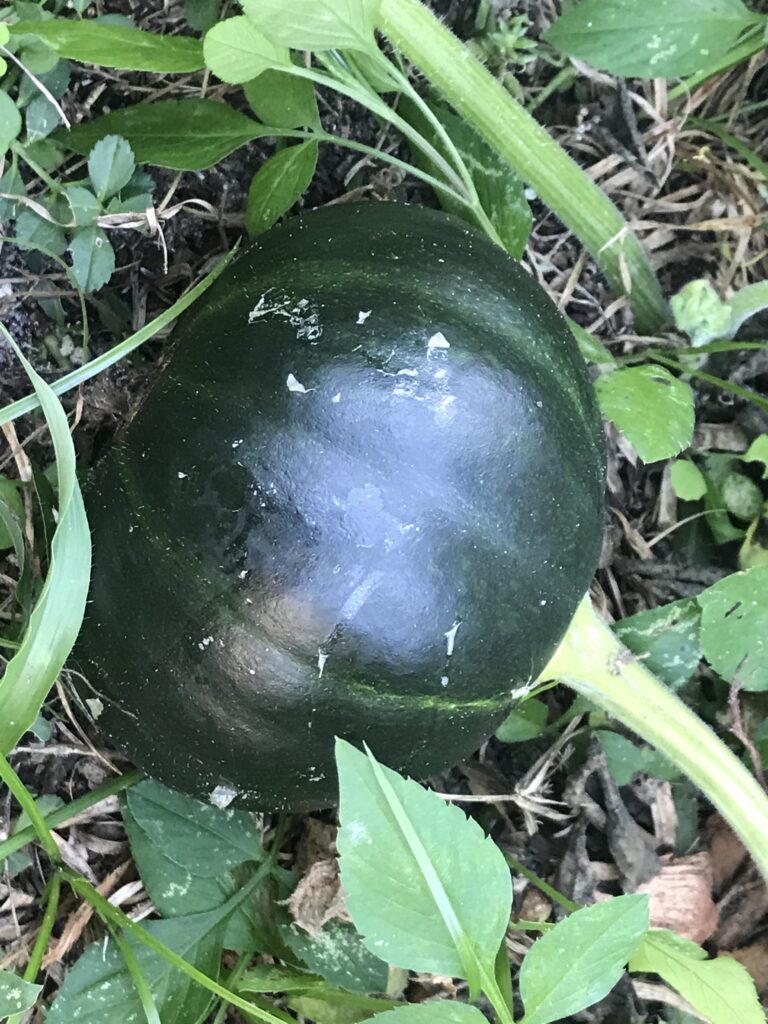
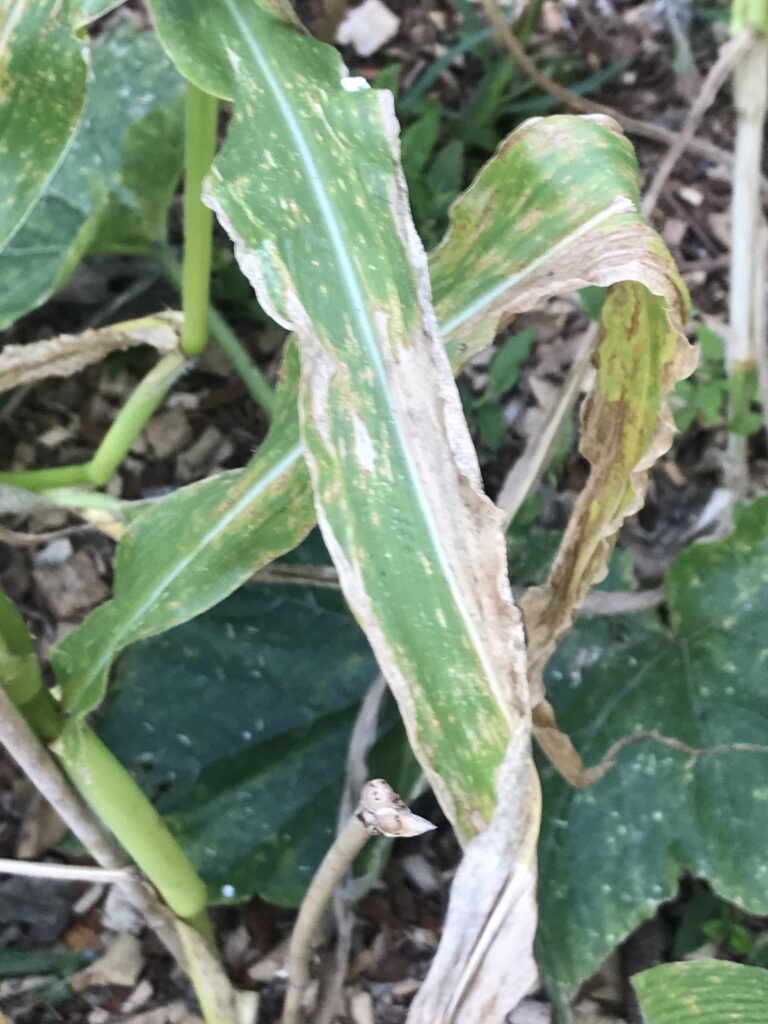
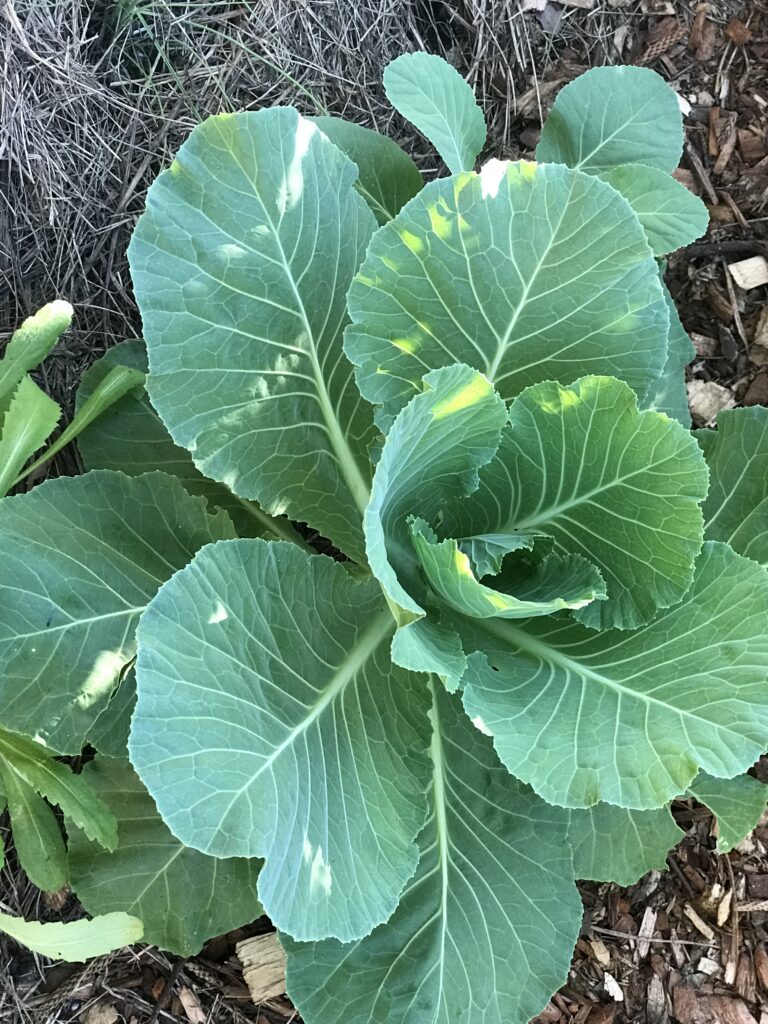
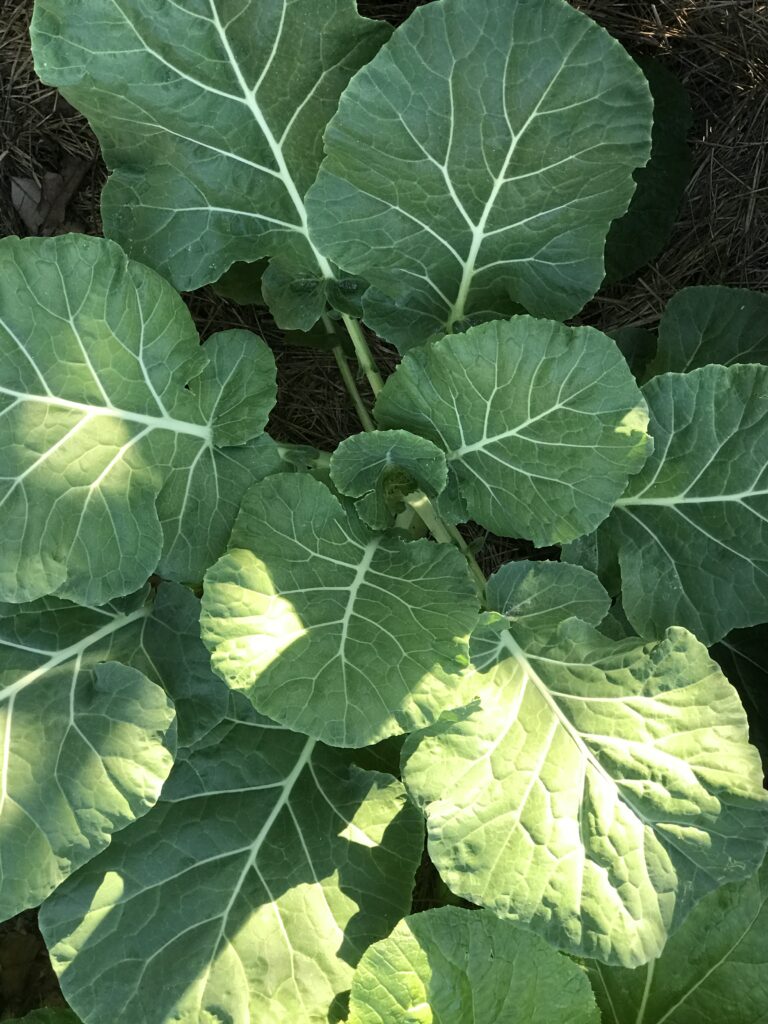
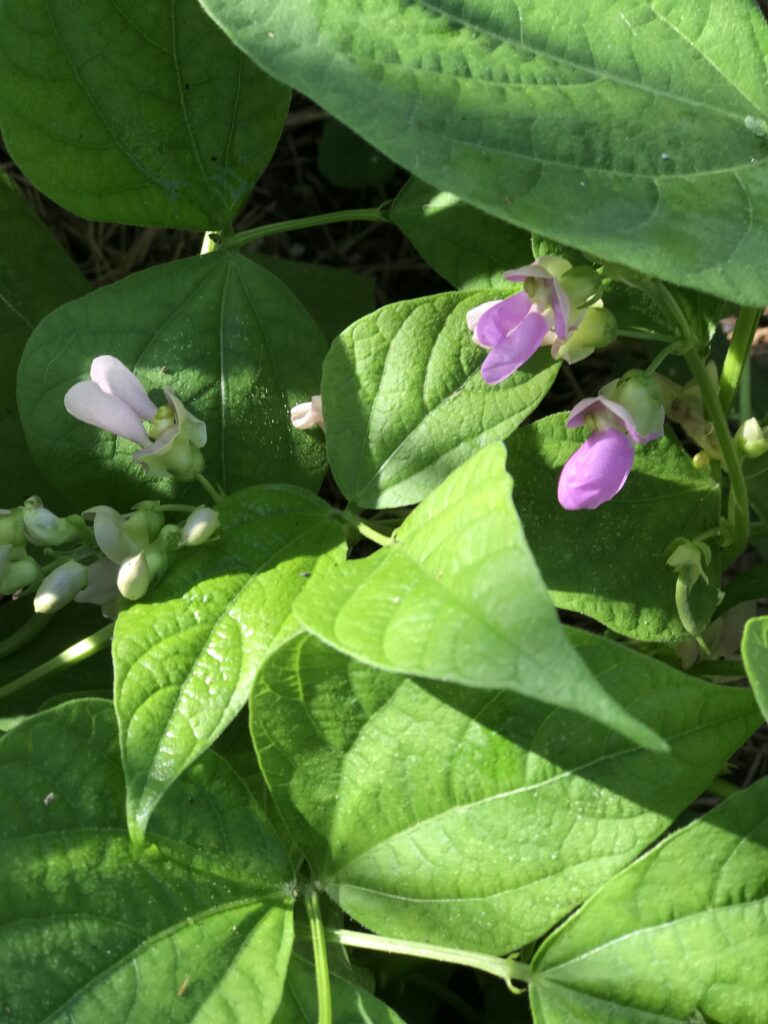


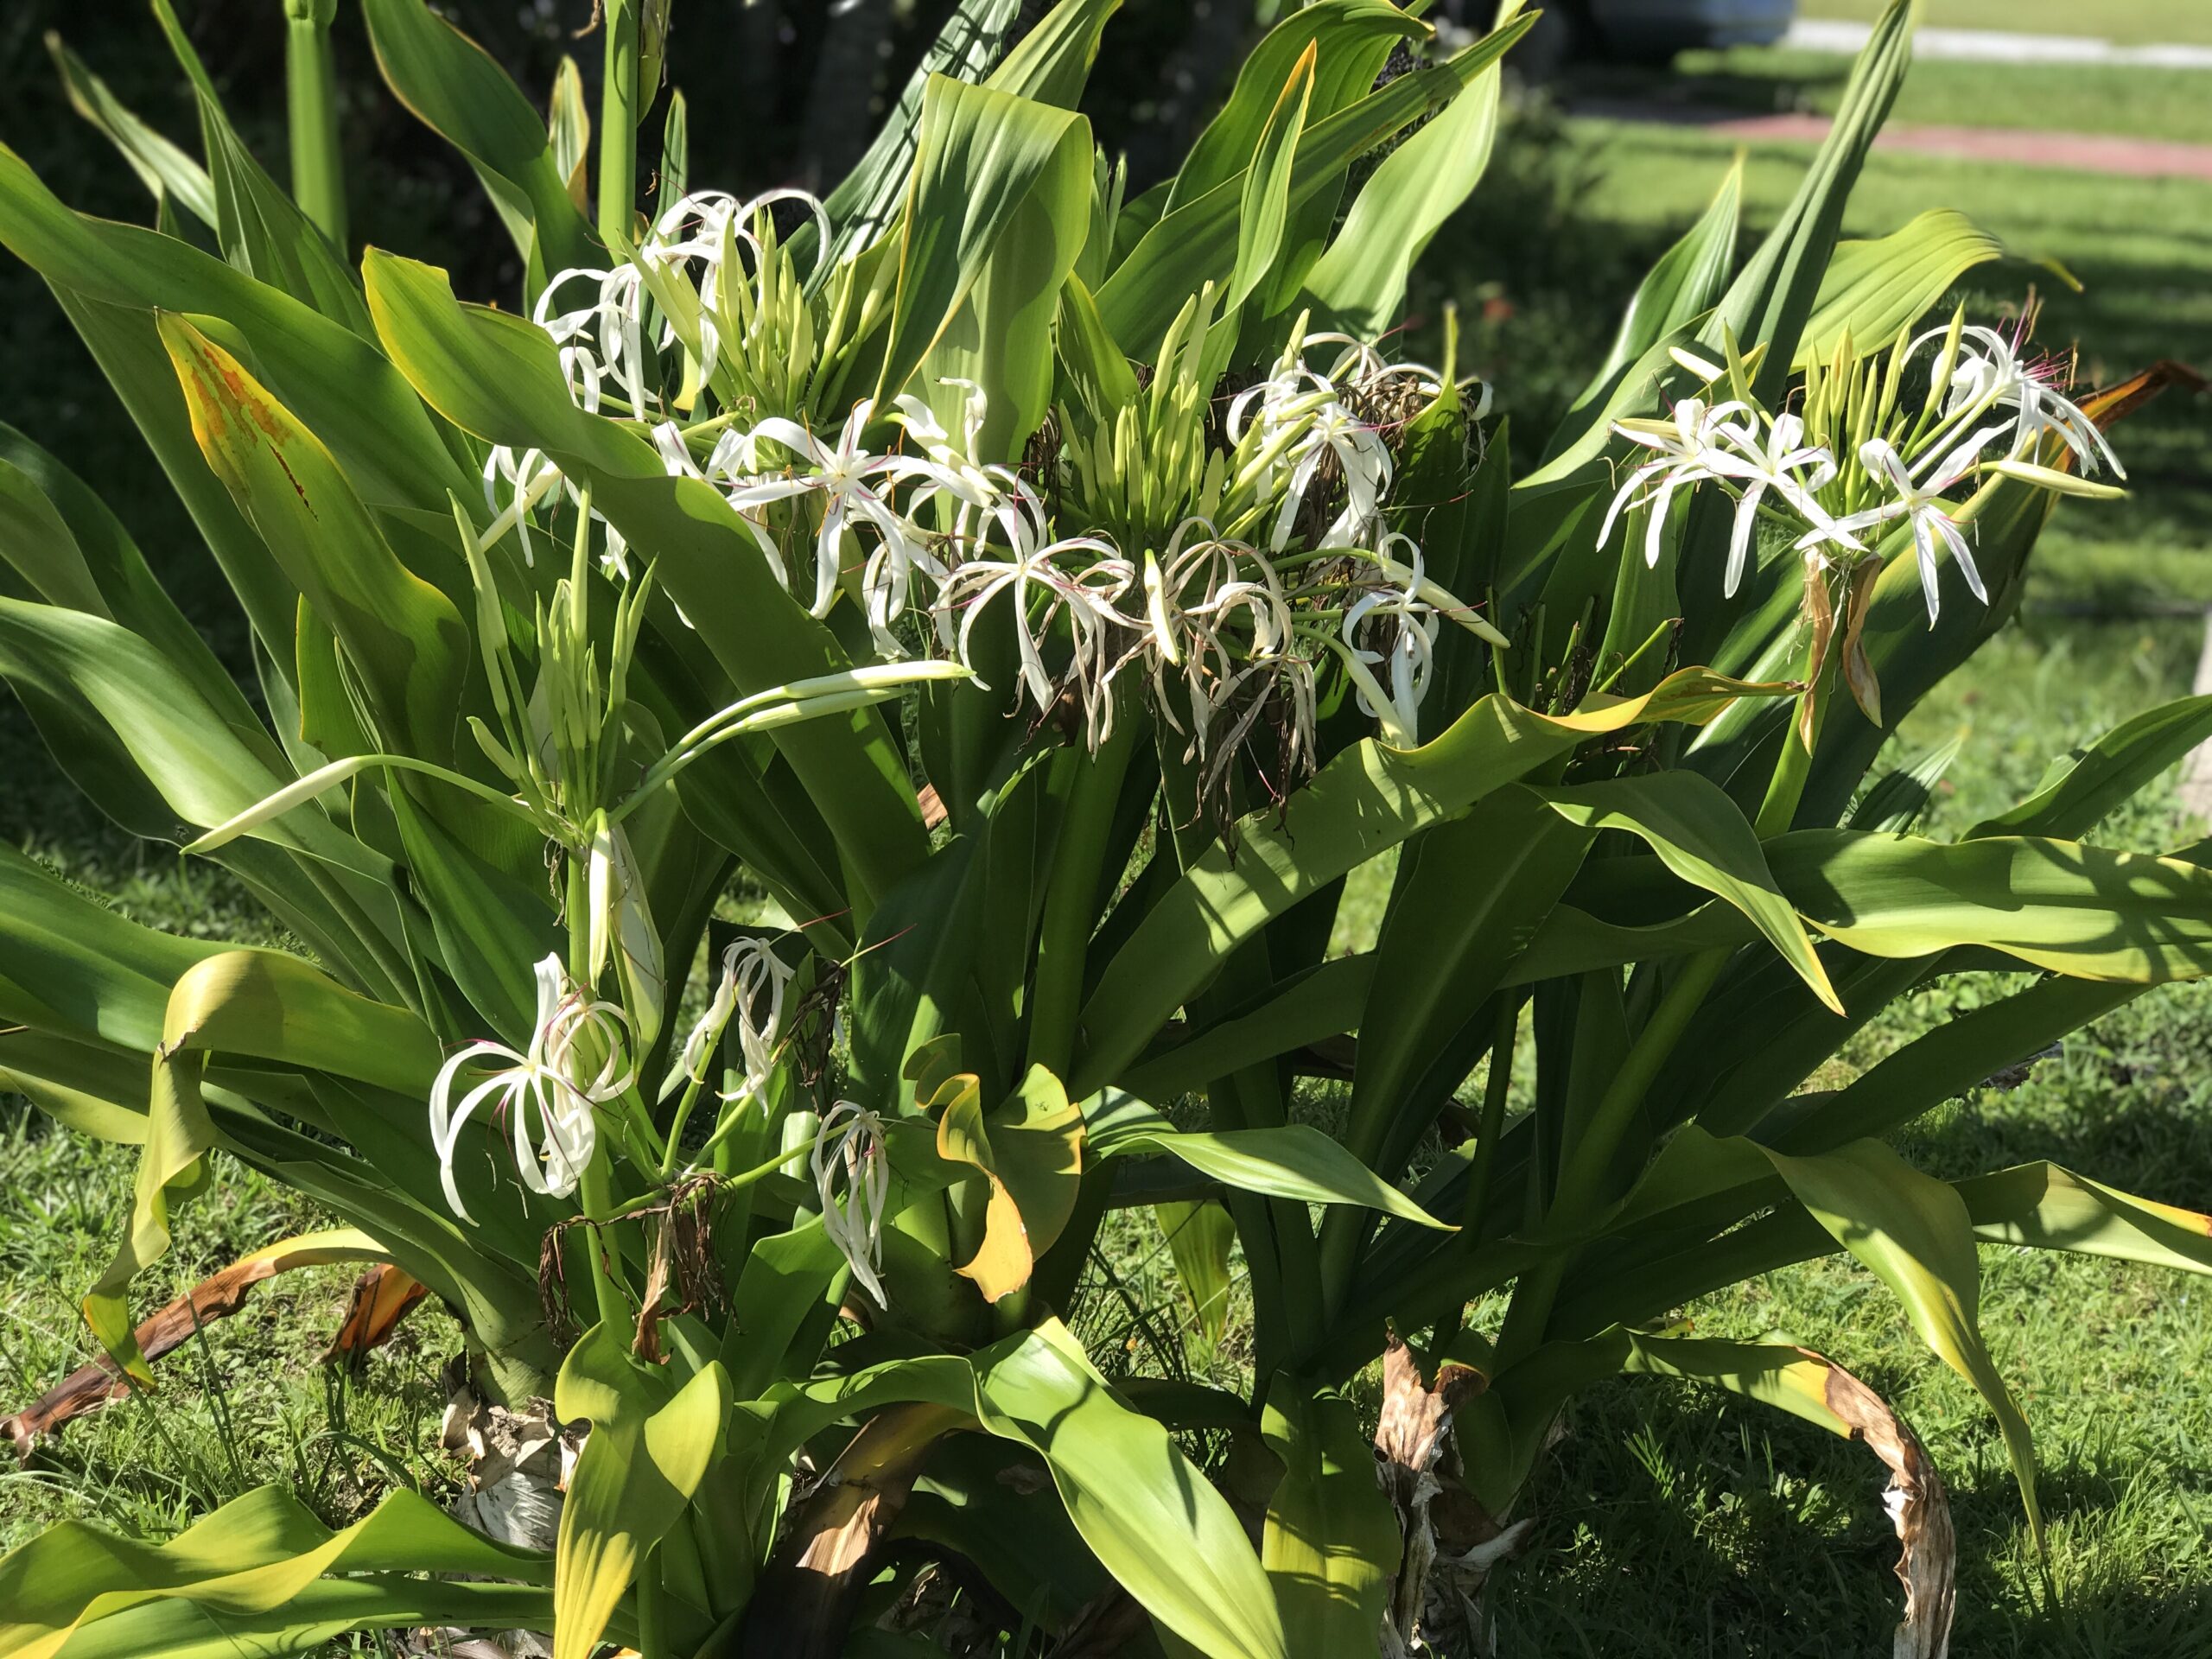
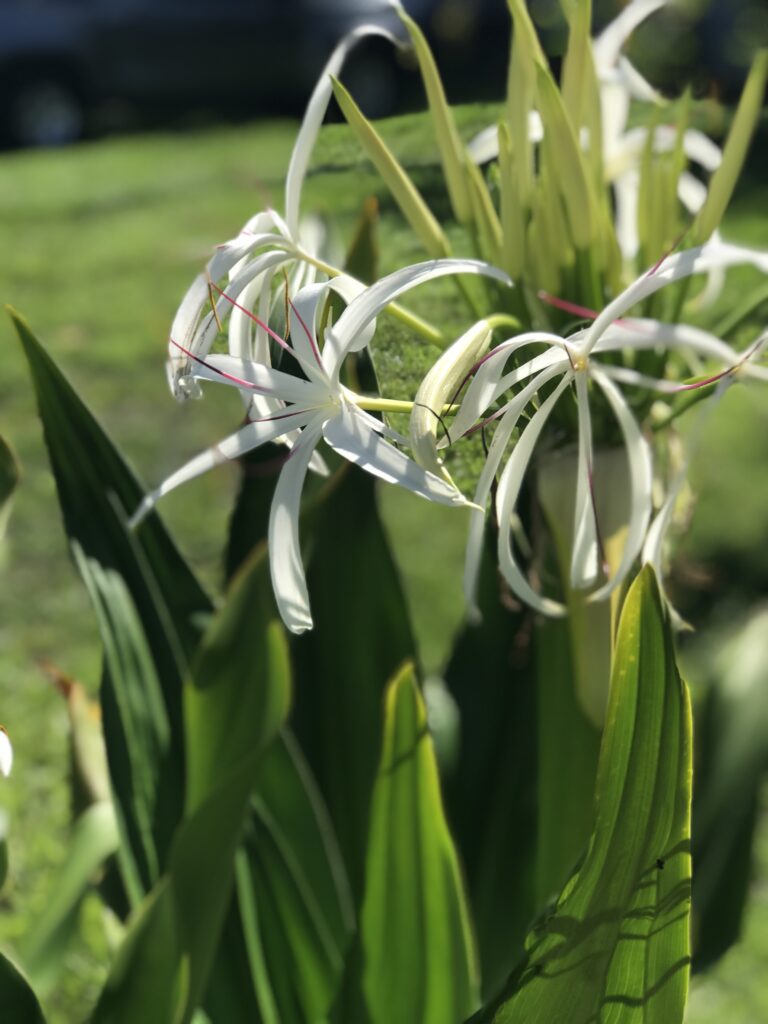

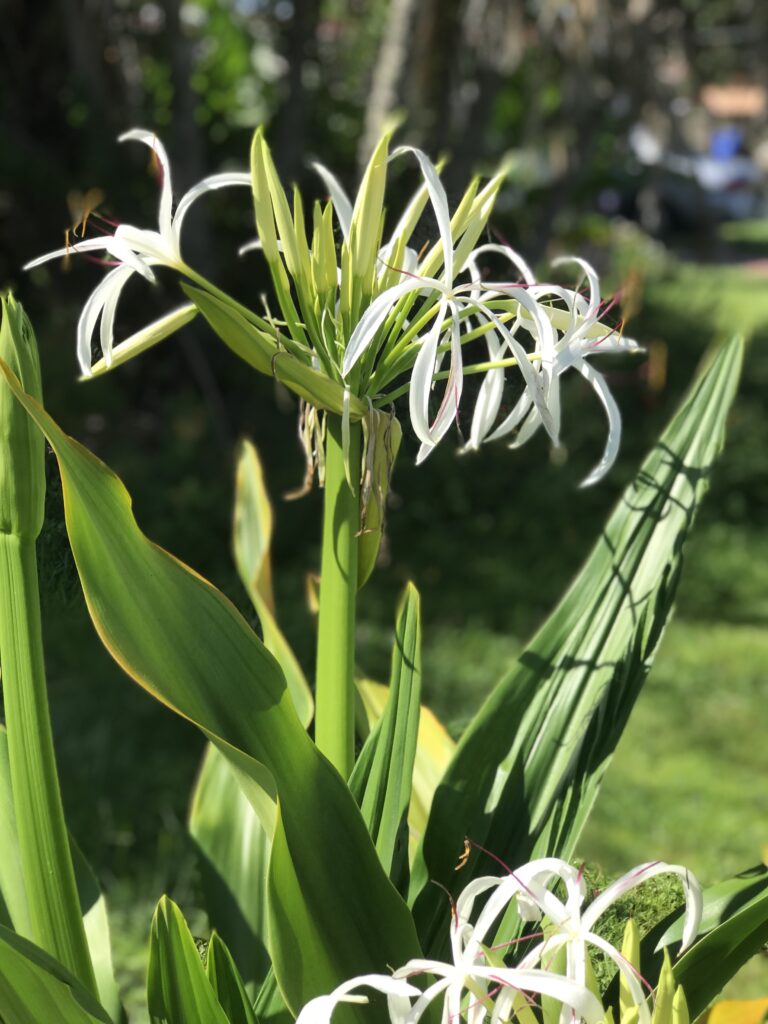
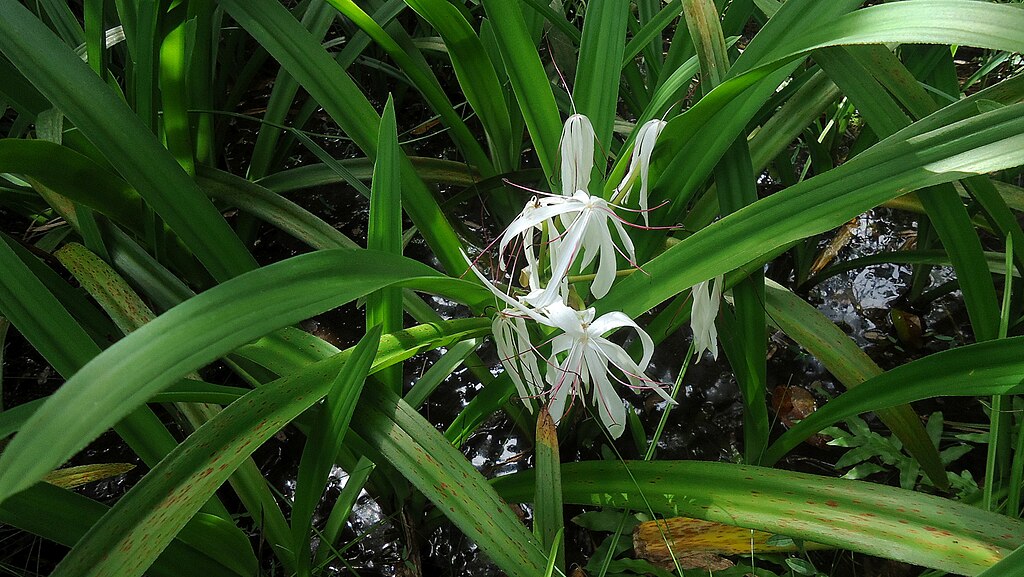
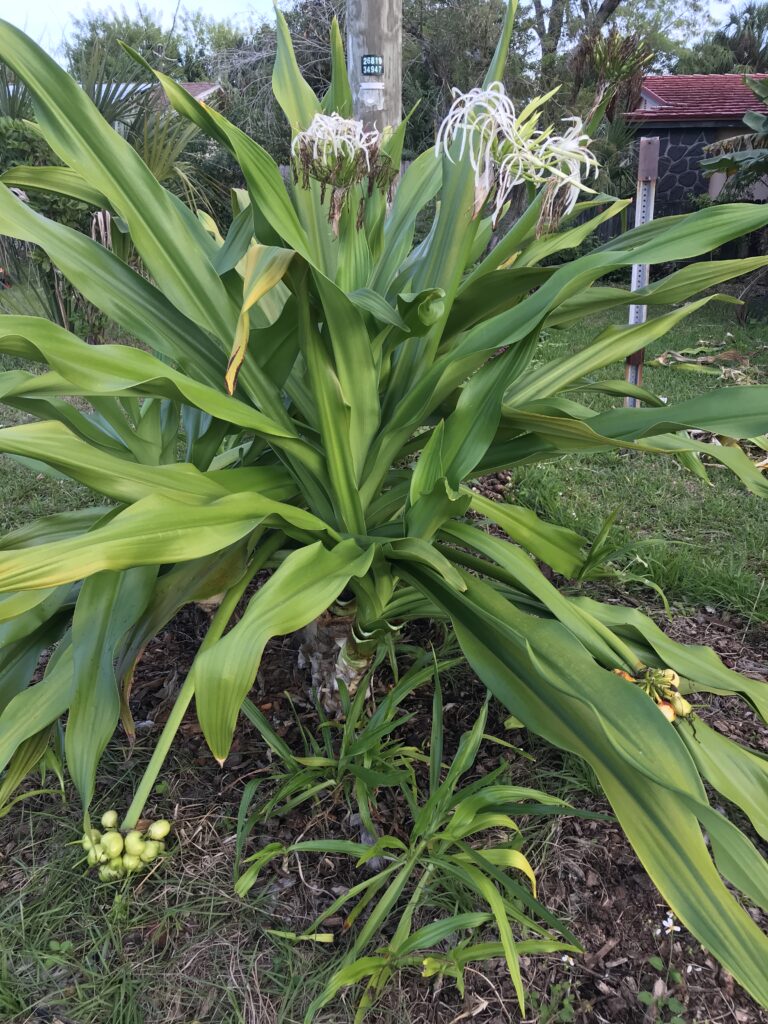
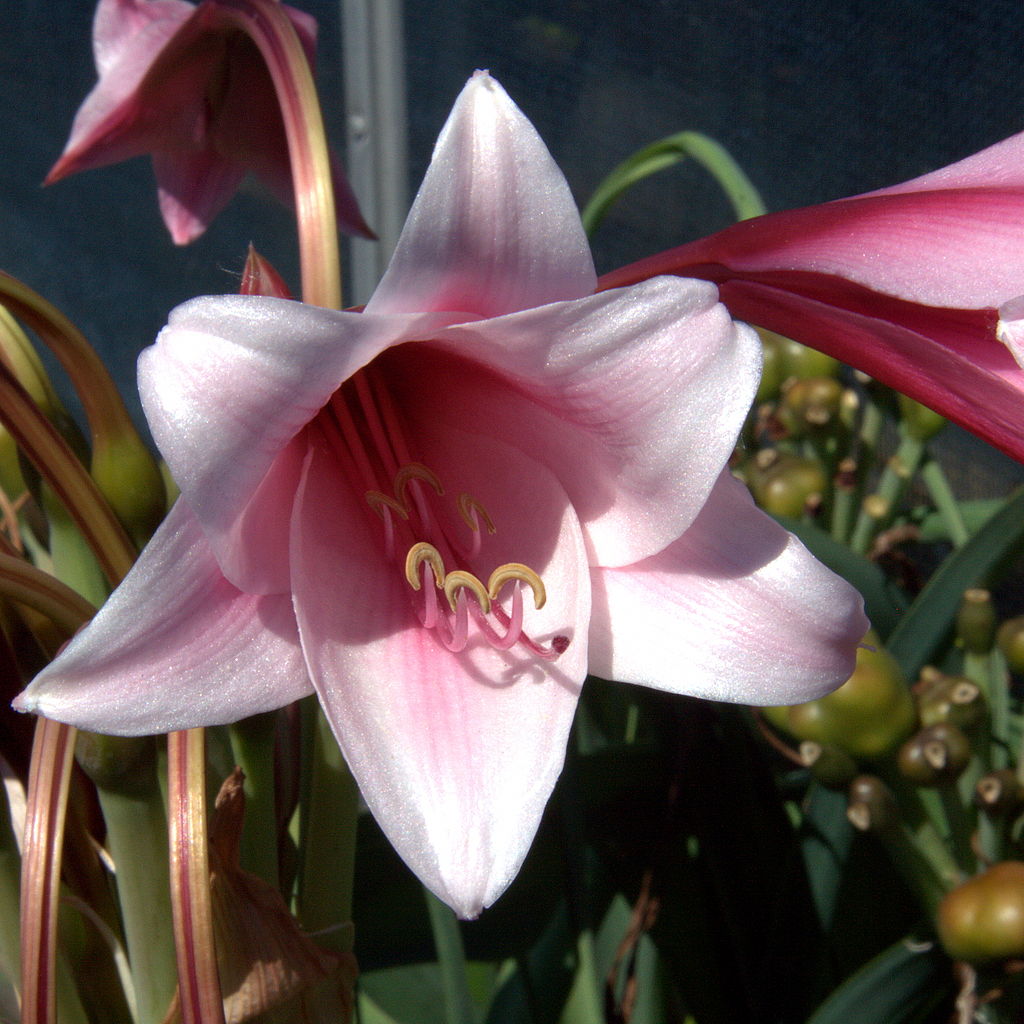

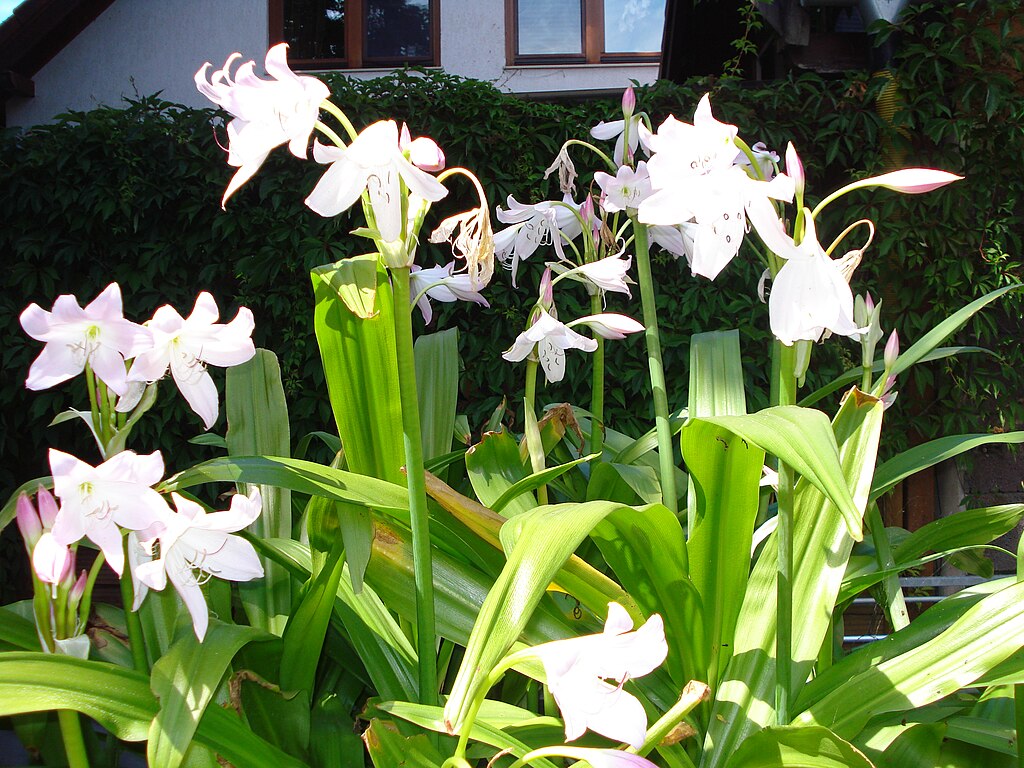
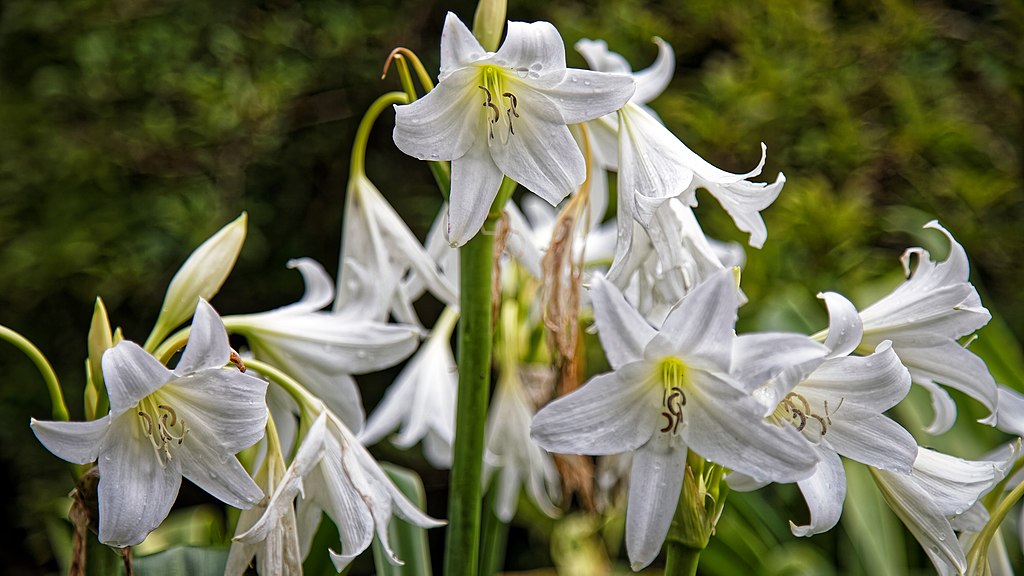
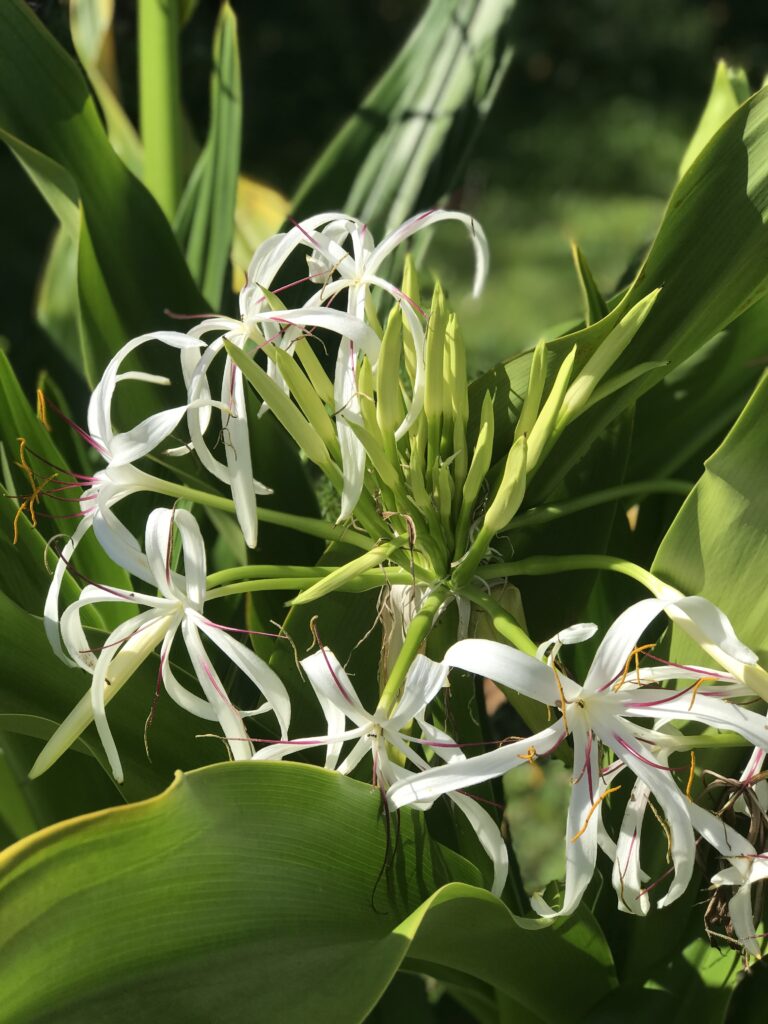


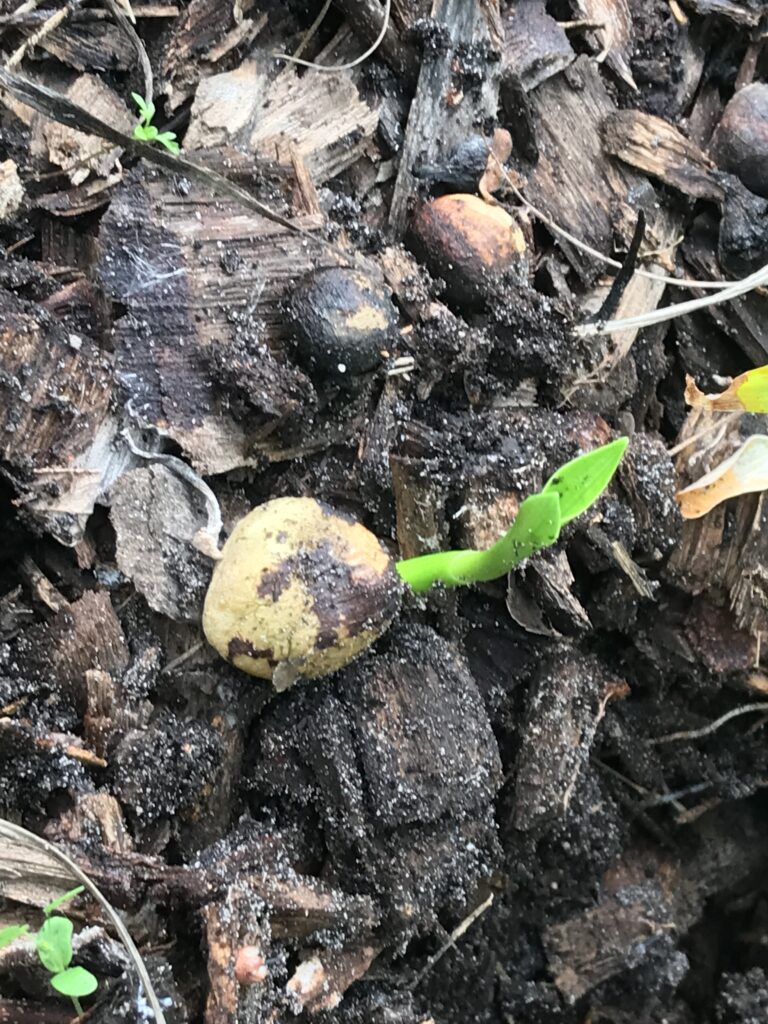
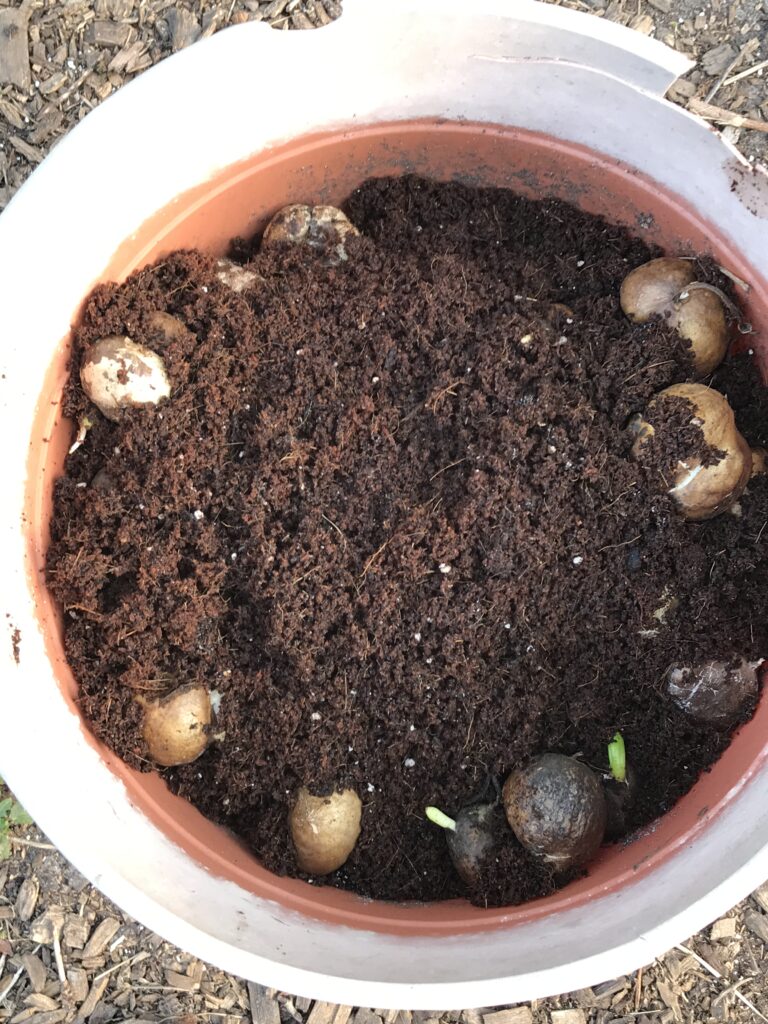
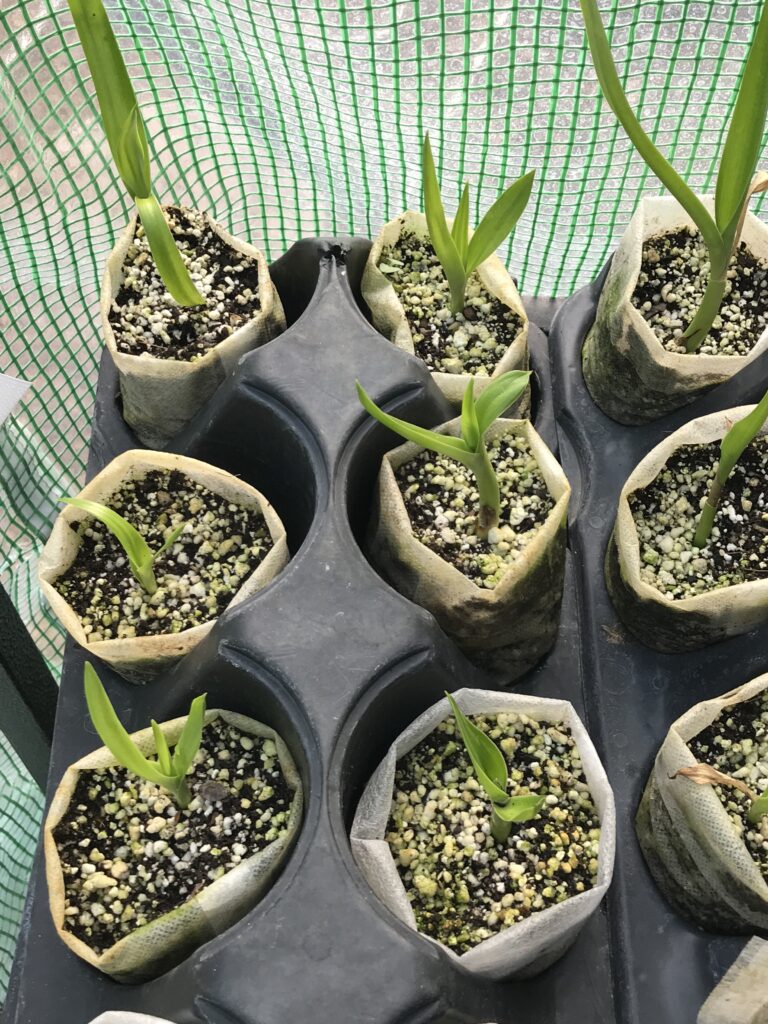
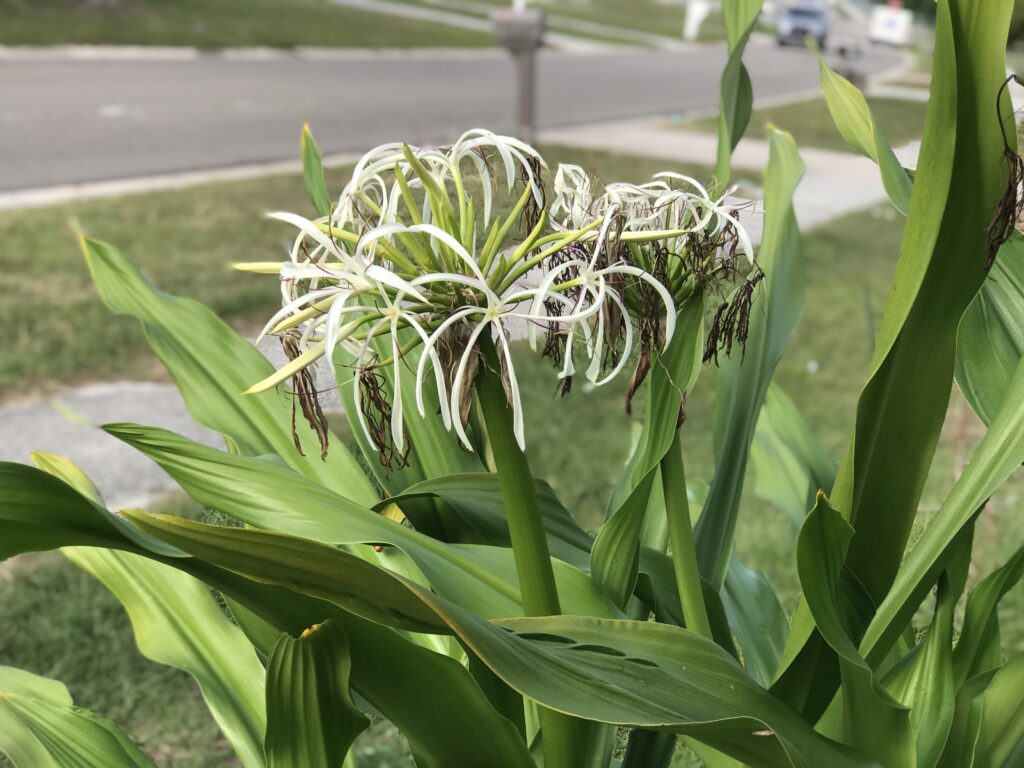
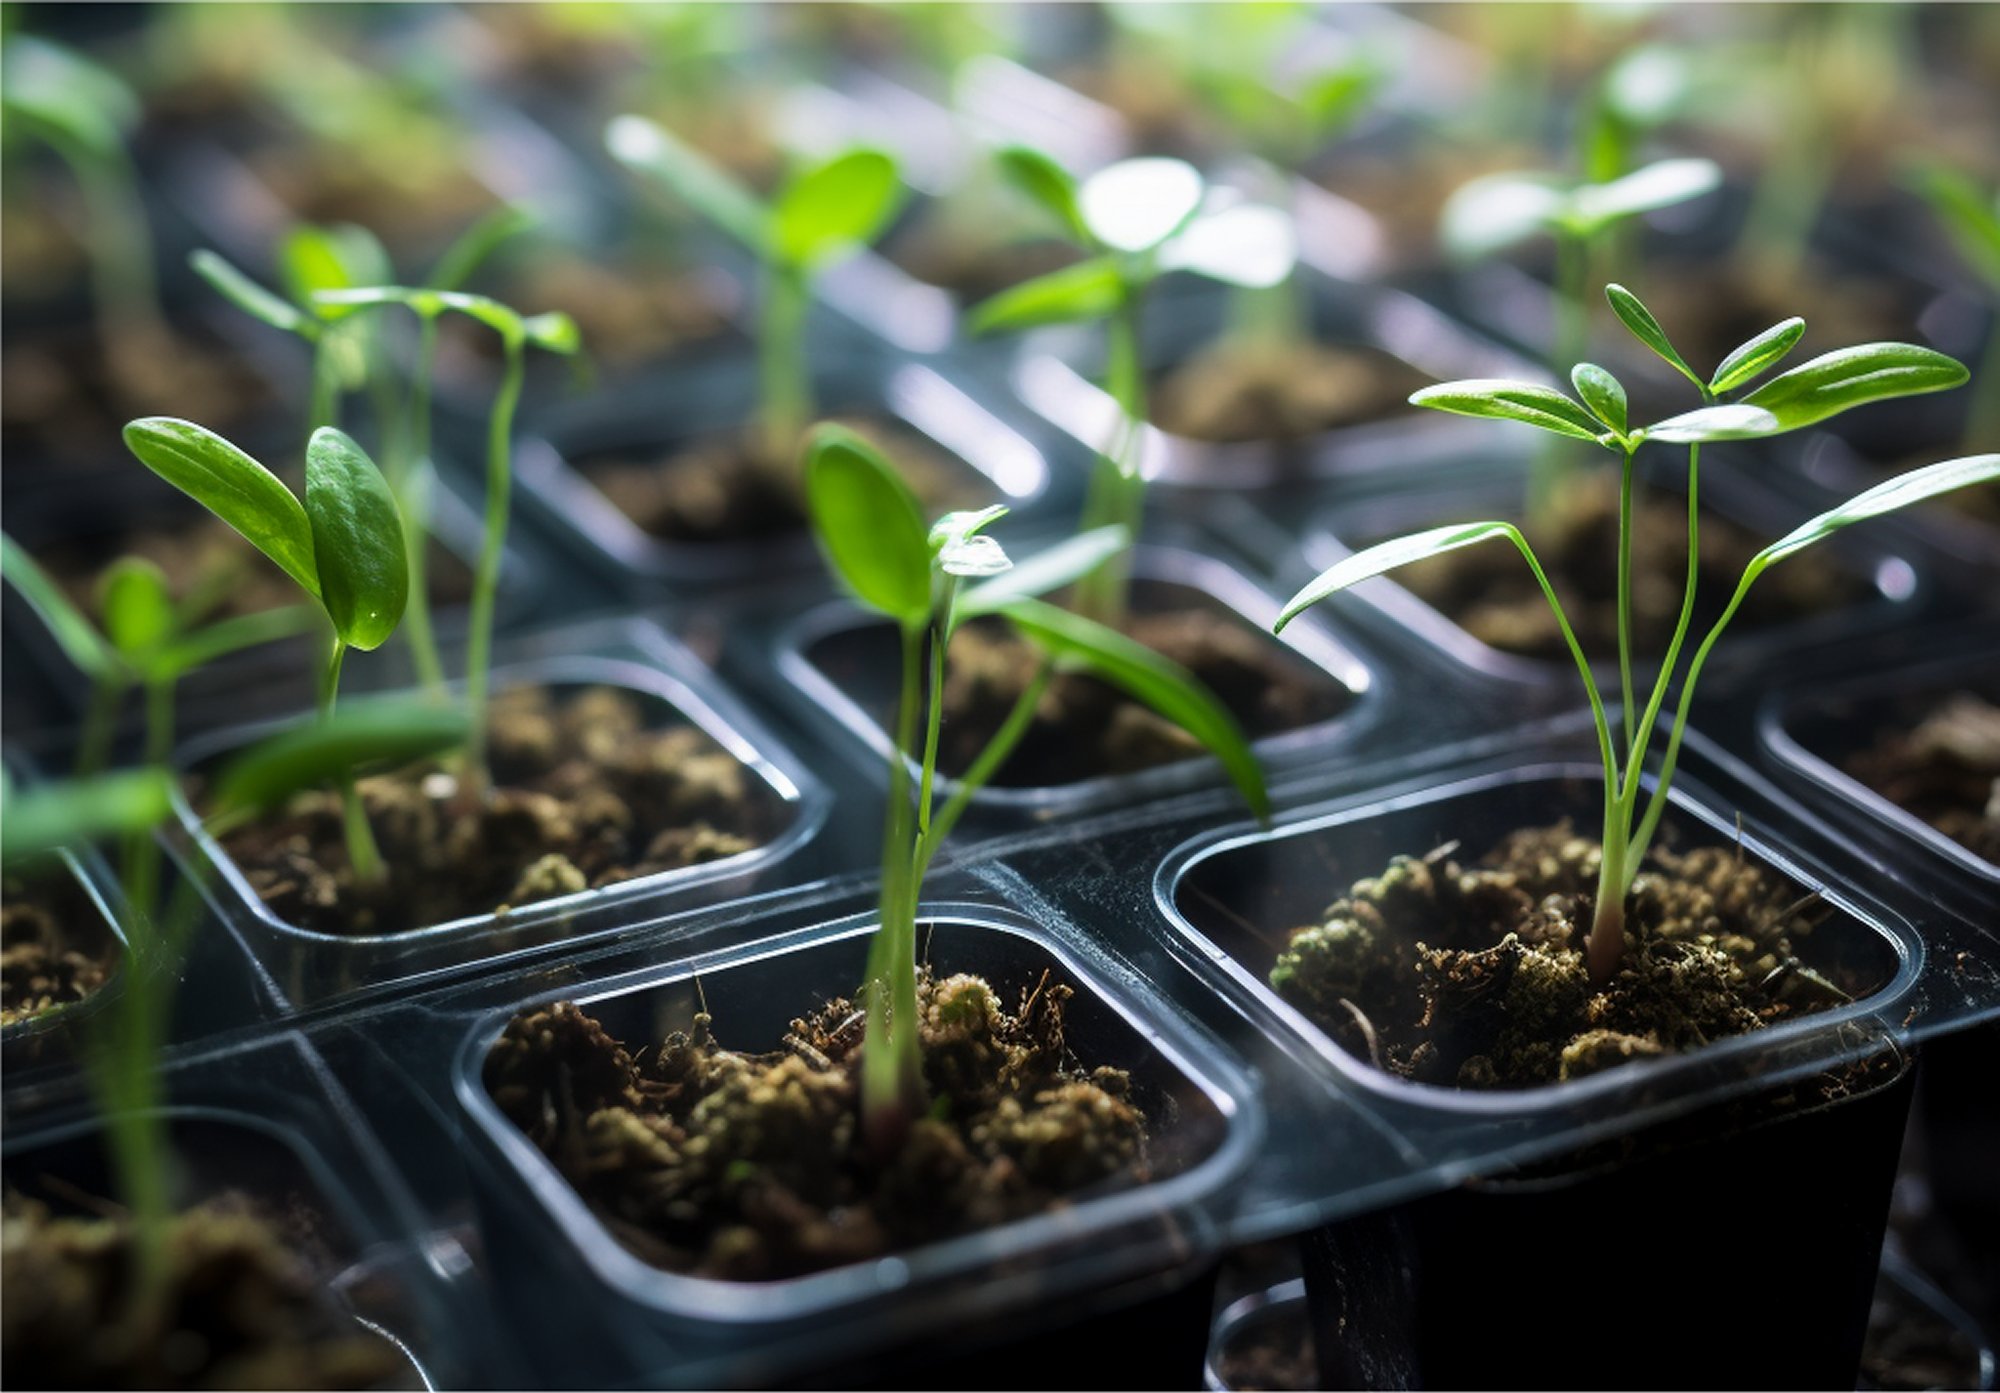
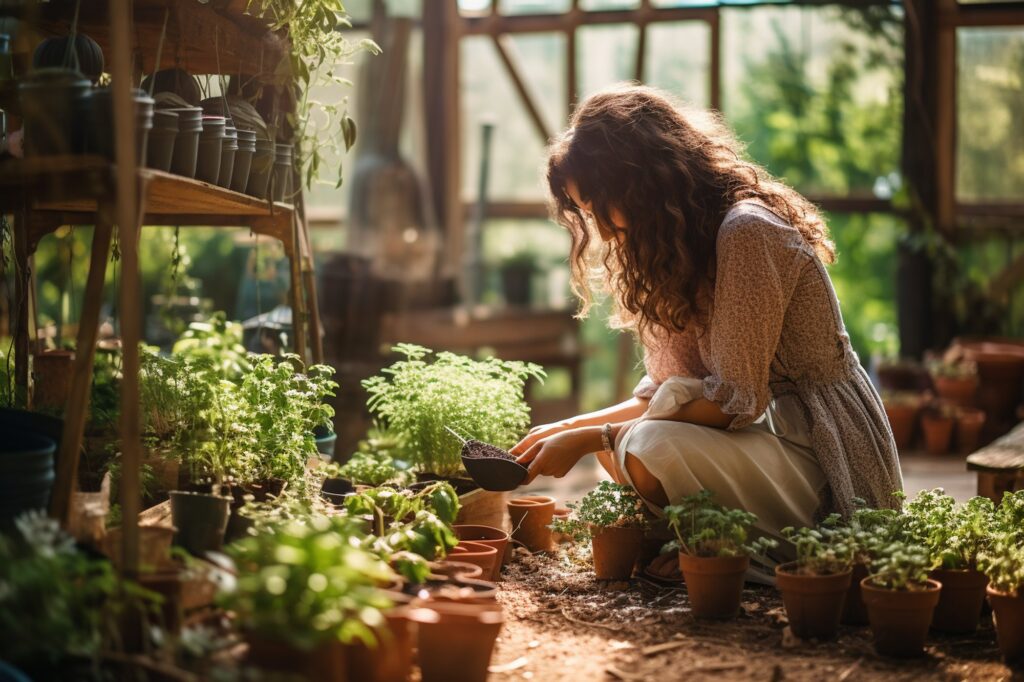
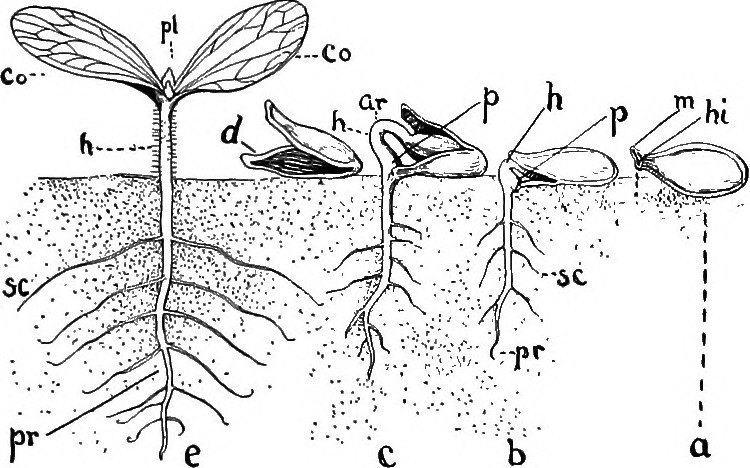
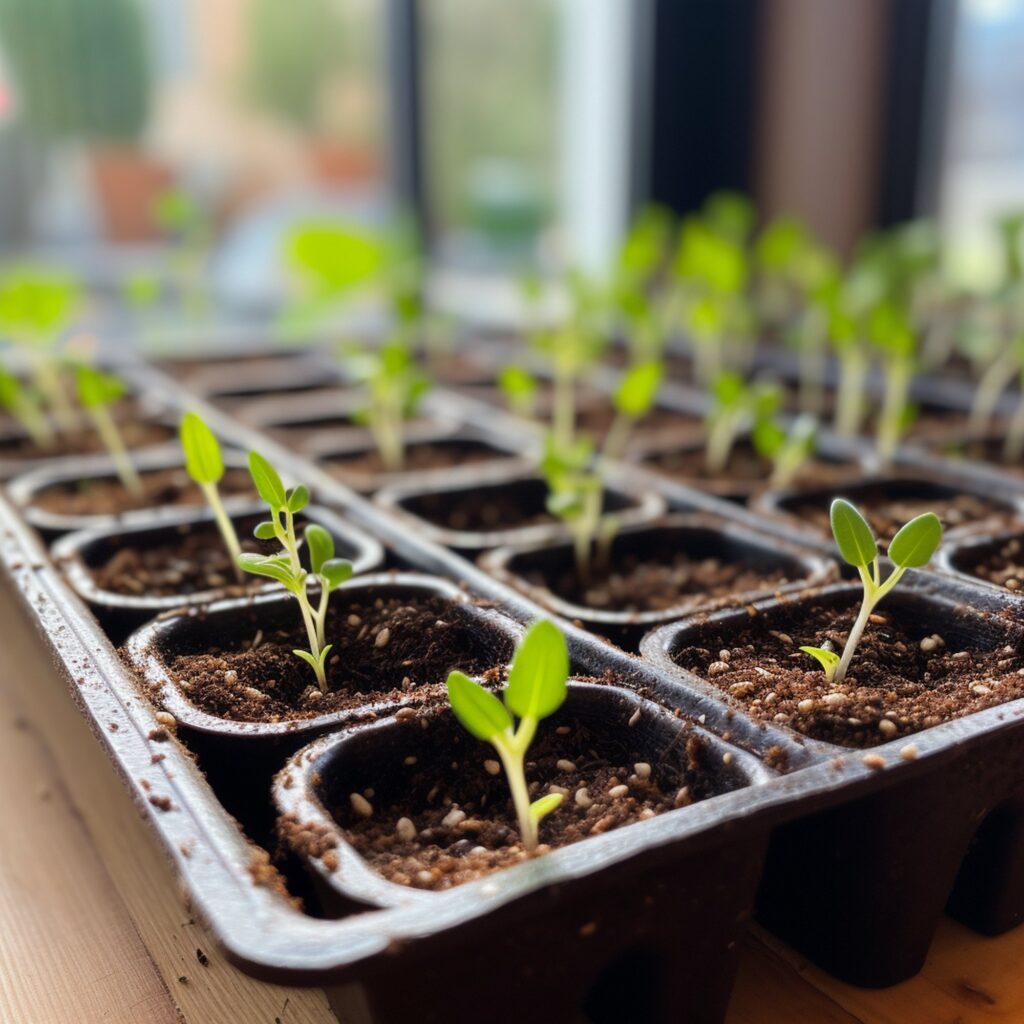
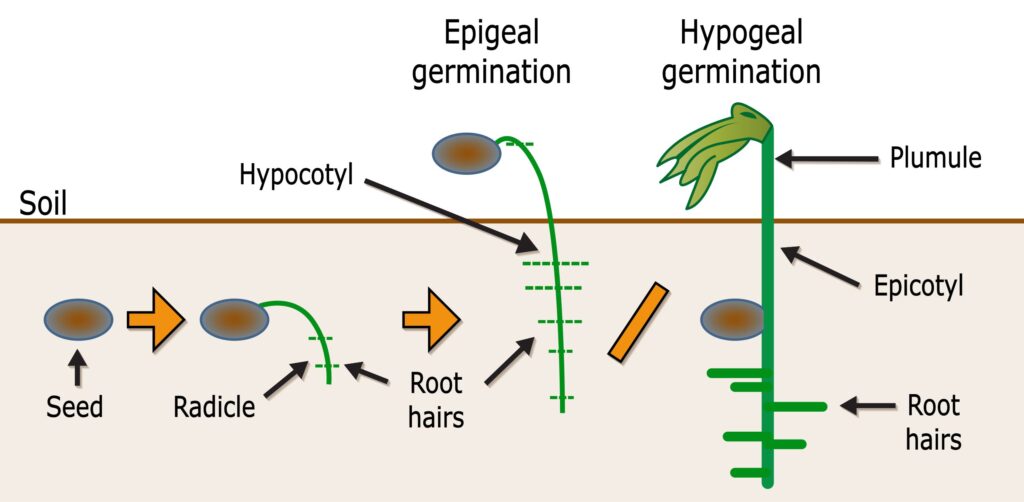
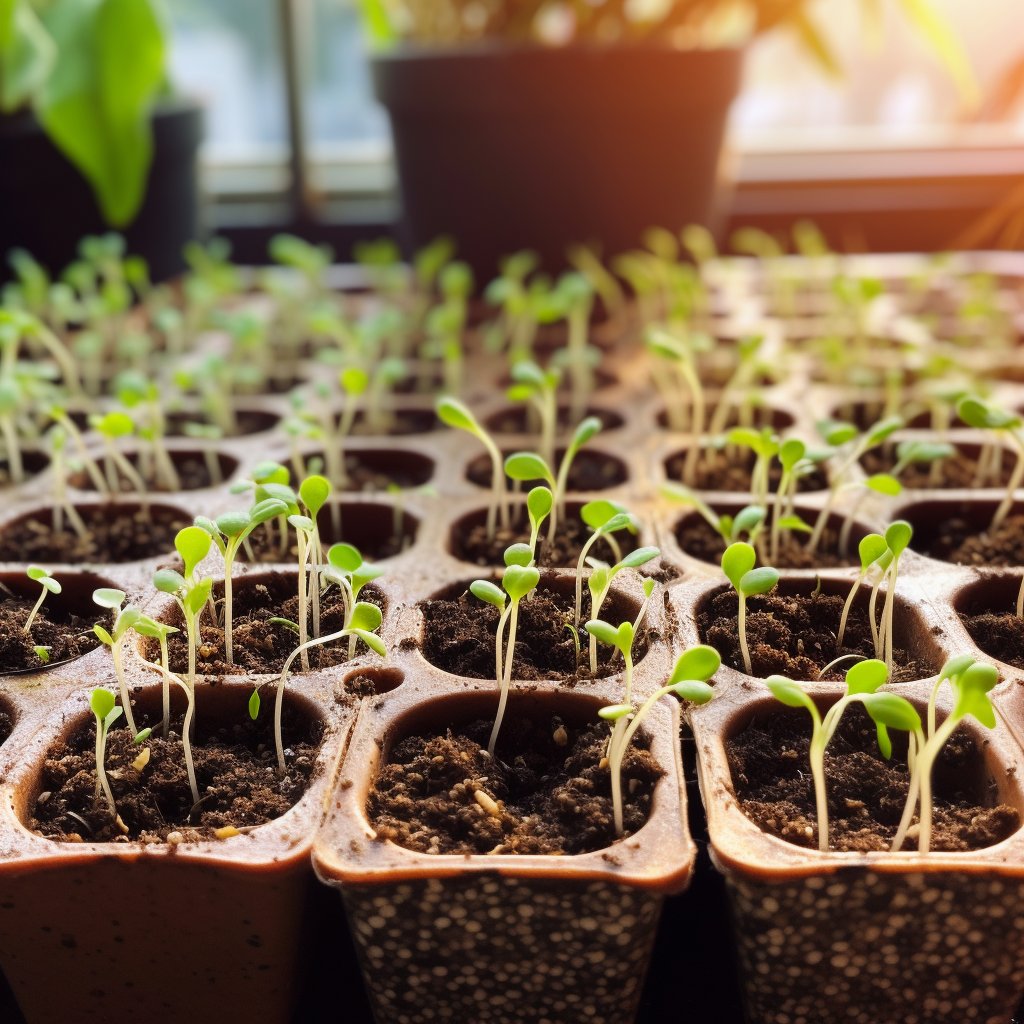
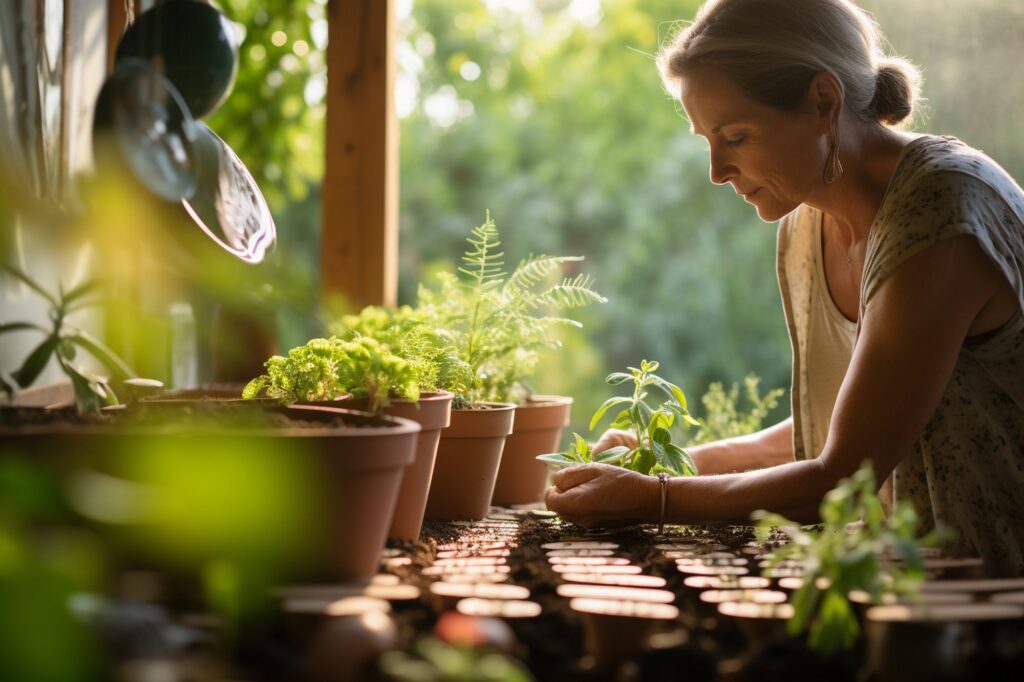
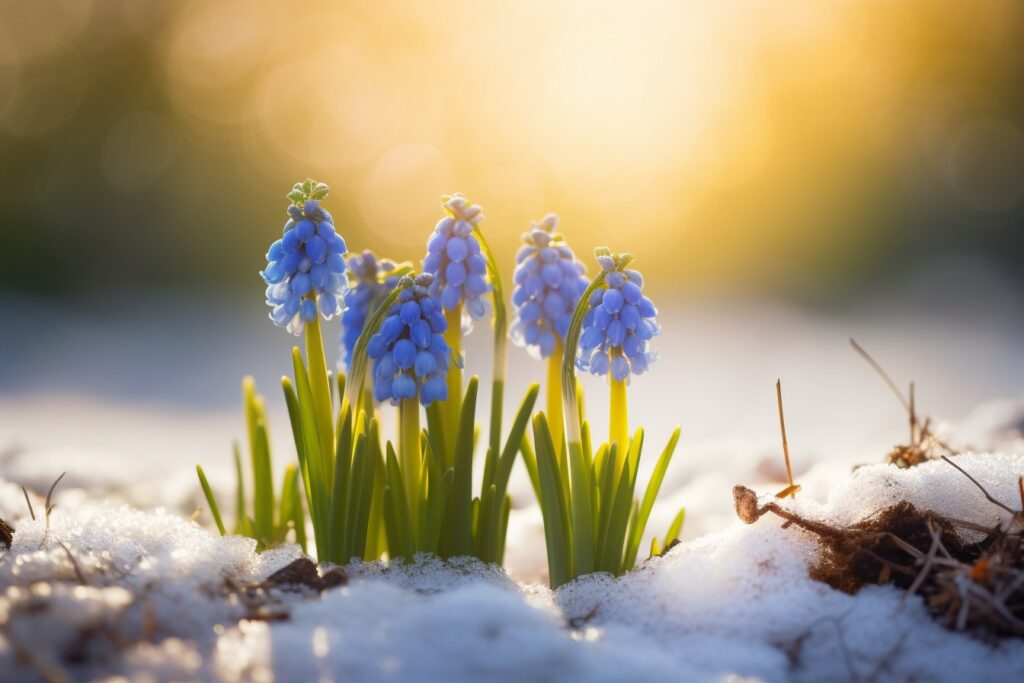
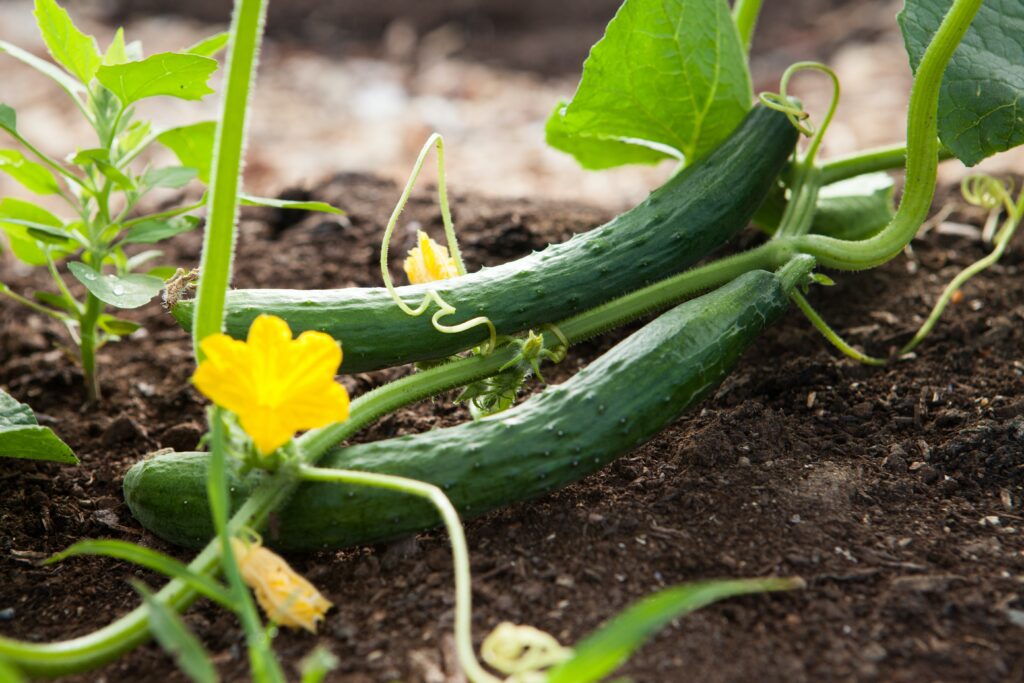
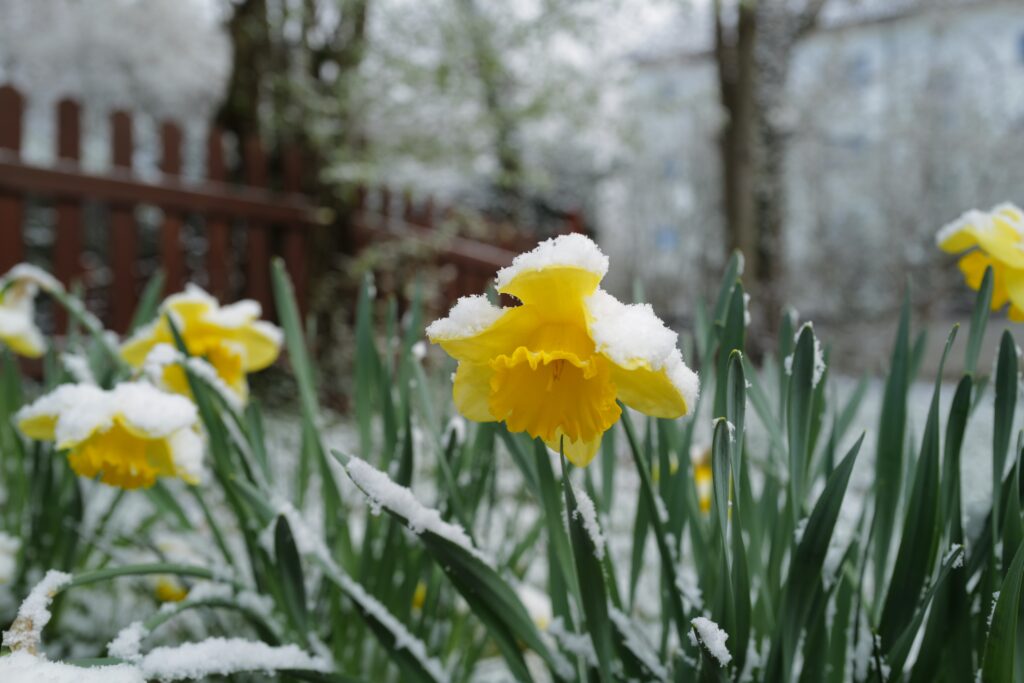
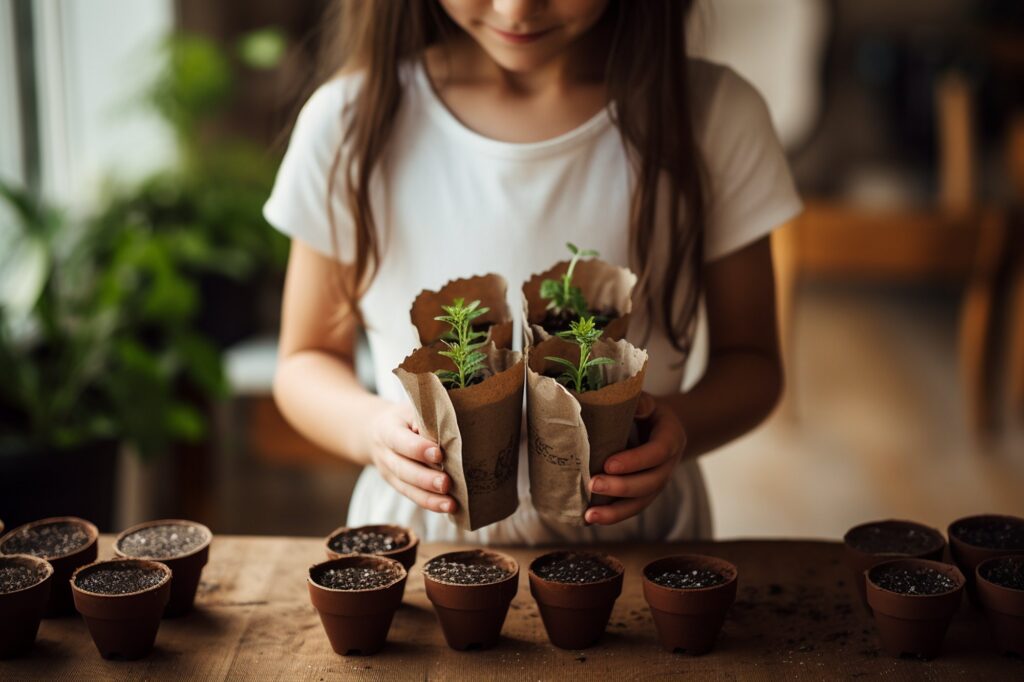
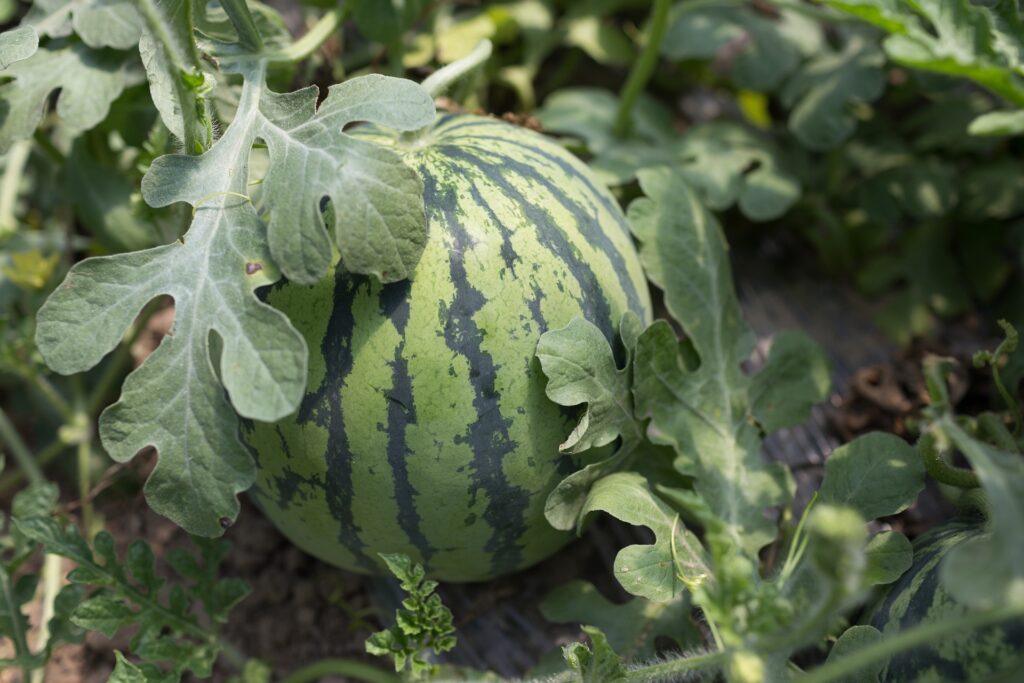
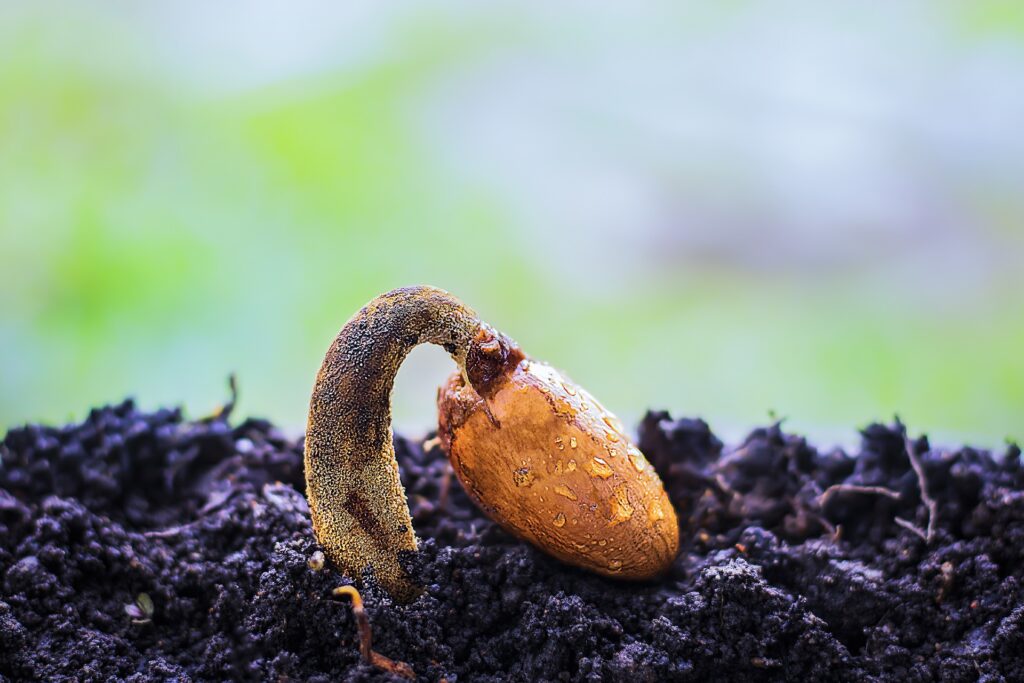
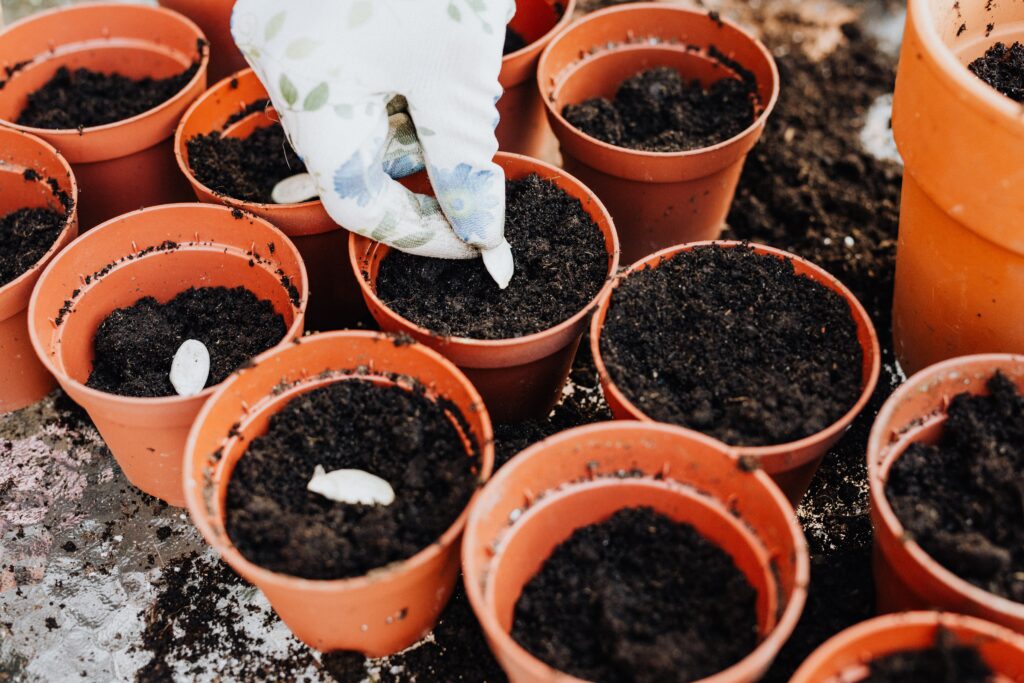
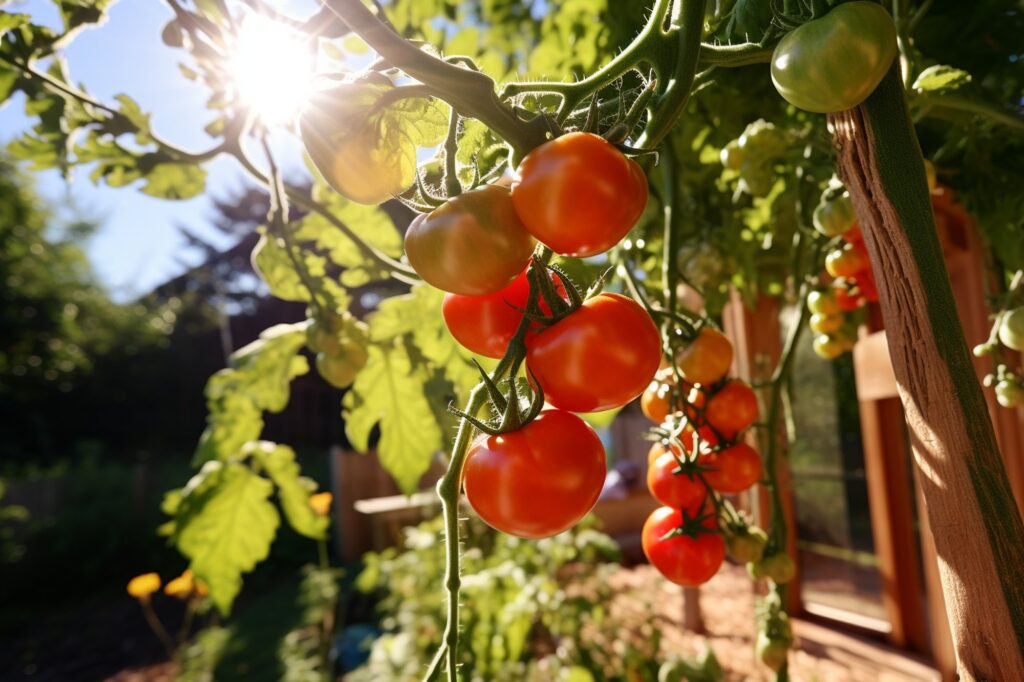
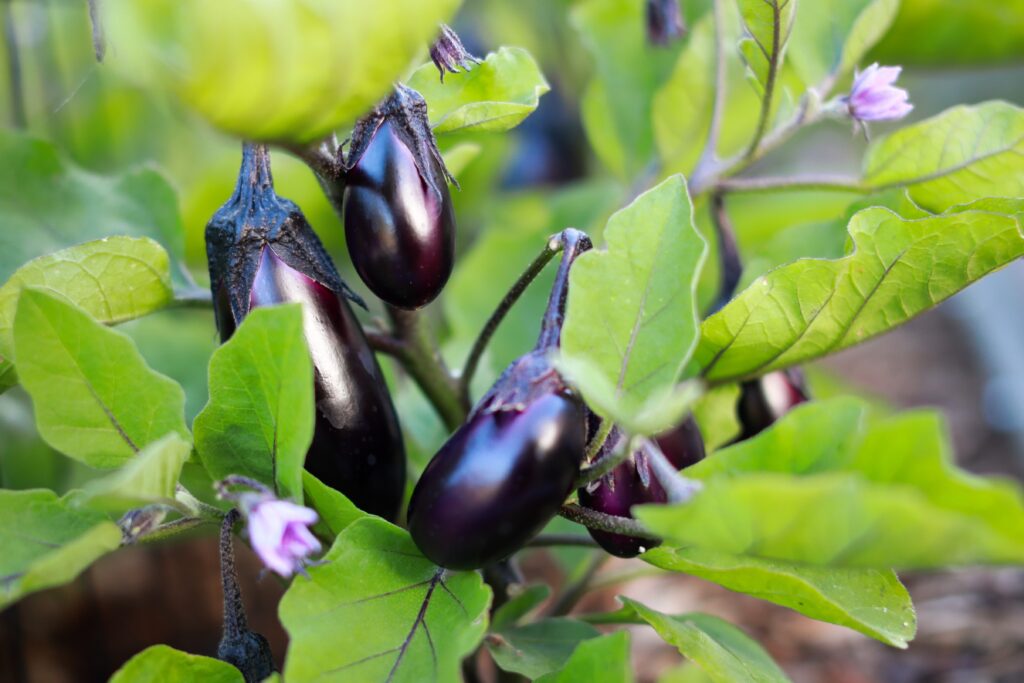
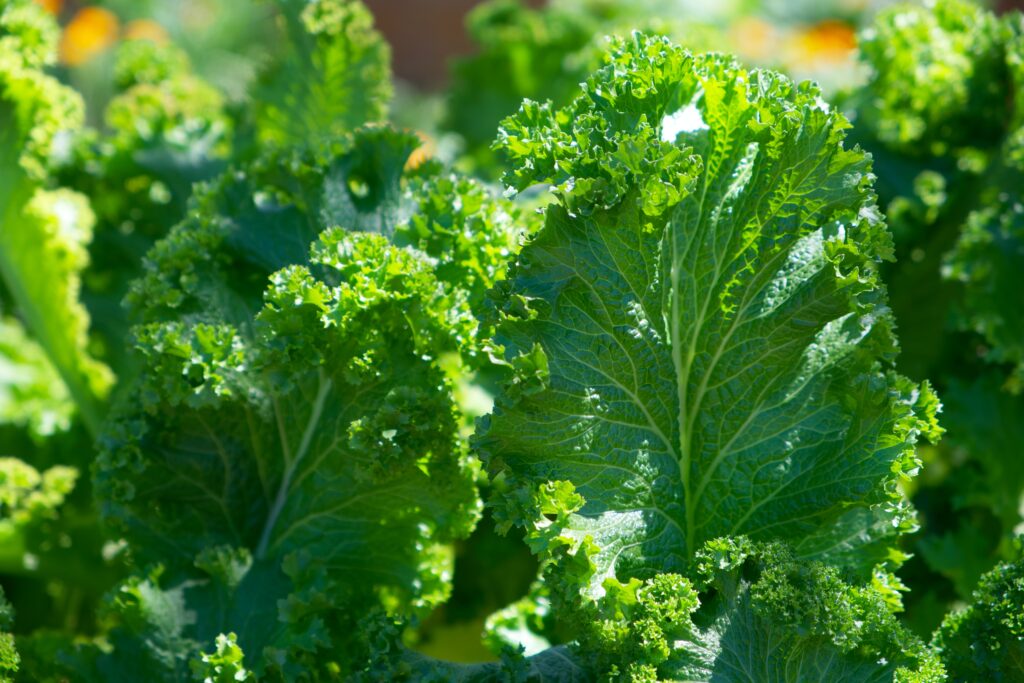

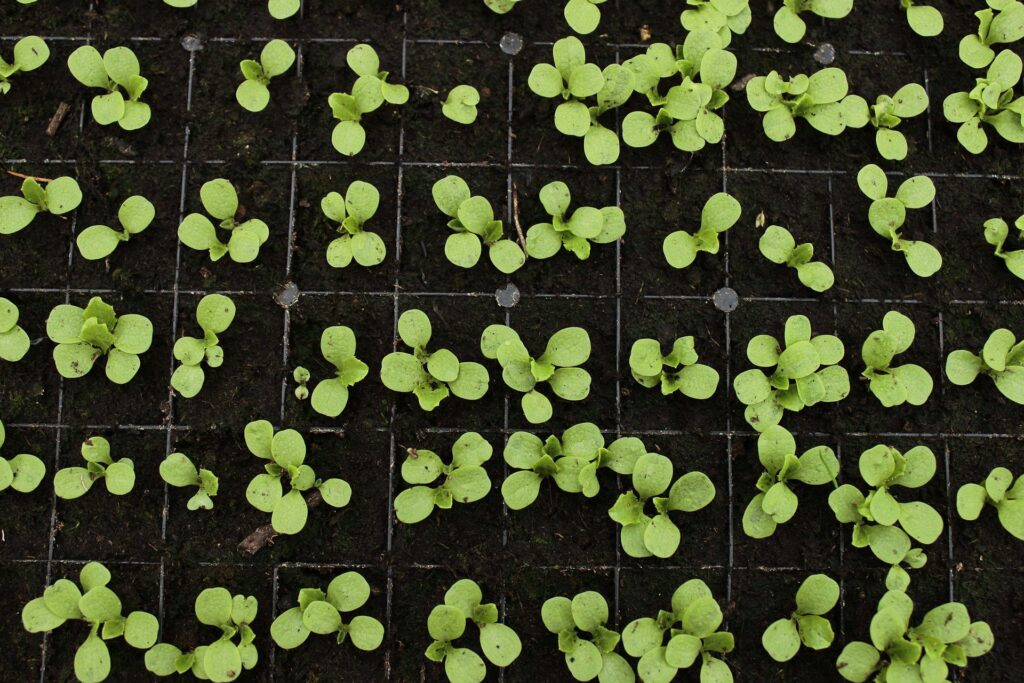

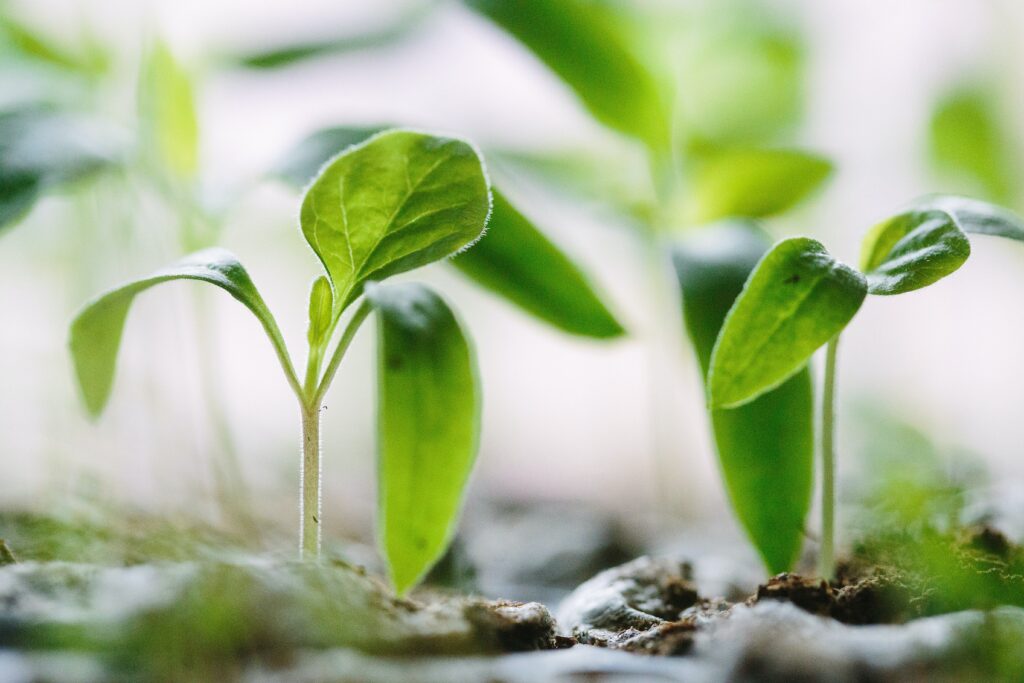
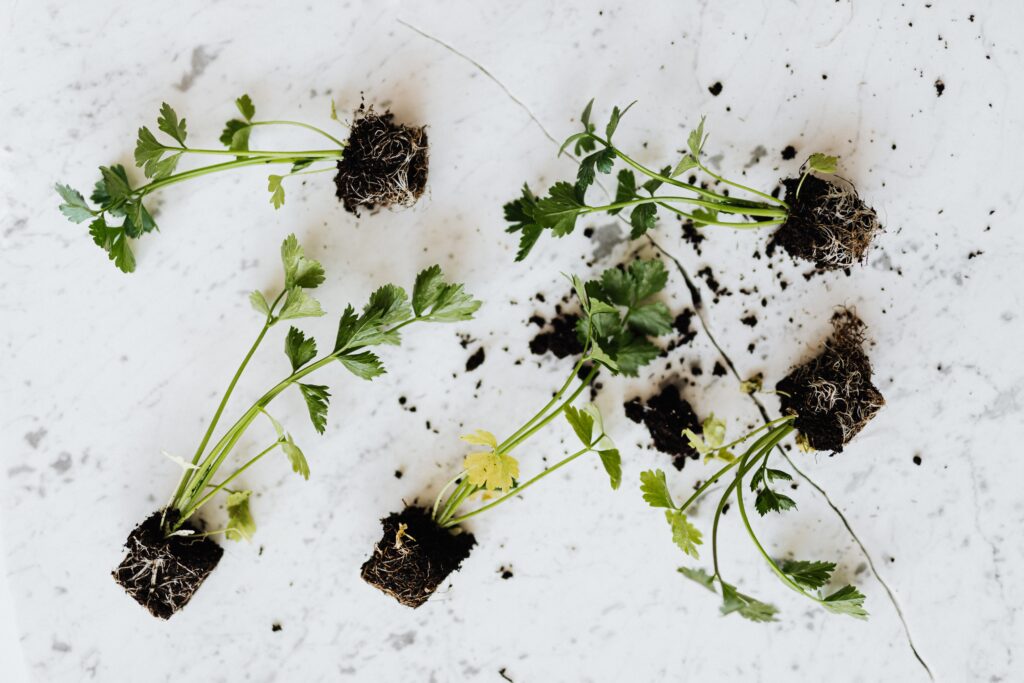
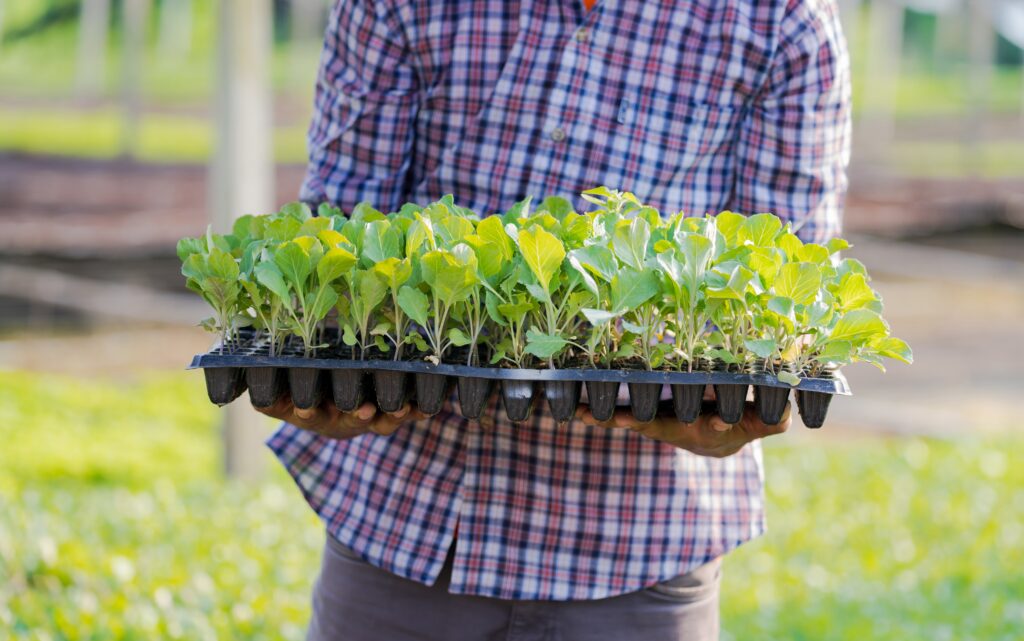
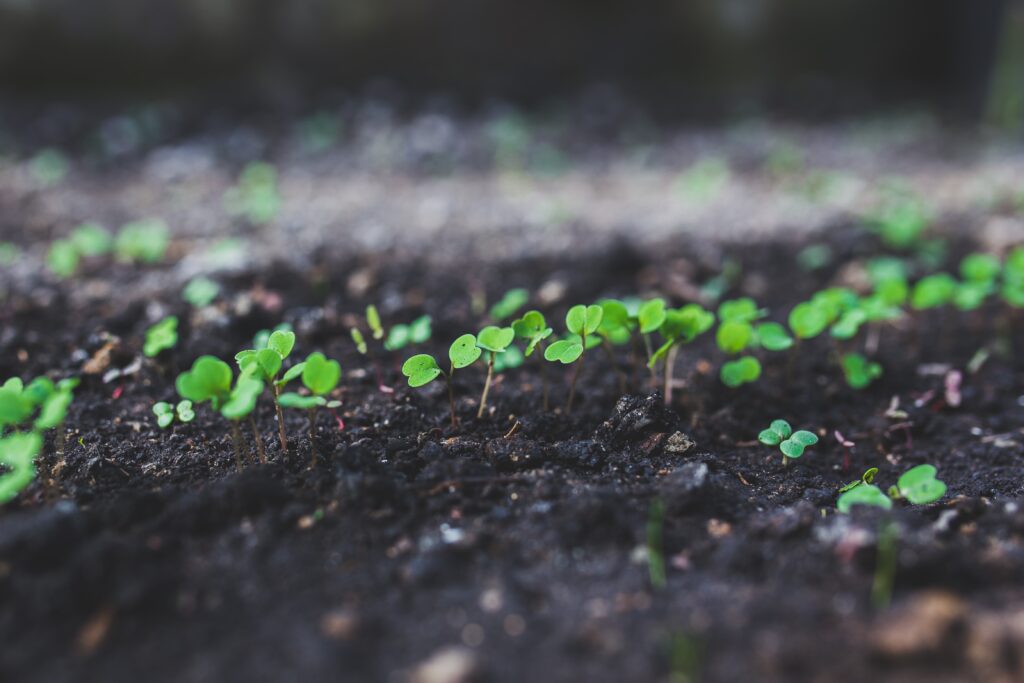
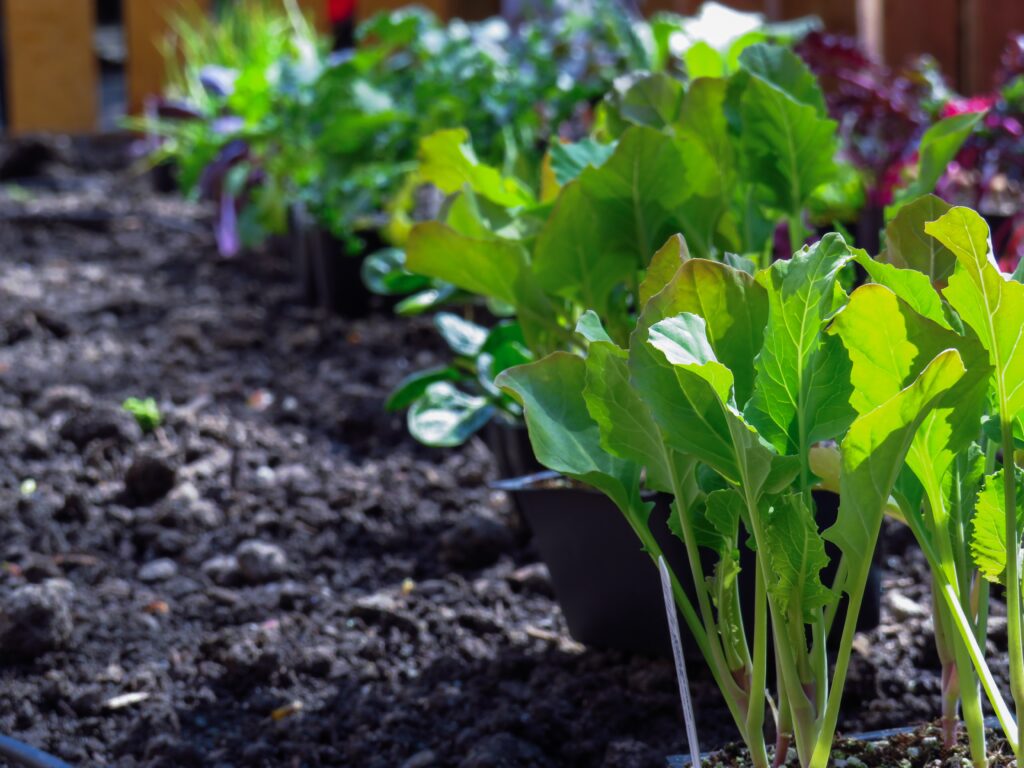
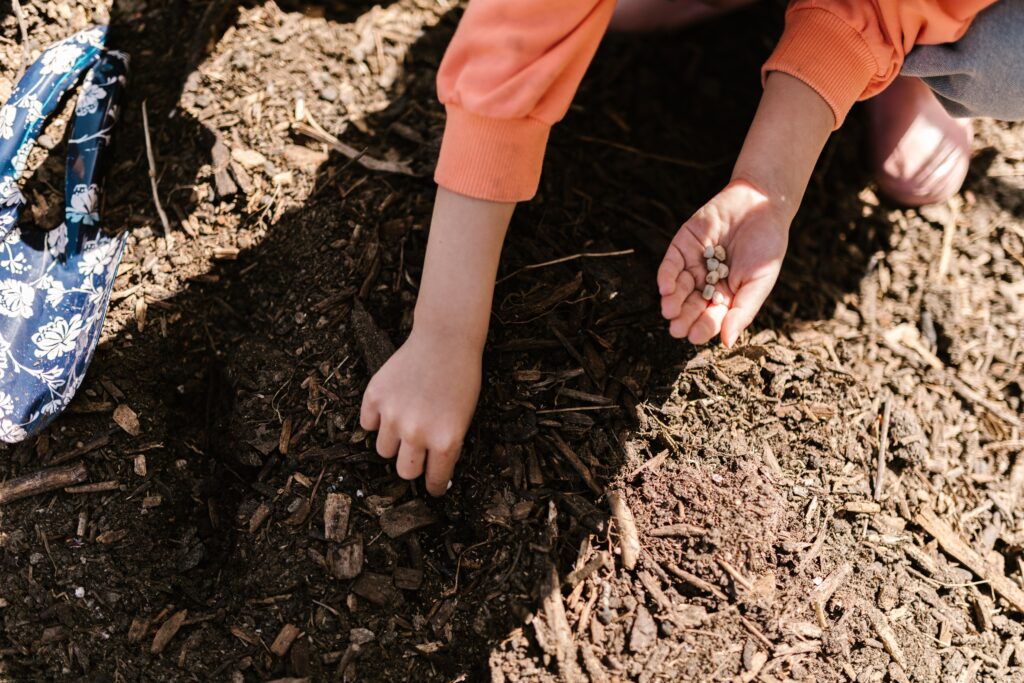
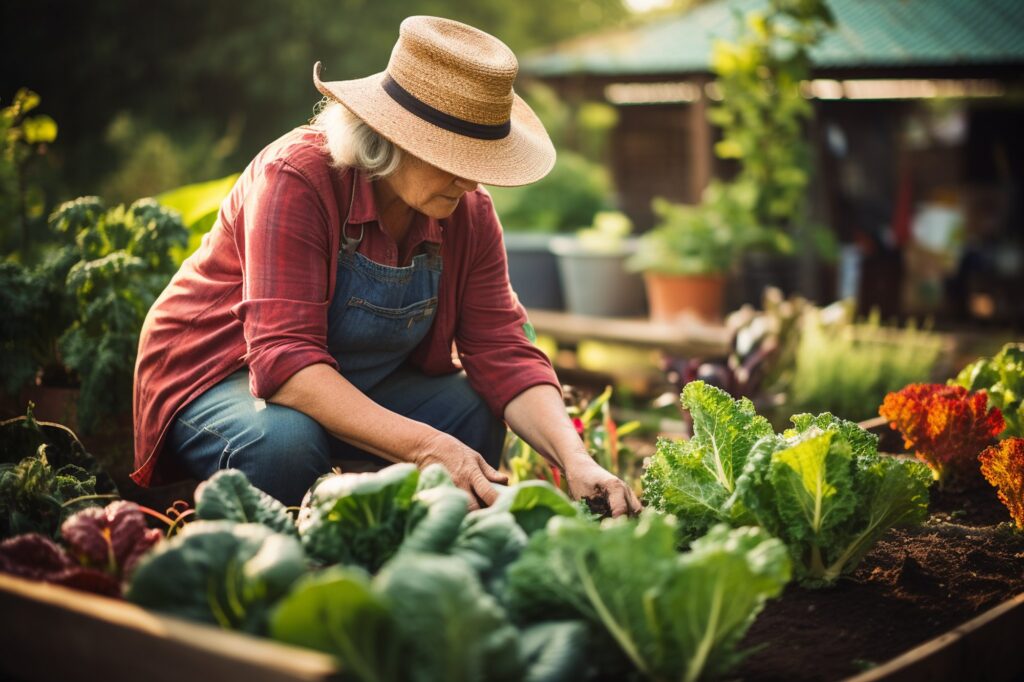
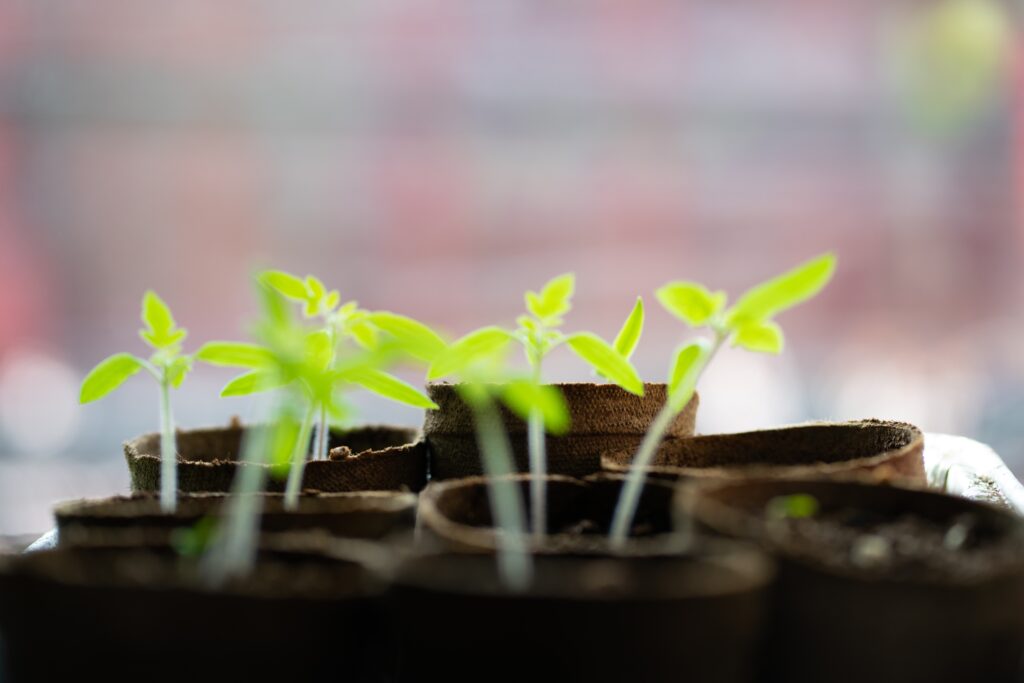

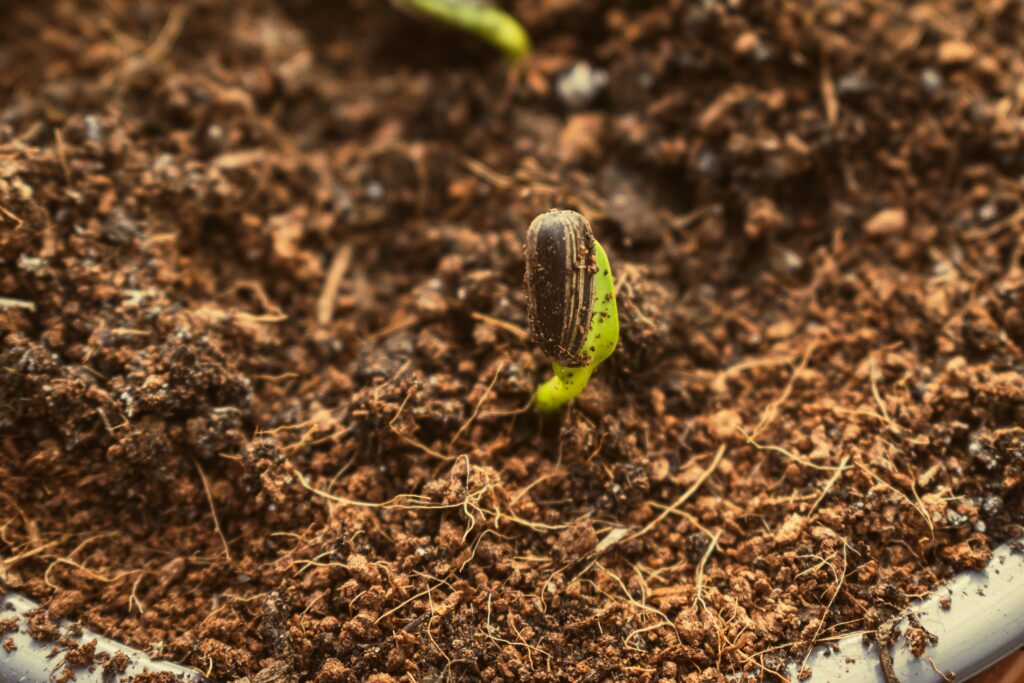
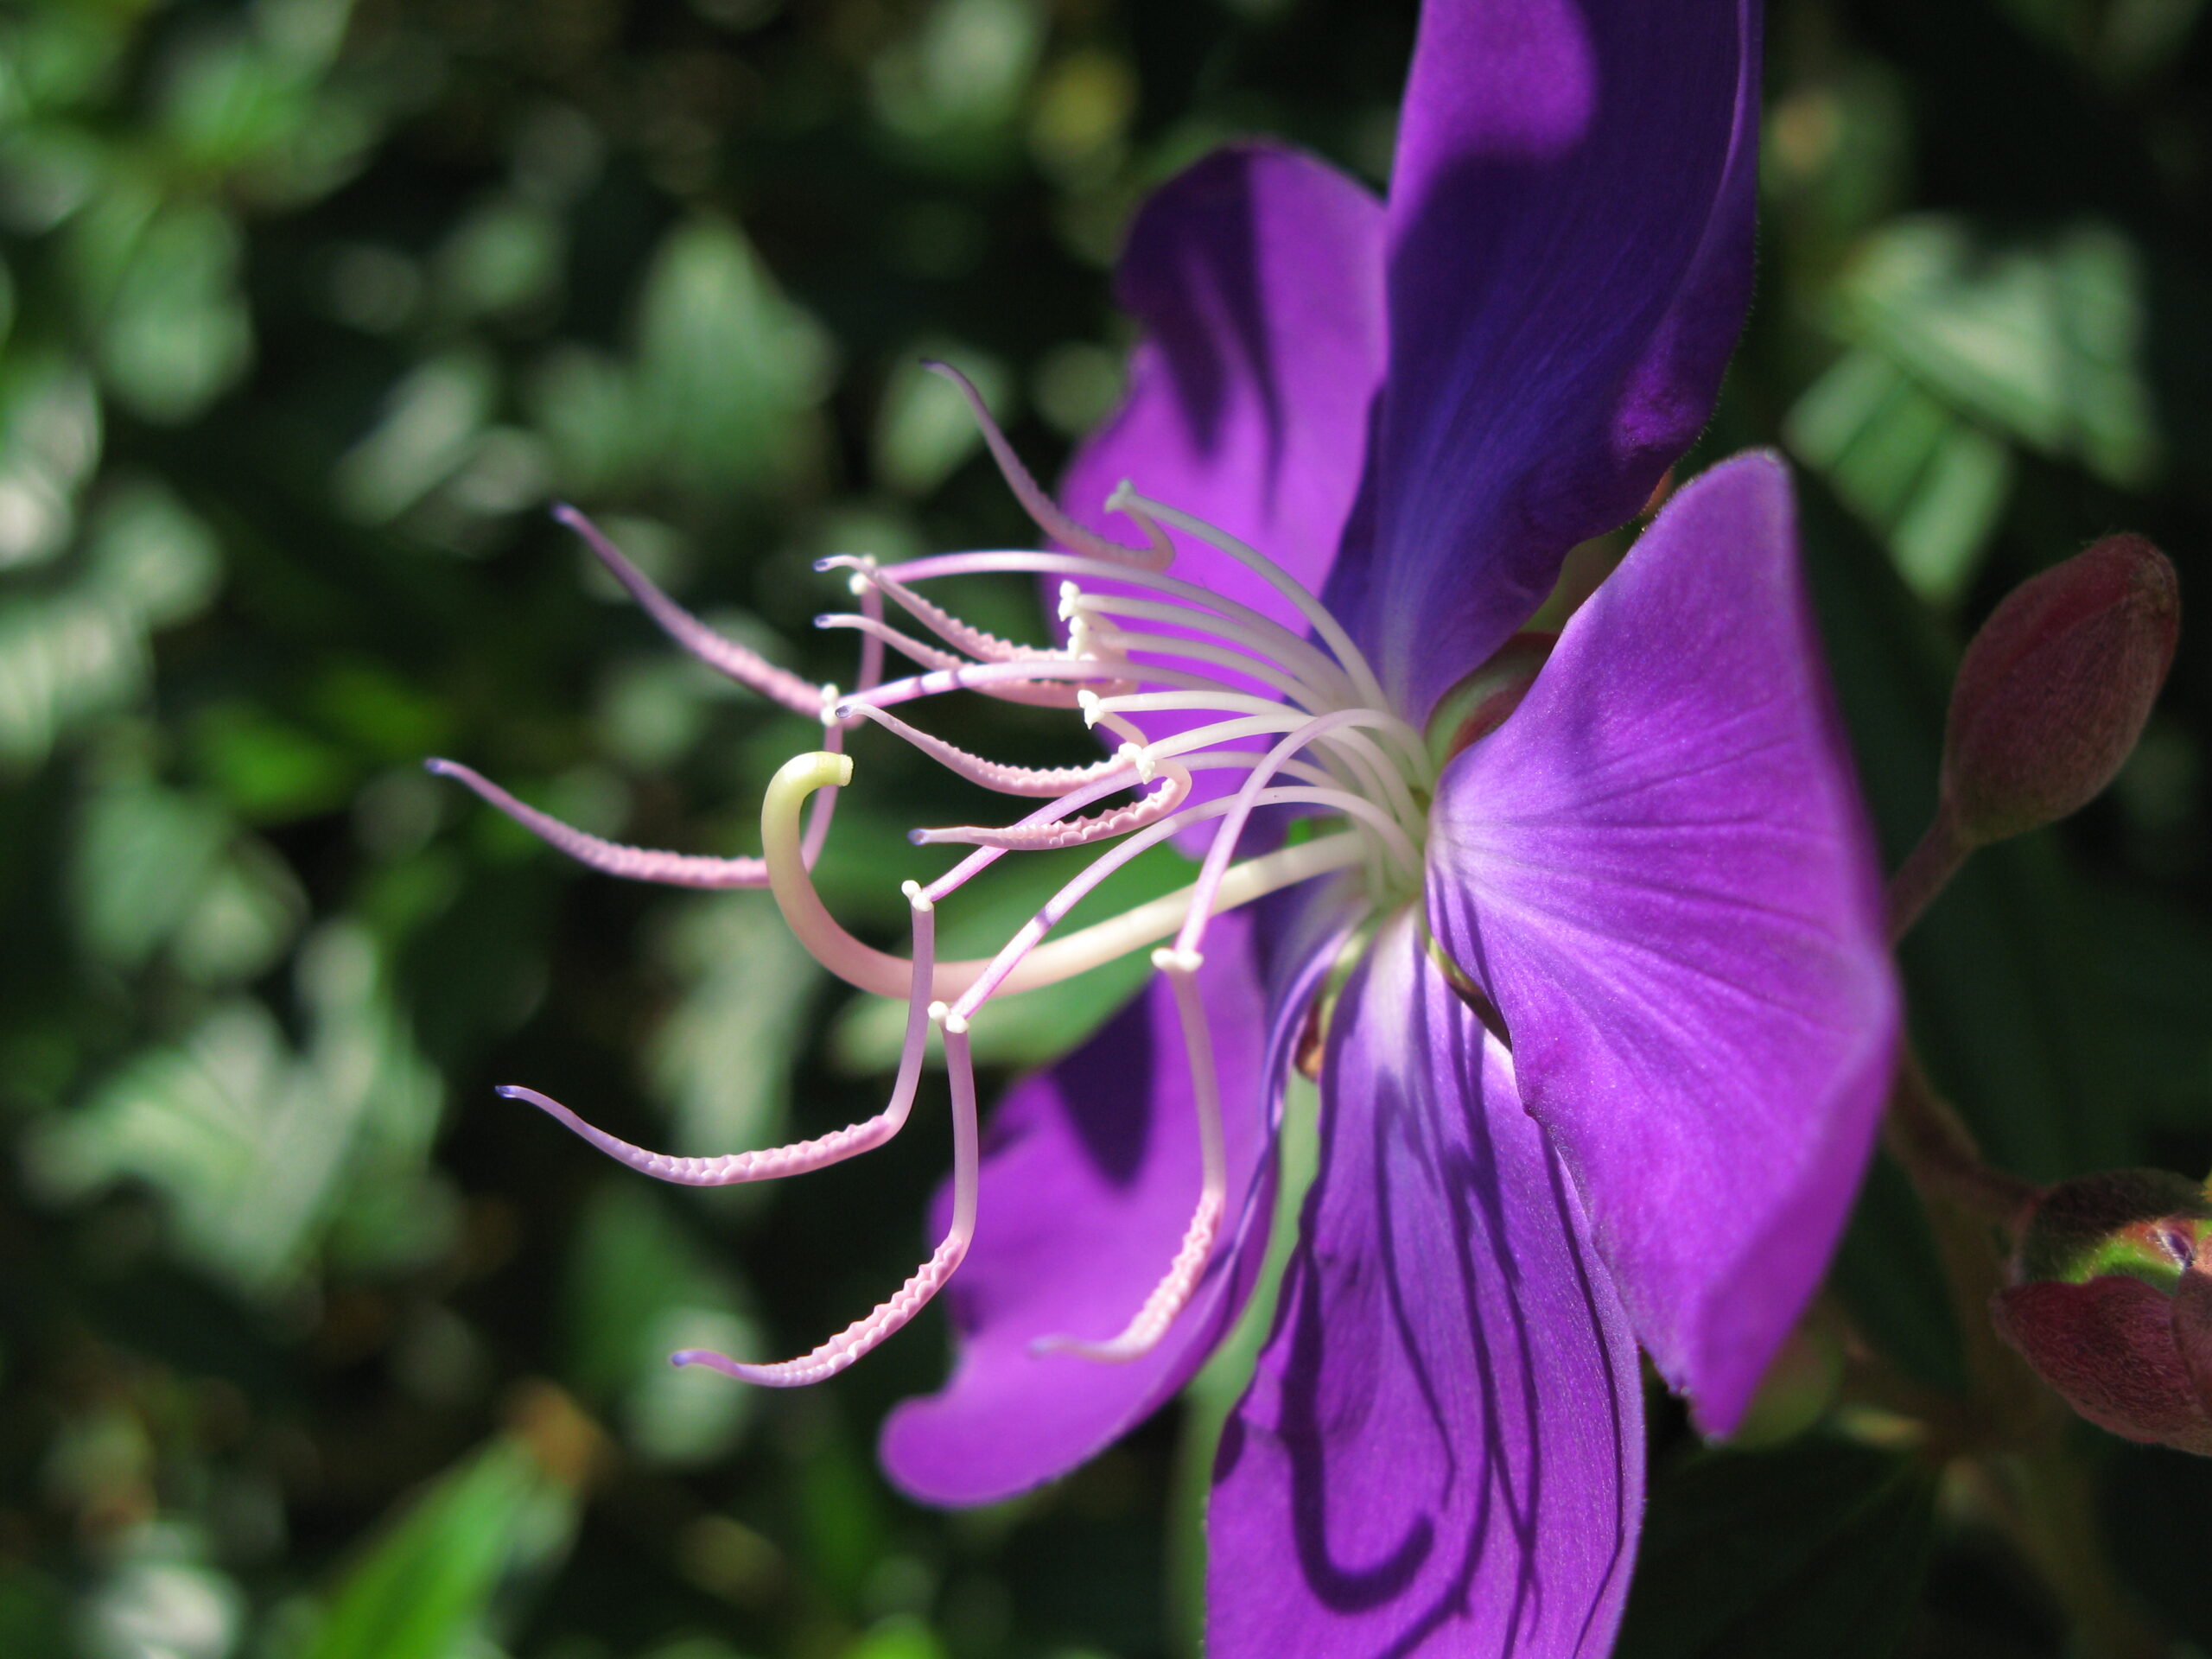
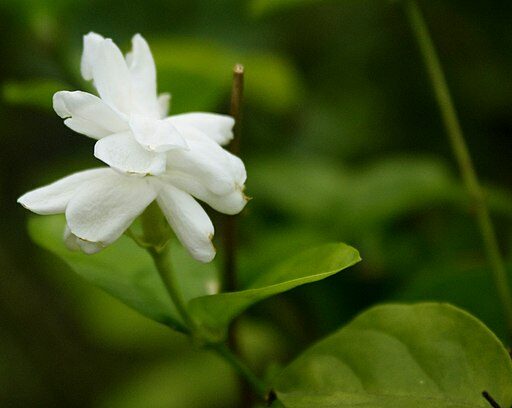
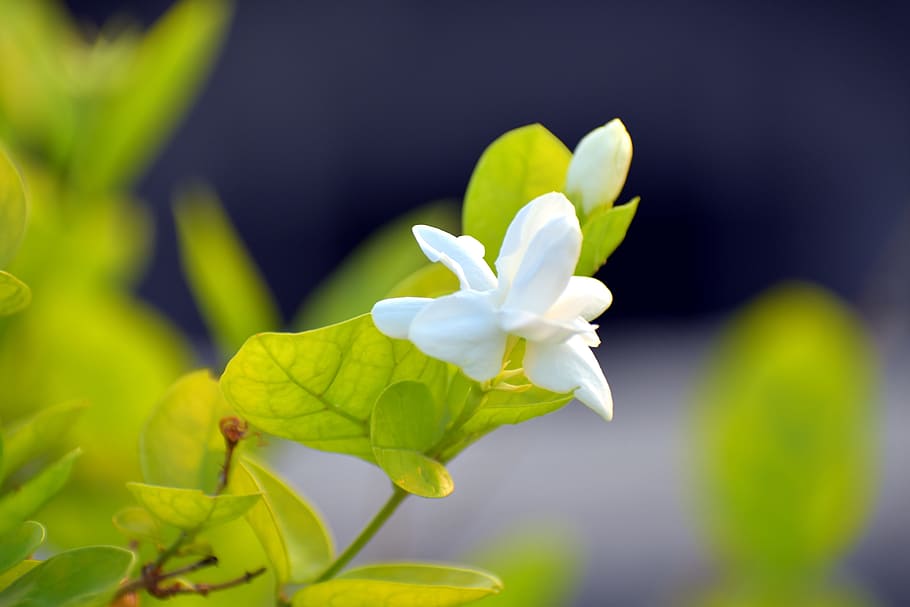
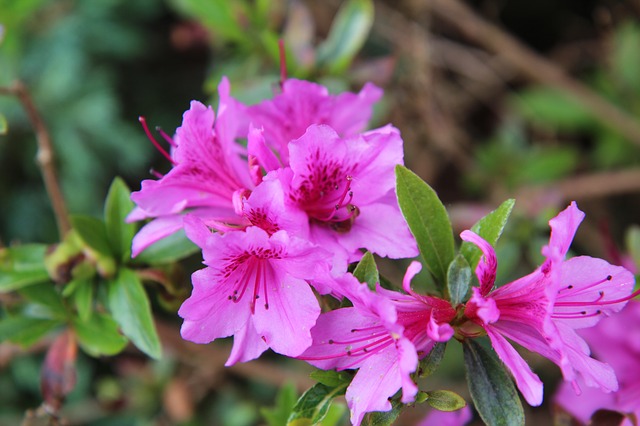
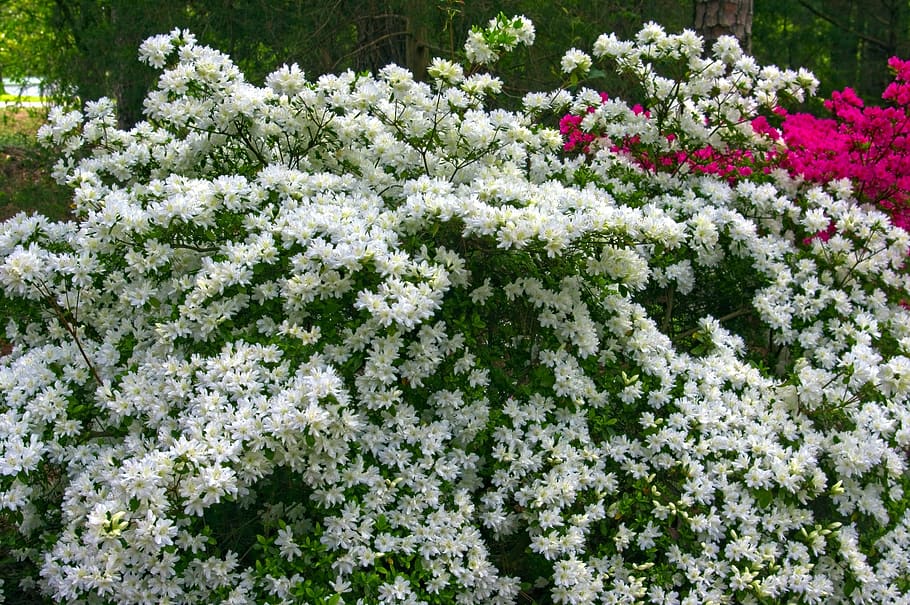
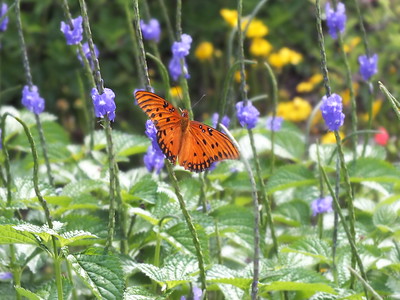


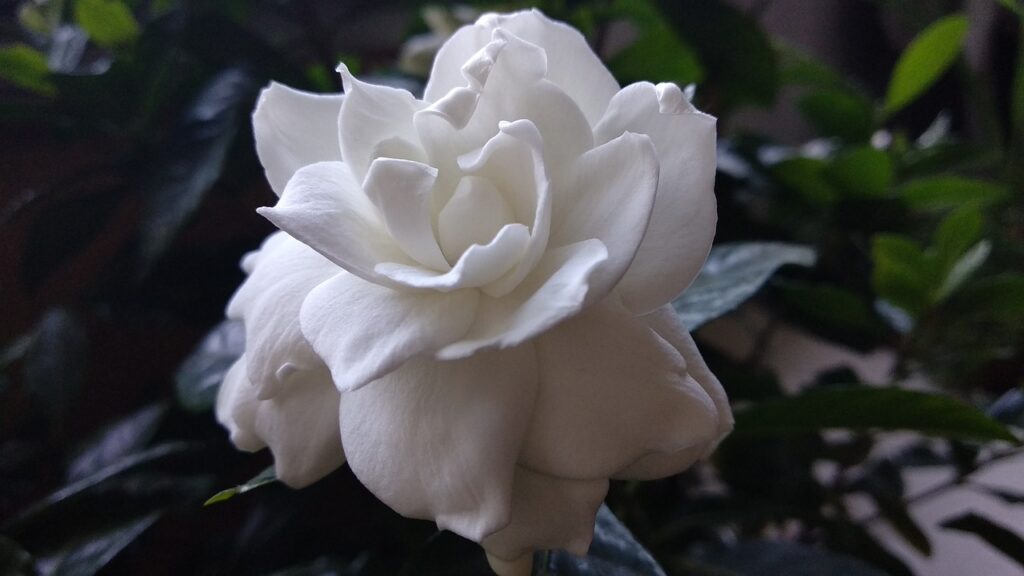
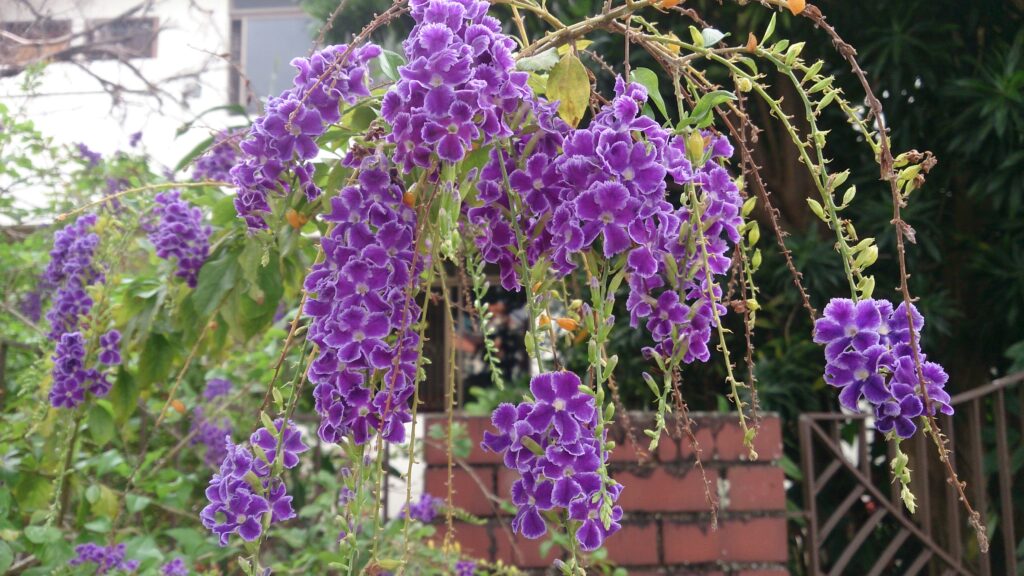
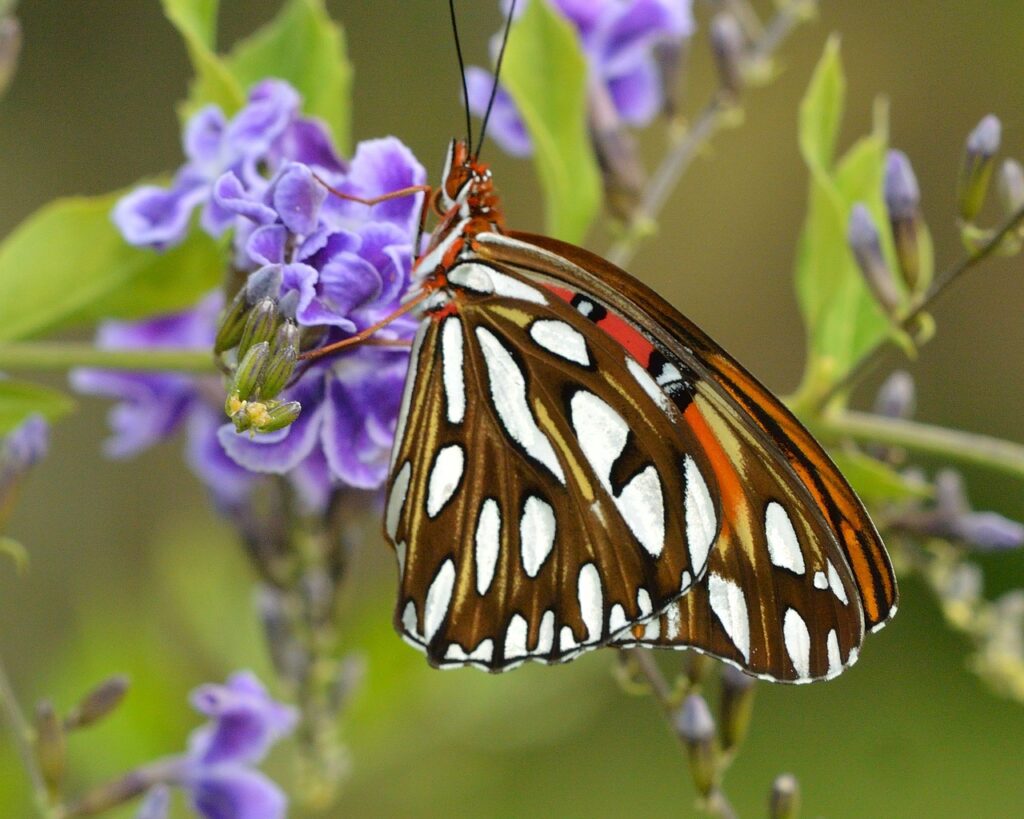
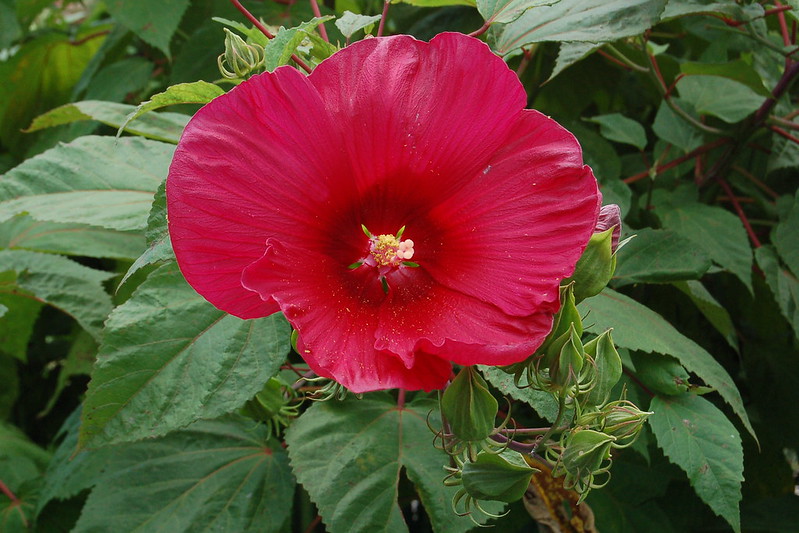
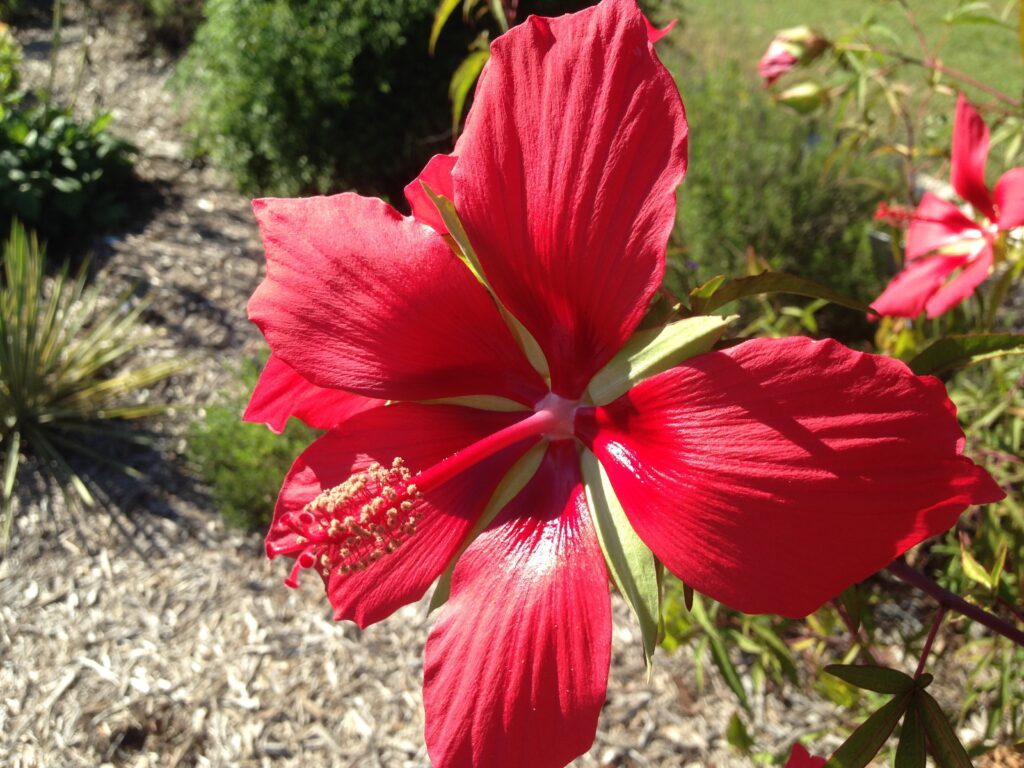
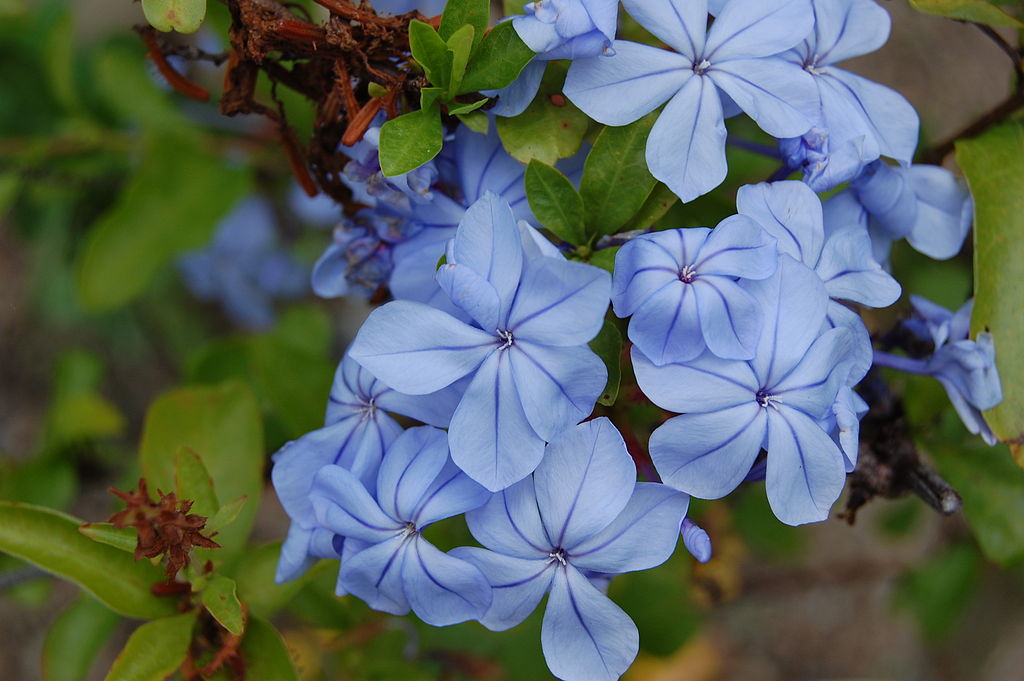
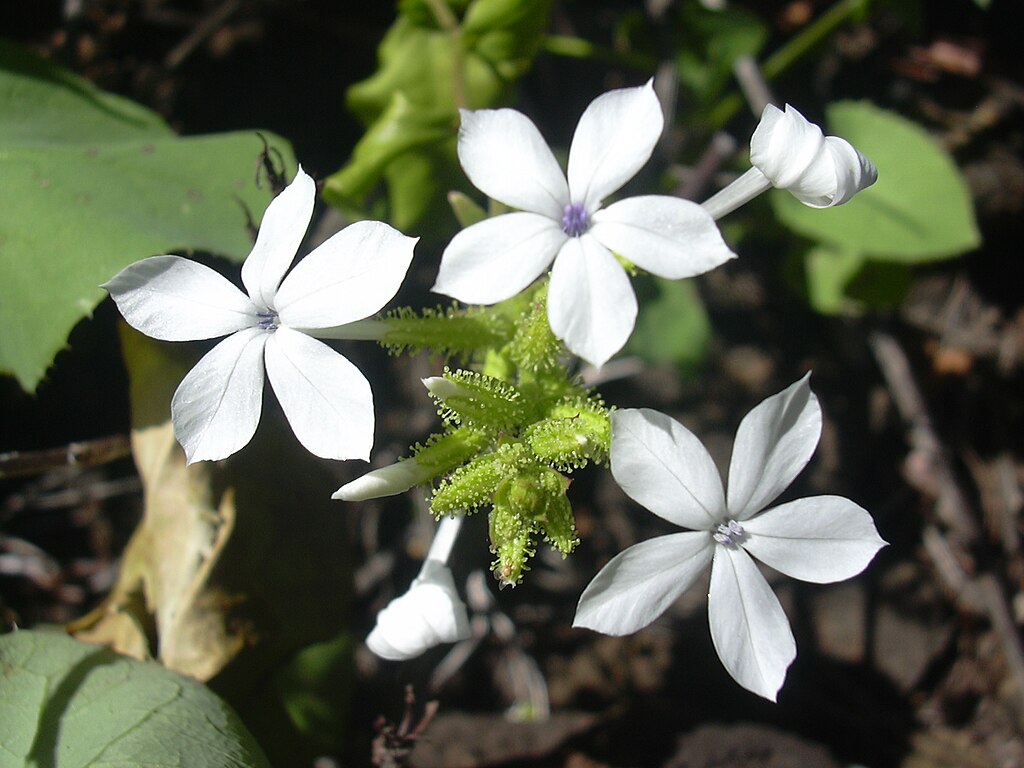
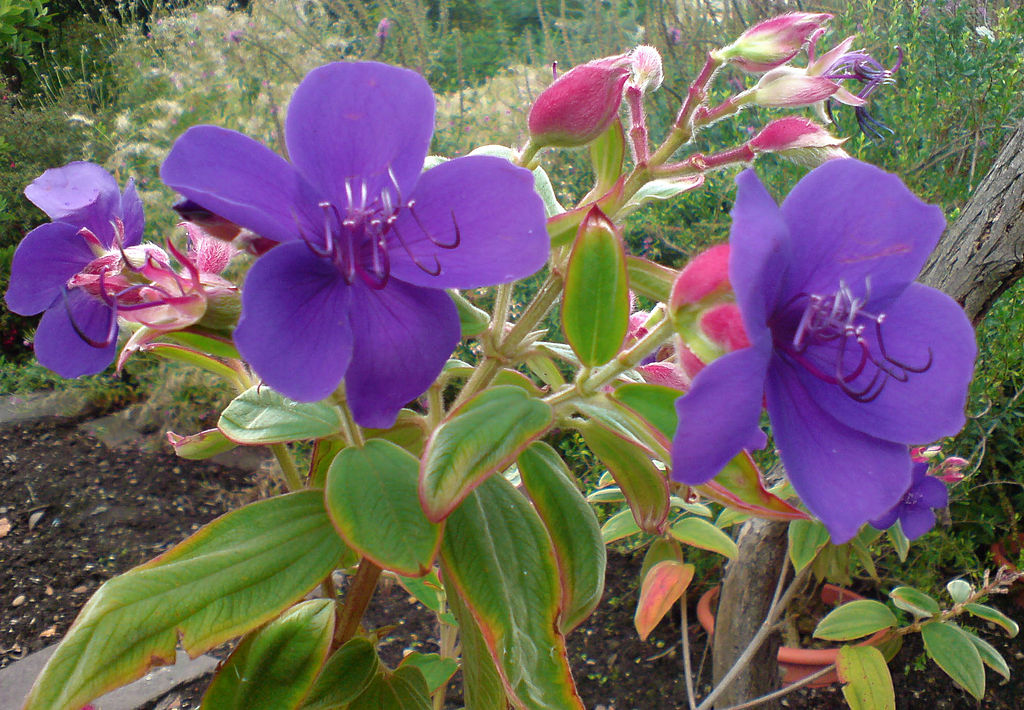
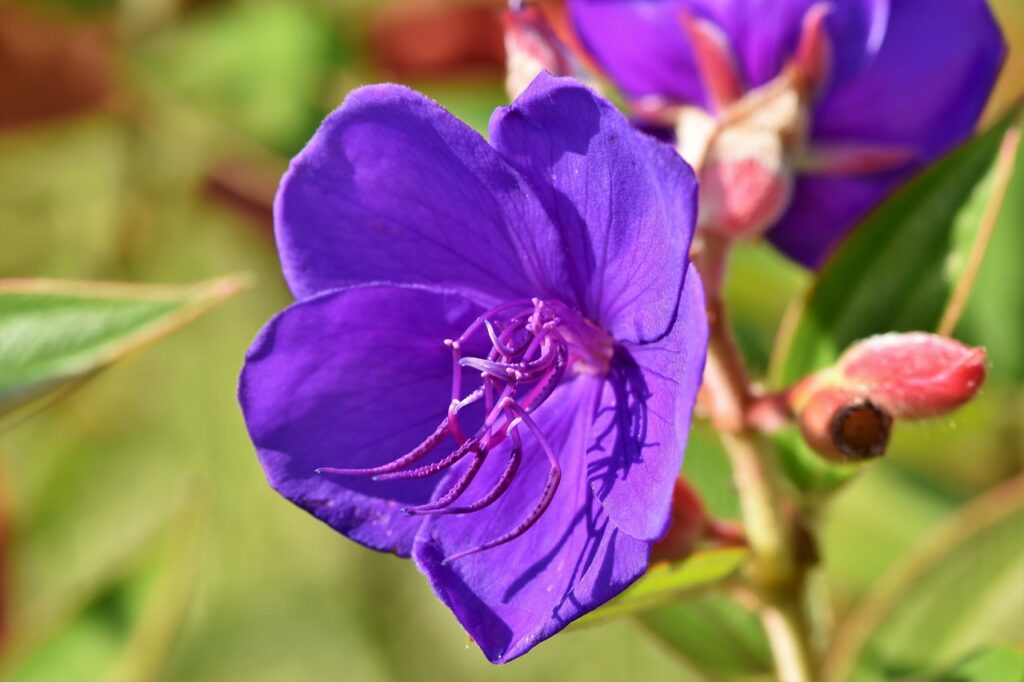
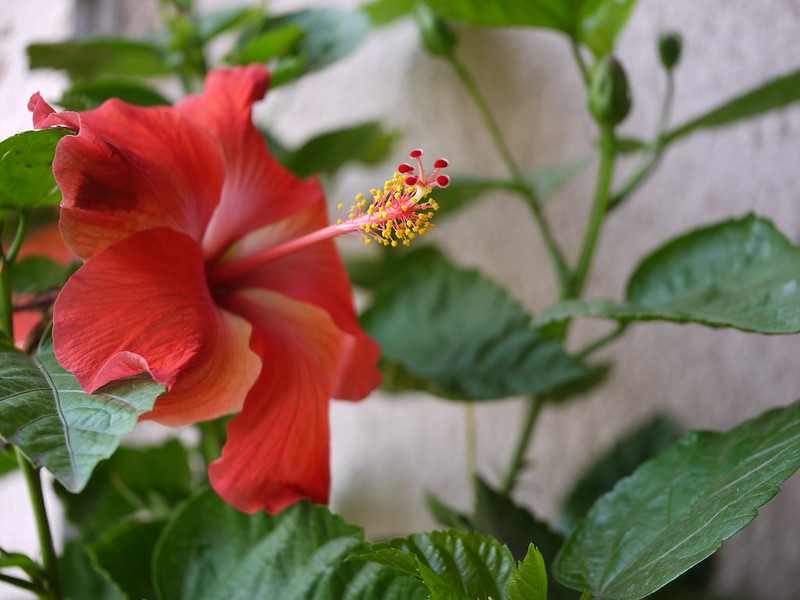
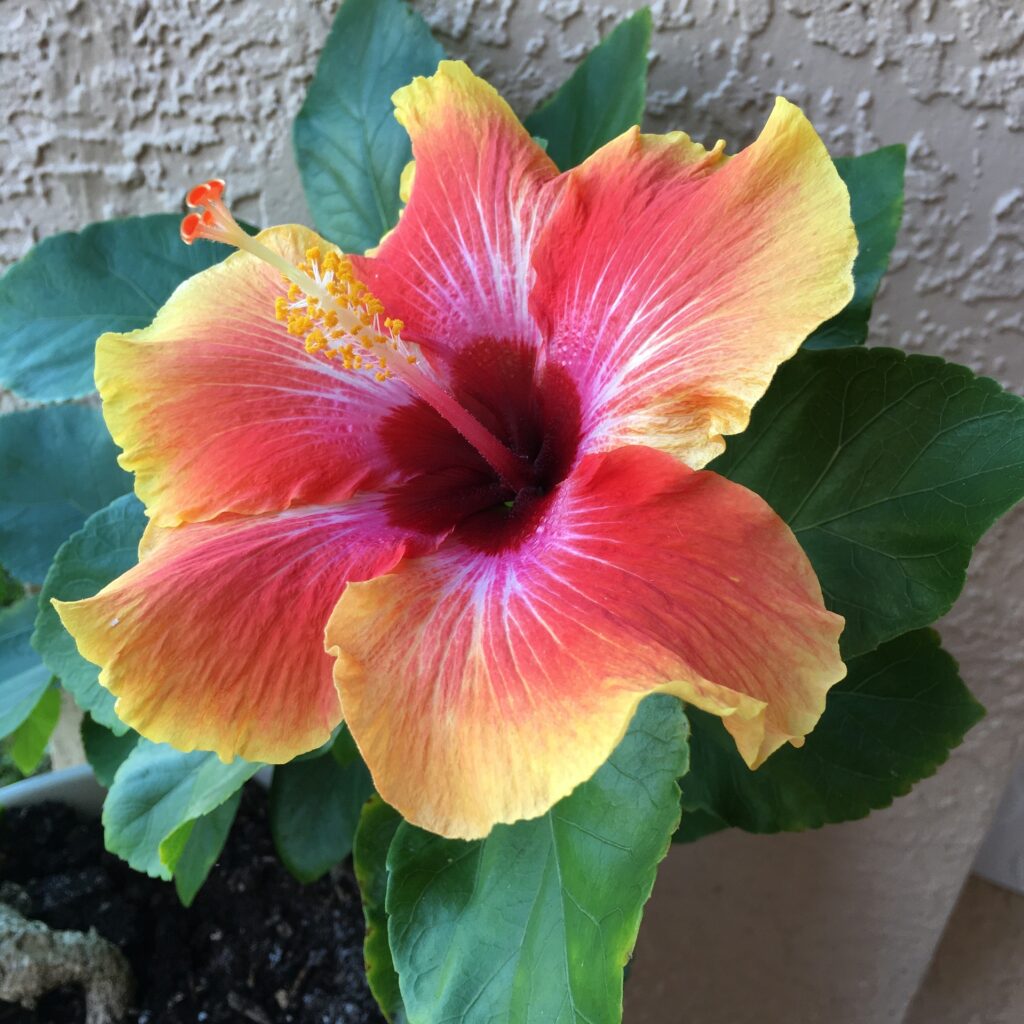
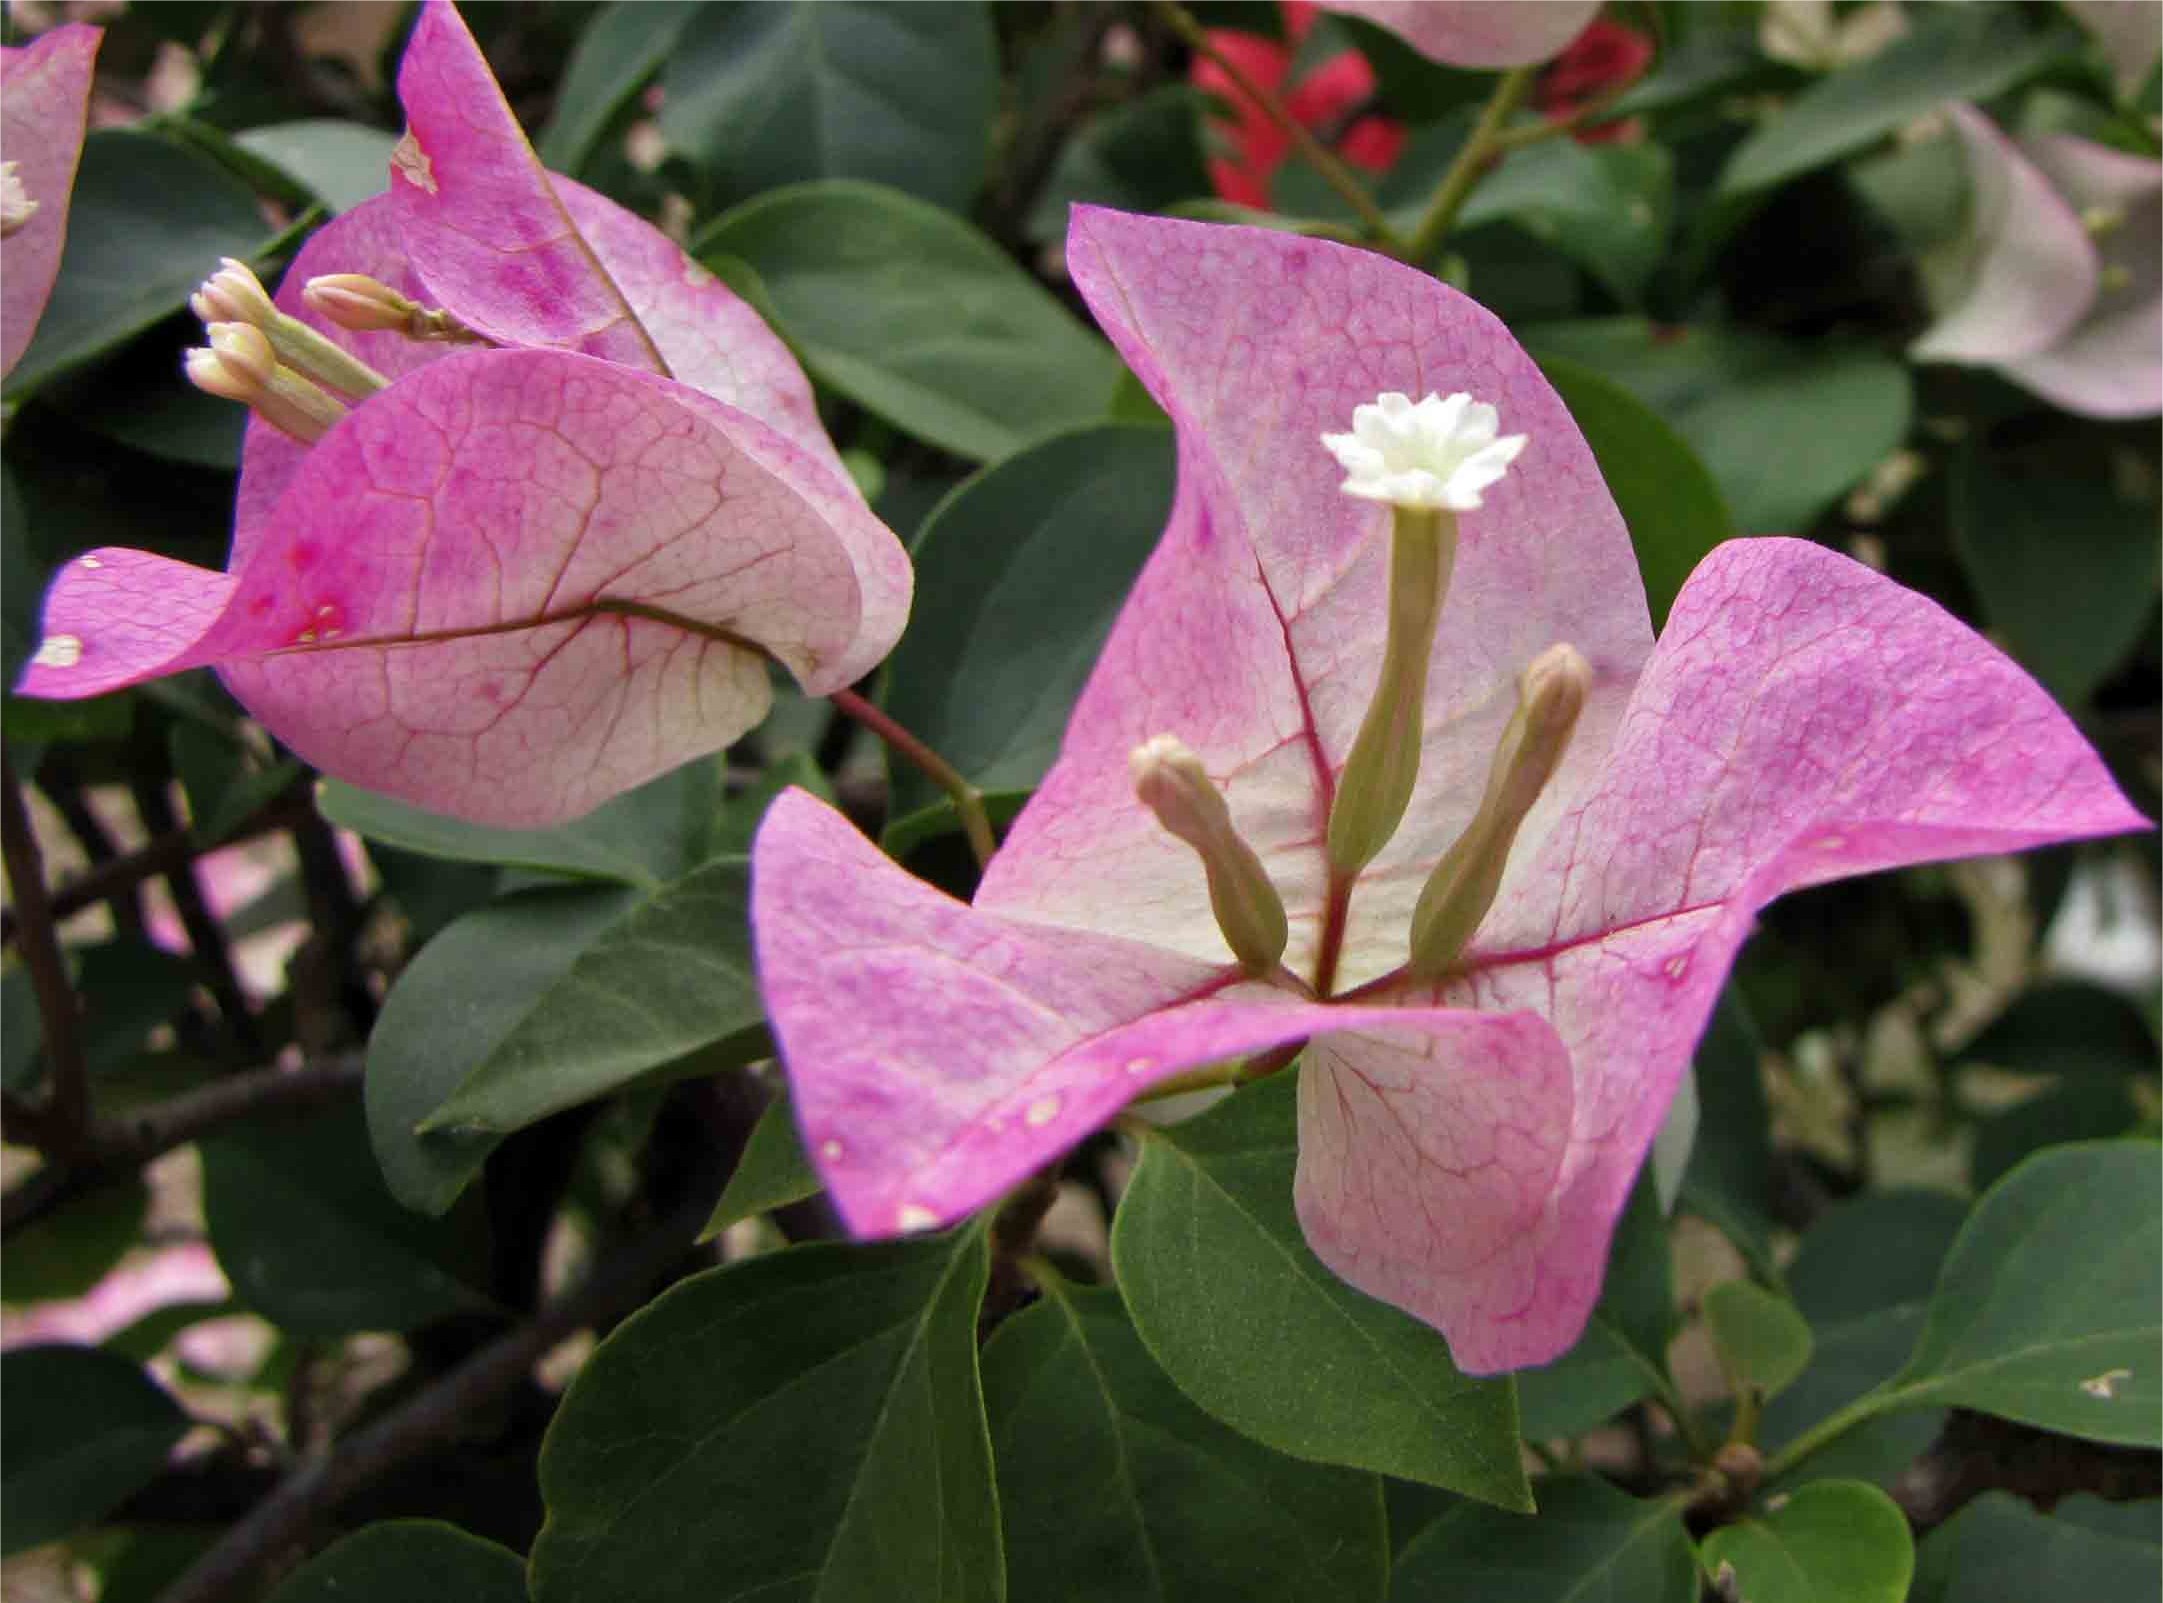
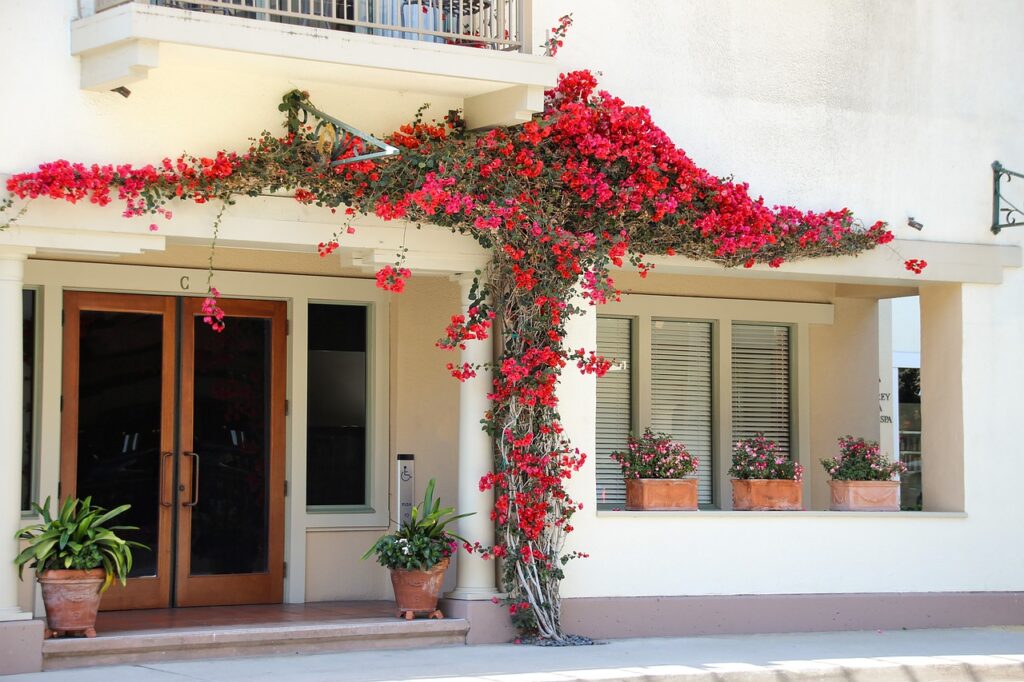
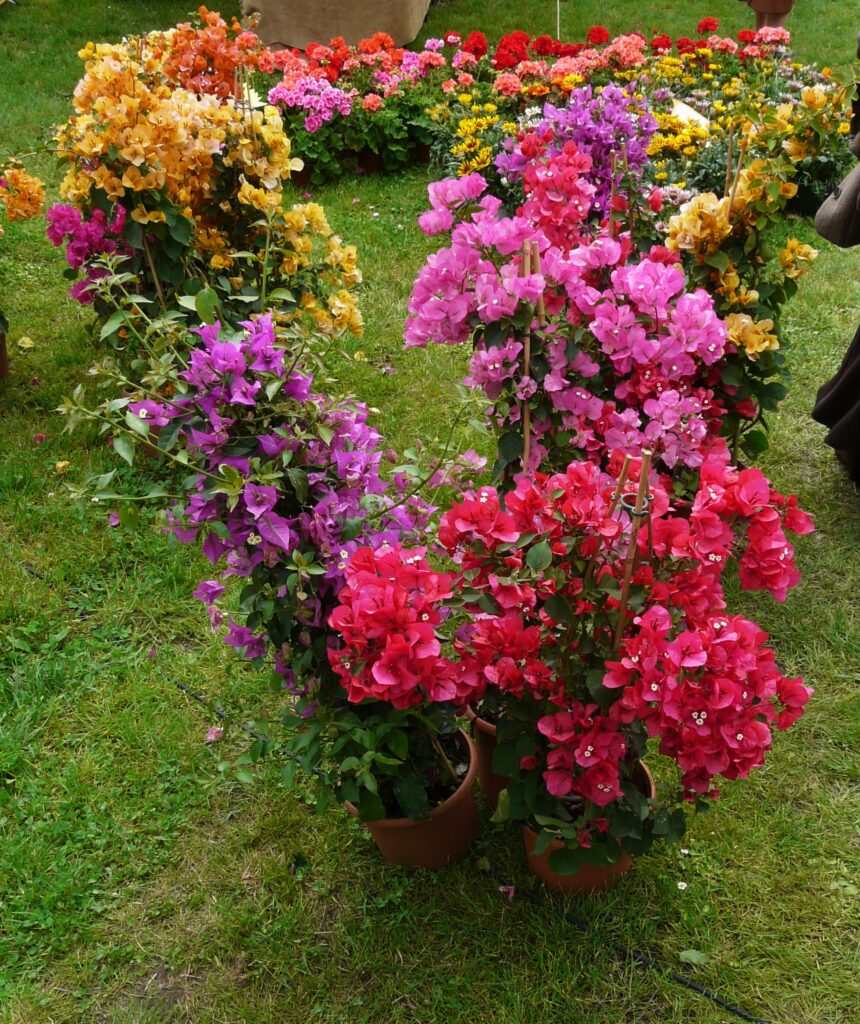
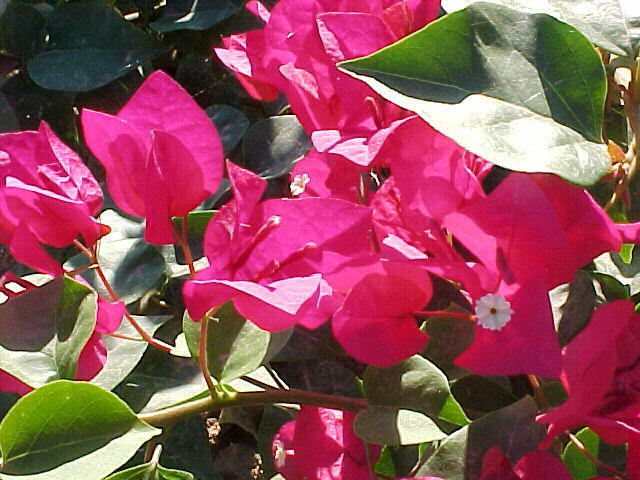
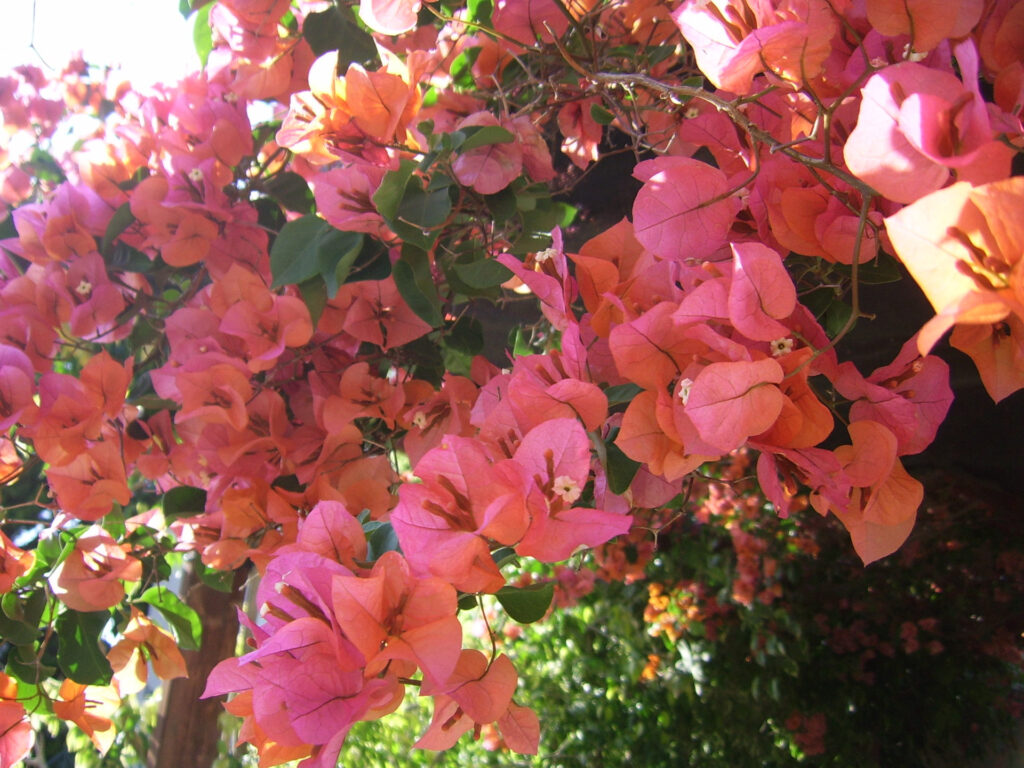
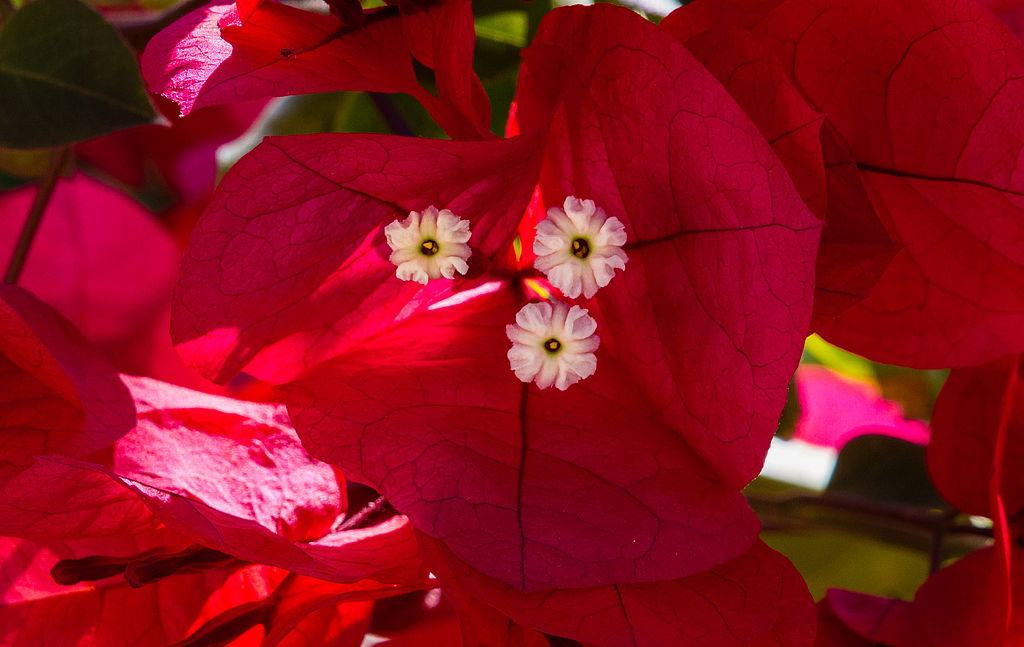

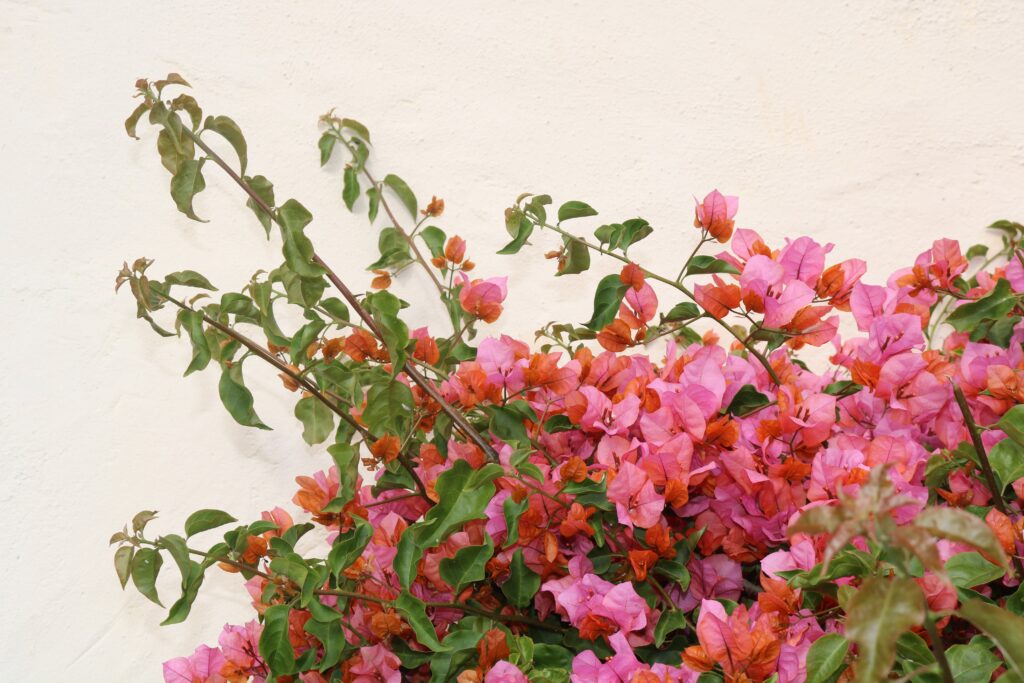
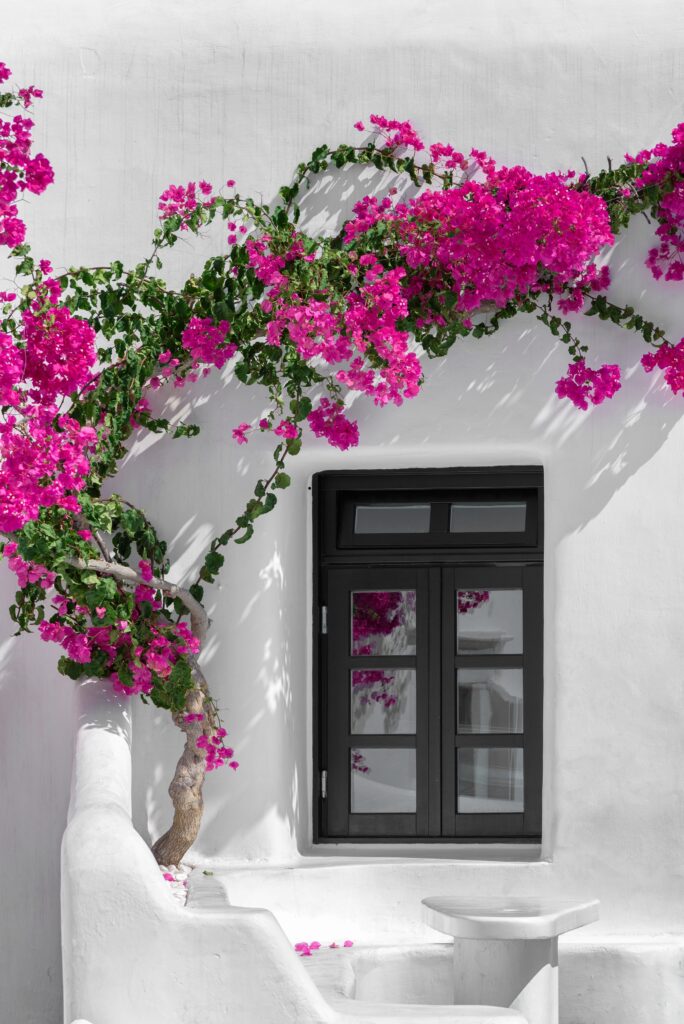
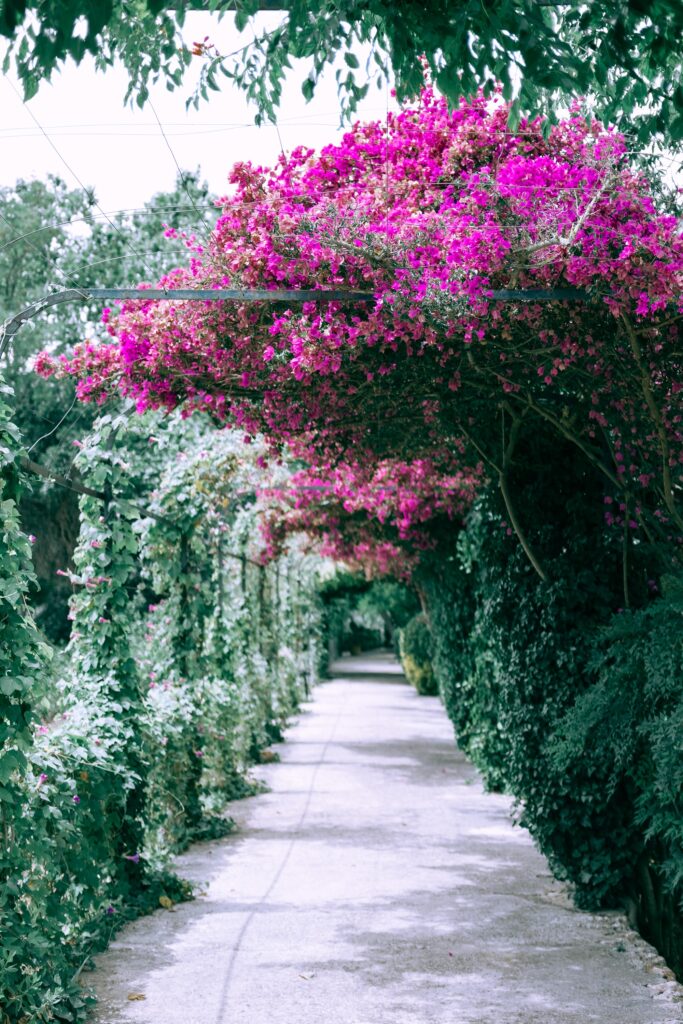
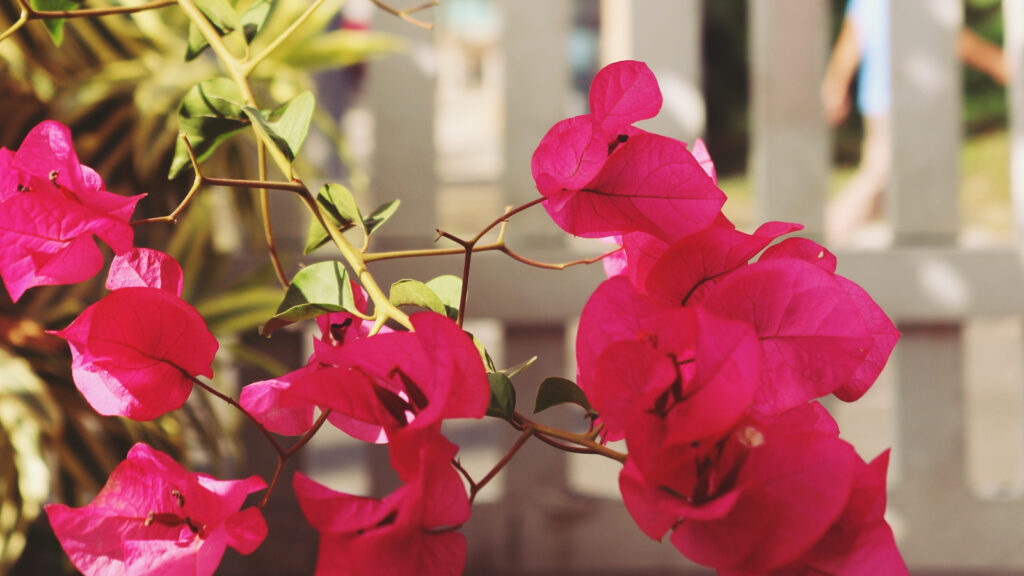
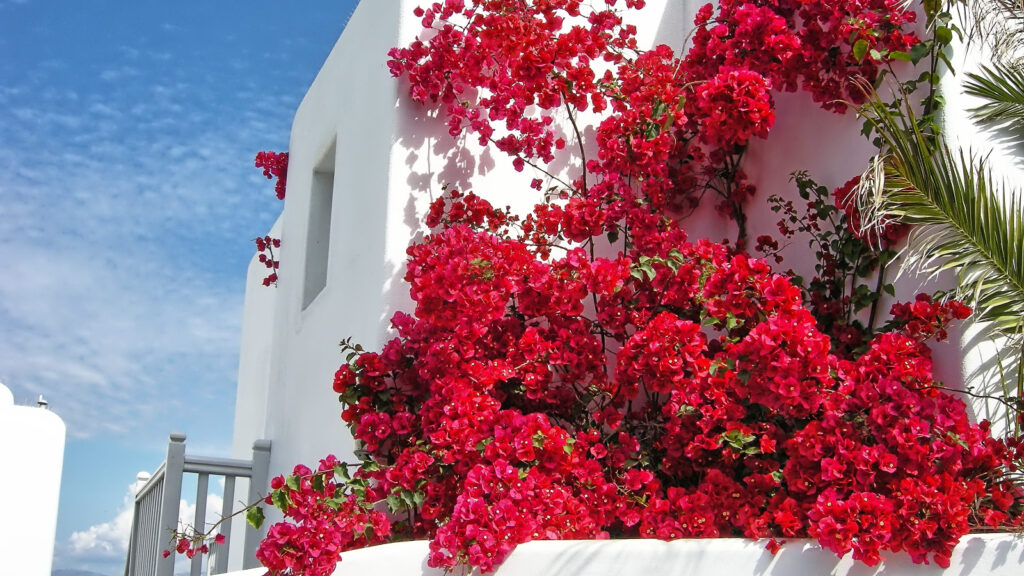
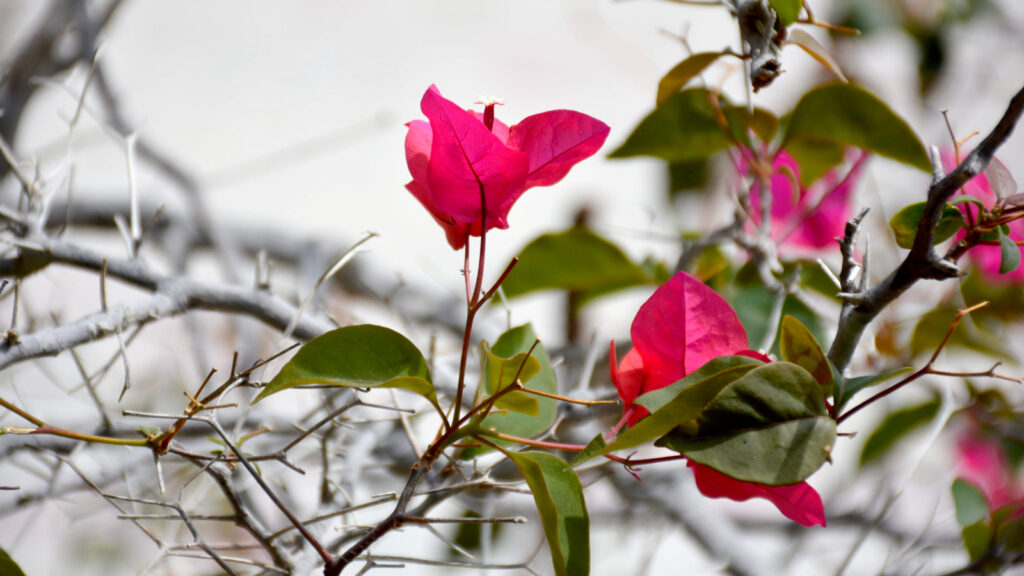
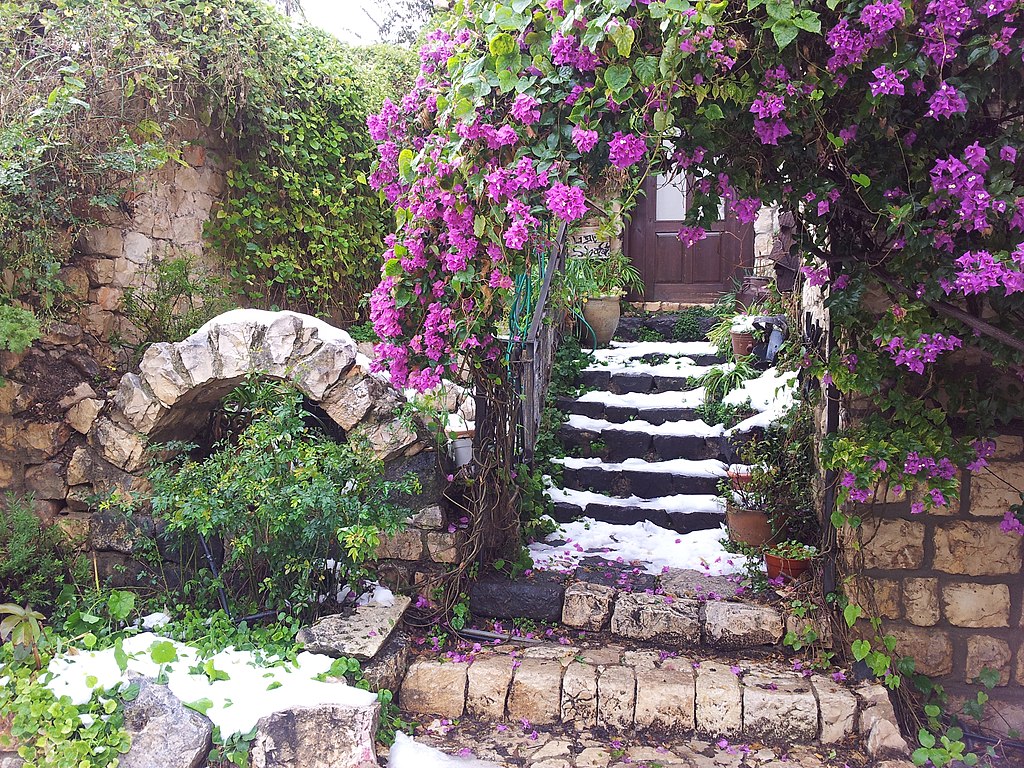

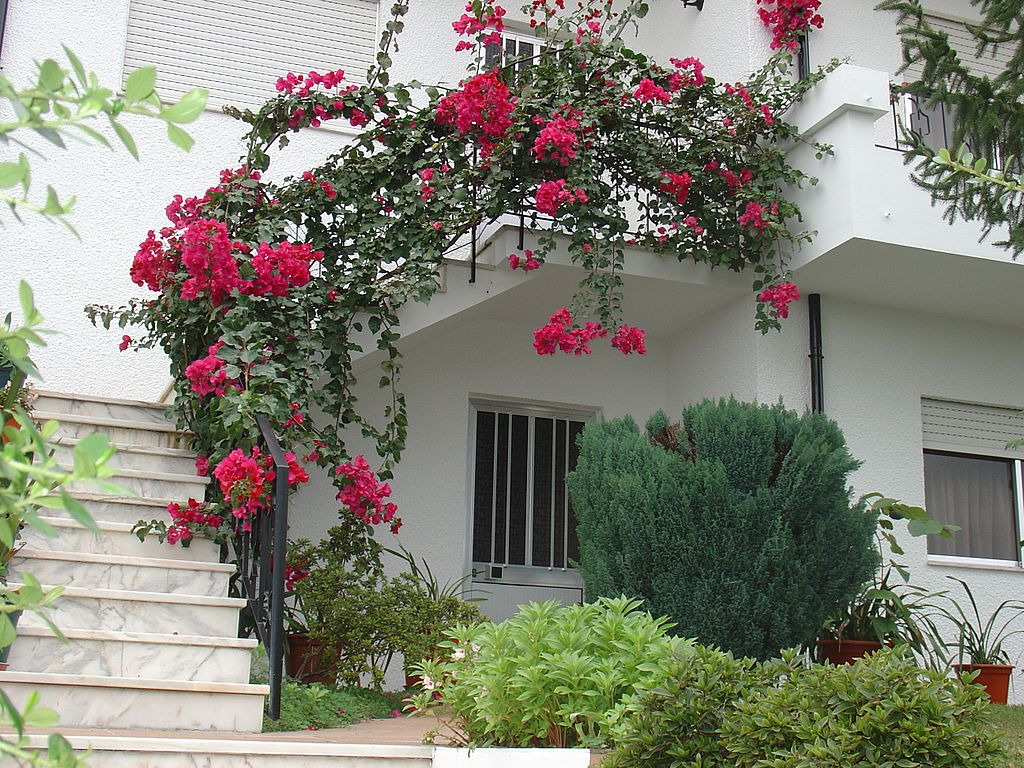
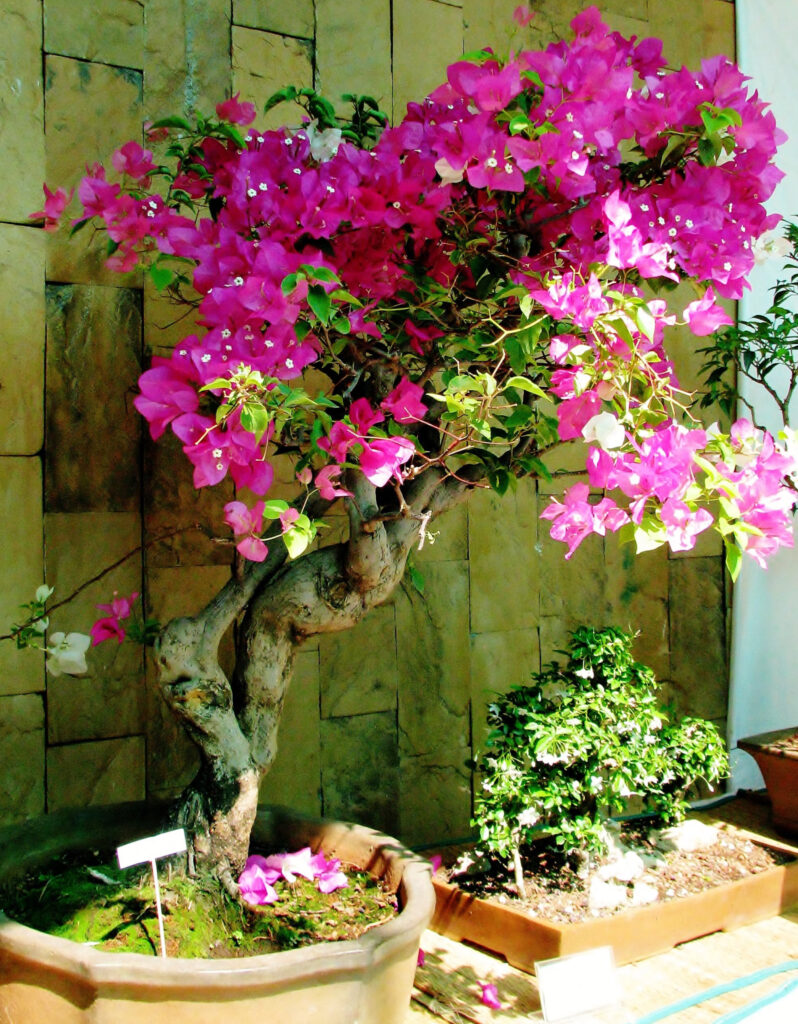
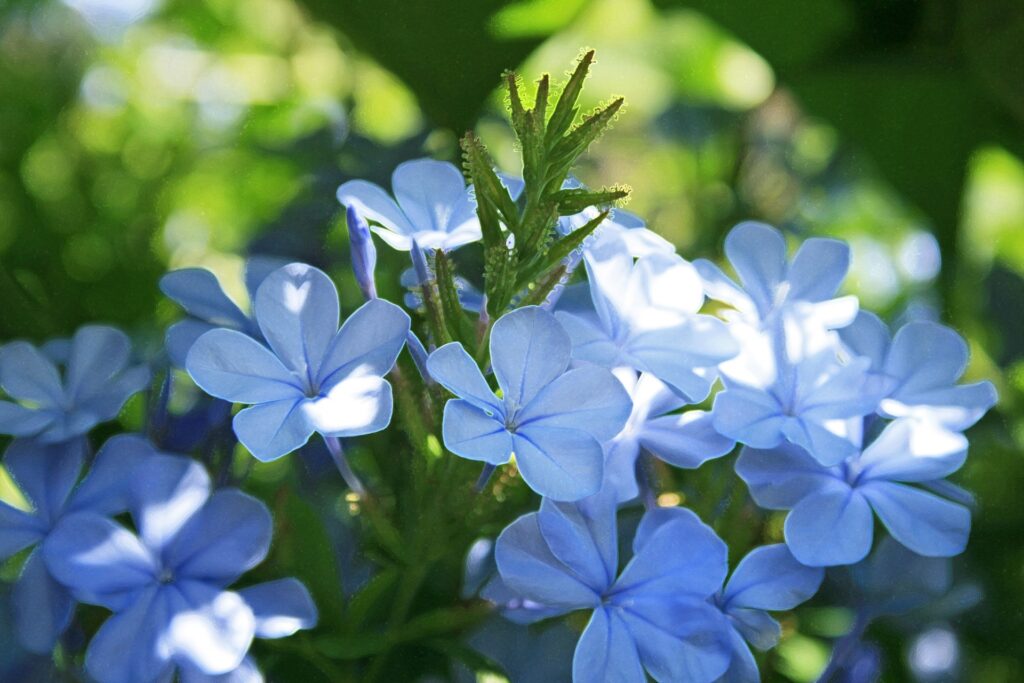
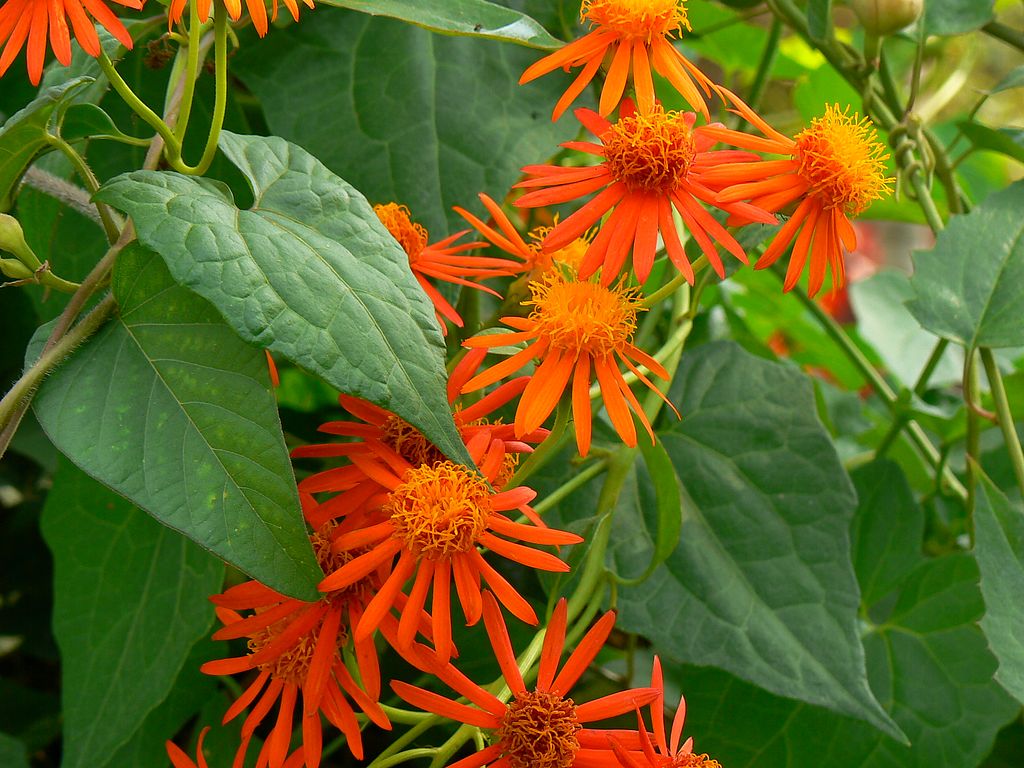
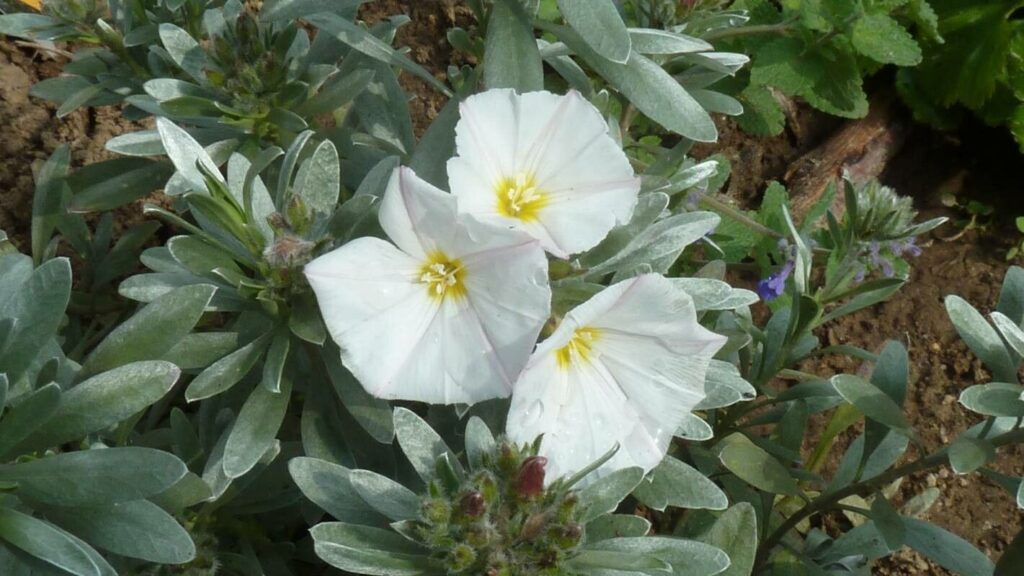
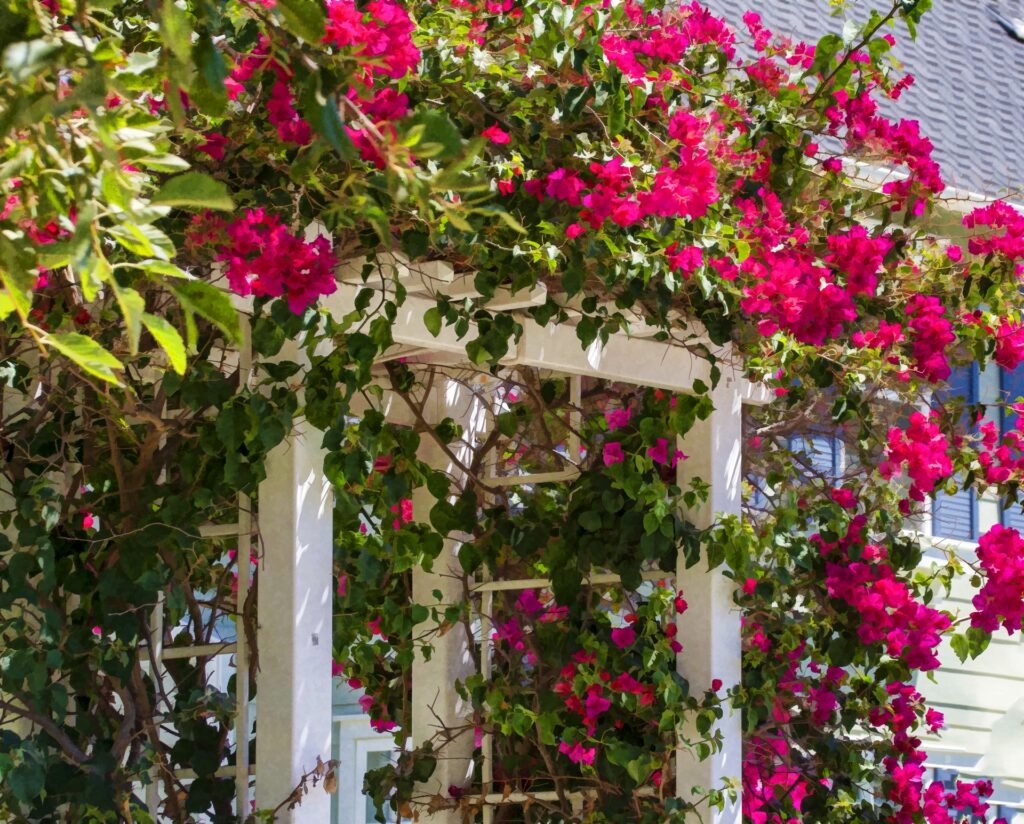
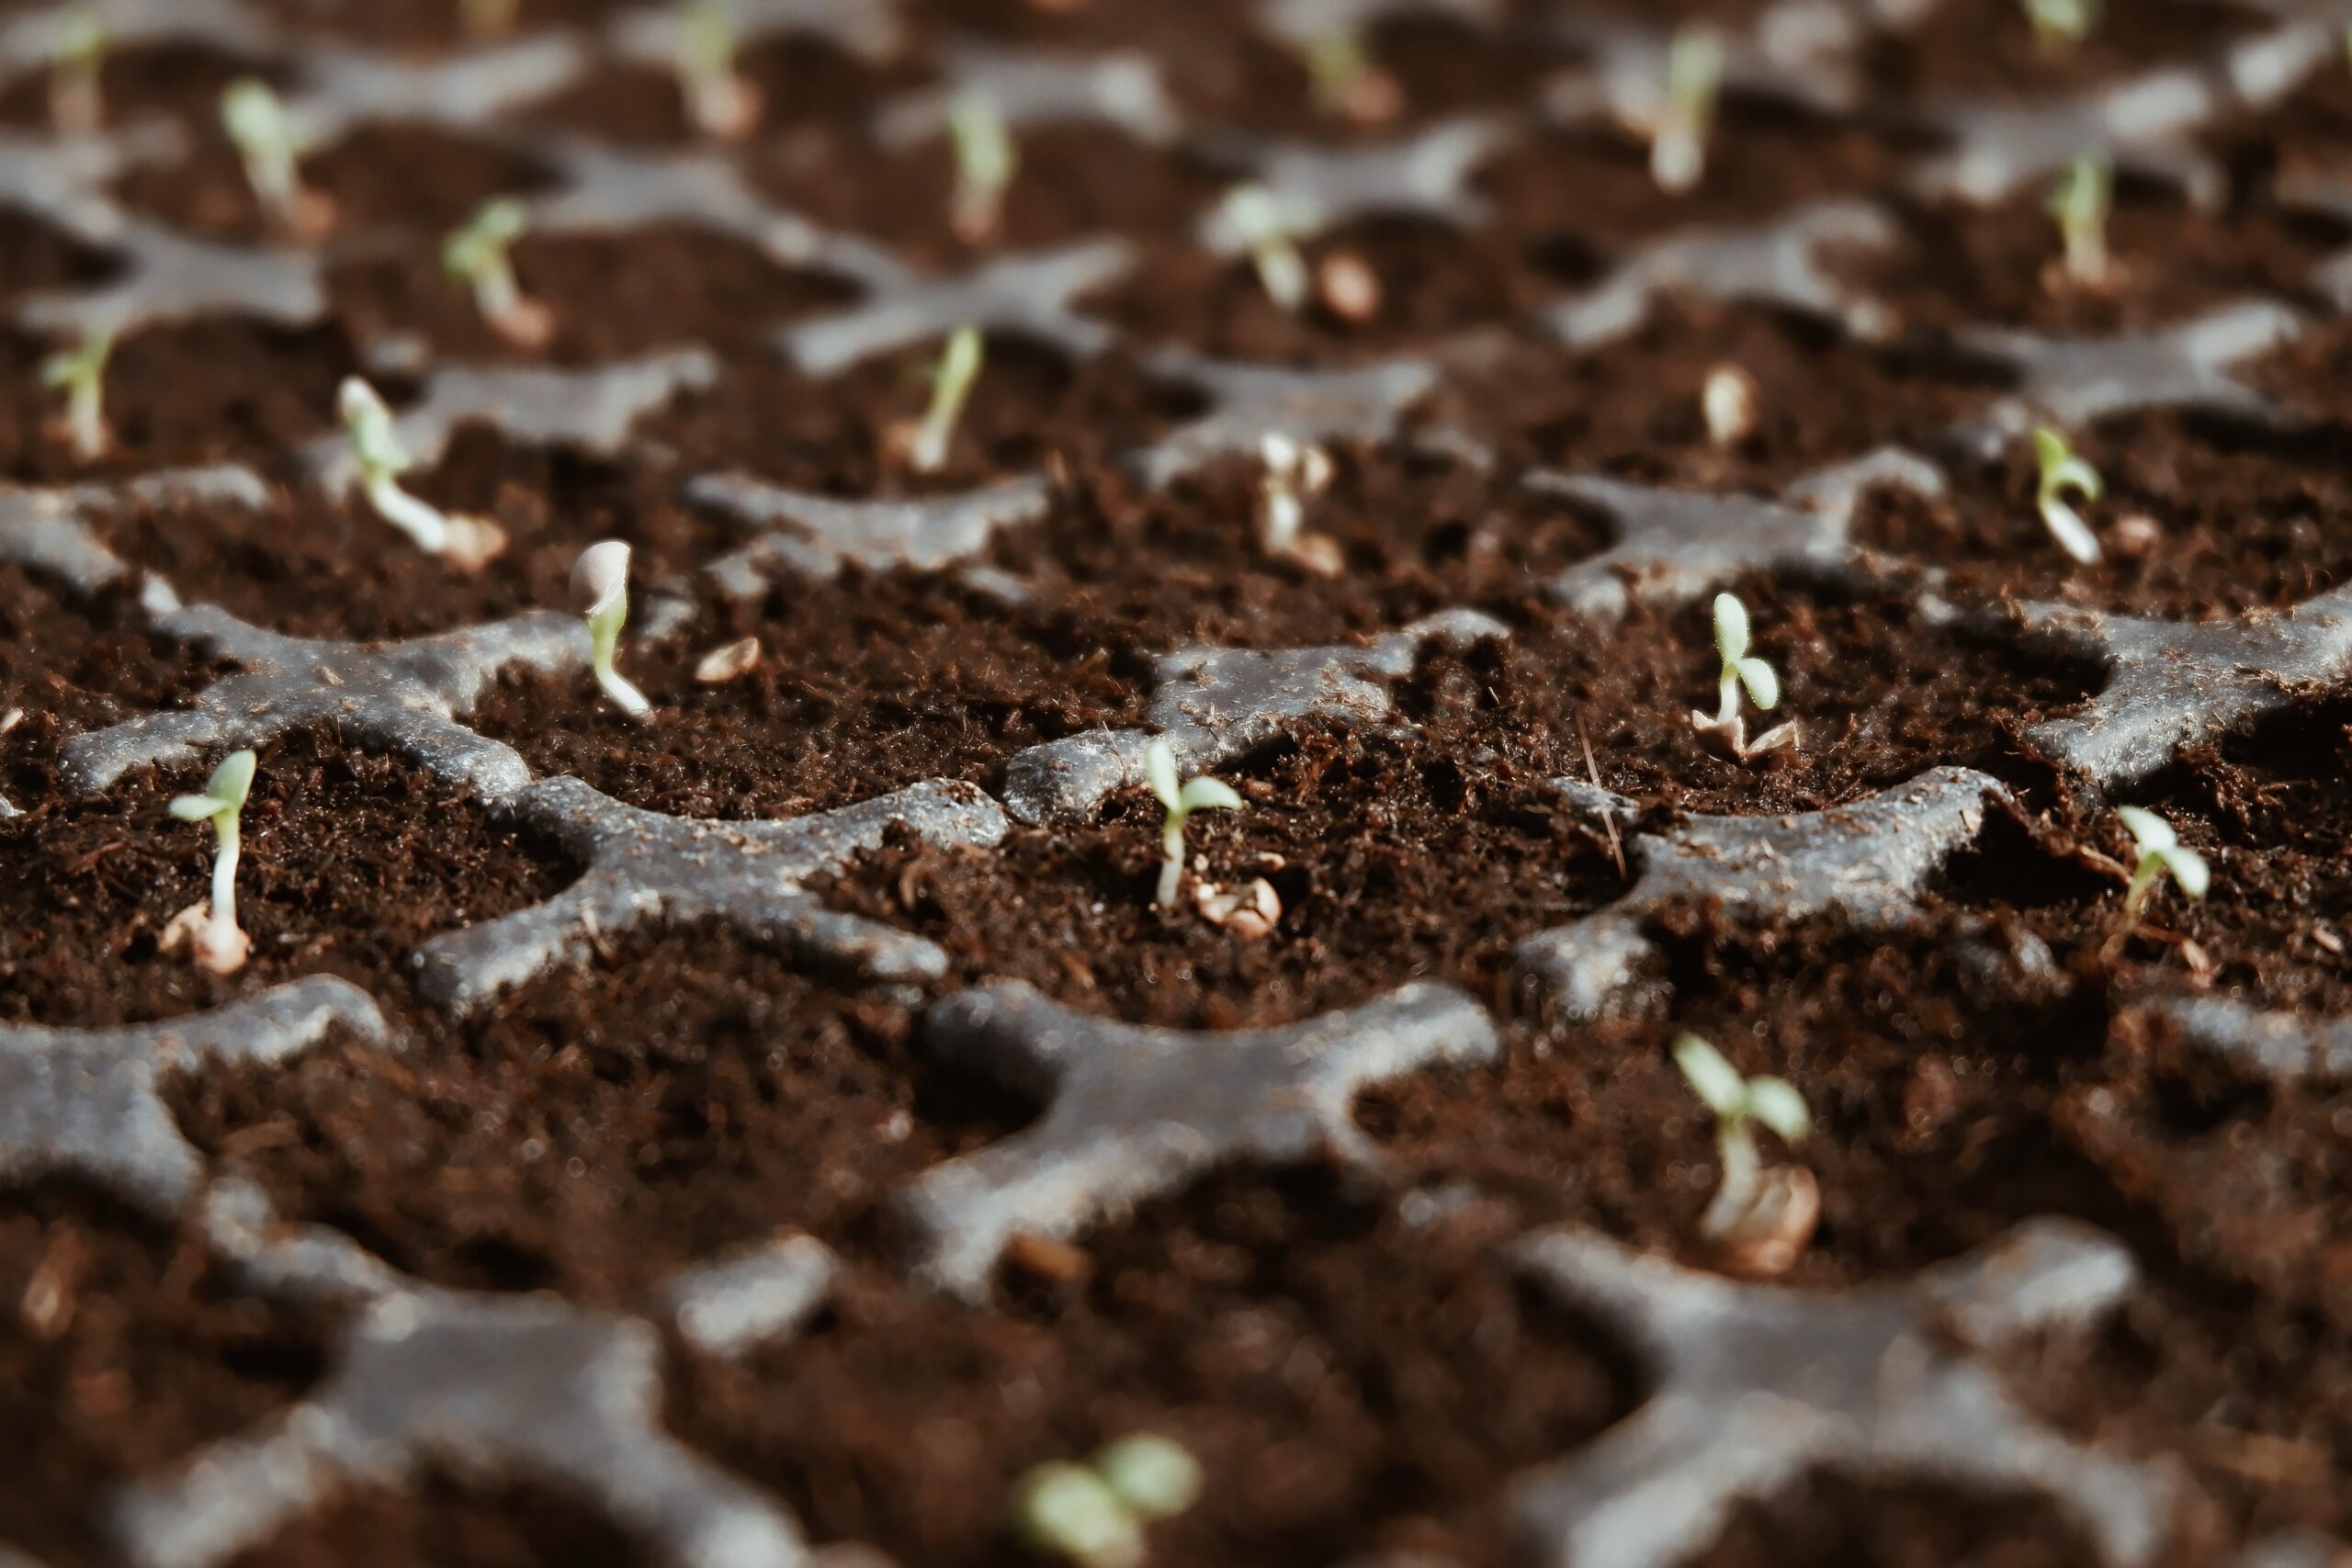
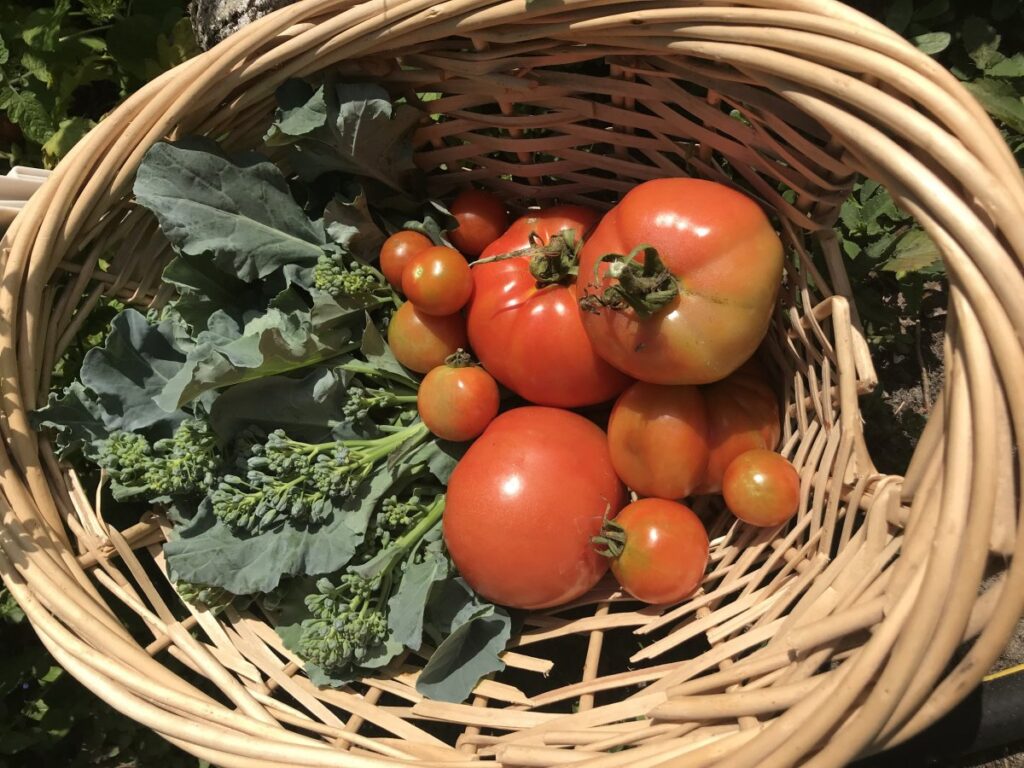

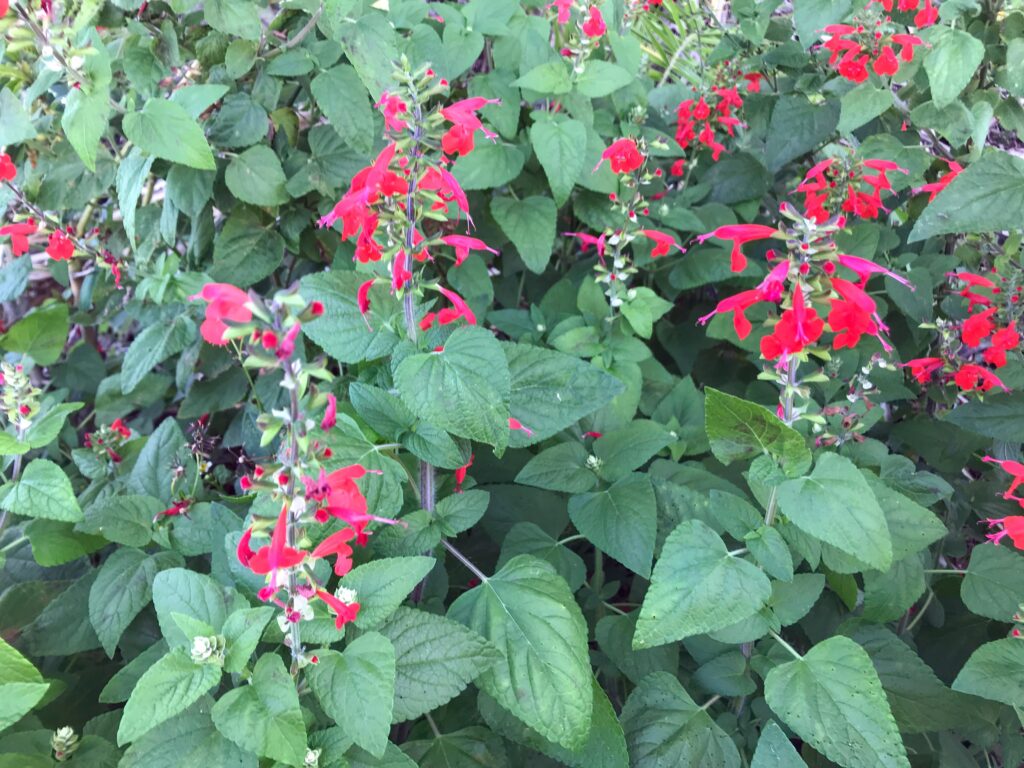
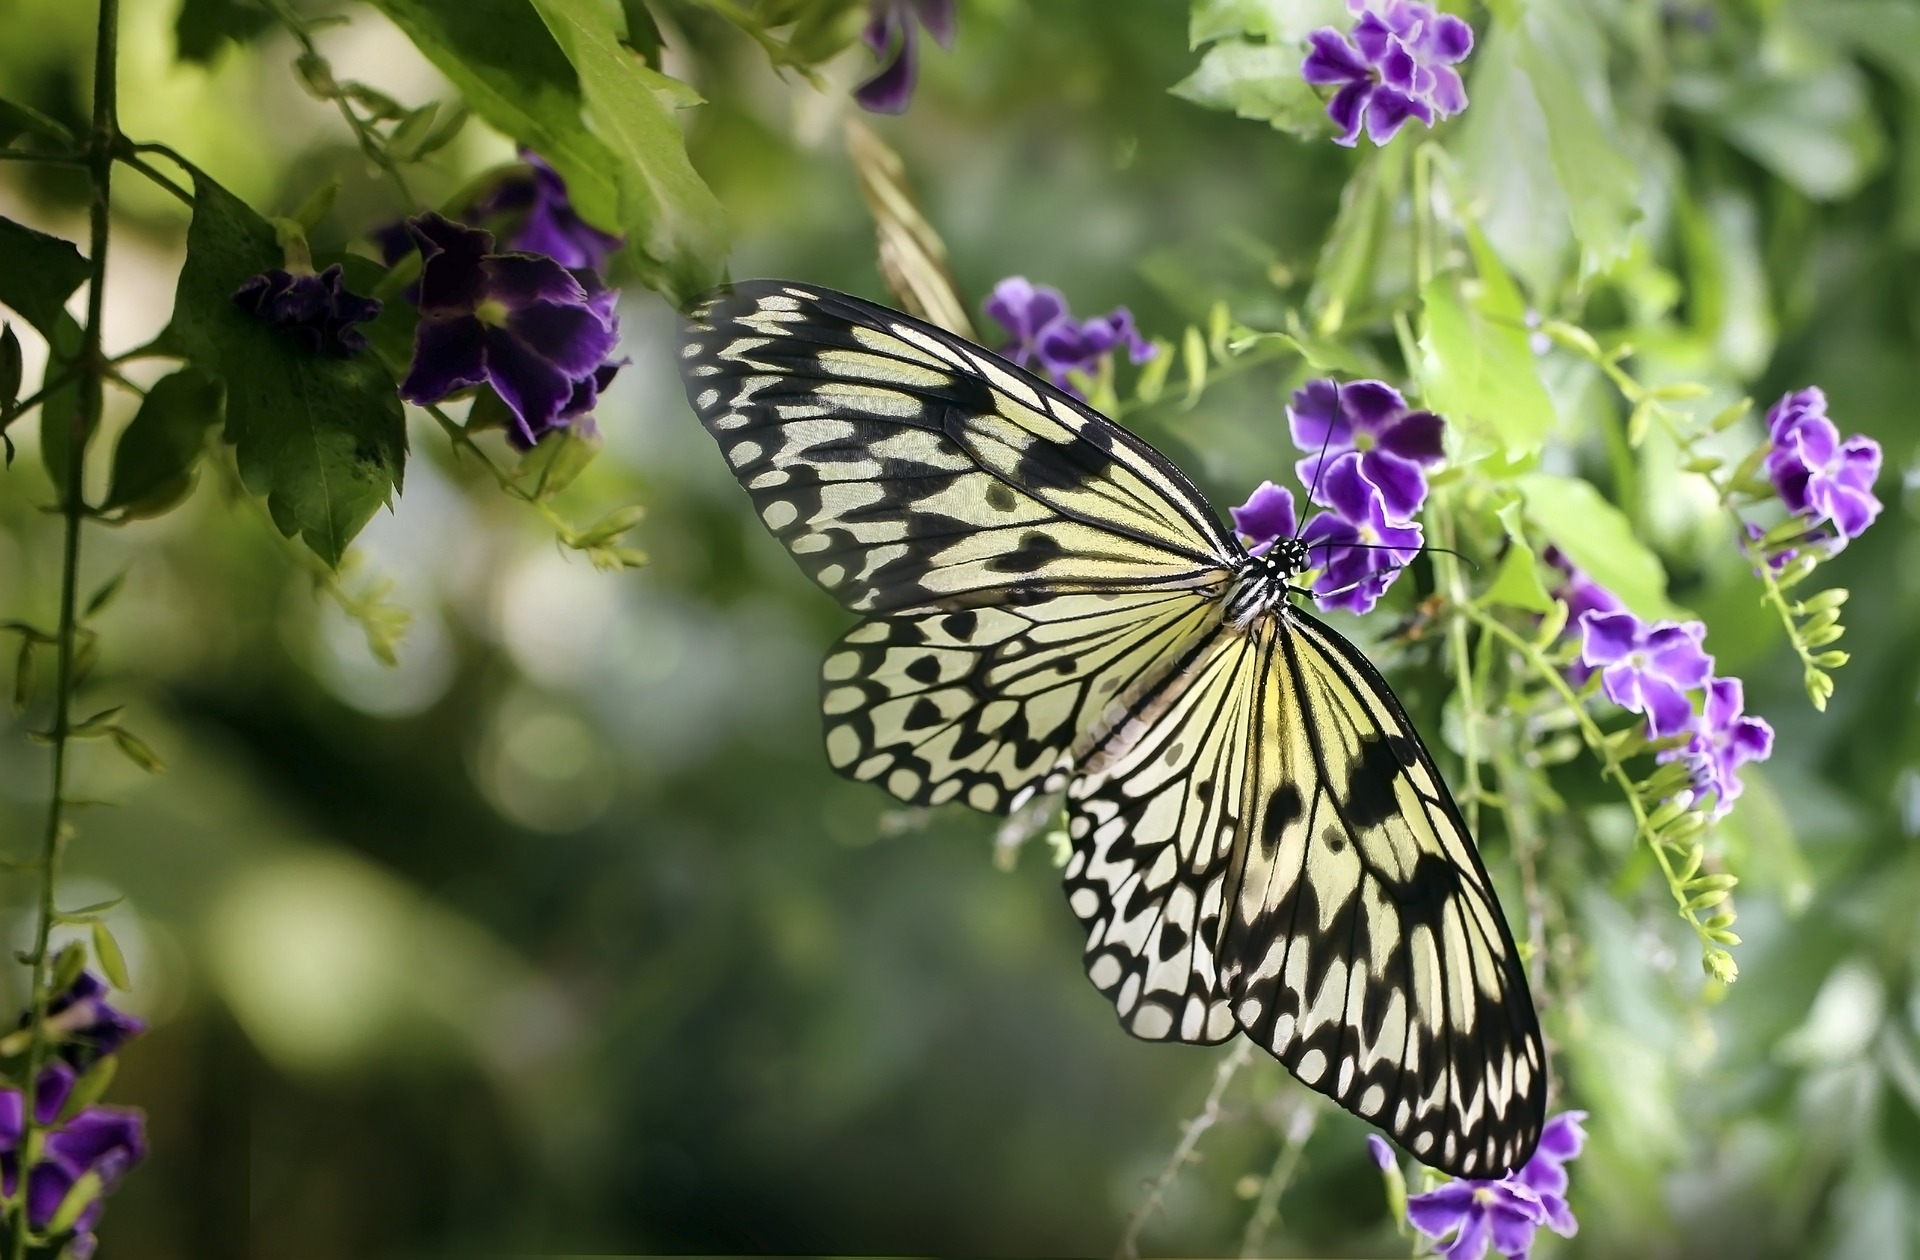

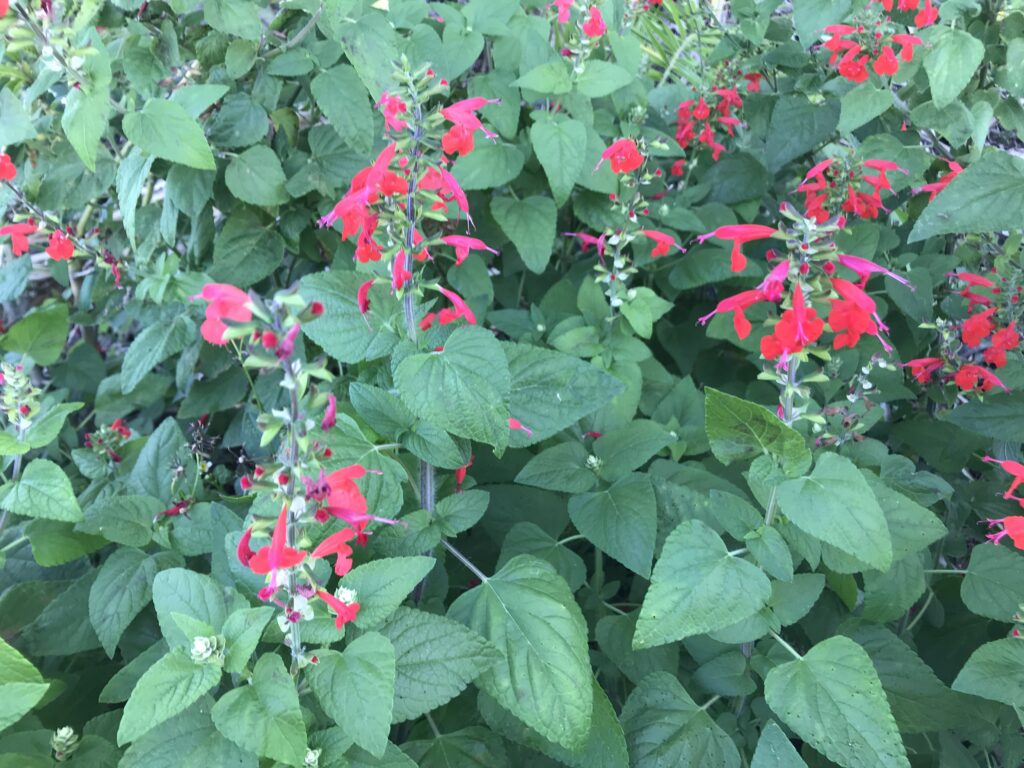

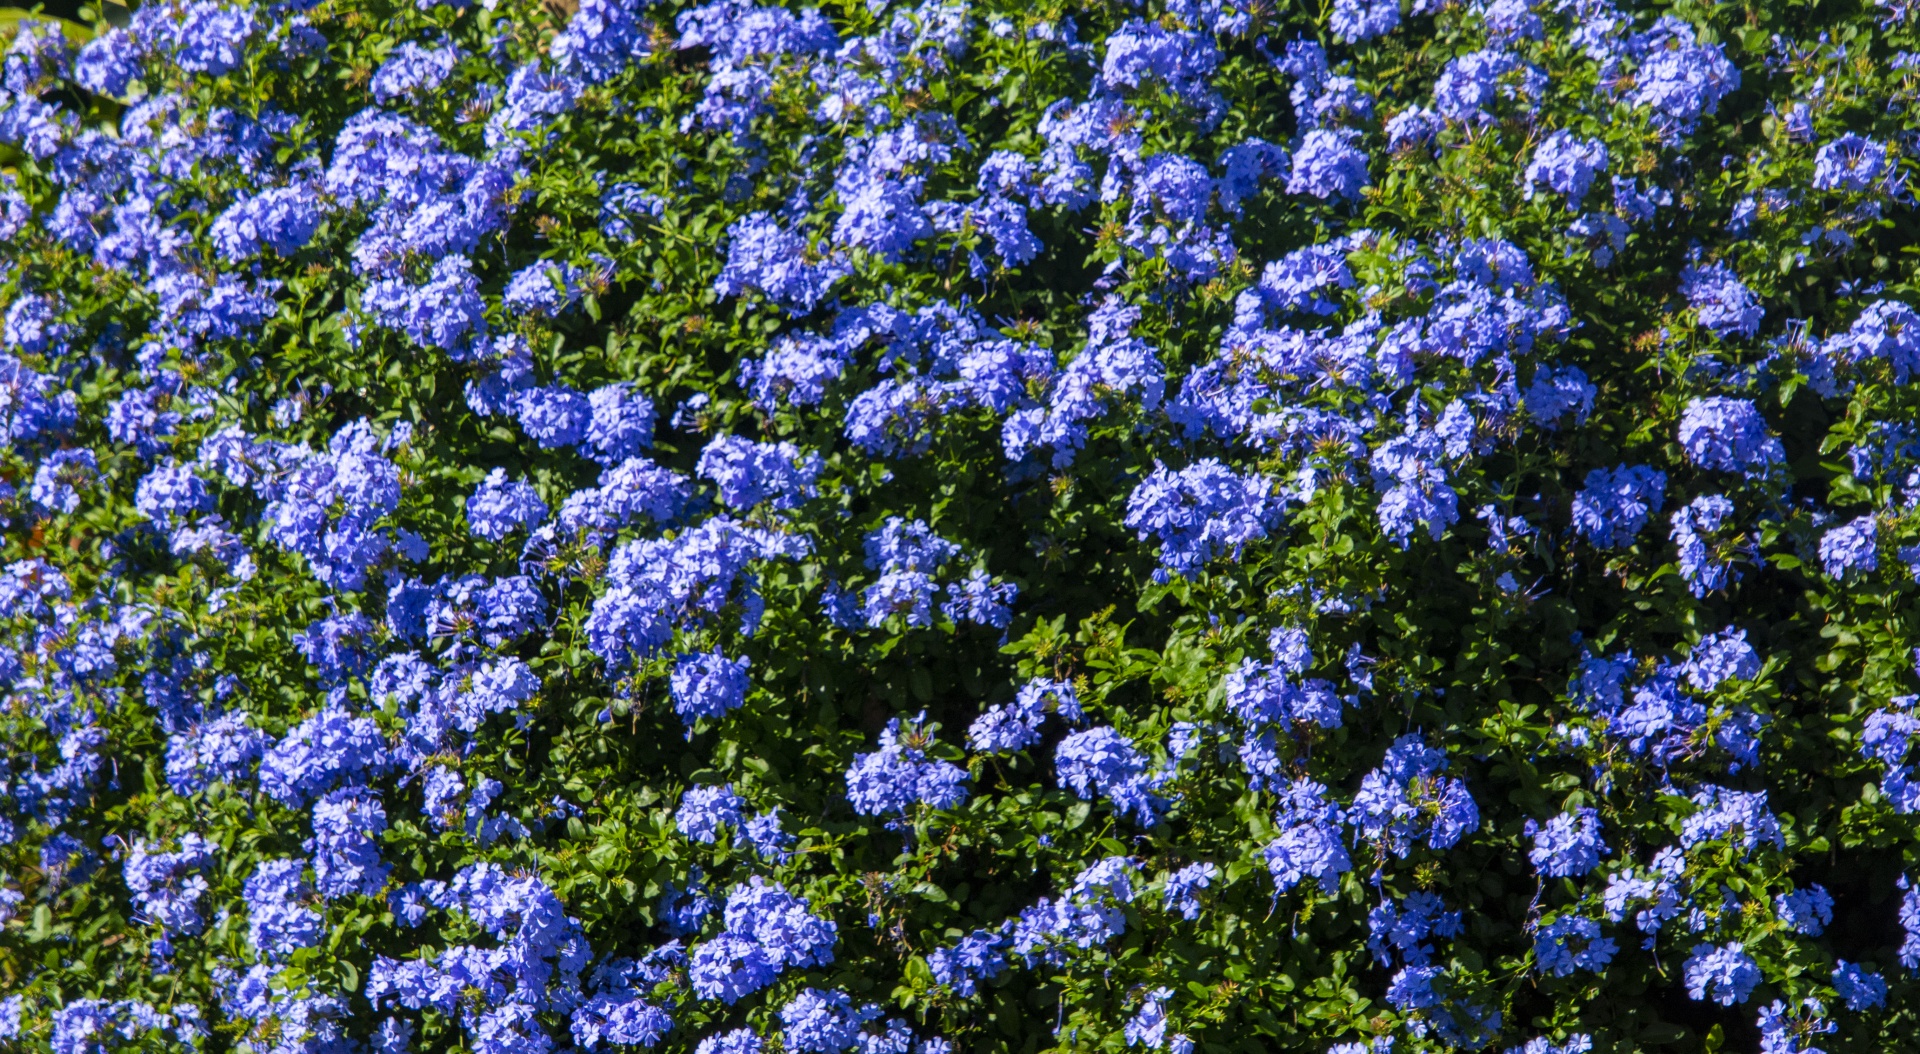
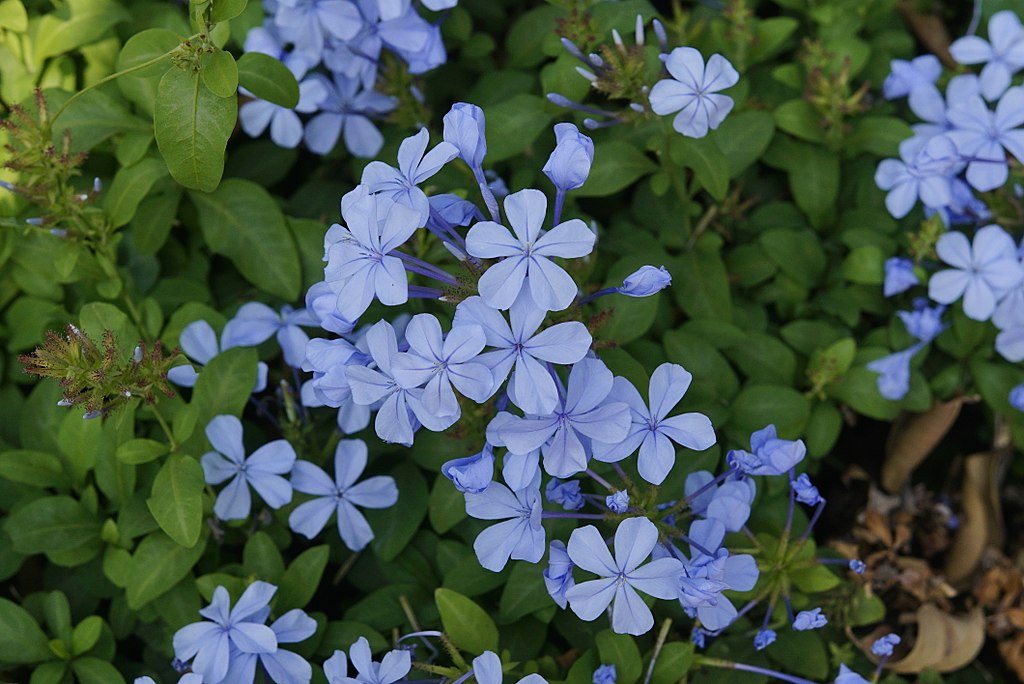

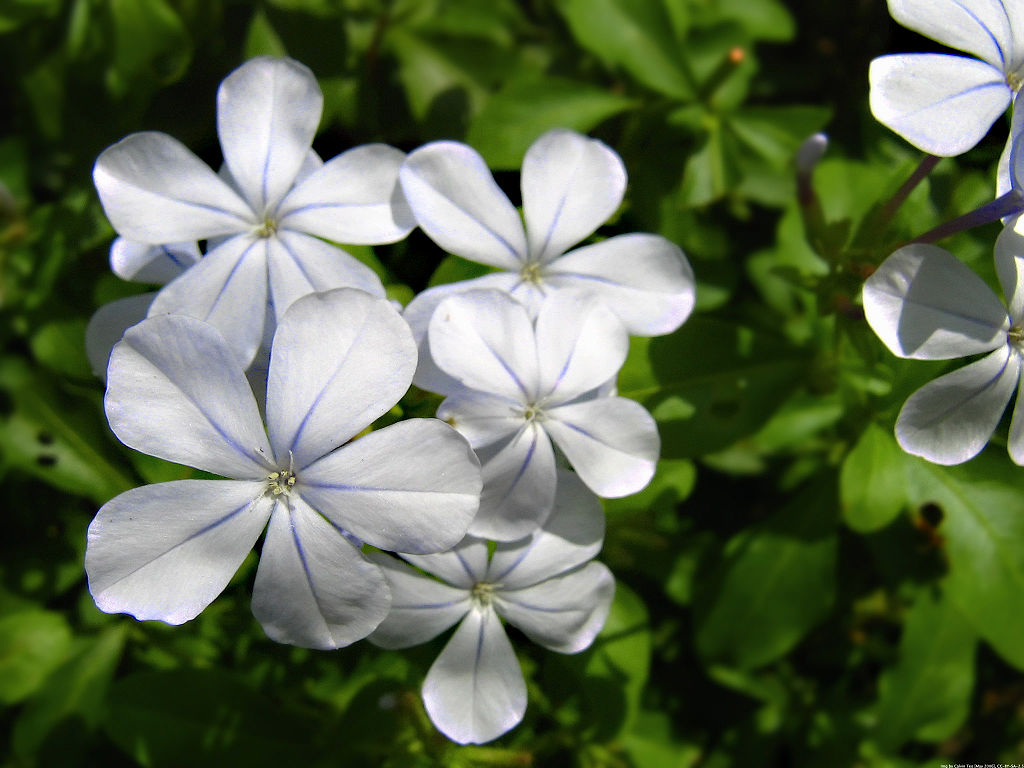
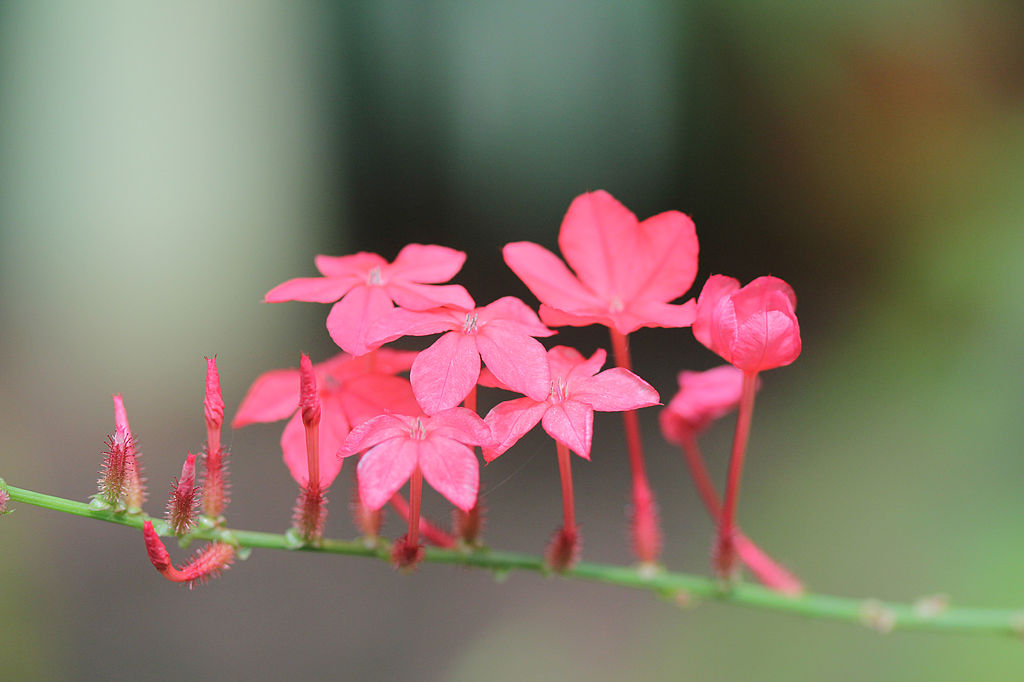
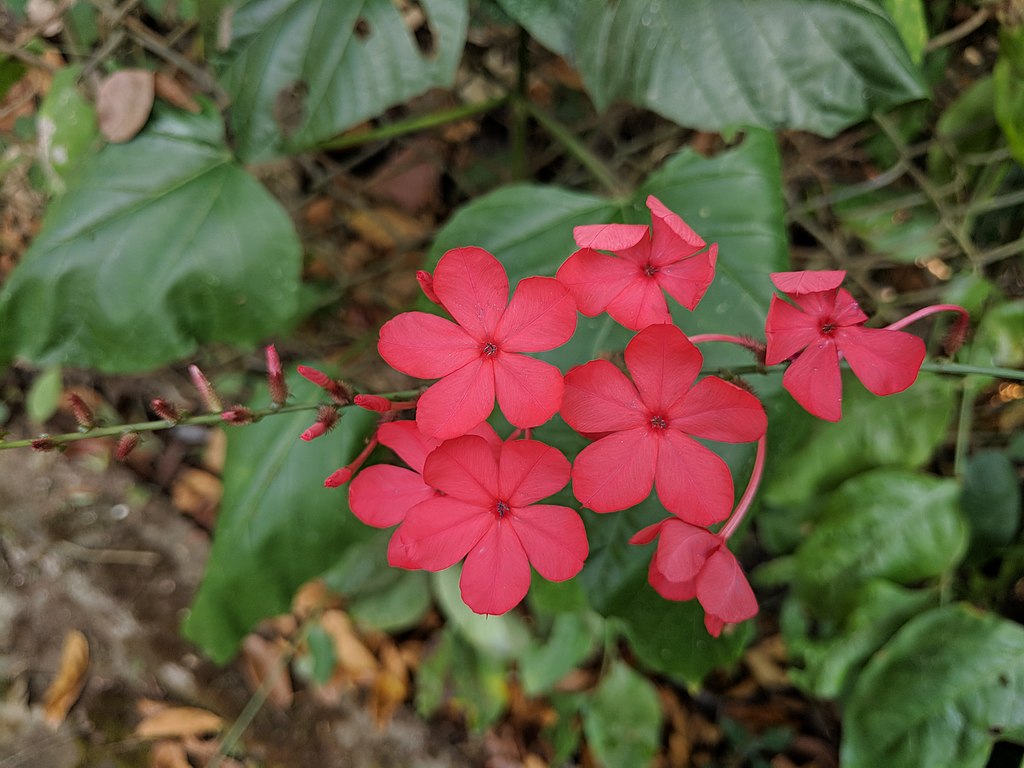


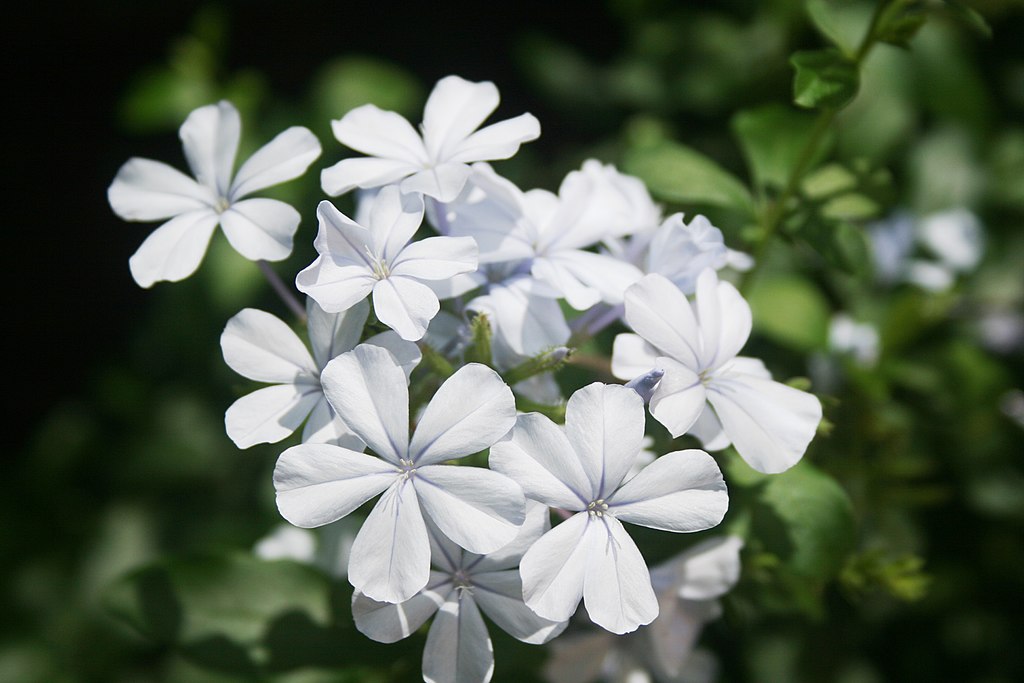
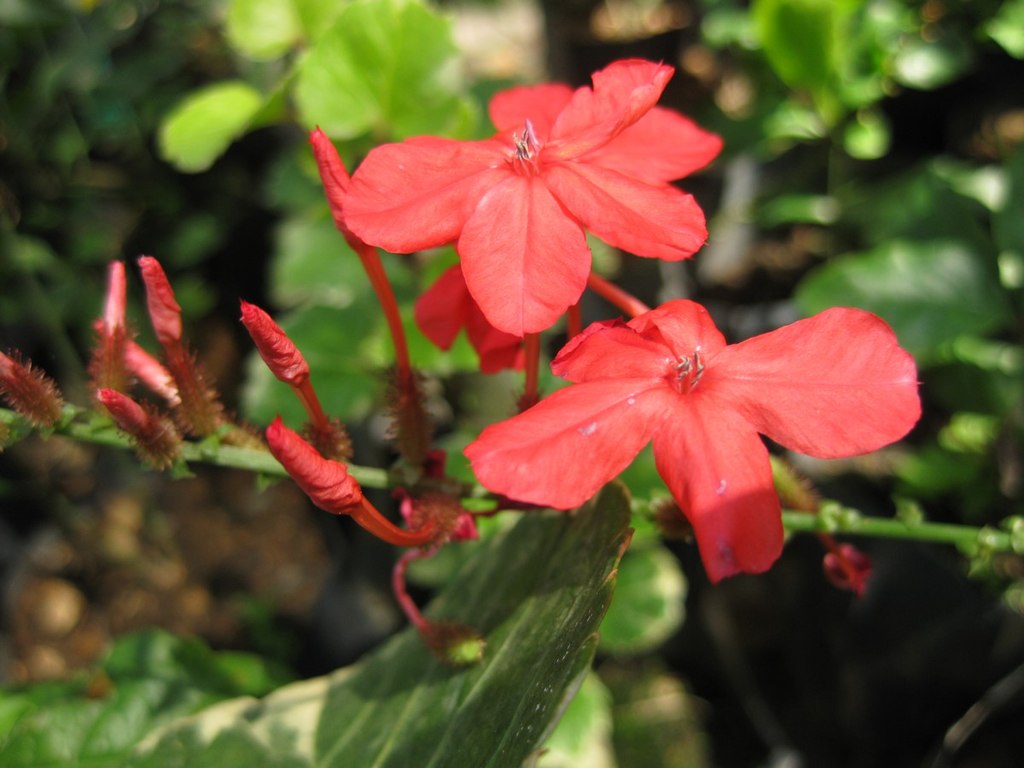
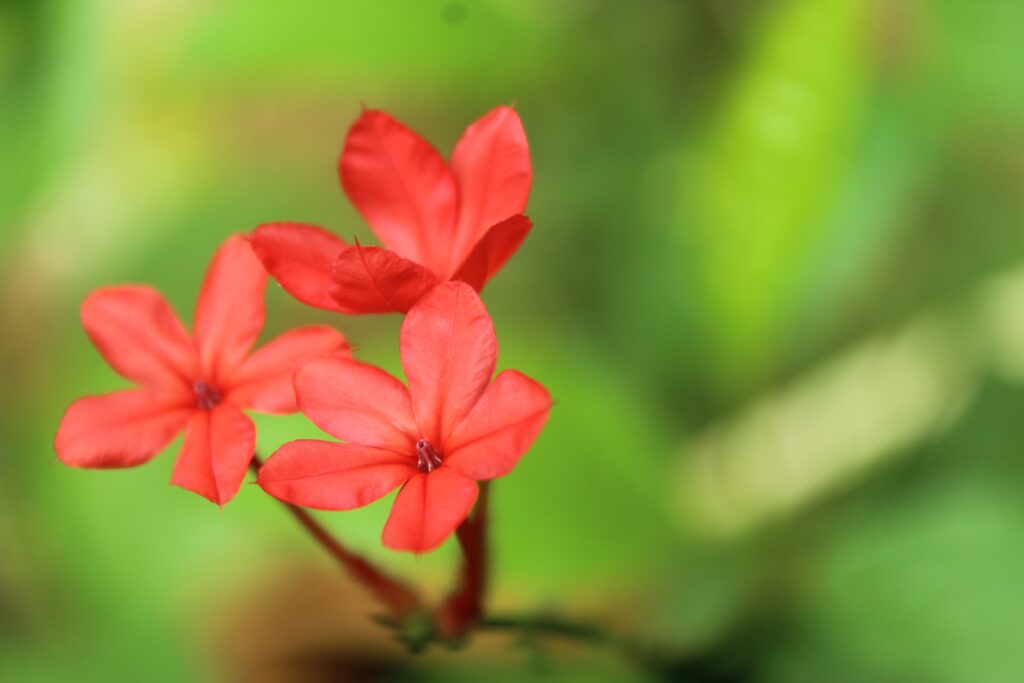
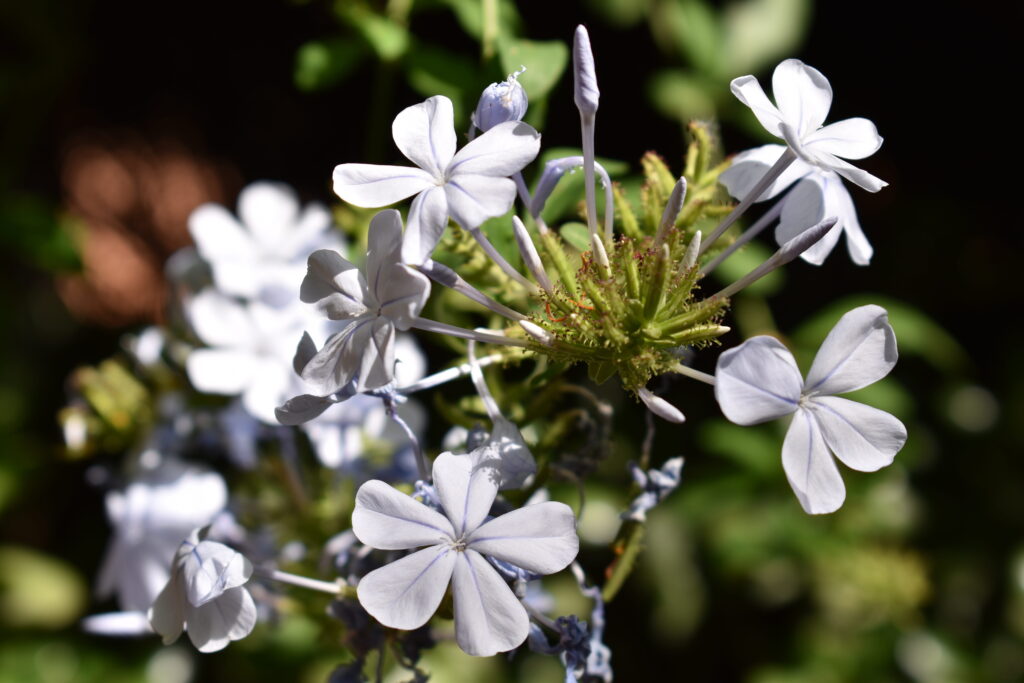
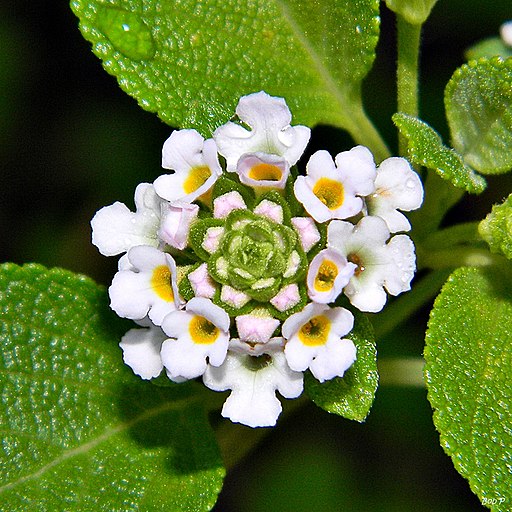
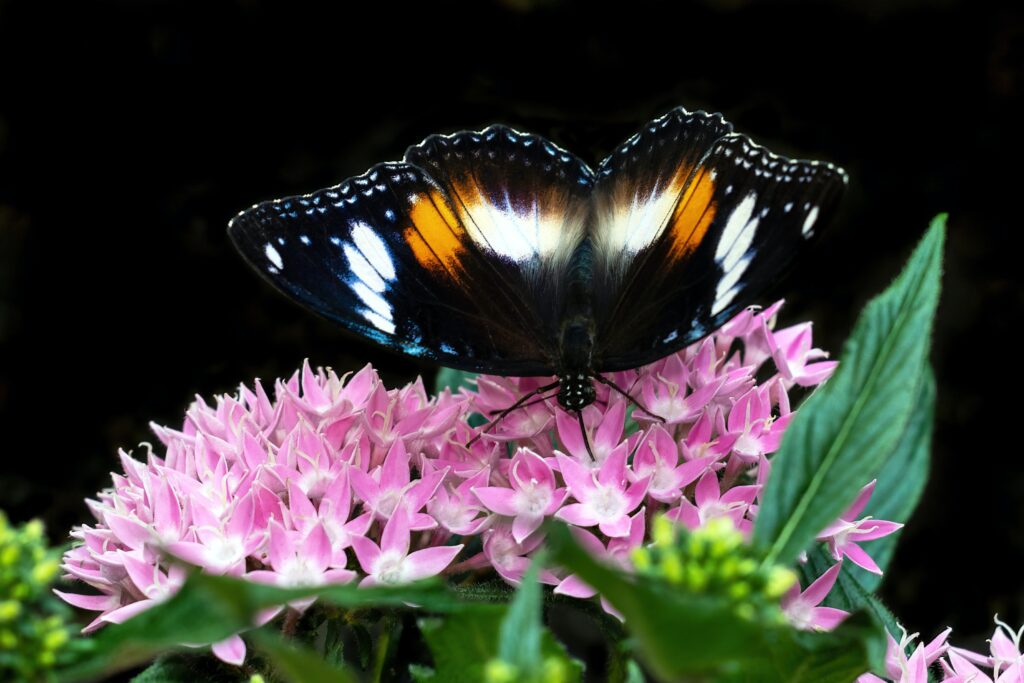
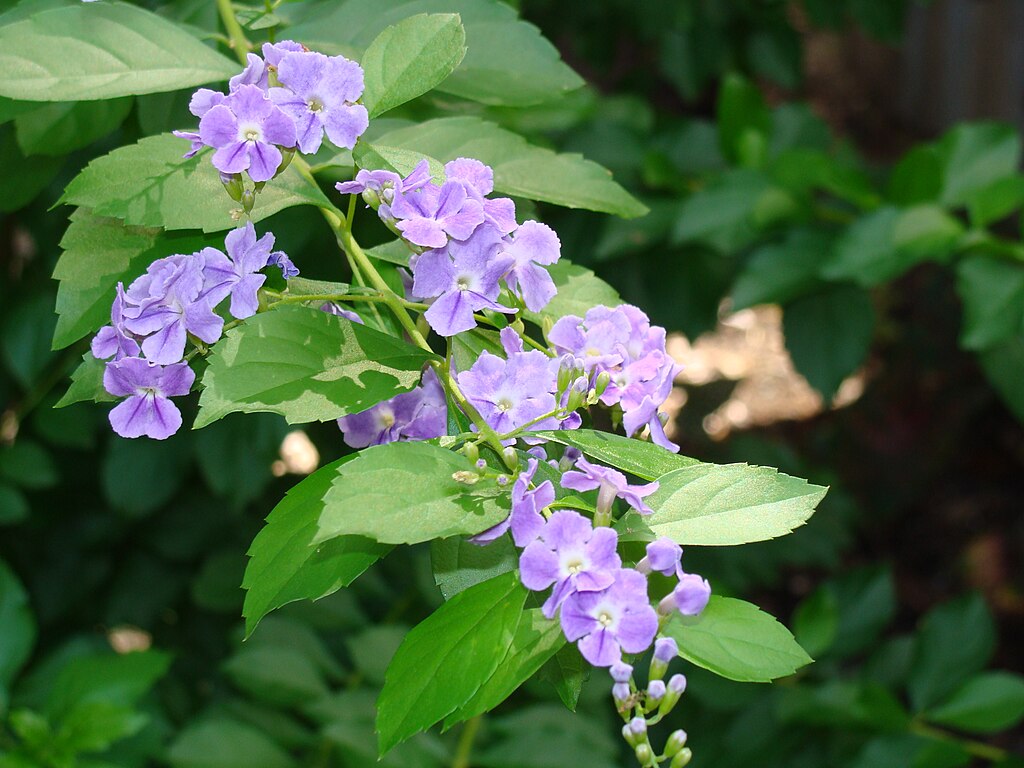
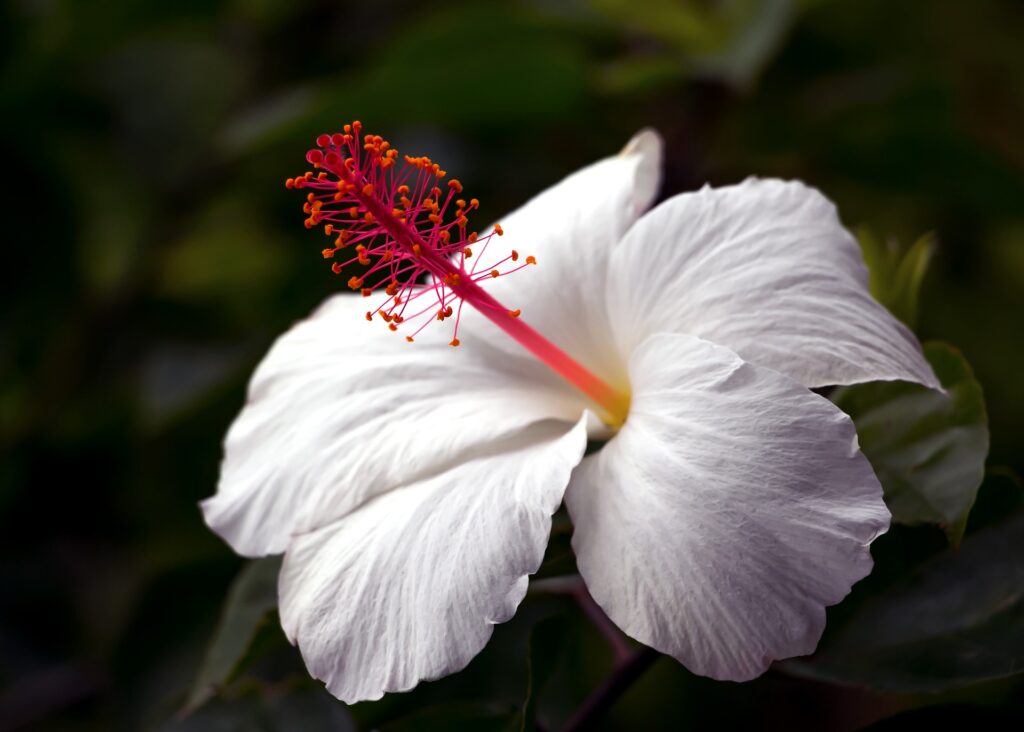


.jpg)
.JPG)
_2.jpg)
.jpg)
.jpg)
.jpg)
.jpg)
.jpg)
.jpg)
.jpg)
.jpg)
._Astypalaia,_Greece.jpg)
_(6036690604)_(2).jpg)