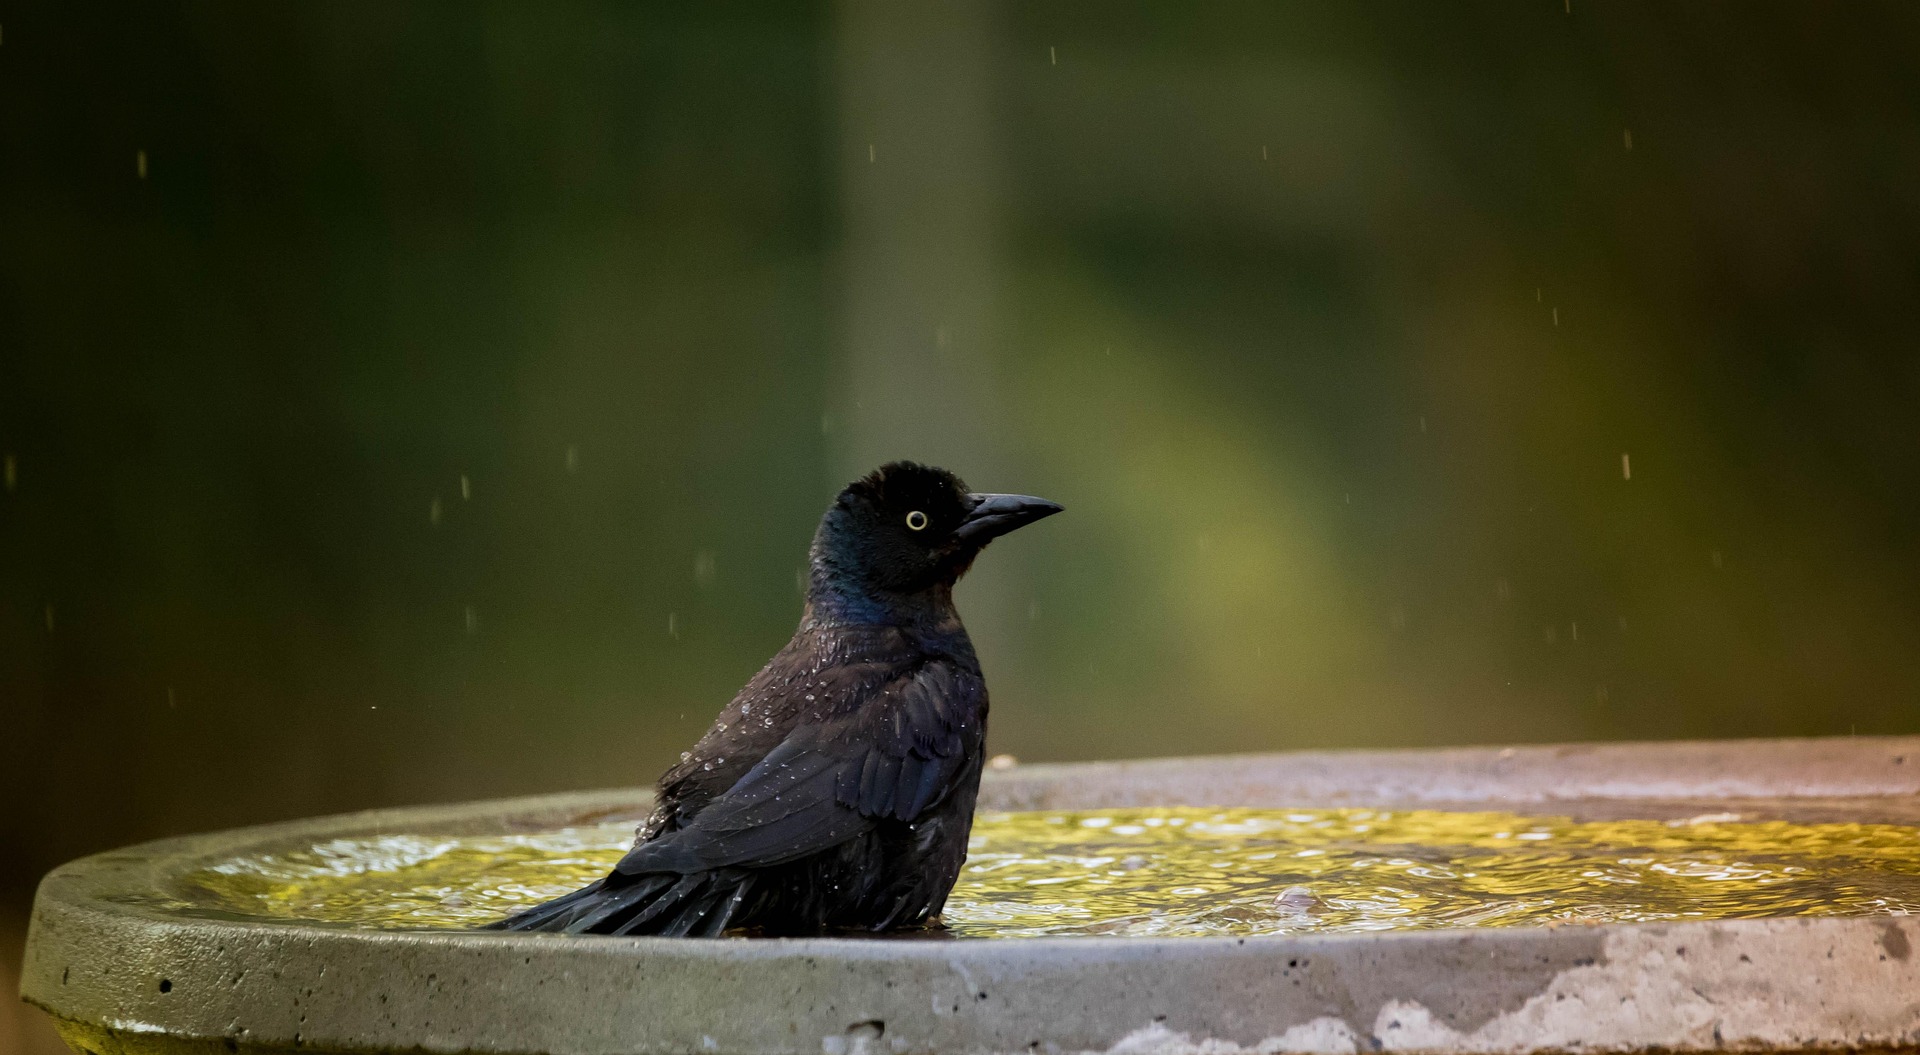
Water is the lifeblood of any successful wildlife garden, and in Florida’s warm climate, providing reliable water sources becomes even…
Water is the lifeblood of any successful wildlife garden, and in Florida’s warm climate, providing reliable water sources becomes even…
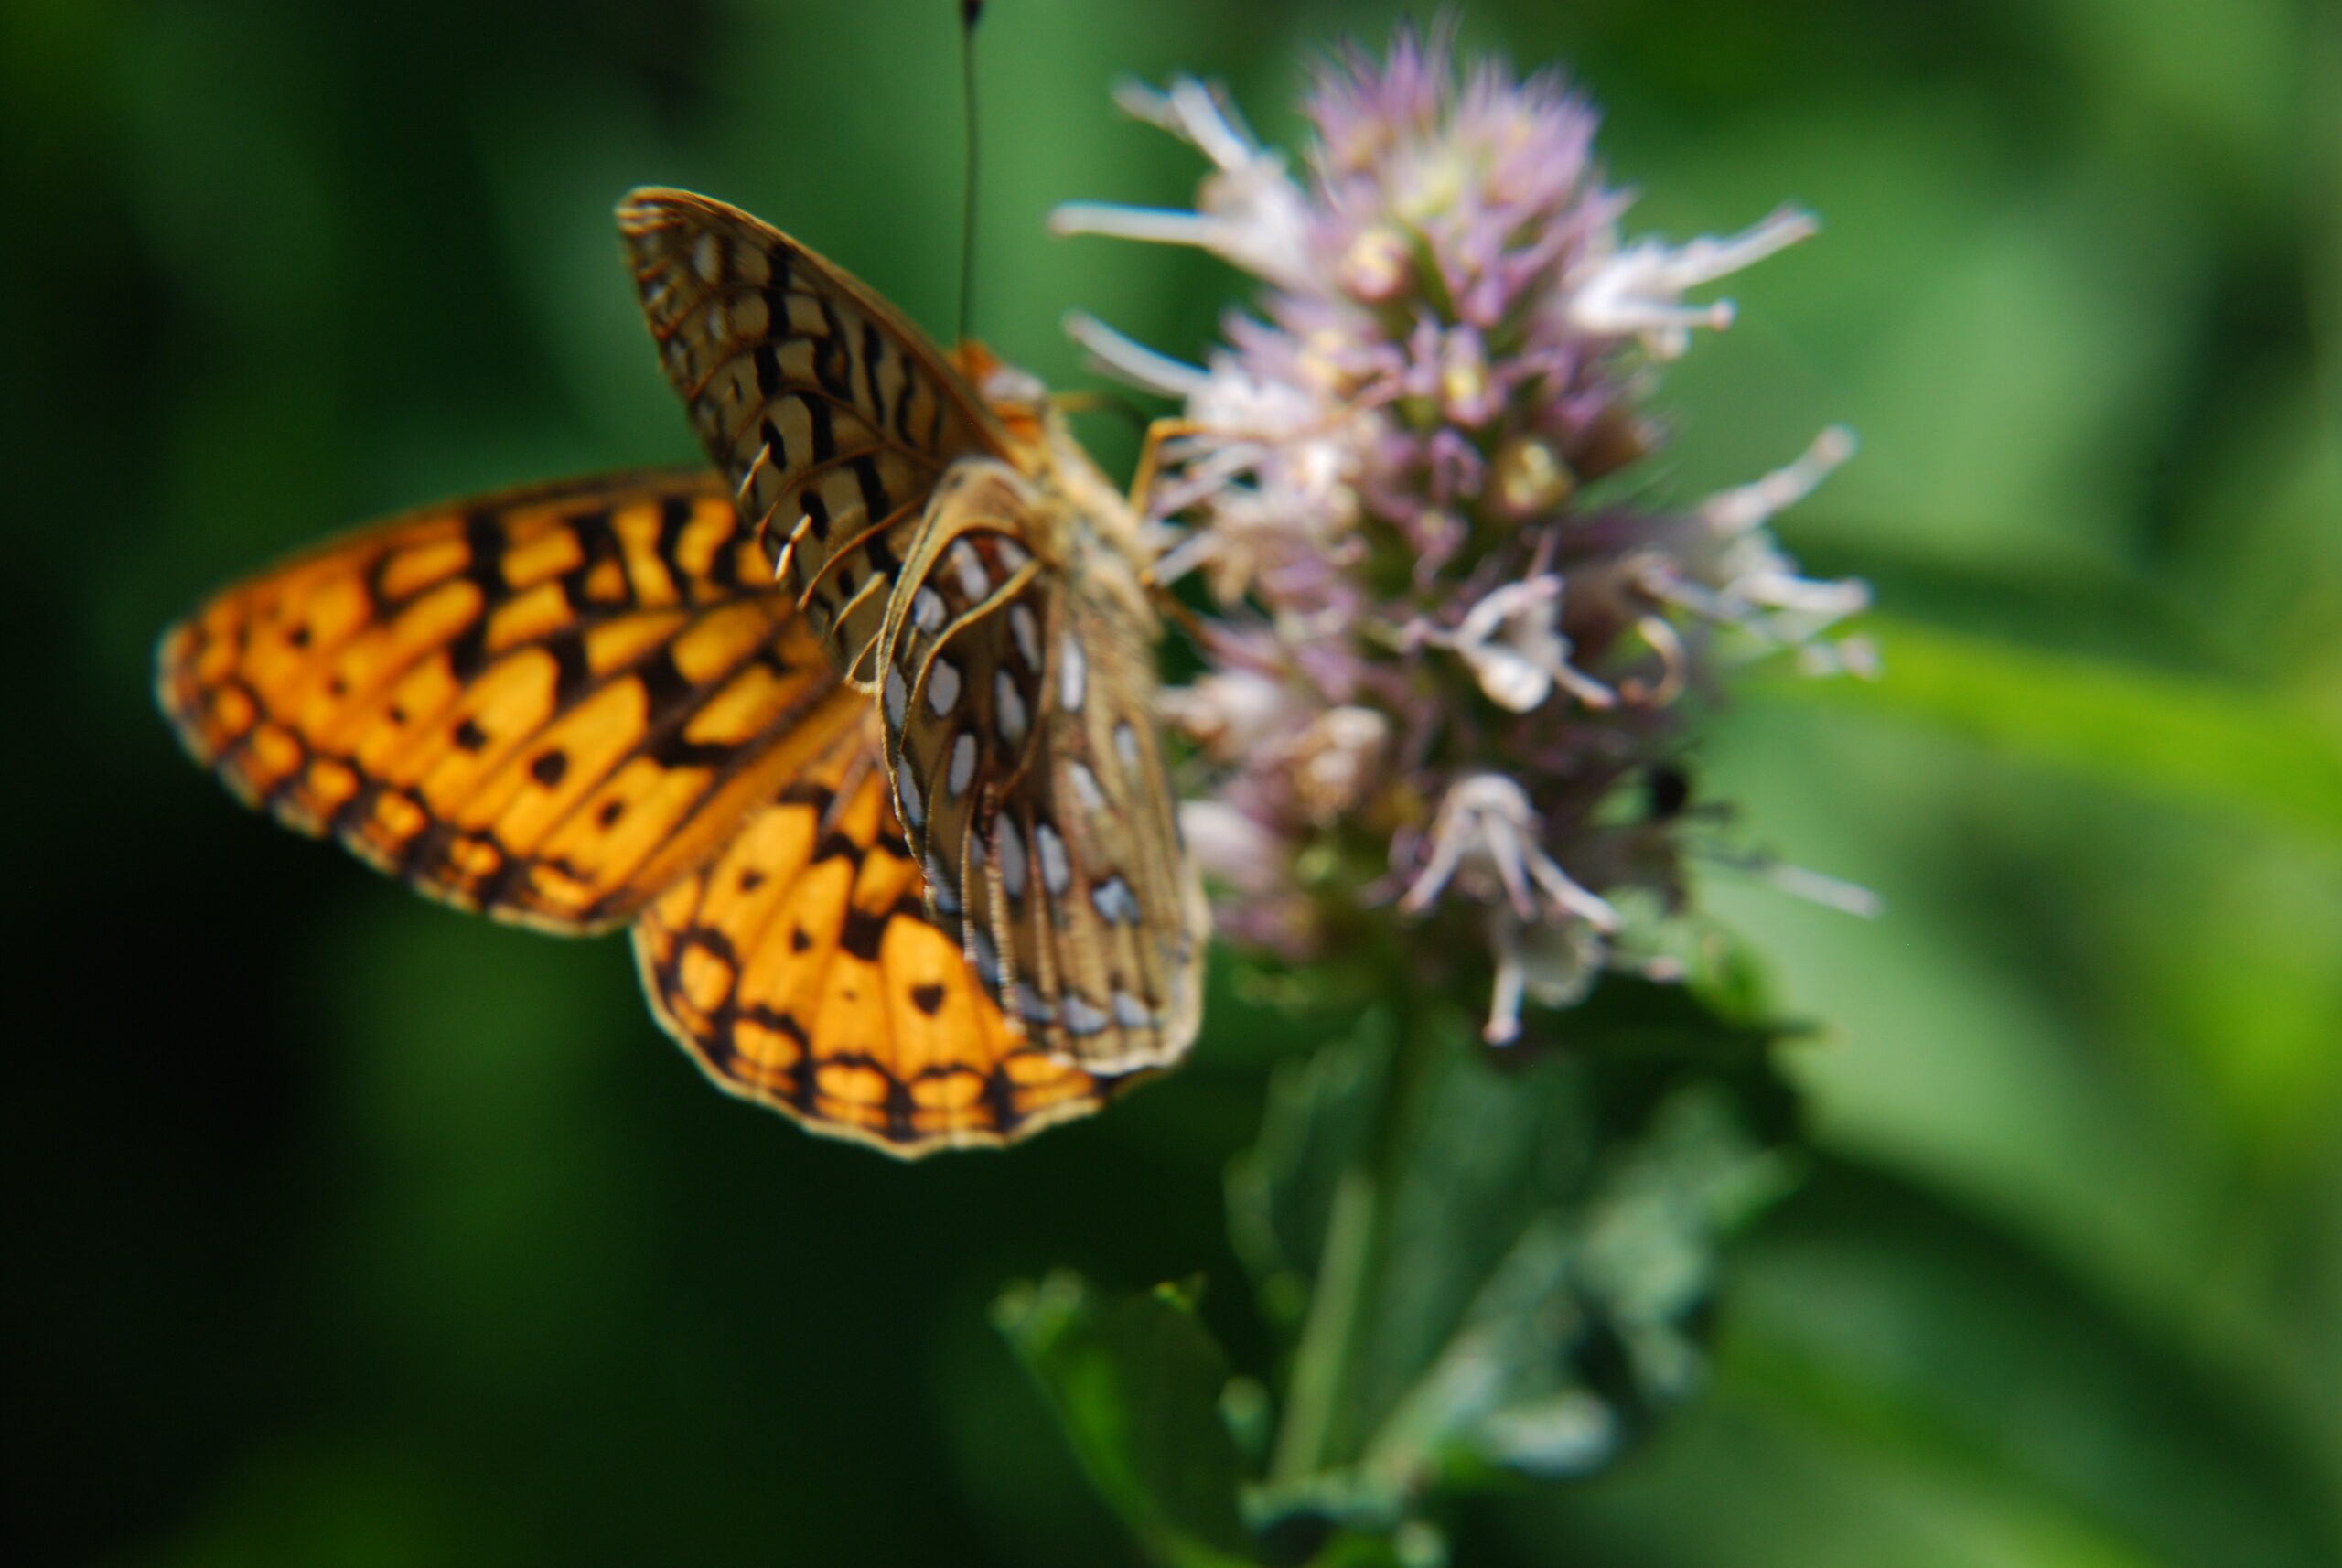
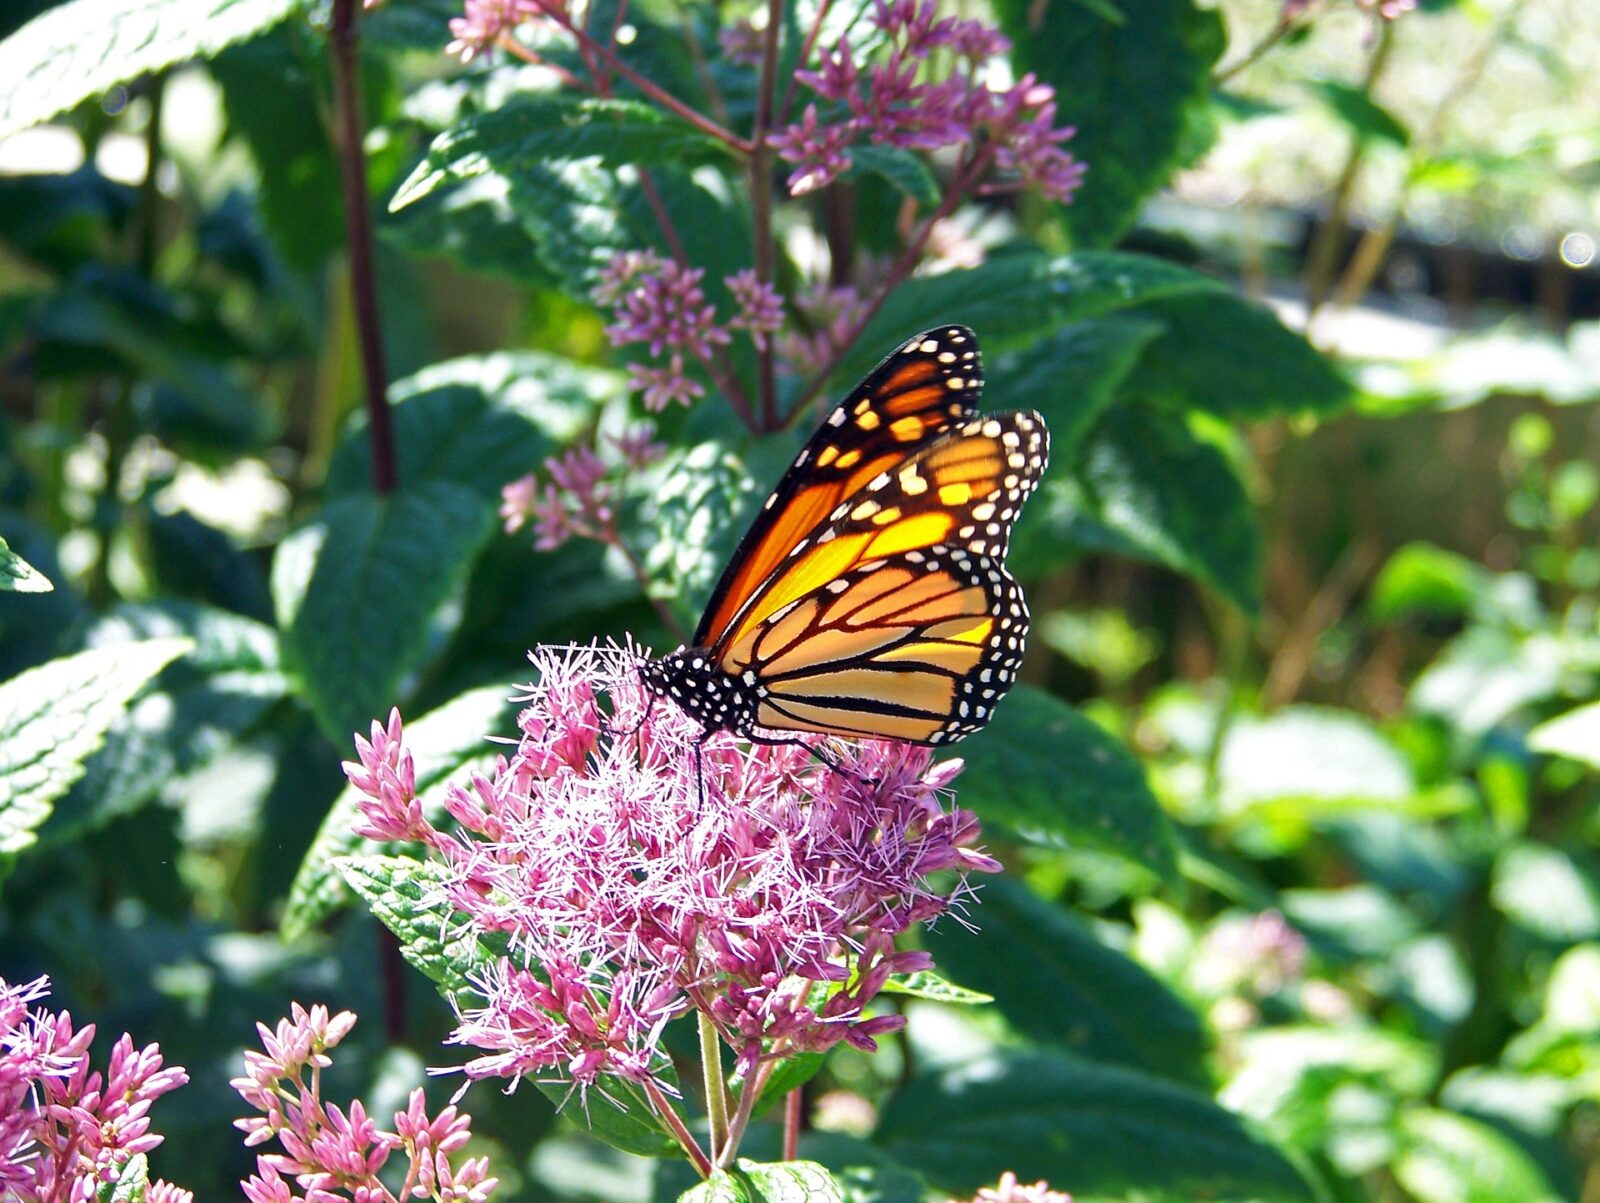
Florida’s extraordinary butterfly diversity – with over 200 species including many found nowhere else on Earth – makes it an…
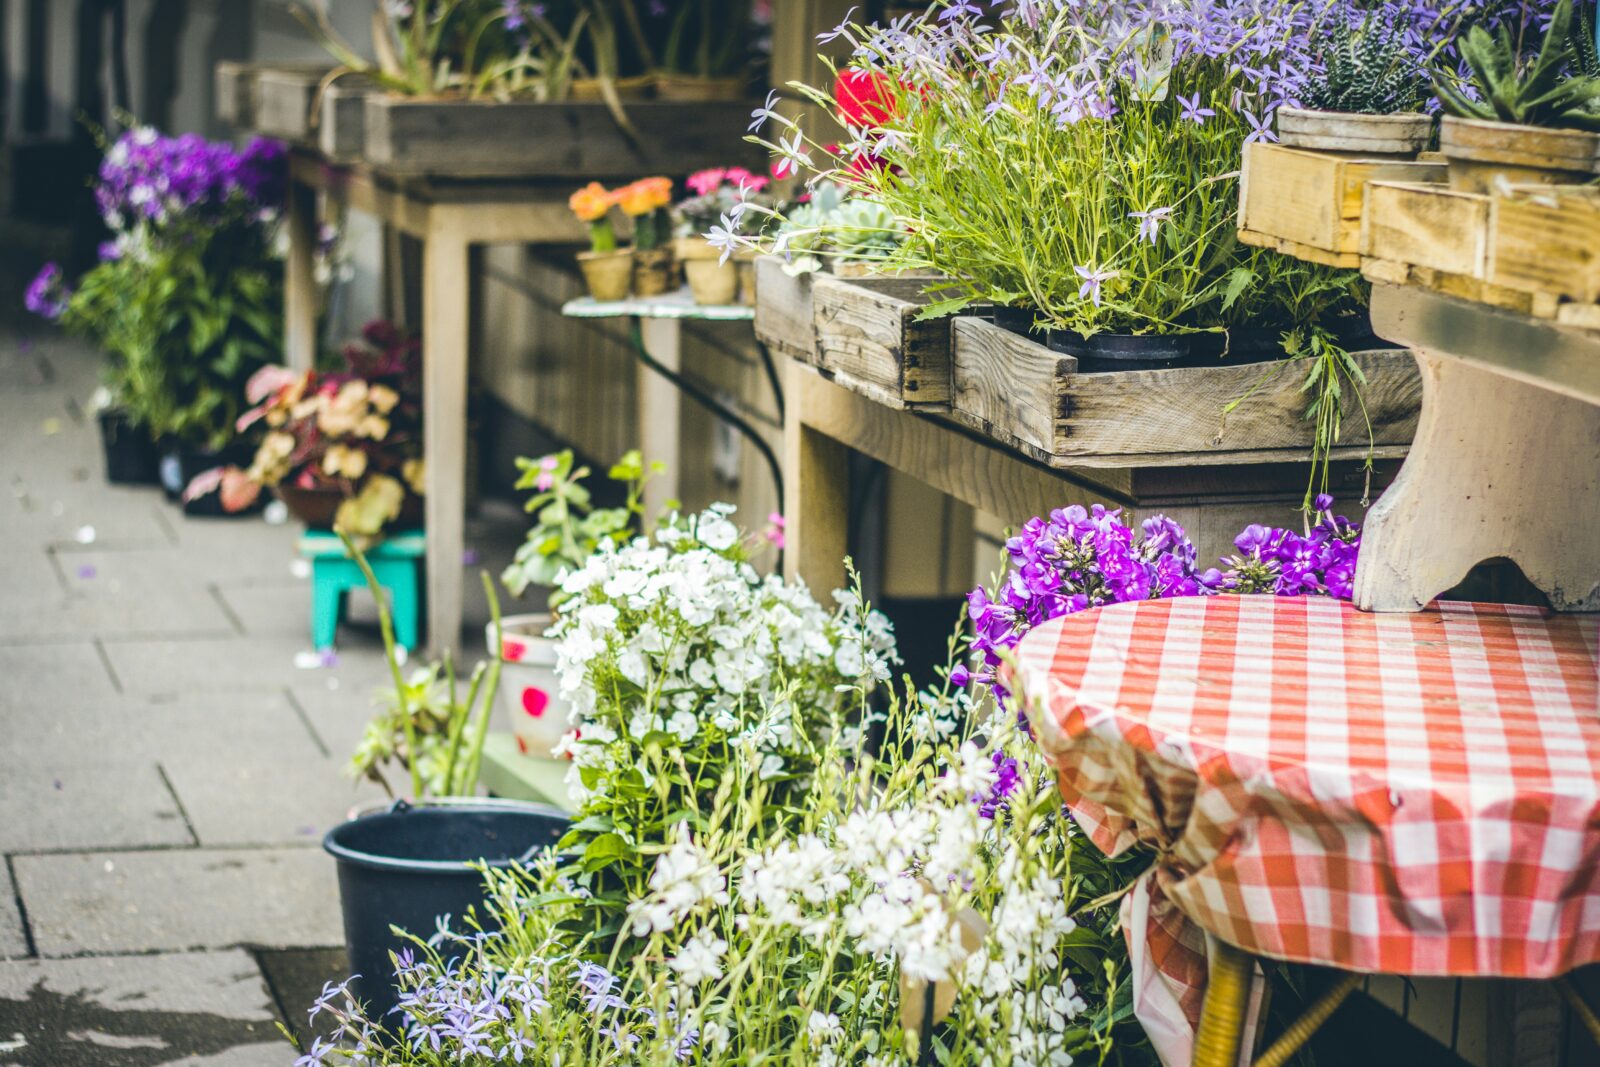
Beyond the manicured lawns and imported ornamentals that have become standard fare in suburban developments lies a more sustainable and…
Florida native plants are the original inhabitants of our state’s landscapes, flourishing here long before we arrived and built golf…
Wow, did you know that temperatures in Florida can soar up to 100°F during peak summer? That’s hot enough to…
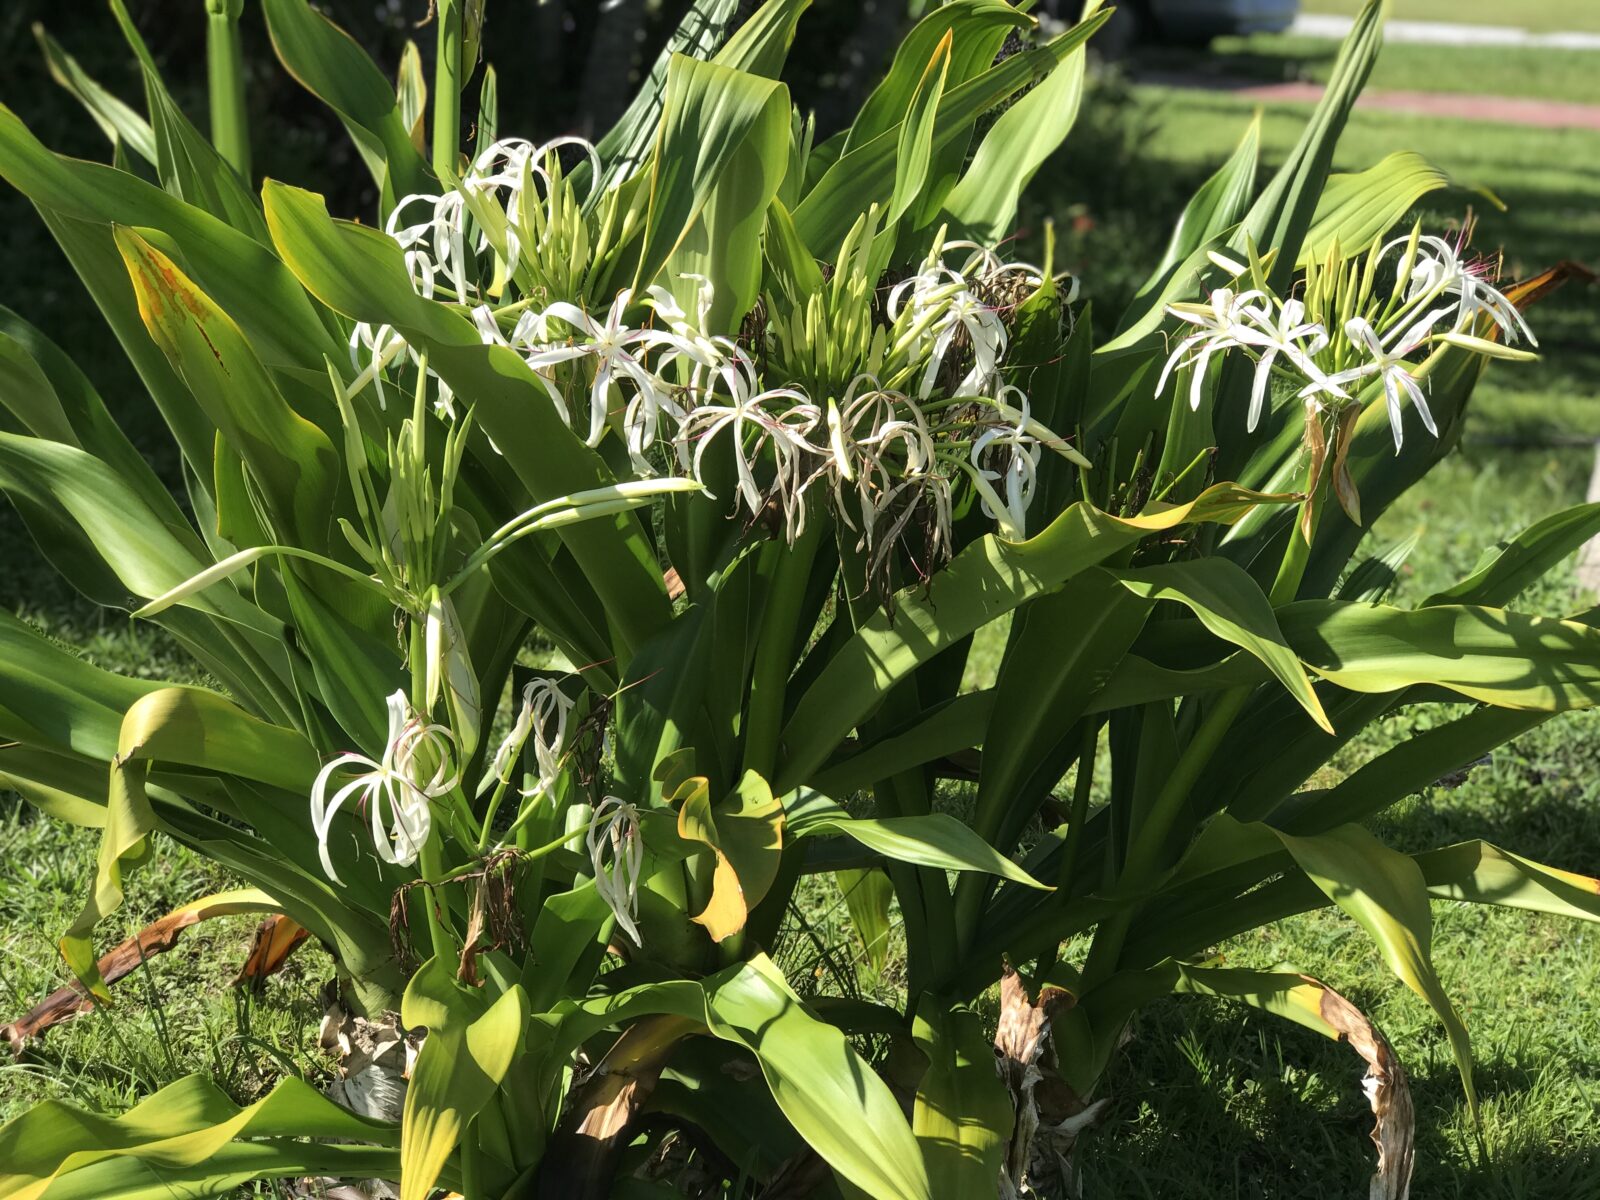
The Crinum Lily, renowned for its majestic beauty and resilience, is a captivating addition to any garden. This perennial plant…
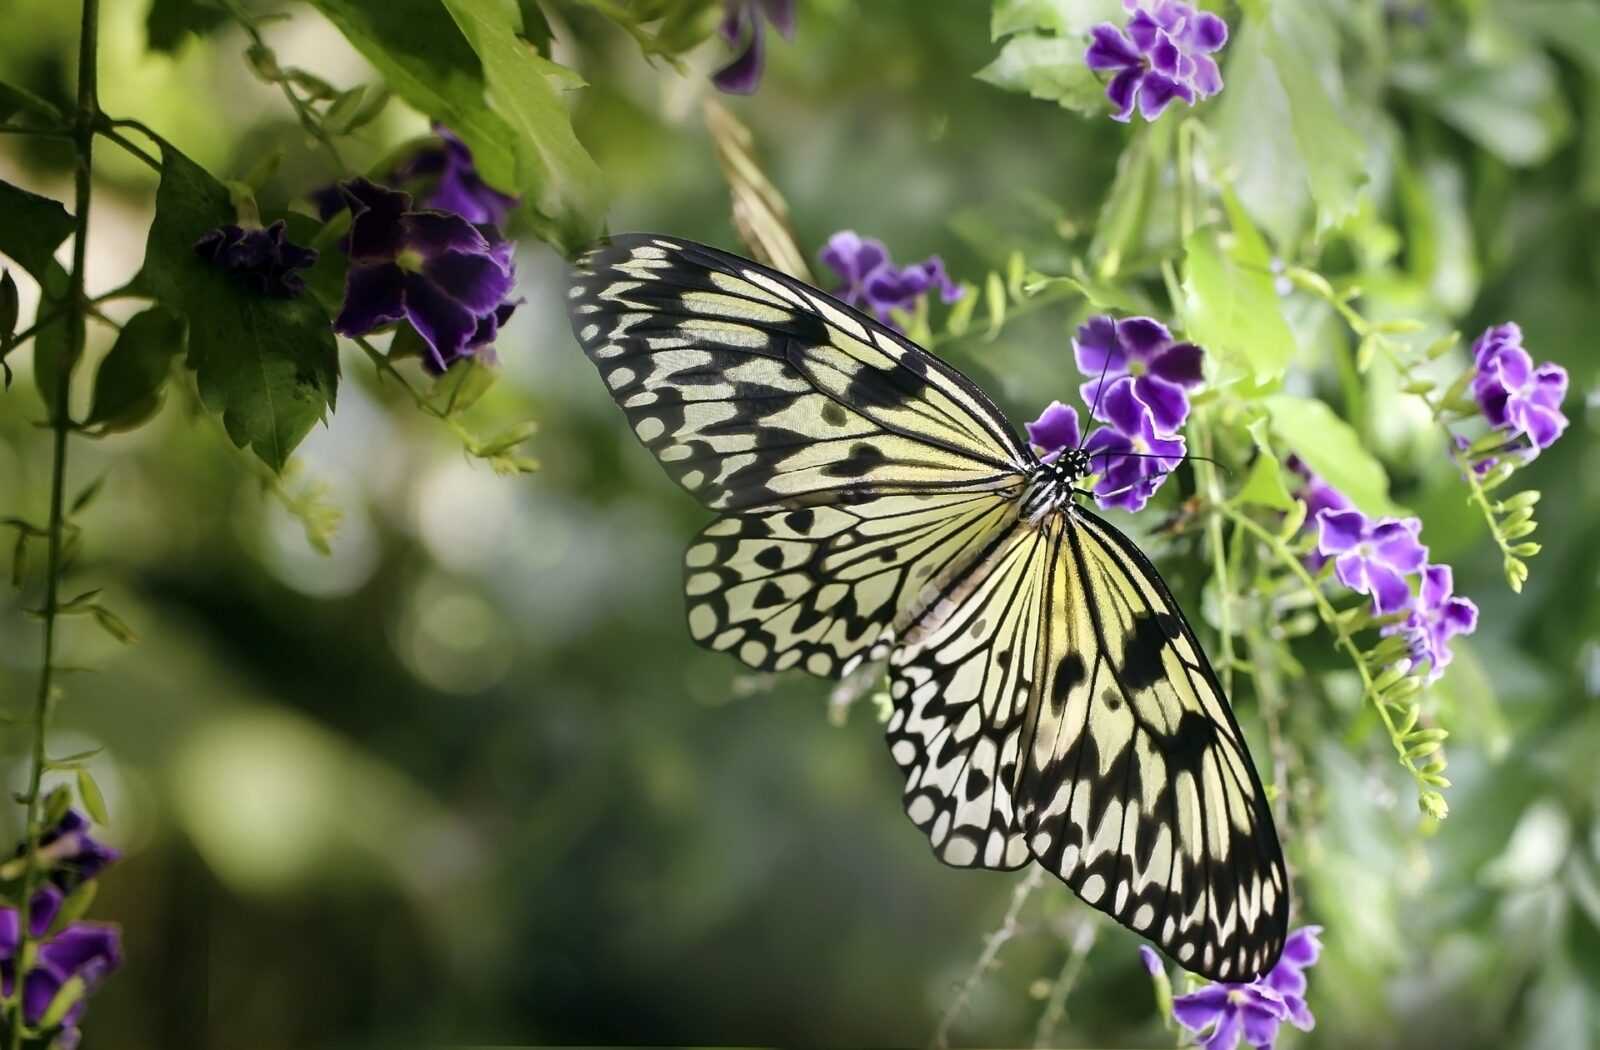
With its glorious sprays of deep purple flowers that dangle in graceful sprays, Duranta erecta brings vivid tropical color to…
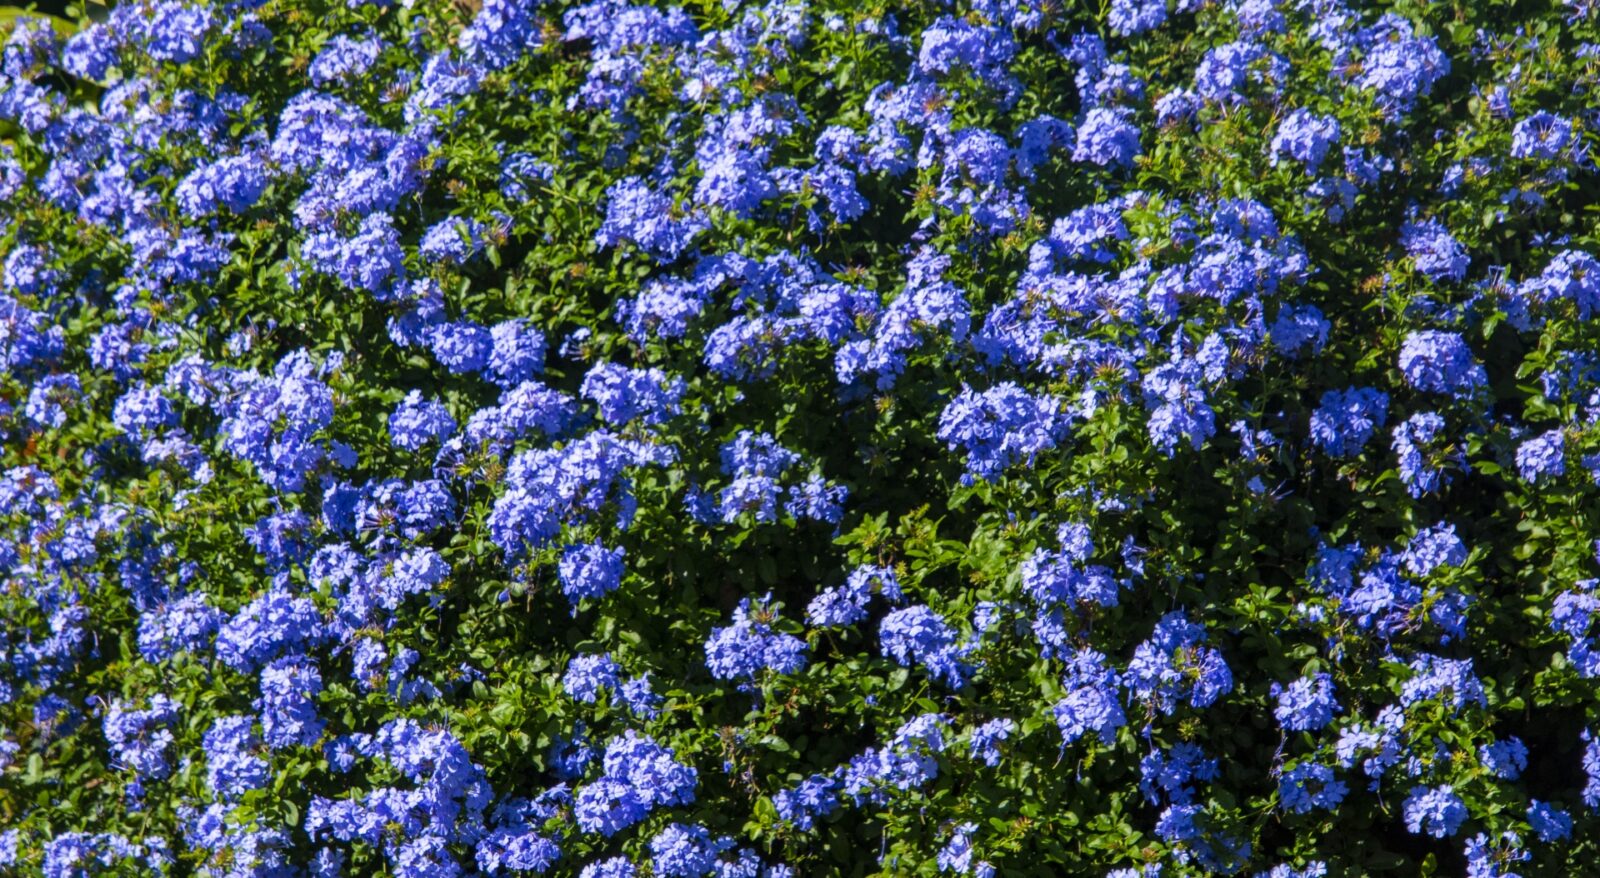
Plumbago, a genus comprising several species of flowering plants, has captured the hearts of gardeners and horticulturists around the world…
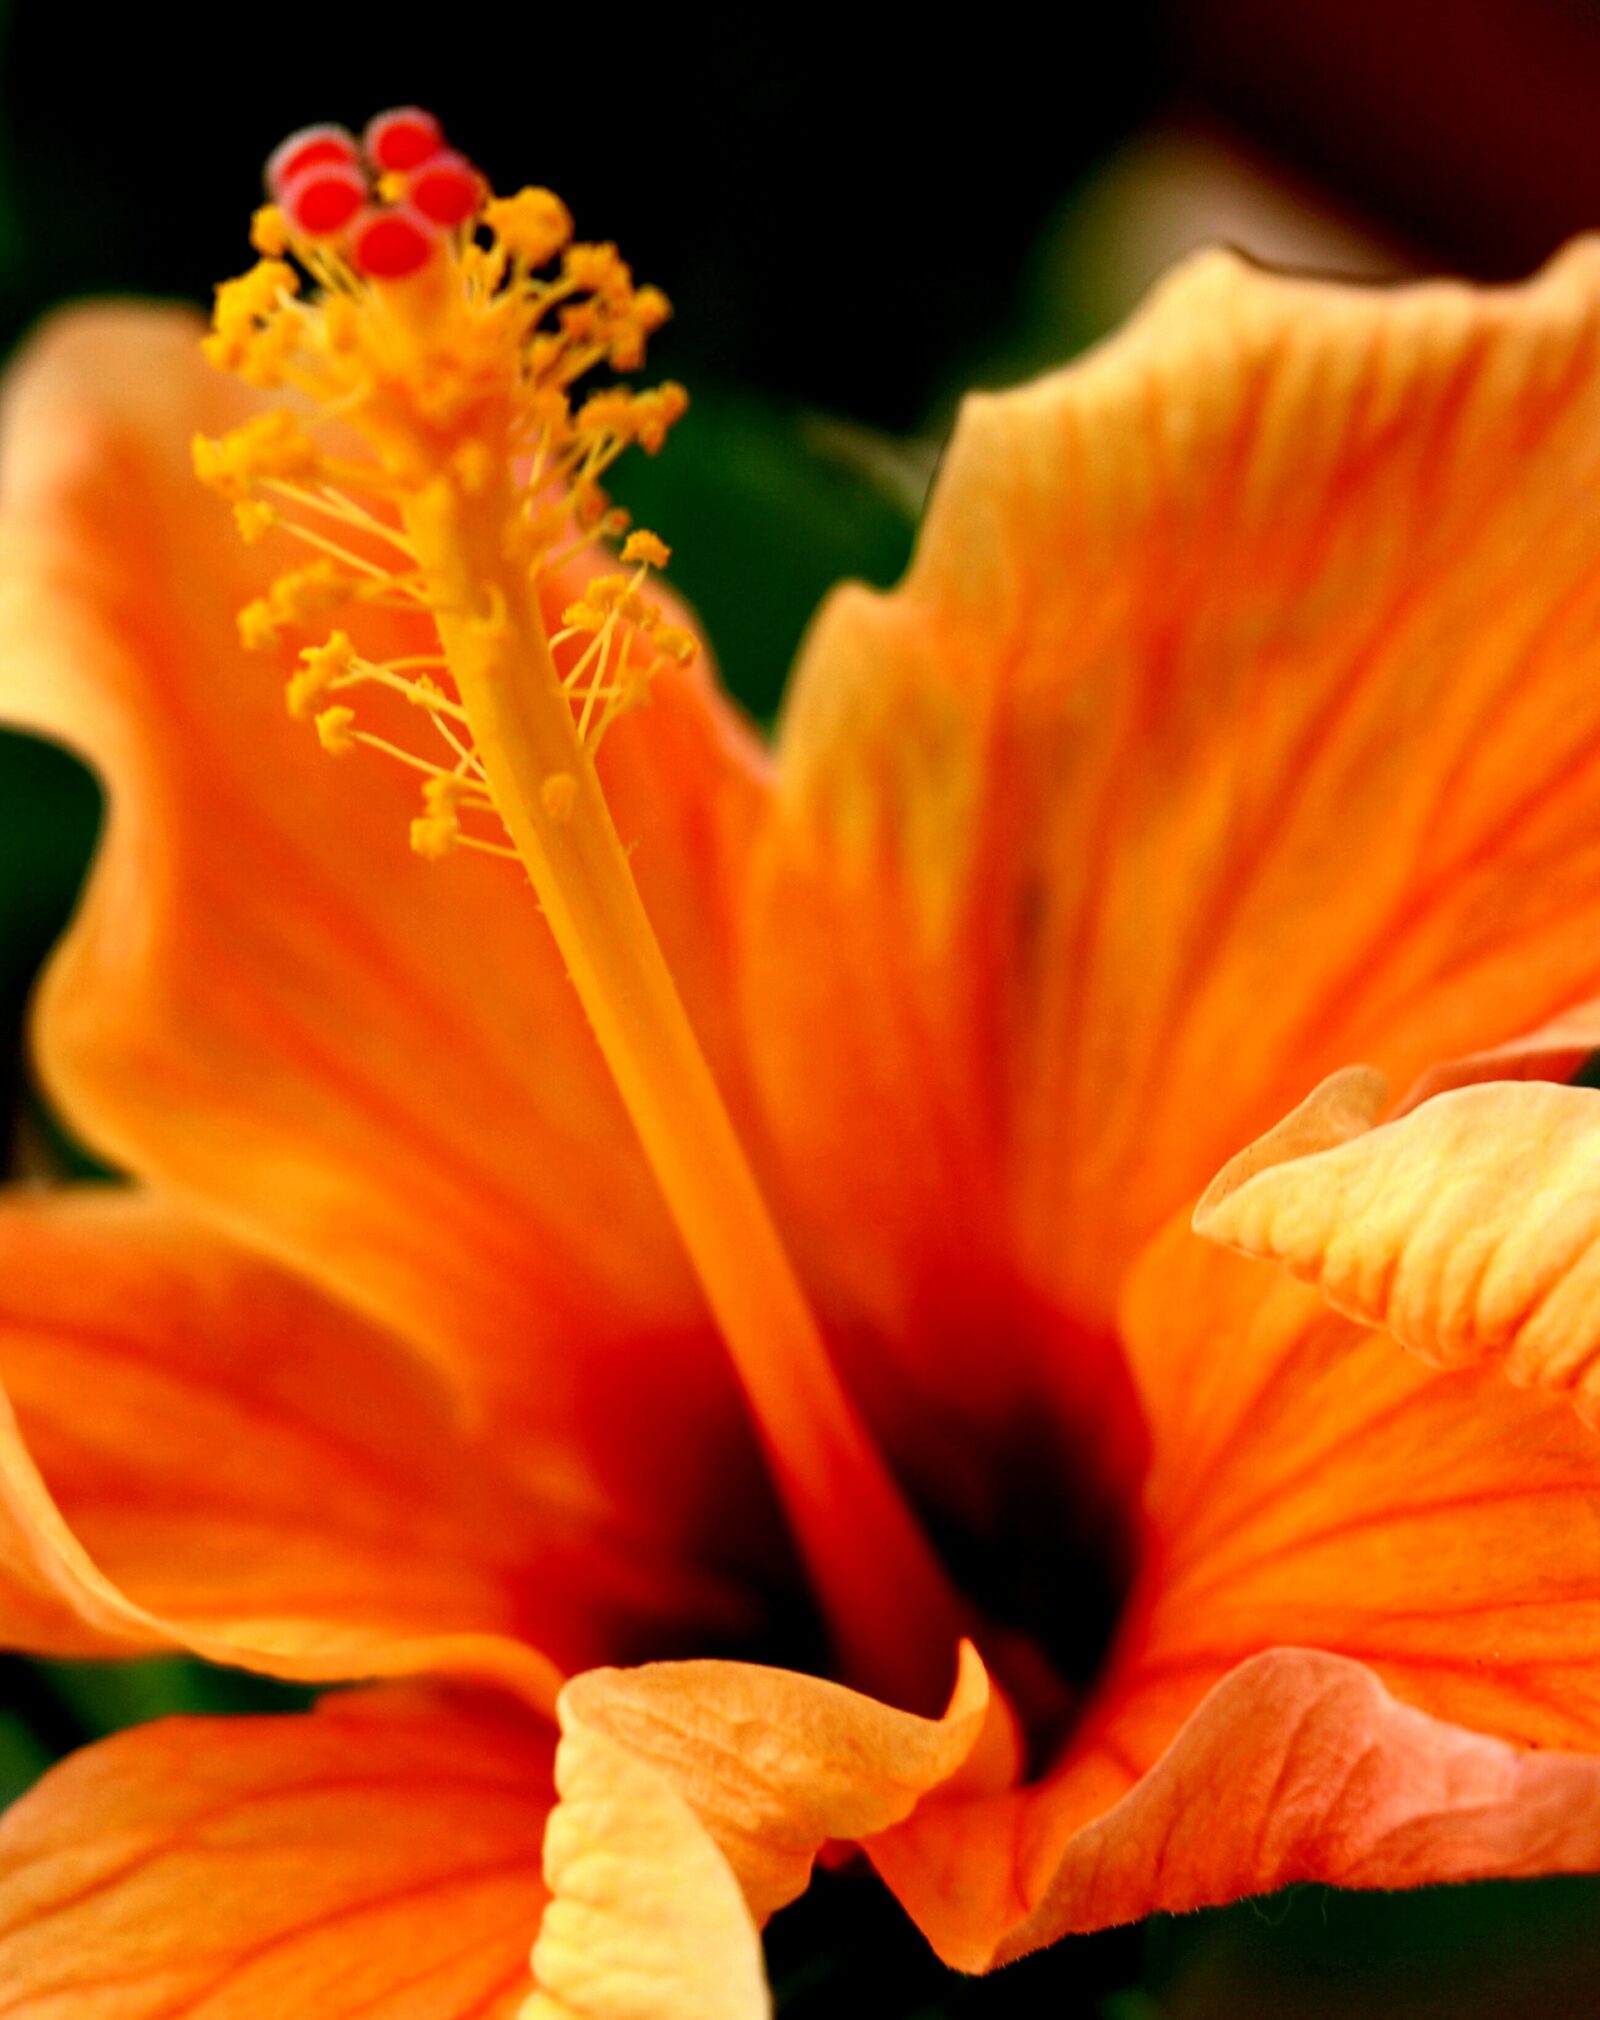
Tropical Hibiscus has to be the Hail Mary throw for any Florida gardener. These beautiful flowering shrubs are so easy…
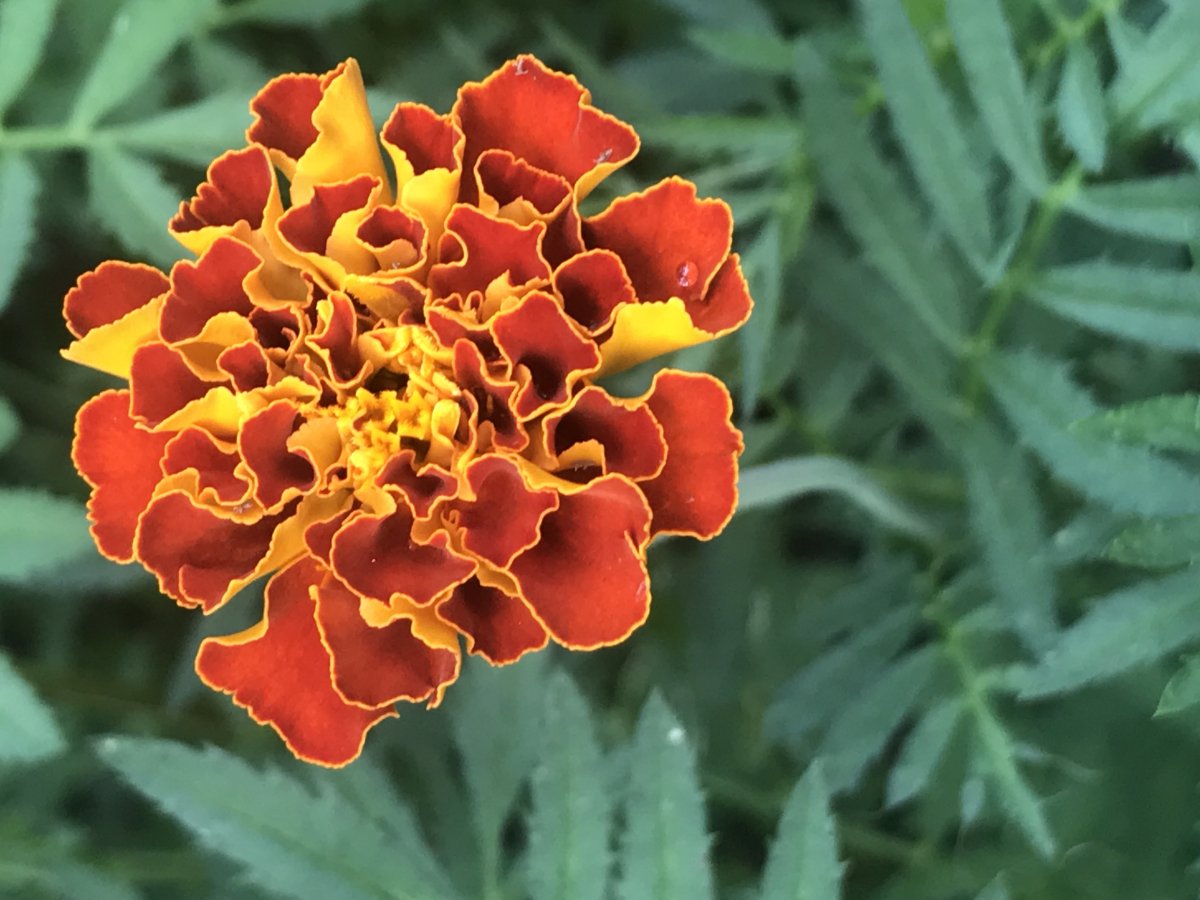
Southern gardens are plagued by insect pests and harsh growing conditions. And even in other parts of the country, gardeners…