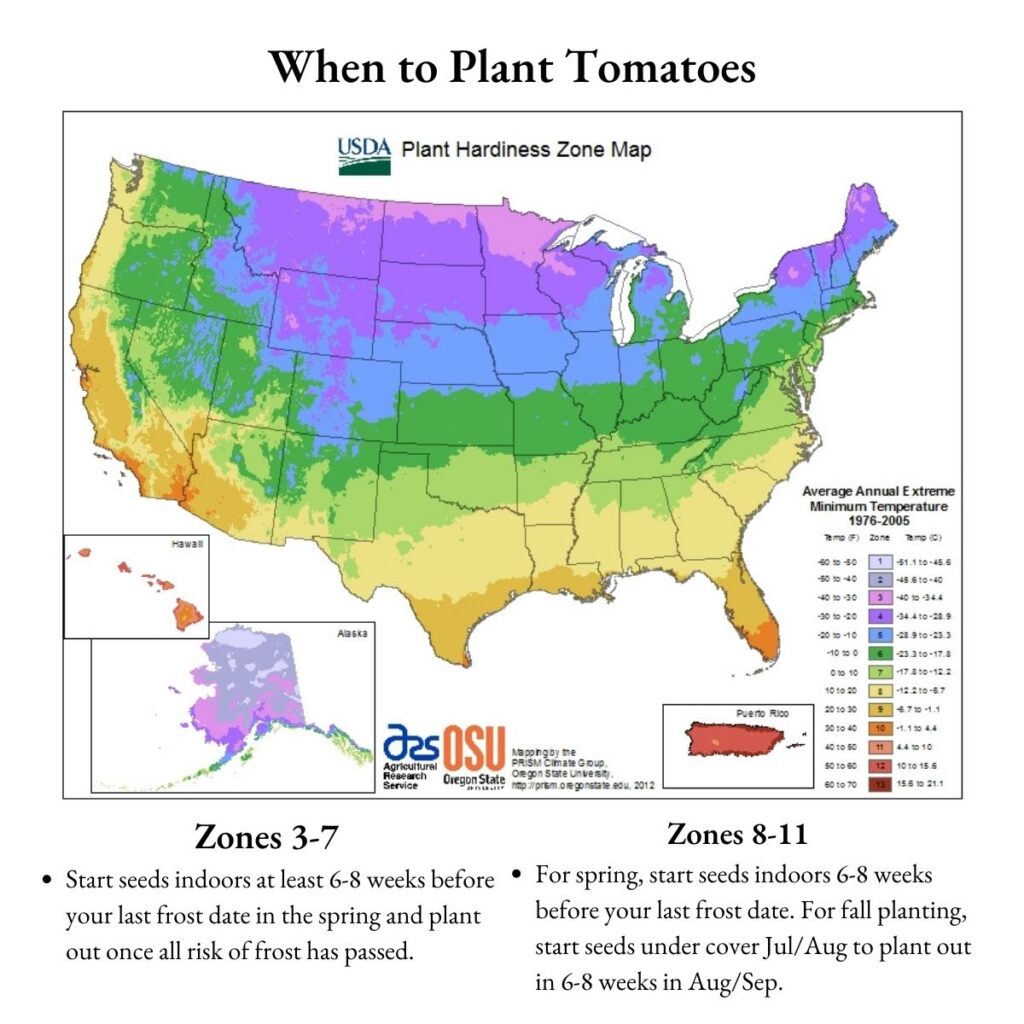
Before you start growing tomatoes, it’s crucial to choose the right variety for your climate. Consider factors like temperature, humidity, and the length of your growing season.
Some common tomato types include:
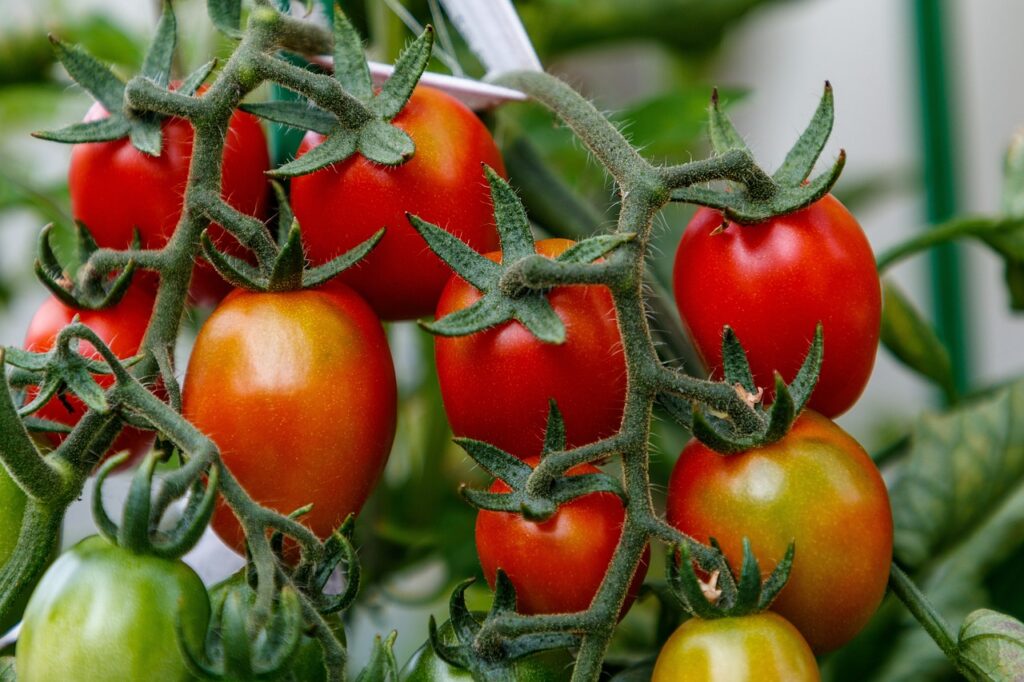
- Cherry Tomatoes: Ideal for warmer regions with a longer growing season.
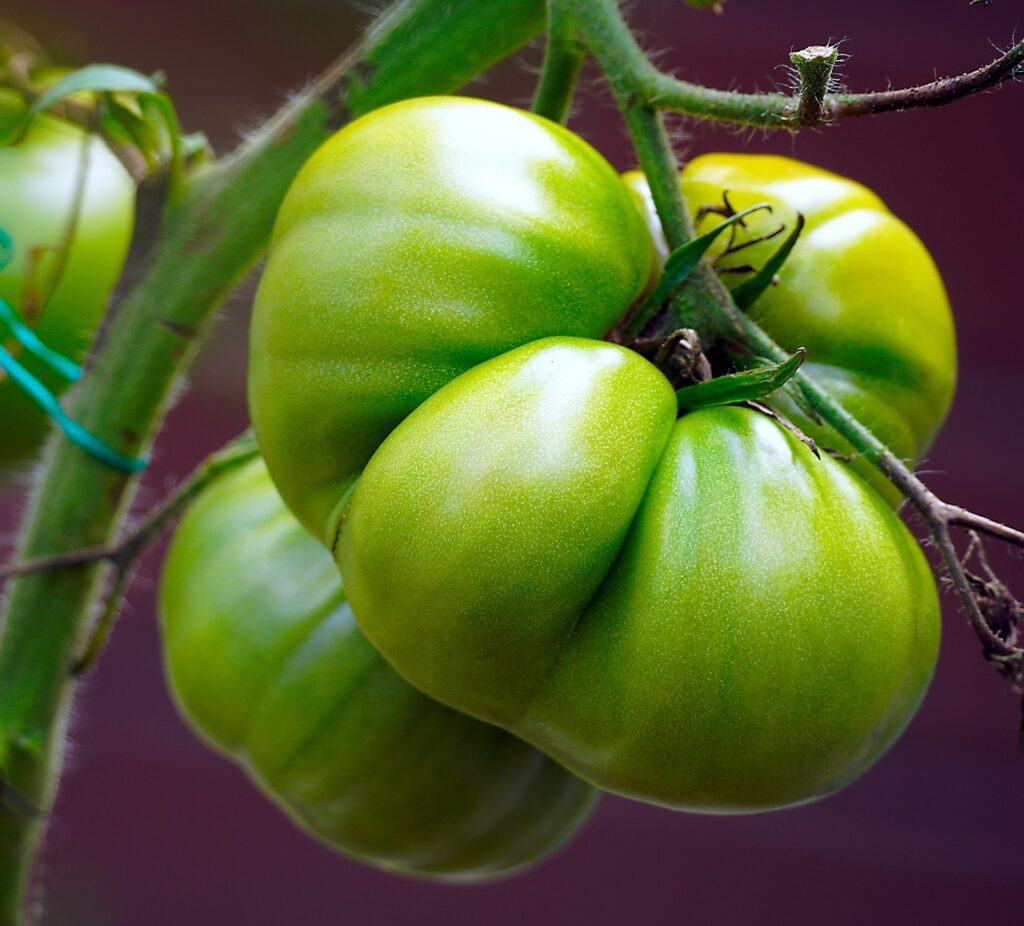
- Beefsteak Tomatoes: Suited for areas with a shorter growing season and cooler temperatures.
- Roma (Sauce) Tomatoes: Great for making sauces and pastes, often adaptable to various climates.

Choosing the Right Kind of Tomato for Your Needs
Determinate vs. Indeterminate
Determinate: These tomatoes grow to a fixed height and produce fruit all at once, making them suitable for canning or preserving.
Indeterminate: These tomatoes continue to grow and produce fruit throughout the season, ideal for fresh consumption.
Types of Tomatoes: Cherry, Currant, Slicing, Sauce Tomatoes
Cherry and Currant: Small, sweet, and perfect for snacking.
Slicing: Ideal for sandwiches and salads.
Sauce: Best for making sauces, pastes, and canning.
Length of Time to Maturity
Consider the days to maturity listed on seed packets. This information will help you plan your planting schedule to ensure you harvest ripe tomatoes when you expect them.
Starting Seeds Indoors or Undercover
Selecting the appropriate seed starting mix is essential for healthy seedlings. It should be lightweight, sterile, and well-draining. You have two main options:
- Commercial Seed Starting Mix: Easily available at garden centers, these mixes are specifically formulated for seedlings. They are sterile, ensuring a clean environment for germination.
- DIY Mix: You can create your mix by combining equal parts of peat moss, perlite, or vermiculite, and a small amount of compost or well-rotted manure.
Providing Adequate Light
Tomato seedlings require plenty of light to grow strong and healthy. Here’s how to ensure they get the right amount:
- Natural Light: If you have a bright south-facing window, you can start your seedlings there. However, be cautious of temperature fluctuations near windows.
- Grow Lights: If natural light is insufficient or inconsistent, consider using fluorescent or LED grow lights. These should be positioned 2-4 inches above the seedlings and run for 14-16 hours a day. A timer can help automate this.
Seedling Heat Mat: Placing a heat mat under your seed trays can maintain the soil temperature around 70-75°F (21-24°C), promoting faster germination.
Sowing Seeds
Fill seed trays or individual pots with the chosen seed starting mix, leaving about 1/4 inch of space at the top.
Plant tomato seeds at the recommended depth (usually around 1/4 inch) and spacing (typically 2 inches apart).
Label each tray or pot with the tomato variety and planting date.
Water the soil gently but thoroughly. Use a spray bottle or a fine mist setting on your watering can to avoid displacing seeds.
Cover the trays with a clear plastic lid or plastic wrap to create a mini greenhouse effect, which helps maintain humidity and temperature for germination.
Place the trays or pots in a warm, well-ventilated location.

Germination and Transplanting
Tomato seeds typically germinate within 5-10 days, though it can take longer in cooler conditions.
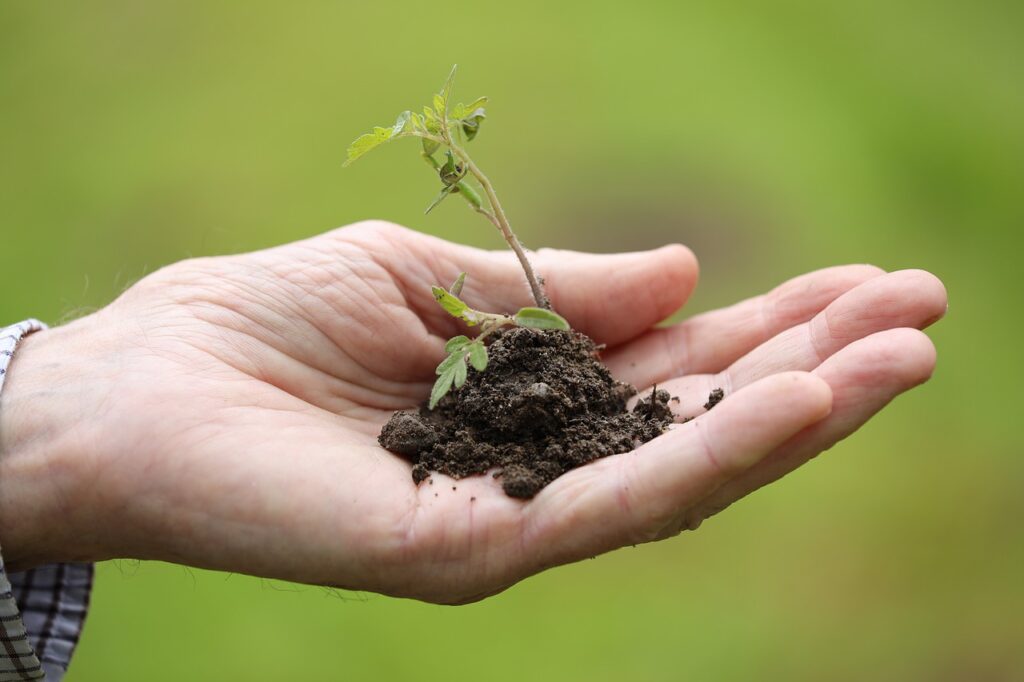
As soon as the seedlings have two to three true leaves (the leaves that look like tomato leaves, not the initial seed leaves), they are ready for transplanting into larger pots or your garden.
By following these steps, you’ll provide your tomato seedlings with the ideal conditions to establish healthy root systems and develop into robust plants ready for outdoor transplantation.
Preparing a Garden Bed for Tomatoes
Avoid planting tomatoes in the same spot as the previous year to reduce the risk of soil-borne diseases.
Install sturdy supports or trellises to keep the tomato plants off the ground and support heavy fruit. It’s best to have them in place before transplanting to prevent damaging the roots.
Step 1: Choose the Right Location
Select a sunny location for your tomato bed. Tomatoes thrive in full sun, which means they need at least 6-8 hours of direct sunlight daily.
Step 2: Clear the Area
Before you start preparing the bed, clear the area of any weeds, debris, or old plant material. Remove rocks, sticks, and any other obstacles that could hinder root growth.
Step 3: Test and Amend the Soil
It’s essential to have well-draining soil with the right pH level (around 6.0-6.8) for tomatoes. Here’s how to test and amend your soil:
Soil Test: Use a soil testing kit or send a sample to a local agricultural extension office to determine your soil’s pH and nutrient levels.
pH Adjustment: If the pH is too high (alkaline) or too low (acidic), add lime to raise the pH or sulfur to lower it. Follow the recommended rates based on your soil test results.
Amendments: Incorporate organic matter such as compost or well-rotted manure into the soil. This improves soil structure, fertility, and moisture retention.
Step 4: Create Raised Beds (Optional)
Creating raised beds can help improve drainage, especially if you have heavy or poorly draining soil. Build raised beds with untreated lumber or other materials, and fill them with a mix of compost and garden soil.
Step 5: Install Supports or Trellises
Tomato plants benefit from support to keep their branches and fruit off the ground. Install sturdy stakes, tomato cages, or trellises before planting. Space them appropriately based on the size and growth habits of your chosen tomato varieties.
Step 6: Add Mulch
Apply a layer of organic mulch, such as straw, hay, or wood chips, to help retain soil moisture, regulate temperature, and suppress weeds. Leave a gap around the base of each tomato plant to prevent stem rotting.
Knowing When Tomato Starts Are Ready for Planting Out
Transplant seedlings into your garden when:
- They have 2-3 true leaves.
- The danger of frost has passed in your region.
- Soil temperatures are consistently above 50°F (10°C).
Hardening Off Tomato Plants
Hardening off is a gradual process that typically takes about a week. Follow these steps to harden off your tomato plants:
Timing: Start the hardening off process about two weeks before you plan to transplant your tomatoes into the garden. Wait until outdoor temperatures are consistently above 60°F (10°C).
Day 1: Place your seedlings in a sheltered, shaded area outdoors for 1-2 hours. Choose a spot that receives indirect sunlight or dappled shade. Avoid strong winds.
Day 2-3: Gradually increase the exposure to outdoor conditions. On day 2, leave them outside for 3-4 hours, and on day 3, extend it to 5-6 hours.
Monitor Weather: Be cautious of extreme conditions like heavy rain, strong winds, or unseasonably cold temperatures. If adverse weather is forecasted, bring the seedlings inside or protect them.
Adjust Light Exposure: By day 4, expose your seedlings to direct morning sunlight for a few hours. Continue to increase the duration of direct sunlight each day.
Gradual Temperature Changes: If possible, expose the seedlings to cooler nighttime temperatures, gradually reducing the temperature difference between indoors and outdoors.
Watering: Adjust your watering routine as the plants acclimate. Outdoor conditions may require more frequent watering.
Final Days: On the last day of hardening off, your tomato plants should be able to tolerate full sun and outdoor temperatures without stress. They are now ready for transplanting into the garden.
Hardening off prepares your tomato plants for the harsher outdoor environment, allowing them to adapt to sunlight, temperature fluctuations, and wind. This process significantly increases the likelihood of a successful transplant and vigorous growth in your garden.
Planting Tomatoes Properly
- Dig a hole deep enough to bury the plant up to the first set of true leaves.
- Space plants 18-24 inches apart.
- Water thoroughly after planting.
Depending on your preferred planting method, dig holes or prepare rows for planting.
In mediocre soil without irrigation, space tomato plants 18-24 inches apart within the rows and leave about 3-4 feet between rows to allow for air circulation.
You can plant them as close as 12 to 15″ apart in rich soil with good irrigation.
Mulch
Mulch to retain moisture and suppress weeds.
After planting and watering thoroughly, add a fresh layer of mulch around the base of the tomato plants. Use hay, straw, or woodchips. You can even use dry grass clippings.
This helps maintain soil moisture and keeps weeds in check.
Tomato Fertilization
Tomatoes have unique nutrient requirements, with an emphasis on phosphorus for flower and fruit production. Understanding when and how to fertilize your tomato plants with the right nutrients is crucial for their growth and bountiful harvest.
When to Apply Fertilizer
When transplanting seedlings into the garden, mix a small amount of a balanced vegetable fertilizer into the planting hole.
Avoid direct contact between the fertilizer and the plant roots.
We recommend using an organic blend one with beneficial microbes to help your tomatoes get a strong start in life.
Side-Dressing: Choose a tomato-specific fertilizer with adequate levels of phosphorus for strong flower and fruit development.
Apply additional fertilizer as a side dressing when the first flower clusters appear. Scatter it evenly around the base of the plants, keeping it at least 6 inches away from the stem.
Throughout the Season: For indeterminate varieties, continue side-dressing every 4-6 weeks during the growing season. Determinate varieties may require fewer applications.
Water In: After applying the fertilizer, water the plants thoroughly. This helps dissolve and distribute the nutrients into the root zone.
Mulch: Add a layer of mulch around the base of the plants to conserve moisture and regulate soil temperature. This also helps prevent nutrient loss due to rain runoff.
Monitoring and Adjusting
Leaf Color: Monitor the color of the tomato plant’s leaves. If they appear pale green or yellowish and growth is slow, it may indicate a nutrient deficiency, typically nitrogen. You can address this by applying a nitrogen-rich fertilizer.
Excess Fertilization: Avoid over-fertilizing, as excessive nitrogen can lead to lush foliage at the expense of fruit production. Follow package instructions and consider periodic soil testing to determine nutrient needs accurately.
You can also add organic sources of phosphorus, such as bone meal, in combination with well-rotted compost or manure. These provide the necessary nutrients for flowering and fruiting.
Caring for Tomato Plants
Taking care of your tomato plants is essential to ensure healthy growth and a bountiful harvest. Proper care includes watering, staking, and, in some cases, pruning.
Watering
Maintain consistent soil moisture to prevent issues like blossom end rot and cracked fruit. Water your tomato plants deeply, providing 1-2 inches of water per week, depending on weather conditions.
Morning Watering
Water in the morning to allow foliage to dry during the day, reducing the risk of fungal diseases.
Staking and Support
Tomato plants benefit from support to keep their branches and fruit off the ground. Stake or trellis your tomato plants, especially indeterminate varieties, to prevent fruit rot and make harvesting easier.
Install sturdy stakes or cages before or during transplanting time to support the plants.
As the plants grow, tie them gently to the supports using soft twine or plant ties.
Encourage the main stem to grow vertically, preventing sprawling growth.
Pruning
Prune indeterminate tomato plants to encourage airflow, reduce disease risk, and improve fruit quality. Pruning is typically done when the plants have several sets of leaves.
Look for “suckers,” which are small shoots that develop in the crotches between the main stem and branches.
How to Prune
Identify the suckers (the small shoots) growing in the leaf axils.
Using clean, sharp pruners or your fingers, pinch off the suckers when they are small (about 2-4 inches long). Ensure a clean cut to avoid damaging the main stem.
Focus on removing the lower suckers and any crowded or overlapping branches to maintain good airflow and sunlight penetration.
When Not to Prune
Determinate tomato varieties typically do not require extensive pruning. These plants grow to a predetermined size and produce fruit all at once. Pruning determinate tomatoes can reduce their yield.
Avoid heavy pruning during hot and sunny periods, as it may expose fruit to sunscald.
Pest and Disease Management
Regularly inspect your tomato plants for signs of pests and diseases. Address issues promptly to minimize damage:
Pests
Handpick and remove larger pests like caterpillars. Consider introducing beneficial insects like ladybugs or releasing nematodes for soil-dwelling pests.
Disease
Practice good garden hygiene by removing and disposing of infected leaves or plants. Use organic fungicides if necessary and choose disease-resistant tomato varieties.
Mulching
Apply mulch around the base of the plants as needed to conserve moisture, suppress weeds, and maintain consistent soil temperature. Leave a gap between the mulch and the plant stem to prevent rot.
By following these care instructions, you’ll help your tomato plants thrive and produce a healthy crop. Remember that determinate and indeterminate tomatoes have different pruning needs, so tailor your care accordingly to maximize your harvest.
Tips and Tricks for Growing Tomatoes
Pests: For tomato hornworm and other devastating pests, we recommend using an organic pesticide containing Spinosad if necessary.
Disease: Practice good garden hygiene, and consider using disease-resistant tomato varieties. For particularly bad infections, try an organic copper garden antifungal spray.
Pruning: Regularly prune lower leaves to improve airflow and reduce disease risk.
Mulching: Apply mulch to conserve moisture and regulate soil temperature.
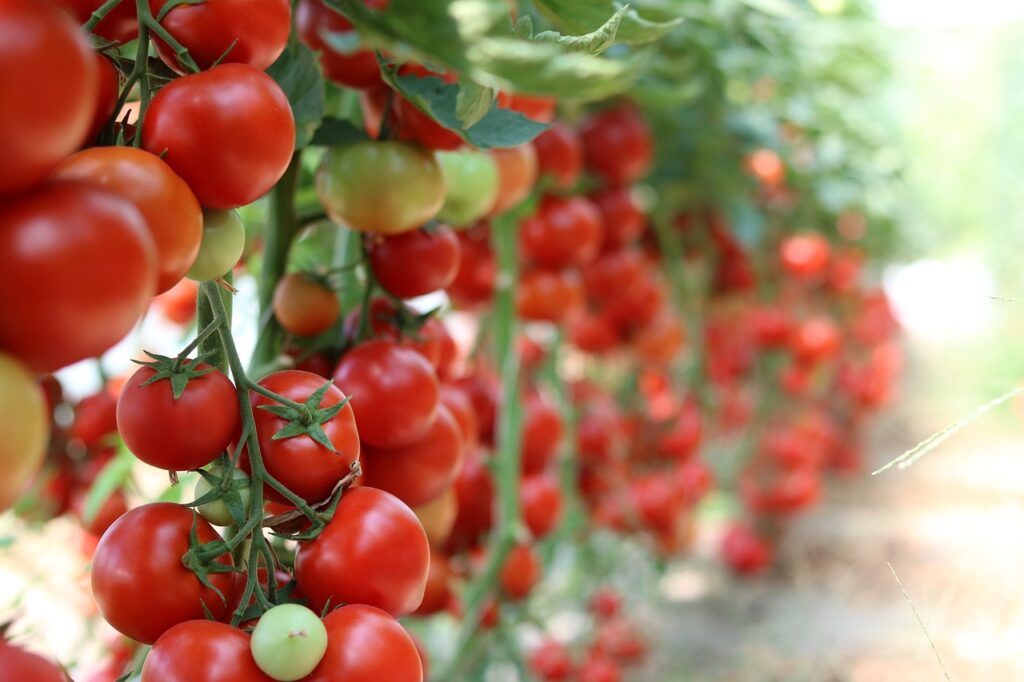
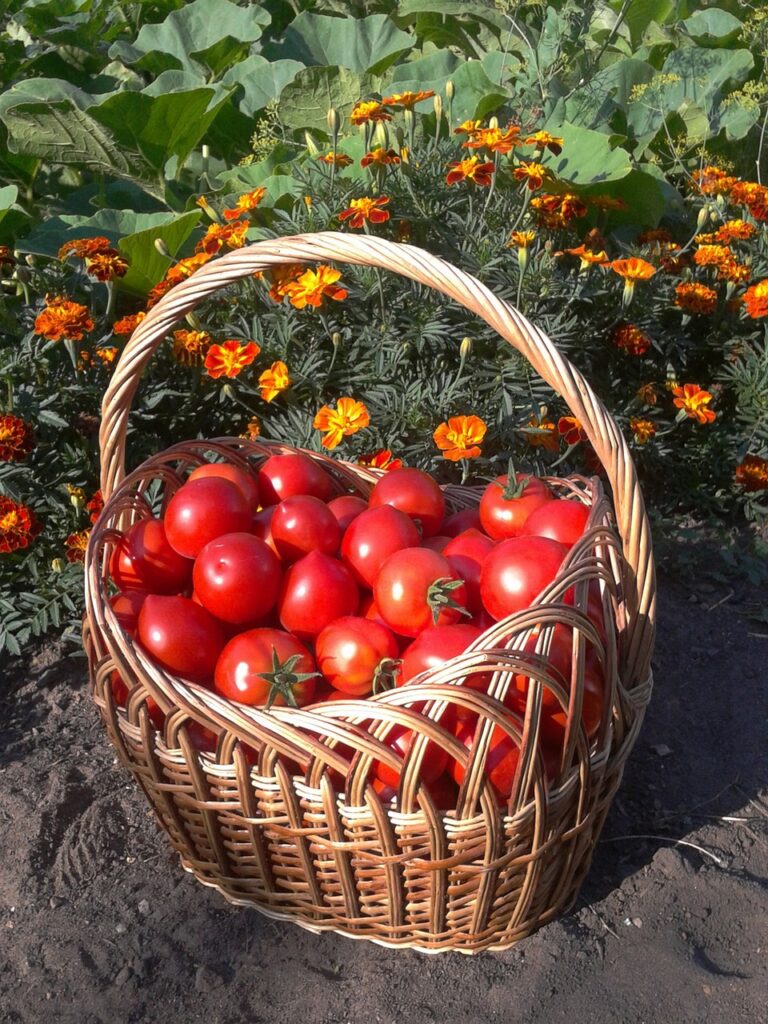
Harvesting Tomatoes
Harvest when tomatoes are fully colored, slightly soft, and come off the vine easily. Twist or cut them from the plant.
Storing Home-Grown Tomatoes
Store ripe tomatoes at room temperature to maintain flavor. For longer storage:
Keep unripe tomatoes in a paper bag to ripen.
Refrigerate only if necessary, but this may affect flavor and texture.
If you have any questions, please contact us.