Kale, the superstar of leafy greens, is not only packed with vitamins and minerals but also a breeze to grow in your own garden or container. Whether you’re a seasoned gardener or just starting out, growing kale from seed is straightforward.
Best of all, it grows in the cooler months of the year, when most other vegetables won’t thrive.

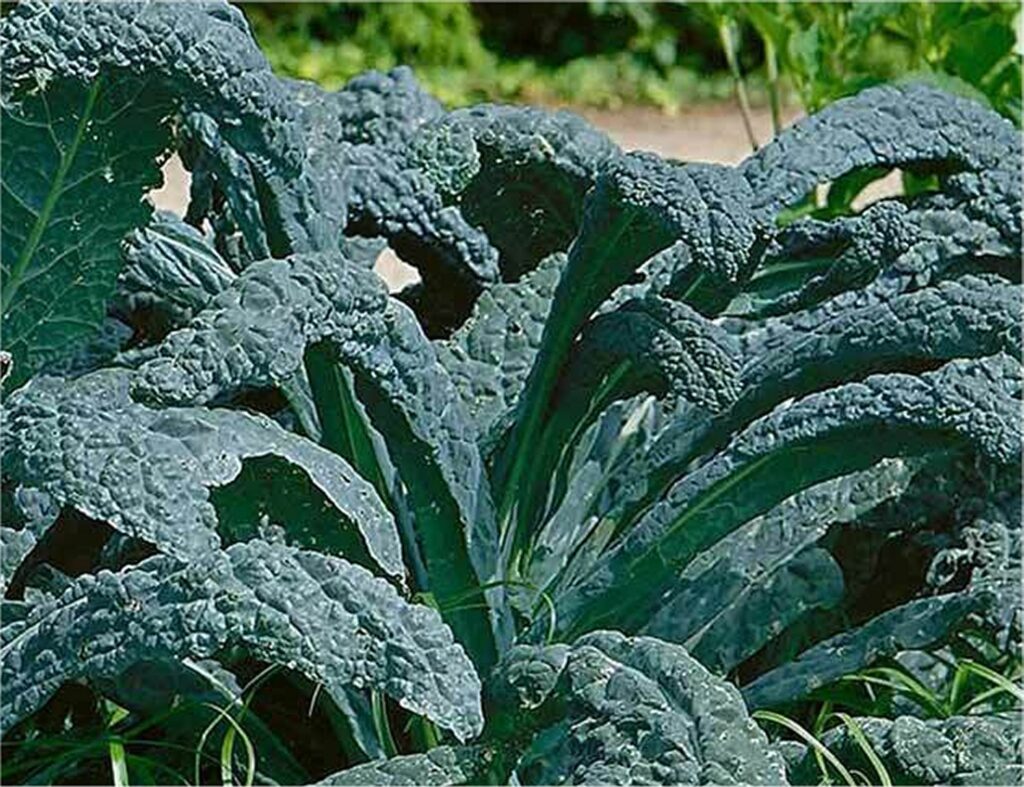
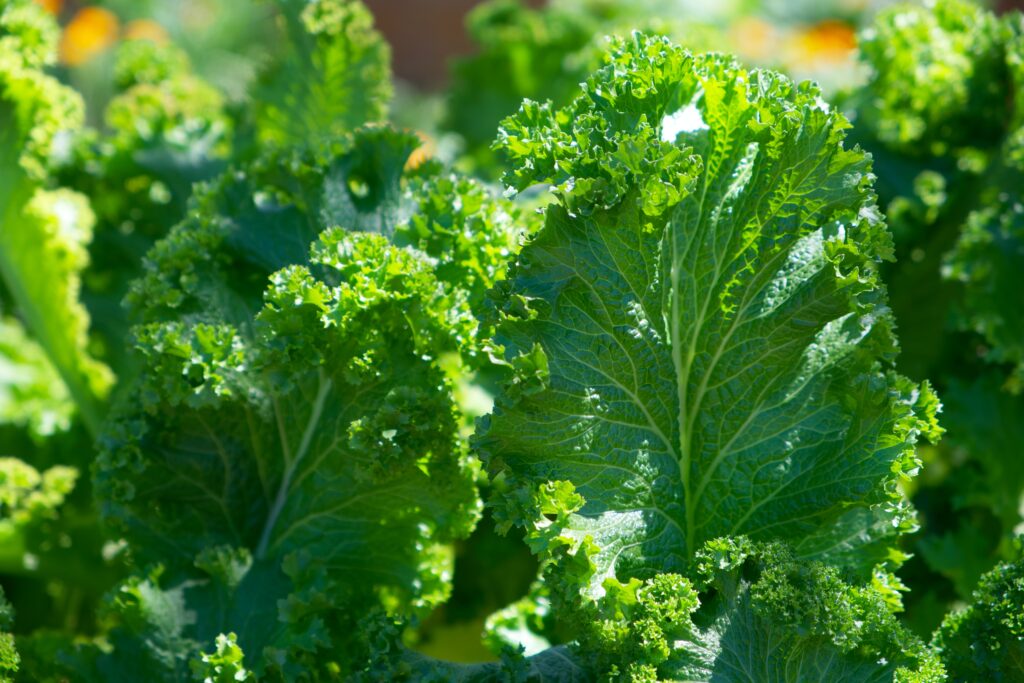
Curly and Tuscan Kale varieties are members of the Brassicaceae or Cruciferous family. They flourish in all growing zones in the U.S. but do best in the spring and fall. In warmer zones, such as 8-12, growing Kale is possible from the beginning of fall right through to early summer.

Starting Kale Seeds Indoors
Begin with a lightweight seed-sowing mix that provides good drainage and aeration for young kale plants.
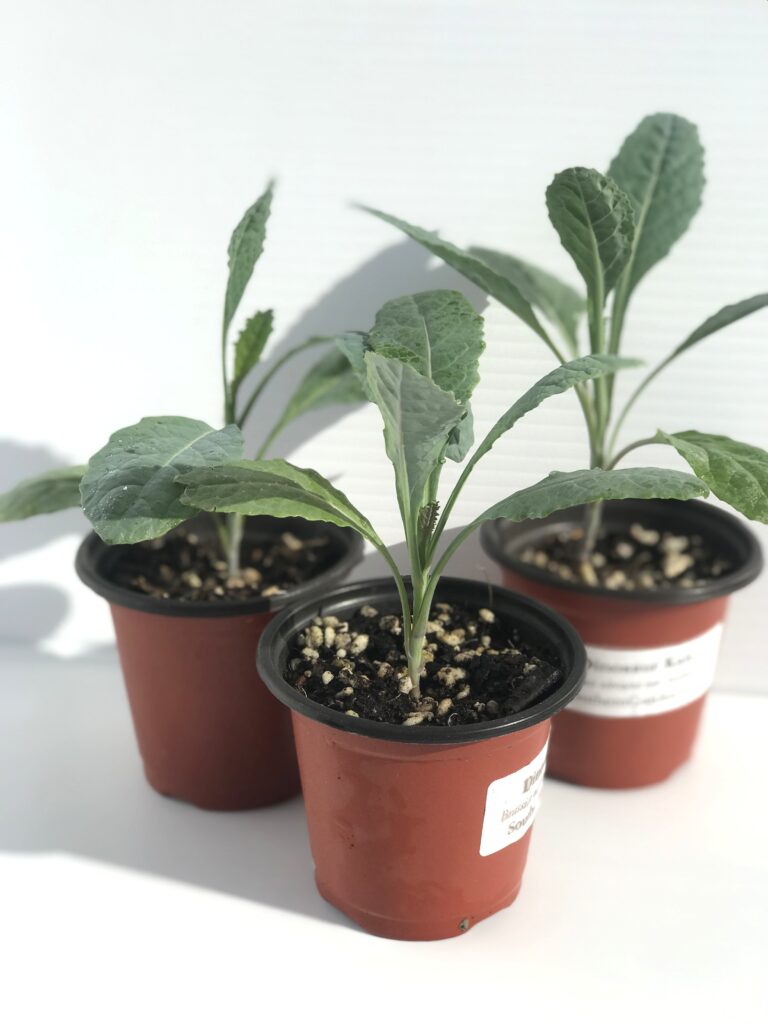
Sow kale seeds in cell trays or soil blocks about 6-8 weeks before you plan to transplant them outdoors.
Plant your kale seeds about 1/4 inch deep in the starting medium.
Gently press down on the soil to ensure good seed-to-soil contact.
Keep the soil consistently moist using misting or bottom watering methods until germination occurs.
Maintain a temperature between 65°F to 80°F (18°C to 27°C) for successful germination.
Position your seed trays in a well-lit area with access to indirect sunlight or use grow lights.
Knowing When Your Kale is Ready to Plant
Wait until your kale seedlings have developed several sets of true leaves before transplanting them into your garden or a spacious container.
Preparing the Garden Bed for Growing Kale
While you’re waiting for your kale starters to develop, you can begin preparing a garden bed for them.
Select a sunny or partially shaded spot for your kale, ensuring it receives at least 6 hours of sunlight per day.
Avoid planting kale in an area that recently grew other cruciferous crops (e.g., broccoli, cauliflower) to minimize the risk of disease.
Loosen the soil with a garden fork or broad fork if your soil is compacted. Otherwise, we recommend not tilling or double-digging established garden beds. It can ruin the soil structure and decimate soil microbiology.
Add a deep layer of compost or well-rotted composted manure into the soil to enhance its fertility and structure.
Preparing a Container (Optional)
If you opt for a container, choose one with a minimum capacity of 2 gallons and fill it with a good-quality potting mix.
Plant one kale seedling per 2-gallon pot or 3 seedlings for a 5-gallon pot.
Hardening Off Your Plants
Gradually expose your kale seedlings to outdoor conditions over a week or two to acclimate them to the environment. Start with a few hours of indirect sunlight and gradually increase their exposure.
Planting Kale into the Garden
Plant your kale seedlings at the same depth they were in the seed trays.
Space kale plants 12 to 18 inches apart to provide adequate room for growth and airflow.
Apply mulch around the base of your kale plants to conserve moisture and deter weeds. Both hay and straw are good options for mulching vegetable gardens.
After planting, water your transplants thoroughly after planting and then provide at least 1 inch of water per week, adjusting as needed based on local conditions.
Caring for Kale Plants
Maintain consistent moisture by watering your kale regularly, avoiding both drought stress and waterlogged conditions.
During active growth, you can feed your kale with diluted nitrogen-rich fertilizer or refresh slow-release fertilizer as needed.
Keep the area around your kale plants weed-free to minimize competition for nutrients.
Tips and Tricks
Addressing Pests: Kale can be prone to snail and slug damage. Consider using organic slug pellets like Sluggo, which are effective and safe.
To prevent disease, practice crop rotation and provide good air circulation. Remove any diseased leaves promptly.
When and How to Harvest Kale
Harvest individual kale leaves as they mature, or if you prefer, harvest the entire heads as needed. Snip or cut the leaves just above the crown, leaving a few inches for regrowth.
How to Clean and Store Home-Grown Kale
Wash the harvested kale leaves and remove tough stems.
Then, to ensure that there are no pests hiding in your kale, fill a sink with cold water and mix in 1/4 cup of salt and 1/4 cup of vinegar.
Add the rinsed kale to the water and allow to soak for about 20 to 30 minutes.
Then, rinse again, dry thoroughly, and store kale store them in a breathable container or bag in the refrigerator for up to a week.
Kale can also be blanched for 4-5 minutes and frozen for longer-term storage.
Cooking with Kale
Experiment with various kale recipes, including Kale Chips, Kale and Quinoa Salad, Kale Smoothies, and the classic Kale Saute. Incorporating kale into your meals adds both flavor and nutrition.
Growing kale from seed is a rewarding endeavor that yields a continuous supply of nutrient-packed greens for your culinary adventures. Follow these steps, use your newfound knowledge of kale care, and soon you’ll be enjoying this leafy superfood straight from your garden or container.