Posted on

Finding the Best Soil for Raised Beds in Your Garden

best soil for raised beds

It seems like everyone is using raised beds these days, and they’re more popular with gardeners than ever. Experts from all styles of gardening recommend them — from old-school horticulturists to chop and drop sustainability advocates. One place you’ll notice a big difference in opinion, however, is when it comes on which is the best soil for raised beds.

You’ll find big bags of garden soil at your local home center or big box store. And if you’re willing to spend a small fortune, you could definitely blow the budget filling up those raised beds. But depending on the type of raised bed you’re using and what you’re planning to grow, you may want to do a little planning first. Right?

So, what types of raised beds do gardeners use?

Raised Beds Types

A “raised bed” basically means lifting your soil above ground level. It’s one way of prepping your garden for planting. But it’s not until you decide which kind you’re going to use before you even need to work about which is the best soil for raised beds.

Some critical factors to consider before deciding on what type are your budget, your physical endurance, and any time constraints.

Double-dug Raised Garden Bed

The most basic type of raised bed isn’t raised very high at all. A double-dug raised bed only results in a few inches of height above the normal ground level of your garden.

In double-digging, you dig the soil twice over, while loosening the deeper layers with a garden fork. While digging, you can work in extra organic matter, like compost or manure. With enough aeration and organic matter, you’ll increase the volume of soil in the garden bed, raising it slightly.

You want to loosen the soil up to 2 feet deep, so that fast-growing vegetables and fruit plants aren’t hindered by packed earth. Double-digging is hard work, but it will give you lighter and better-aerated soil for your plants. It also helps raise the planting area for better drainage.

This is the form of raised bed I used most often, mainly because it’s so economical. First of all, you don’t need to purchase lumber to surround the bed when it’s only 6 or so inches high. Secondly, if you make your own compost and other soil amendments, you won’t have to purchase the best soil for raised beds. You’ll be making it – right at the site you need it. \

The best part of double-digging is that you only need to do it once. In fact, I recommend that after you’ve initially prepared your garden bed, you go no-till.

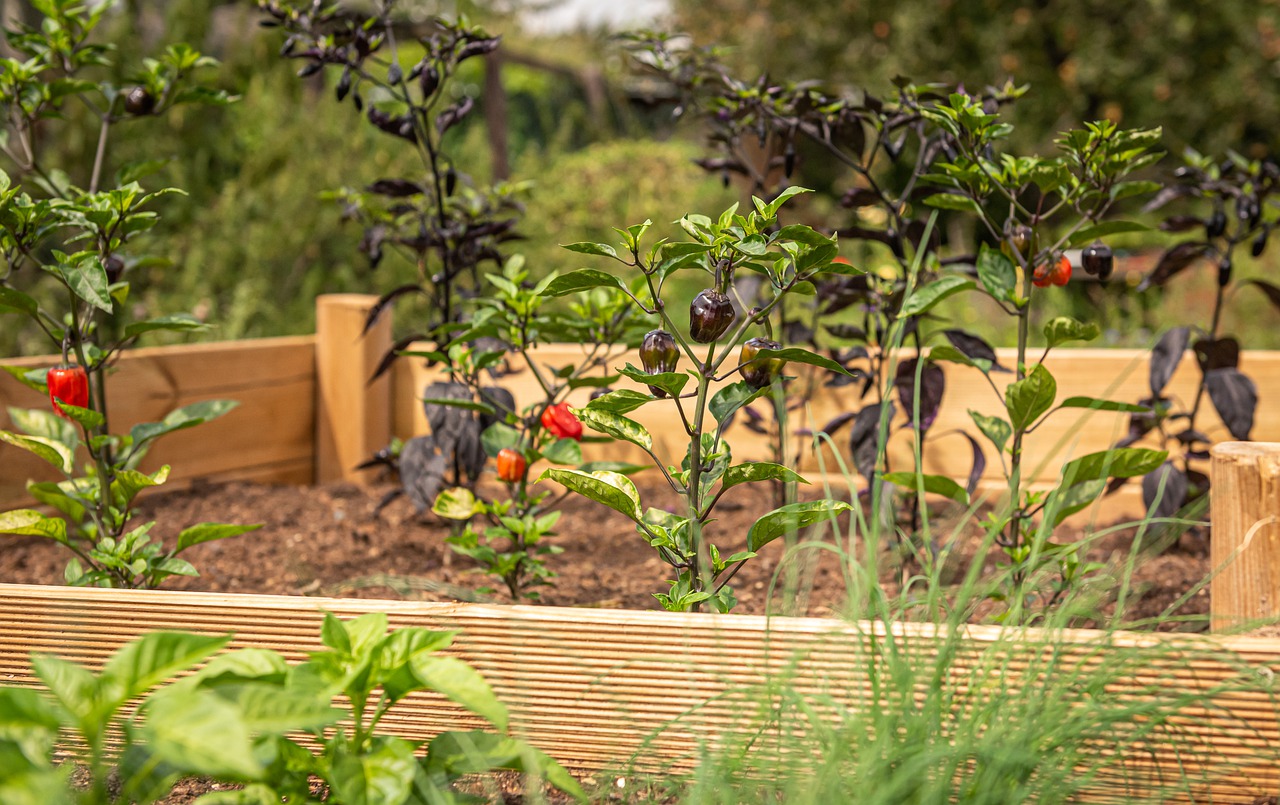
Framed Raised Garden Bed

You created framed raised garden beds directly onto the ground with no barrier between the planting area and the ground soil. This allows for complete drainage and offers access to microbes and worms.

More gardening experts are focusing on soil quality these days, which means creating a healthy ecosystem with the right fungi and bacteria for plant health. And the ones that do the best work for you are those found in your own backyard.

Most gardeners build a framed raised bed with wood, cement block, or even sheet steel from 10 to 12 inches or so above ground level.

While this can be expensive, it does offer some protection for your plants. For one thing, they’re less likely to get stomped on by careless children and enthusiastic dogs.

Before building your raised bed, make sure you loosen the ground soil beneath it with that handy garden fork. This helps improve drainage and breaks up the soil to allow plants to really dig in. For extra protection from weeds, you can also line the bottom with many sheets of newspaper or a sheet of cardboard. Don’t worry – the worms love it and it will soon break down and improve your soil.

Once you build your frame, you’ll want to find a good growing medium to fill it with. You can either buy the best soil for raised beds or mix your own. The best type really depends on what you’re planting in it.

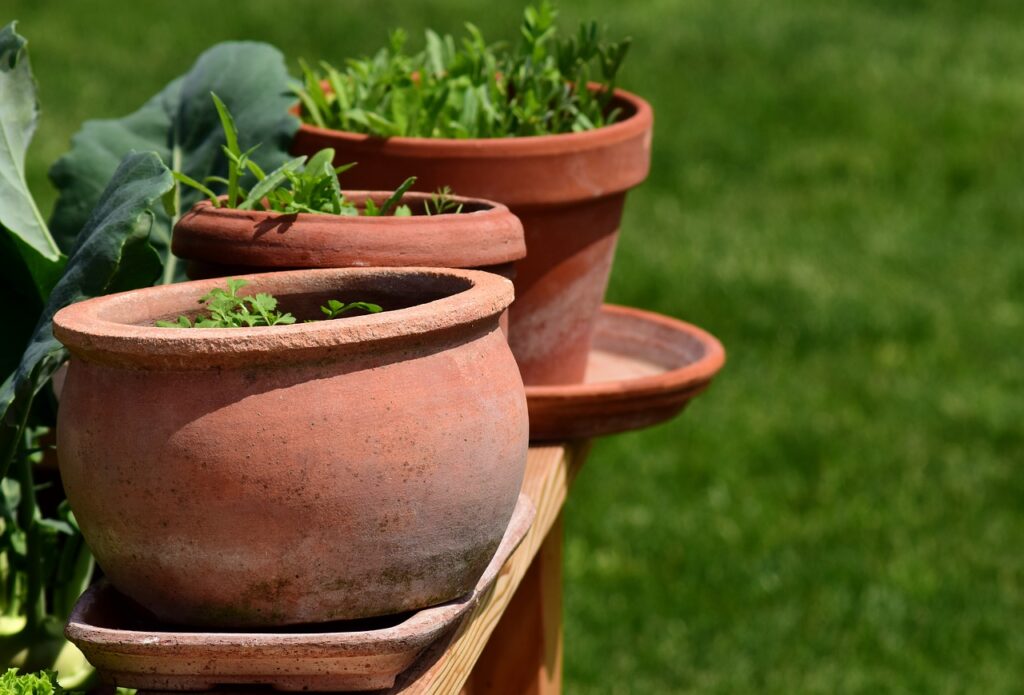
Raised Container Bed

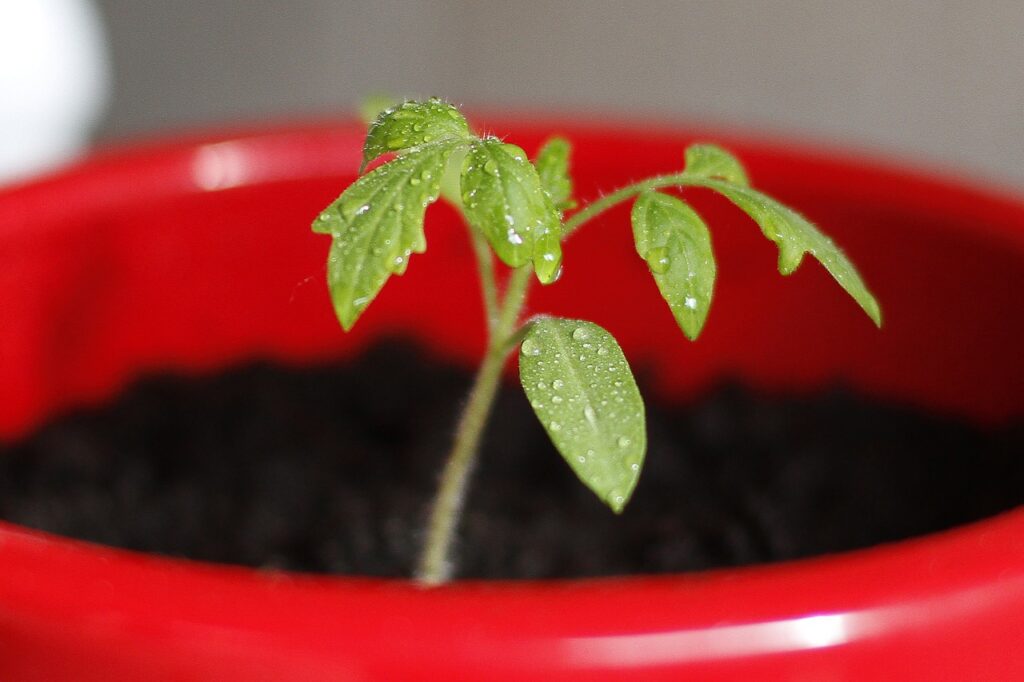
While not technically a “raised bed,” a lot of gardeners like to use large containers and planters for their fruit and vegetable plants. And you may see them listed as “raised beds” by the manufacturer.

But note that the real difference between a raised bed and a container is whether it has a bottom that isolates the plants from the native soil.

Some gardeners like to use container raised beds to lift the entire garden off the ground. This makes it easier to tend if you have physical challenges. If you decide to go with a “planter” or any kind of enclosed container, whether off the ground or on, make sure the bottom has been punctured for plenty of drainage.

One caveat, however, with this type of garden planter — you should fill it with the best soil for raised beds that you can afford. Container soil needs to last several seasons, with very few amendments. When they’re isolated in a container and can’t reach the soil below, your plants receive very limited moisture and nutrients. So, make sure that you choose a soil that isn’t too heavy, provides good drainage, and still holds moisture and nutrients.

So, invest in a good mix and then add some compost or slow-release fertilizer at the beginning of each season.

Specialty Raised Beds

If you do a bit more research, you’ll also find a few specialty type raised garden beds you may want to try. Some of them feature explicit instructions for the best type of soil for raised beds using these designs. And in one interesting case, the design is part of what creates the garden soil.

Square-Foot Gardening Raised Beds

Square-foot gardening has been around since the early 1980s and has a lot of advocates. This method uses a simple raised bed laid out in a grid. When you do a little research into this type of bed, you’ll find that it calls for a very specific type of soil mix, and many gardeners say it’s definitely the best soil for raised beds.

Hugelmound

“Hugelkultur” has gained popularity recently as many home gardeners look for ways to work more sustainably. A hugelmound is a unique way of creating optimal conditions for growing a wide range of plants in a small space. Form a big, mounded garden plot, starting with logs and yard debris in a shallow pit. Then add compost and soil.

You’ll get extra room to grow, and the best part is that a hugelmound creates a variety of microclimates. So you can add Meditterenan herbs to the top, where the drainage is best. For plants that like their feet a bit damp, plant around the bottom of the mount.

Depending on how you orient your hugelmount, you can add your sun-lovers on the south-facing side, or give them a little relief in some shade by planting on the north side.

The logs help retain moisture in the soil, and the yard debris will break down slowly, adding nutrients to your raised bed. Don’t be surprised if your hugelmound starts to shrink after a year or two as the organic matter is broken down by happy soil microbes.

Lasagna Raised Bed

Often called the “lazy gardener” method, “Lasagna” raised beds are great for no-till, no-weeding maintenance. It’s also called sheet mulching, and it’s simple and effective if you have the materials.

Start your lasagna raised bed directly on the ground by adding a thick layer of cardboard. Then, add layers of yard waste, fallen leaves, scraps from the kitchen, and compost. Lasagna fans say to layer it up to a foot high.

Lasagna gardening is said to turn even desiccated, exhausted soil into a rich planting area wit the best soil for raised beds.

The Best Soil for Double-Dug Raised Garden Beds

If you decide to go with the double-dug raised bed, you may want to have your soil tested first at your local county extension office. It can help you identify if you need to make specific amendments to your soil, such as lime or pine mulch.

Your local extension office can offer an in-depth test to see if you need to add particular macronutrients to your soil and if it has any deficiencies.

Soil Amendments for Macros

Now that you know what you need to add before getting your garden going, take a look at some excellent organic amendments that you can mix in to improve your harvest.

Nitrogen

Is your soil poor in nitrogen? Add the following:

Phosphorus

Needs more phosphorus? Try:

Potassium

You can add potassium using:

Organic matter and compost

To improve the structure as well as the nutrient levels, add compost, composted manure, or worm castings to your raised beds. It will also help feed those vital microbes in the soil that work to keep your garden veggies healthy.

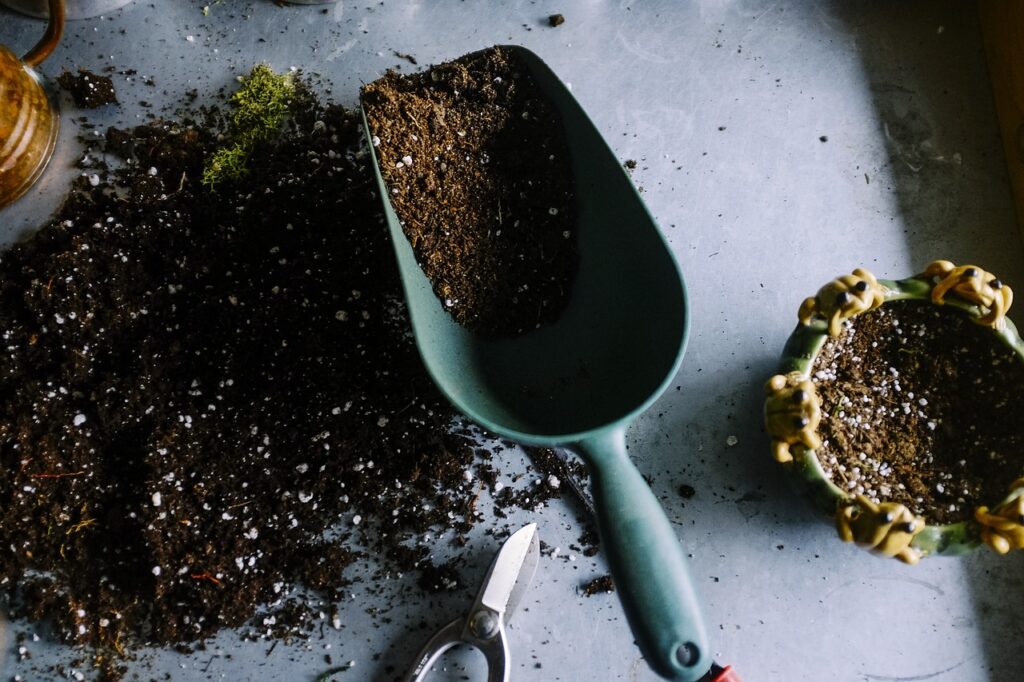
The Best Soil for Raised Beds

For larger raised beds or containers, you’ll need to buy or mix garden soil to fill them. As I mentioned before, there’s a lot of disagreement about what makes the best soil. It really comes down to what you’re trying to grow and where and when you’re trying to grow it.

That said, here are some excellent recommendations from gardening gurus worth looking at:

The Old Farmer’s Almanac

You’ll find this homemade soil mix recipe on the Farmer’s Almanac website:

Raised Bed Soil Recipe

  • 4 bags (2 cubic feet) topsoil
  • 2 bags (3 cubic feet each) peat moss or coconut coir
  • 2 bags (2–3 cubic feet each) compost or composted cow manure
  • A 2-inch layer of shredded leaves or grass clippings (free of pesticides and herbicides)

Joe Lamp’l

The Joe Gardner podcast says this mix is “perfect.” You’ll find the following mix on his website:

  • 50 percent high-quality topsoil (bulk or bags)
  • 30 percent compost (homemade or purchased)
  • 20 percent mix of organic matter, including any of the following:
    • Shredded leaves
    • Worm casting
    • Mushroom compost
    • Aged chipped or ground bark
    • Composted Cow or chicken manure

Gardeners.com Mix

Gardeners.com will show you how to build your own raised bed, as well as showing you what to put into it.

  • 60 percent topsoil
  • 30 percent compost
  • 10 percent perlite or vermiculite

The Square Foot Garden Soil

The inventor of Square Foot Gardening, Mel Bartholomew, has a special mix he recommends. It’s called “Mel’s Mix,” and the formula is easy to remember.

Mel’s Mix

  • 1 part vermiculite
  • 1 part peat moss
  • 1 part compost

If you don’t like using peat moss — and many gardeners don’t — you can also use coconut coir.

Which Is Really the Best Soil for Raised Beds?

There’s never a simple answer when it comes to gardening, since there are so many external factors that affect your results. If you’re double-digging, you may not need to buy or mix any soil at all. I never have – although I do garden in containers a lot.

The mix you choose may change depending on what you grow. Do your vegetables need rich, fertile soil? Or do they need a lighter mix with better drainage??

Root vegetables, on the other hand, prefer something easier to spread out in, like Mel’s Mix.

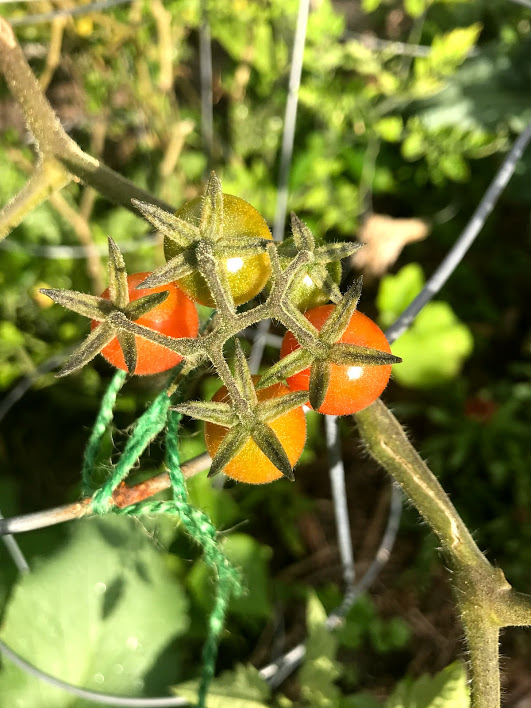
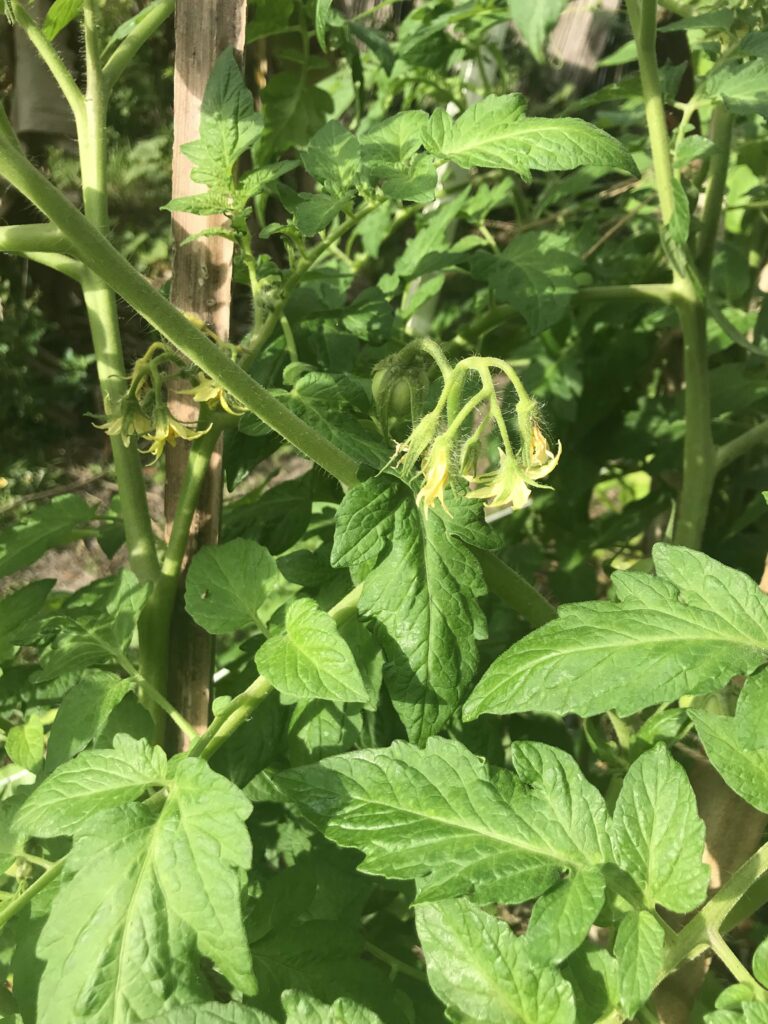
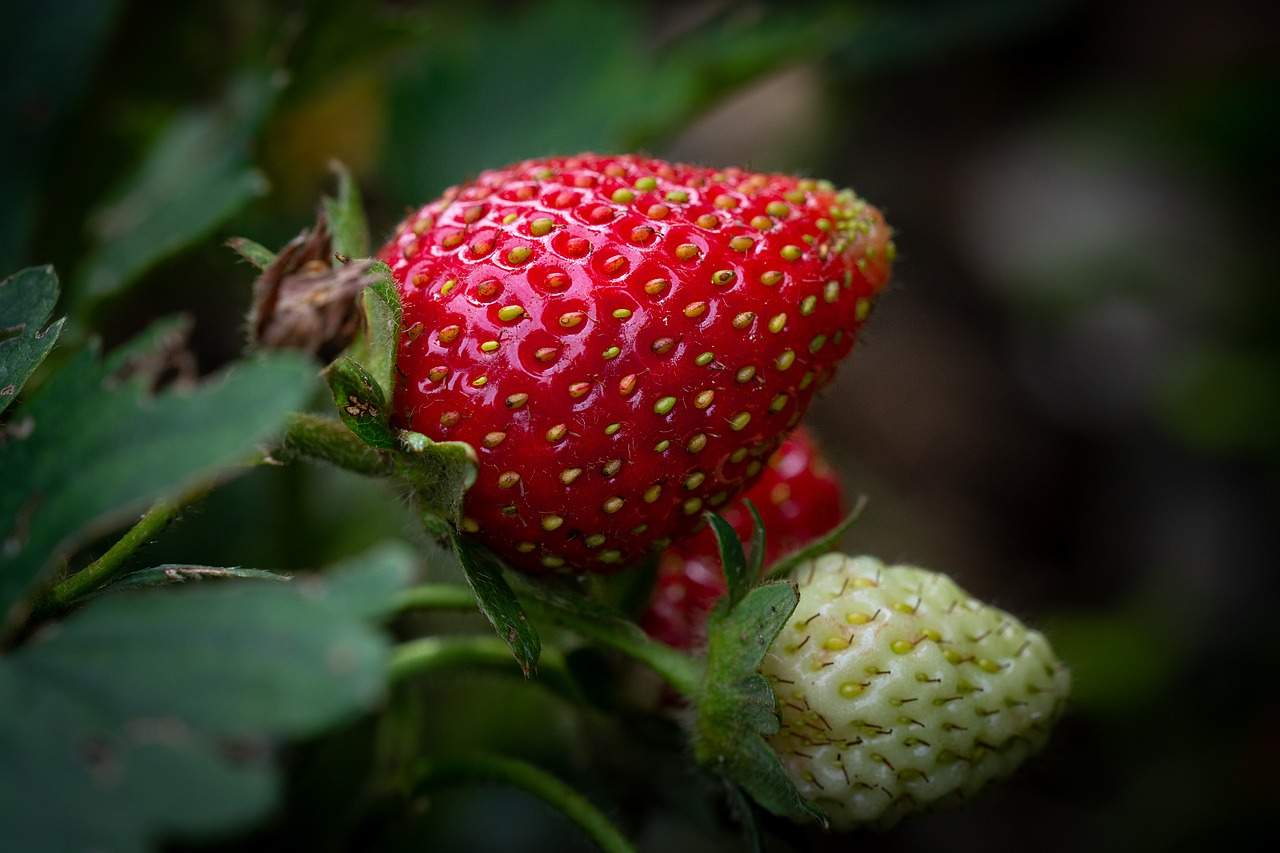
Fast-growing and hungry vegetables like tomatoes, eggplant, and squash prefer a soil that holds moisture and is rich in nutrients. They may do better in the Joe Gardener or the Farmer’s Almanac mixes.

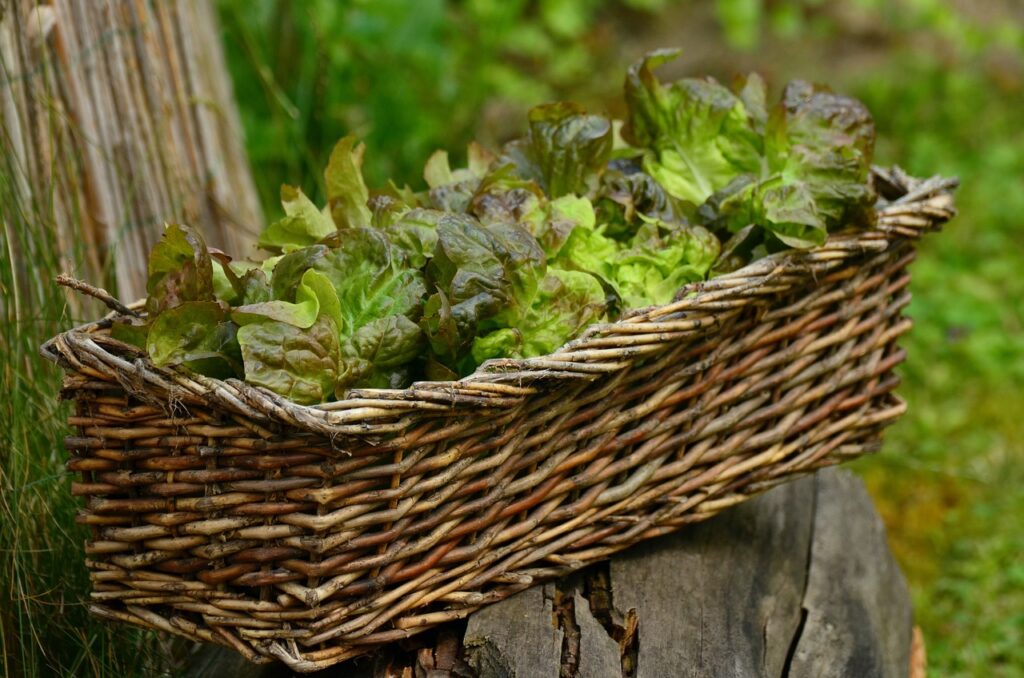
Leafy greens need plenty of nitrogen as soon as they’re planted. So, the best soil for raised beds for growing salad greens would include composted manure. Organic matter might take too long to break down to do them much good. So, the mix from Gardeners.com might be best.

Get Growing

Once you know what plants you’ll be growing, let their needs guide you to the best soil for raised beds. Make sure you understand their optimal conditions, and then choosing will be much simpler.

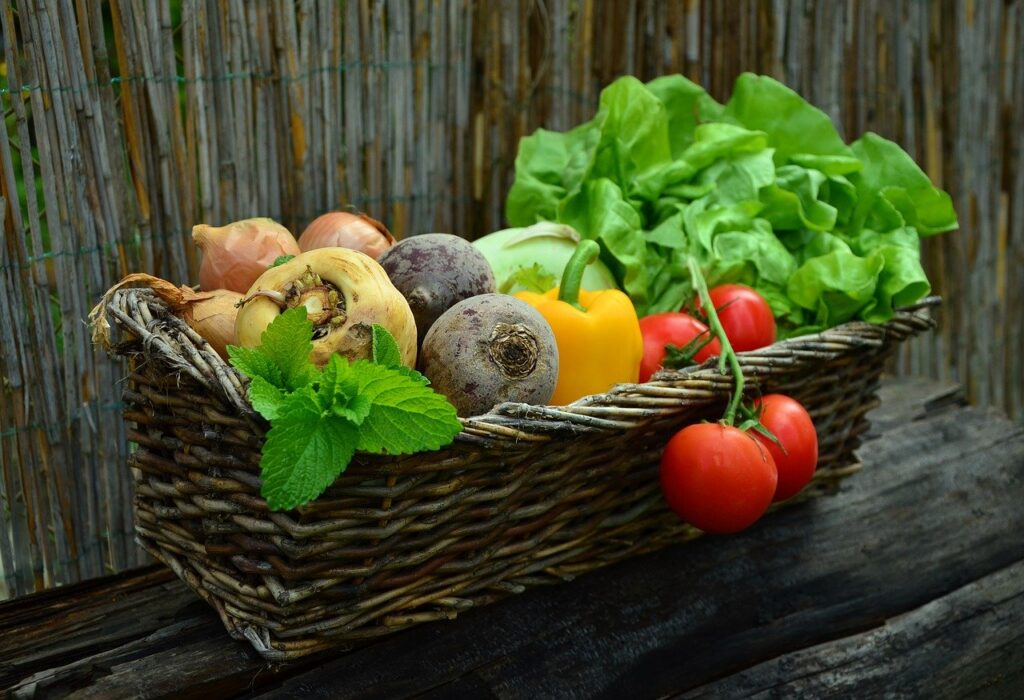
Light, loose, even sandy soil is great for carrots, rutabagas, turnips, and potatoes. Leafy greens like a soil that’s high in nitrogen. Fruiting vegetables like tomatoes, eggplant, and peppers like lots of nutrients and steady moisture.

Posted on 1 Comment

My Love-Hate Relationship: Growing Tomatoes in Florida

Growing tomatoes in Florida is a labor of love

Grow tomatoes, they said. It’ll be fun, they said. Growing tomatoes in Florida seems like it’d be a natural, right? After all, it’s sunny nearly all the time and rains quite a bit. Tomatoes love sunshine and water.

Florida is also the home of “Ruskin” tomatoes, named for a small rural town not far from where I live. They’re world-famous, yet somehow, I struggle at growing tomatoes in Florida.

It’s Not the Yield, It’s the Mileage

When I say that I struggle with tomatoes, what I mean is that they’re crazy-making. I get tomatoes. Boy, do I get tomatoes. In fact, last year I got so many tomatoes that my freezer is still filled with ones I failed to find some way to consume.

Here’s the thing: When you’re growing tomatoes in Florida, you can’t count on anything going to plan.

It’s a constant juggling act, filled with an exhausting spraying schedule and fertilizing plan. If you’re not standing in the blistering sun to cover them with shade cloth, you’re standing outside in the cold night air to cover them with fleece.

Between tying and pruning and feeding and spraying, it’s a wonder that I find time to care for my family much less myself. It’s probably a good thing that I waited until my children were grown before I seriously took on growing tomatoes in Florida.

Best Time to Plant Tomatoes

One of the trickiest parts of growing tomatoes in Florida is getting the timing right. Experts say to plant them between August and September for a fall crop – but I’ve found that the heat destroys them when you plant that early. I’ve always ended up nursing them through fungal diseases and plagues of leaf-footed nymphs until a decent drop in the temperature finally saves the day.

At that point, even with the cooler nights that November brings, they’re so ravaged that they don’t recover until well into January before finally producing some tomatoes.  

Starting seedlings for another round in November and December means you can plant them out in February – which is another time frame recommended by experts. Many say you should never plant them after February.

The problem is, even in Zone 10a, we still get the occasional cold snap in January and February. Even December can pose a risk. So, be prepared to cover your plants with fleece or some other cloth for those three months.

Growing Tomatoes in Containers

Until recently, I’ve always grown my tomatoes in containers. The nematode problem in Florida is near legendary. So, rather than risk it, I’ve purchased loads of rich potting soil and stuck to pots.

Last year, however, I risked planting Everglades tomatoes in the ground. These tiny berry tomatoes are well-known here in the South for producing in even the worst heat and humidity. They conquered a sunny spot in the backyard and took over until the leaf-footed nymphs invaded and sucked the juice out of each and every tiny tomato.

In a fit of pique, I pulled out every single plant to stop the slaughter once and for all.

The Obvious Contempt of Tomatoes

But this is also where my love-hate relationship with tomatoes truly becomes epic.

This fall, I dutifully planted several varieties into pots with fresh (and expensive) potting soil. I nurtured and fed them. I pruned them weekly. I watered them daily. I kept their little leaves dry and aired.

I planted four separate varieties in pots: Homestead, Beefsteak, San Marzano, and Boomer Cherry.

The damn things became sick from the get-go. Some horrible disease that twisted leaf and stem. Some plague that shriveled their meager fruits. Some microbial bug that stunted their growth.

Growing tomatoes in Florida can be a gamble with the hot, humid weather. My sick tomatoes are suffering.
My pampered but sickly tomatoes

Meanwhile, thirty feet away, volunteers that escaped from our compost tumblers grew lush, wild, tall, strong, and healthy. Without a hint of fusarium wilt. Without a blemish.

tomato plants
Happy volunteers

And then to add insult to injury, the three “spare” Homestead seedlings I plunked into a bare spot in a neglected vegetable bed did the same.

The Everglades I planted out in my most productive beds also took off without a hitch and began producing first.

Not, of course, ANY of the ones I carefully planted in pots, exactly per extension office recommendations, and fussed over daily.

Cherry tomatoes growing near the compost pile
Volunteer cherry tomatoes

Renewed Dedication

Even with the wet winter we’ve been having, I became complacent. In the interest of keeping organic, I neglected my spraying schedule. After all, my plants were covered in predators like assassin bugs and ladybugs. Wasps buzzed, patrolling for caterpillars.

But no more. A recent declaration of war has put me back on alert.

This means war!

Best Varieties for Growing Tomatoes in Florida

Every year, I look for lists of resistant varieties for planting. What is the best tomato to grow in Florida? But the problem is, I’m pretty cheap. I grow from seeds. I dropped a significant amount of money on seed starting trays and cell cubes. I enjoy planting from seed, and I’m generally pretty good at it. After all, my tomato seedlings grow lush and healthy — at least until I plant them out.

Most of the resistant varieties seem to be hybrids produced by local nurseries, and I’m too cheap to drop $6 on a plant that will surely die within weeks. Especially when I usually grow about 25 to 30 tomato plants.

And most of the stores I frequent don’t carry a wide range of seed types. It’s almost as though growing tomatoes in Florida doesn’t really happen. We get seeds for locations like Ohio or Missouri, and that’s what I’ve been buying. And probably the reason for my love-hate relationship with tomatoes.

I took a risk on some Patio tomato starters and gave two to my mom and kept two for myself. Guess who has gorgeous, healthy, robust Patio tomatoes? It ain’t me.

Many Southern gardeners in Florida are plagued by nematodes, and a lot of research has gone into preventing nematode damage.

My French marigold program seems to have prevented nematode damage, so fungal infections – blight, mosaic virus, and yellow leaf curl seem to be my bane.

French marigolds can help prevent nematodes in Florida tomato gardens
Image by skeeze from Pixabay

In the future, I may simply have to adjust which cultivars I choose when growing tomatoes in Florida. While the Beefsteak tomatoes look delicious in the picture on the seed packet, I may simply have to invest in Cherokee Purple and Brandywine seeds. I’m not sure how well strange-colored tomatoes will go over with the family, but I do know that what I’m doing now isn’t working – at least not when it’s supposed to work.

The state ag offers a list of recommended varieties. They’re the best tomato to grow in Florida, according to experts. But I can’t verify how well they’ll do in a Florida vegetable garden.

Top Cherry Tomatoes

Luckily, cherry tomatoes are pretty heat-tolerant and will grow well through the hot southern summers. A few good disease-resistant varieties to try are:

Best Berry Tomatoes for Florida

Also called “grape tomatoes,” depending on the size, berry tomatoes do quite well in Florida with good disease resistance and a better tolerance for higher temps. My experience says they’re the best tomato to grow in Florida. If you can find them, try:

  • Amai
  • Jolly Girls
  • Sweet Hearts

And of course, there are Everglades. Everglades grow beautifully with very little effort. Of course, you can’t cut them up and put them on a sandwich — a fact that the spouse points out repeatedly. These tiny tomatoes are cute and full of flavor, but they’re the size of your pinky fingernail.

It’s also difficult to find the seeds commercially. Most Florida gardeners give them away or swap them. The tomatoes themselves are commercially unviable. They burst easily and have no shelf life to speak of. The best way to use Everglades tomatoes is to pick just before adding them to a salad.

Growing tomatoes in Florida is easy if you pick the right varieties, like Everglades.
Everglades tomatoes ready to pick

Good Round Tomatoes for a Southern Garden

If you prefer slicing tomatoes, like the spouse does, look for heirloom varieties like:

Indeterminate vs. Determinate Tomatoes

Another factor in selecting the right variety when growing tomatoes in Florida is deciding whether to grow determinate or indeterminate tomatoes.

Every gardener on the planet must have seen the picture of the guy standing on a ladder next to his ginormous tomato plant.

And maybe we were a bit envious, and maybe we also felt a bit sorry for him, too. After all, we’re simply slaves to our tomatoes. Cutting, pruning, feeding, tending, worrying. It’s worse than having teenagers.

That’s what you can get with indeterminate tomatoes, though. Those suckers will grow as tall as they can, sprawling and climbing over everything until the first frost puts them down.

So, while the idea of a season of endless tomatoes sounds great in theory, they can eventually exhaust you and themselves. I’ve always struggled with providing a tall enough support for them, and I’ve literally had the spouse tie them to the sides of the house (I’m too short to reach) so they could wind themselves around makeshift supports.

If it gets cold relatively early, you can count on Mother Nature to put them out of your misery eventually. Here in my Southern garden, I’ve found that the heat of summer finally does the job. I plant in the fall, and by the following May or June, the heat and blistering sun have given me enough excuse to top them.

Topping is when you cut off the tops of your indeterminate tomato plant. This forces any existing tomatoes on the plant to rush to ripen and stops any future growth.

But until frost or topping, indeterminate tomatoes will bloom and fruit continuously, giving you a whole season of oncoming tomatoes.

In contrast, determinate tomatoes feature a bushy structure with less top growth. Don’t let this fool you though, because even if the seed packet promises no more than four feet of height, they still need plenty of support. Especially once they start producing tomatoes.

The downside is that they only produce once before dying off. You’ll only get tomatoes once from your determinate varieties before you’ll need to pull them.

Choose Your Go-To Tomatoes

One of the reasons I decided to grow Homestead tomatoes this year was because they’re determinate. I’ve tried several trellis methods for indeterminate tomatoes, and they’re kind of exhausting to keep up with.

The larger the tomato, the more time and effort they need to grow. Large indeterminate tomatoes can mean a lot of work in the garden. So, I decided to try a determinate variety for my large tomatoes. So far, so good, with the Homesteads. I think they’re a keeper — a “go-to” tomato — for me.

Choosing successful cultivars and staying loyal is one way to manage growing tomatoes in Florida. Although the weather can vary somewhat throughout the year, finding a proven winner that works in your climate is gardening gold.

Everglades, although indeterminate, are another go-to tomato for me. Although their size limits their usefulness somewhat, they grow and fruit in the chillier days of winter and the jungle heat of summer equally well.

So, do some experimenting to find the perfect go-to tomatoes for your Southern garden. Once you find those true-blue winners, you can experiment with other varieties without risking your whole food supply.  

Growing tomatoes in Florida, Homestead determinate
Homestead tomatoes doing well in the ground

Prepared for the Glut

It’s January now. This means that I’ll spend the next two months catering to tomato plants. I’ll get tons of fruit that I will then need to rush to harvest green in the face of every threatened cold snap.

We’ll have piles of half-green tomatoes all over the kitchen counter. Then, after my good intentions to puree, cook, strain, and freeze them become broken promises, I’ll chuck them into the freezer in plastic bags to deal with later.

But I’m ready. After all, there has to be some reward after all these months. Perhaps instead of saying I have a “love-hate” relationship with tomatoes, I should turn that around. I have a hate-love relationship with tomatoes. Because the hate really comes first.

I hate standing in the hot sun through September and October to prune them. I hate the constant and seemingly futile spraying of fungal preventatives only to be met by a plague of insects instead. I hate standing out in the bitter wind at midnight after a last-minute frost warning, trying to save them with old sheets. Especially when, comes the hour, the temperature turns out to be 10 degrees warmer than predicted.

But I love the fresh taste of homegrown tomatoes.

Posted on

Getting Started on Vegetable Container Gardening in the South

vegetable container gardening

With our erratic weather and poor soil, some gardeners in the South have all but given up on growing their own vegetables. But whether you live where the soil is red clay or soft sand, you can always focus on container gardening.

In fact, for years after moving to Florida I refused to try to grow anything outside of container gardening. Between poor soil and nematodes, I just couldn’t take the heartbreak of watching as my tomato plants fell one by one, stricken by fusarium wilt or malnutrition.

And even though I have now cultivated some nutrient-rich garden beds over the last couple of years, I still turn to containers every growing season.

If you’re one of the many that have resigned in disgust because of heat, humidity, bugs, or crummy soil, container gardening with vegetables may just be what you need to get your gardening mojo back.

Advantages to Container Gardening

Vegetables can be some of the most challenging plants to grow. Unlike flowers or decorative foliage, gardeners need to stay alert through every stage of a vegetable plant’s development. It would be so much easier if we just needed to get them to grow beautiful leaves or pretty flowers.

Most vegetables require a bit more. Many of them are pretty picky when it comes to the soil quality or moisture levels. Others are magnets for voracious insects that will strip month\’s worth of growth overnight.

Luckily, some of these challenges because so much easier to overcome when you’re growing vegetables in pots on a balcony or back porch.

Improved Soil Quality

The most significant advantage to container gardening is improved soil quality. Many gardeners have struggled for years trying to create the perfect loam in their garden beds. They add compost, manure, and mulch. They encourage earthworms and assemble massive irrigation systems.

But containers are easy. You can buy the perfect soil for any vegetable plant and control what goes in your planters. And best of all, you can grow a wide variety of edible plants that require diverse types of soil when you’re using containers.

Sunlight and Temperature Control

While some vegetable plants need plenty of sun to thrive, others need a bit of shade to do well. With container gardening, you can move your vegetable plants around to take advantage of changing light patterns in your yard.

It’s a terrific way to keep cool-weather plants – like lettuce and spinach – protected from the hot sun and extend your growing season. I grow my lettuce in containers so I can start them early in the fall while it\’s still ab it hot and grow them into May just by moving them into the shade.

Longer Harvest

If you live in an area of the South that gets the occasional frost or even freeze, you can bring your container vegetables indoors to protect them. There’s no reason to let your tomatoes freeze when you can place them in a garage or enclosed porch overnight.

Gardening in a Small Space

Last, and certainly not least, if you have very little room, container gardening lets you grow more. Small yards aren’t a problem when you can stack planters vertically to add space for herbs, greens, and strawberries.

Even if all you have is a balcony or tiny patio, container gardening allows you to grow a wide range of vegetables and fruits.

Planning Your Container Garden

If you’re ready to get started growing your own fruits and vegetables in planters and pots, the first thing you need to do is devise a plan.

Container vegetable gardening 101 requires that you start keeping track of the conditions around your gardening space. Once you know how much rain and sunlight you have available in your outdoor space, you’ll want to create a container vegetable garden layout.

Container Vegetable Garden Layout.

Pick out the space you want to place your containers and spend a day off seeing where the light falls in the space. You’ll need at least six hours of sunlight a day to grow most vegetables. You may even want to sketch out your space the sunniest spots highlighted so you can position your plants for optimal production.

Also, get an idea of what kind of rainfall you can expect. Are there lots of trees blocking your container gardening space? What above overhangs? Make sure you have easy access to an outdoor hose bibb, in any case.

You’ll also need some outdoor storage space for your gardening supplies. Whatever your good intentions, it’s far easy to leave tools and products laying around. Unfortunately, this leaves them vulnerable to rust and degradation.

Make sure you have a watertight shed or cabinet for storing your tools and supplies.

SaleBestseller No. 2
Best Choice Products 48x24x30in Raised Garden Bed, Elevated Wooden Planter for Backyard w/Foot Caps,…
  • LARGE PLANTING SPACE: Designed with a long bed space (5CuFt) deep enough to…
Bestseller No. 3

Best Vegetables for Container Gardening

Once you have your space picked out, you’ll want to decide what kinds of plants you want to grow. Make sure the plants you choose are suitable for container gardening. But don’t be too surprised by the variety you can still grow in a pot.

For example, it never occurred to me to start growing snap peas in pots until I watched a little-known gardening show from Ireland that proved that they can do better in containers than in the ground.

Container gardening lettuce is also an easy-peasy solution for fresh salad greens. I grow my lettuce in shallow containers, planting a fresh one every week until I have about 12 growing at any given time. I use the cut and come again method, starting at the most mature. By the time I get through the last one, the first one has grown back enough to harvest again.

Container gardening herbs is one of the easiest steps for new gardeners, and many choose a large container to grow a number of different herbs together. However, make sure that you don’t mix herbs with different growing needs. Mediterranean herbs, like oregano, rosemary, and thyme, all need drier conditions than fast-growing herbs with high demands like basil, tarragon, and mints.

One excellent method to approach container gardening is to choose compact varieties of your favorite plants. For example, if you want to grow tomatoes, consider patio tomatoes or even Tiny Tim or Tumbling Tom varieties.

If you’re keen on beans, then consider bush beans instead of pole varieties, which need 6 feet of trellis and can run amok.

If you’re brand new to gardening, pick a handful of basic vegetable plants that you know you’ll enjoy eating. Check with your local extension office to find out what’s growing best this season.

Simple Container Garden Ideas

And if you just want to dip your toe into container gardening, consider the following themes for one or two planters to get started:

Salad in a Planter

In a large planter, add Tiny Tim tomatoes, Mesclun mix lettuce, a few radishes, and maybe a fast-maturing bush variety of cucumber. EarthBoxes and other self-watering containers are perfect for “Salad in a Planter” setup

Mixed Herb Container Gardens

Another great container gardening idea for beginners is mixed herb container gardens. Depending on the varieties you want to grow, you may need two or three large containers. For most culinary herbs like oregano, rosemary, thyme, and marjoram, you’ll need one large container with low-nutrient soil with good drainage. For lusher herbs, like basil, tarragon, parsley, and cilantro, add another container with richer potting soil and even a self-watering reservoir.

Best Soil for Container Vegetables

The best soil for container gardens really depends on what you’re planning to grow. Most vegetables have optimal conditions depending on their origins. Most do well with potting soil mixes that contain organic material and soil lighteners, for loose potting soil.

Check the label on your potting soil and look for things like peat moss, coconut coir, tree bark, vermiculite, and perlite.

It’s possible to use plain garden soil from your yard, but you’ll need to amend it drastically if you have poor soil, like I do. However, British horticultural hero, Monty Don, recommends putting a shovelful of garden soil in containers to add natural bacteria and micro-organisms. So, don’t worry if you accidentally used garden soil in pots for container gardening.

Tips for Choosing Containers for Gardening

Now that you know how much space you have and what you’ll be growing, it’s time to choose containers. For safe container gardening, make sure you use natural materials or at least food-safe plastics.

That said, you can find many cheap containers to grow vegetables by using a little imagination and by recycling and upcycling old materials. Some gardeners – like myself – have been reusing the same free landscape pots from other plants for years and years.

Safe materials

While you want your container garden to look attractive, you also want to be sure you use materials that work well for your vegetable plants. For example, terra cotta is a classic beauty, but here in Florida, they dry out far too quickly to sustain demanding veggies like tomatoes and eggplant. I only use them for culinary herbs and arid-loving ornamentals.

If you’re planning to move your vegetable plants often, you may want to stick to plastic containers. Some are quite decorative and best of all, easy to move.

The color of your containers can also impact your vegetable plants. Here in the South, dark containers can kill delicate vegetable plants in a single summer day. They\’ll absorb heat from the sun and send the temps in the soil skyrocketing. I only use these in the winter or in partial shade. The rest of the time and in very sunny spaces, I stick to light-colored pots.

Size counts

While many gardeners start seeds in small starter trays and move them to larger pots later, you don’t want to have to transplant your vegetable plants too often.

Transplanting is sure to cause a little shock, and since vegetables need to grow and flower and fruit so quickly, you don’t want to set them back any more than you must.

So, make sure you have large enough pots for your container gardening, depending on the mature size of your plants.

Some common container sizes and the plants they accommodate are:

Half Gallon Pots

  • Bush Beans
  • Herbs
  • Salad greens

One Gallon Pots

  • Cabbages
  • Cucumber
  • Green beans
  • Leaf lettuce
  • Spinach
  • Chard
  • Cherry tomatoes
  • Patio Tomatoes

Three Gallon Pots

  • Eggplant
  • Sweet and hot pepper
  • Determinate tomatoes
  • Broccoli

Five Gallon Pots

  • Indeterminate tomatoes
  • Squash
  • Zucchini

Seven- or Ten-Gallon Pots

  • Potatoes
  • Sweet Potatoes
  • Blueberries

You can also grow a number of different vegetables in larger pots and planters, such as planting 12 to 14 peas in a three-gallon pot, etc.

DIY Garden Containers

You can even try your hand at getting creative by making your own garden containers. Many gardeners swear by five-gallon buckets from their favorite home improvement stores or local bakeries.

One year, I was enthralled by the idea of grow bags, but I didn’t want to spend the money to buy the 40 or more I needed. So, I just purchased some landscape fabric from the fall clearance section and sewed my own.

You can aim for practical or whimsical, but either way, before you take out the recycle bin, do some shopping around inside to see if you can convert anything to a growing container.

Container Gardening Tips

Now that you’re ready to start growing your healthy veg the easy and convenient way, here are a few pro tips to ensure a good crop.

You may wonder how often water container plants. The bad news is that containers can dry out very quickly, especially in the summer months. You may need to water up to twice a day. Consider self-watering containers or adding trays for a water reservoir under your containers.

Fertilize often and early. You can add organic matter or slow-release fertilizers, but since the resources your container plants have available is pretty limited, you may want to use liquid fertilizer. You can choose fish emulsion for an organic option or simple Miracle-Gro tomato food.

For the most bang for your buck, plant your vegetables sequentially. If your bush beans mature fully in 60 days, make sure you have something ready to go in starter trays to replace them for the rest of the season. Mix in a little composted manure after harvesting your beans and then add seeds you’ve already started for squash or cucumbers.

Get Growing

As winters grow increasingly mild in the South, the time to start container gardening with vegetables can be all year round. Here in Zone 10a, we’re enjoying 76 to 80-degree sunny days with mild nights that are perfect for fall and winter vegetables.

The best part is that if we get a cold snap, I can move my container gardening onto a warm, covered porch or even indoors. They’re also easier to cover with fleece when they’re in containers because I can huddle them together for warmth and cover more than one at a time. When the temps rise the next day, they can go back into their sunny slots in the yard.

Ready to grow your own? What are your favorite vegetables for container gardening?

Posted on

Growing Strawberry Plants in Florida as Perennials

Growing Strawberry plants in a Southern Garden

“It is a truth universally acknowledged that a Florida gardener in possession of a good fortune in October, must be in want of bare strawberry plant roots. ” ~ Plants and Prejudice

Fall and winter are the strawberry growing seasons here in Florida. But Florida gardeners do it differently than they do up North.

Despite the fact that I’ve lived in the South for over 26 years, I’m still a bit confused about it. Apparently, in Florida, strawberries are annuals.

That’s right. Come May (or June, or whenever), Florida growers and home gardeners pull and compost millions of strawberry plants.

Back in the summer of 2018, I preordered a big batch of strawberry plant roots — Radiance variety. In October, I planted my bare root crowns and watered and fertilized them diligently.

 Like many home gardeners, I potted them in shallow containers in rich potting soil rather than in the ground. (I’m partial to Jungle Growth brand.)

I got just a few fruits in December, but then they went kind of dormant, despite the mild winter.

I stuffed them with a high potassium tomato food and got some flowers in late January. Strawberries duly appeared in February and March and continued until May.

At that point, all of my gardening mentors suggest that I remove and compost them.

They’re no good anymore, they told me. They won’t produce again, they advised sagely. Burn ‘em.

But, rebel that I am, I refused to pull and dispose of perfectly good strawberry plants.

I continued to water them and feed them throughout the hot, wet summer. Then in September, I pretended I still lived in Ohio and repotted them in fresh potting soil.

Just in case, I also picked up some beautiful strawberry starts from a local feed store. I chose Sweet Charlies this year – mainly because that’s what they had. Sweet Charlies are early-season “June-bearing strawberries,” that, in Florida, produce from November to March.

That just shows you how messed up growing strawberries in Florida can be.

Growing Strawberry Plants Can Be Confusing

If you starting planning to grow them, you’ll see that there are three different types, all depending on their fruiting habit. There are four, if you include wild strawberries.

Frankly, I’m still in denial that I will likely never taste a wild strawberry again in my life. Growing up in northern Ohio, we used to pick and eat them covered in milk. It was heaven, really.

But as to varieties you can buy, you can choose from June-bearing, ever-bearing, or day-neutral types.

June-bearing strawberries seem to be the favorites in most of the country. They produce fat, bright-red berries that are simply irresistible to home gardeners.

Ever-bearing types give you two solid harvests during the growing season — one in spring and another in fall.

Day-neutral varieties produce continuously as long as the temperatures stay between 35 and 85 degrees Fahrenheit.  

Growing Strawberries in a Southern Garden

While I can only speak of growing strawberries in Florida -– and argue against the “annual” approach — there are plenty of excellent resources for growing them in other regions of the South.

Can you grow strawberries year round in Florida? Experts say no. While your strawberry plants may not die off in the summer, they won’t produce either. It’s just too hot!

StrawberryPlants.com has an excellent resource for finding the right variety of strawberries for your region.

My Strawberry Experiment

As I said, I couldn’t bear the idea of just tossing a bunch of strawberry plants.

I simply watered them and took care of them like any outdoor potted plant. I fed them once a month or so with a balanced fertilizer.

When the rainy season came, I applied my usual organic, copper-based anti-fungal. The bugs left them alone since they had no fruit. (My spring tomatoes were too much of a distraction.)

In the fall, I refreshed the soil, added a fat layer of hay on top, and began watering and feeding for production.

Low and behold, my 2018 Festivals started to deliver.

My strawberry plants in December 2019
December 13, 2019

I’m not an expert in growing anything, but I’m a passionate gardener who loves to experiment. I can’t guarantee that every gardener in Florida (especially in the southern zones) will be able to “over-summer” strawberries.

I can’t even guarantee that I’ll be able to do it again.

What I can say is that I’ve heard of one other gardener in my area that tried it successfully. And I can say that it’s worth trying.

Do you grow strawberries in your home garden? What zone are you in, and what varieties do you plant? I’d love to hear how other gardeners in the South approach strawberry growing.