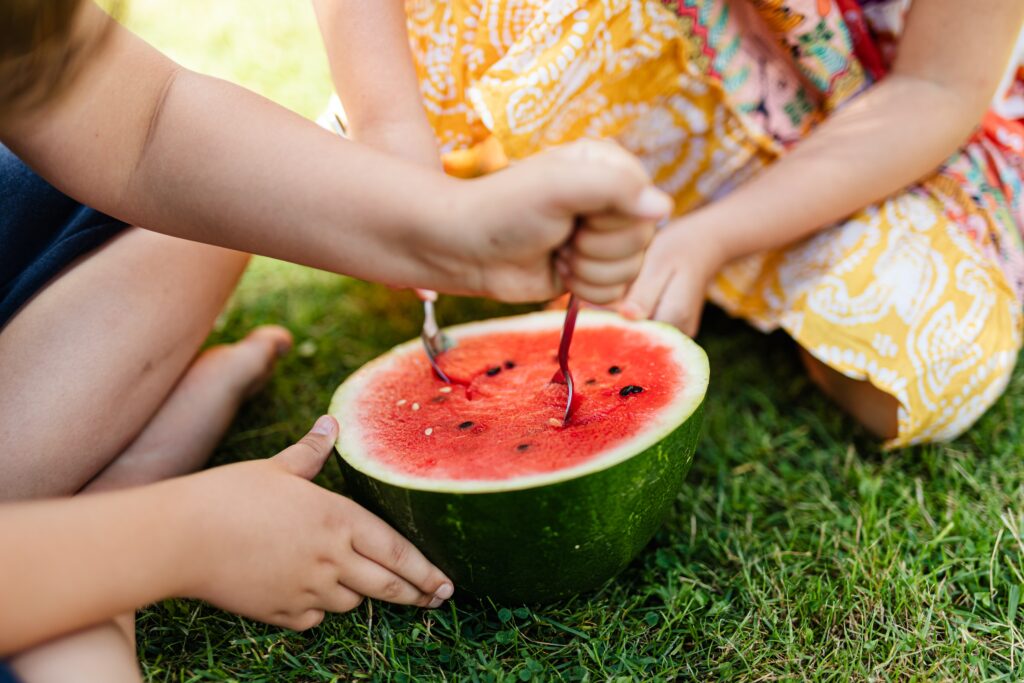
Watermelons, with their juicy sweetness and vibrant flesh, are a quintessential summer fruit. Known scientifically as Citrullus lanatus, watermelons thrive in warm, sunny climates and require a long growing season. Growing watermelon from seed can be challenging, but they’re worth the effort.

They are part of the Cucurbitaceae family, which includes cucumbers, pumpkins, and squash. Watermelons vary in size, shape, and color, with varieties ranging from the classic red to yellow and orange flesh.
They typically do well in USDA Hardiness Zones 3 through 11, but they need warmth and plenty of sunshine to develop their characteristic sweetness.
In cooler climates, watermelons benefit from an early start indoors and protective measures to ensure a successful harvest.
When to Start Watermelon Seeds

The timing for starting watermelon seeds depends on your specific climate zone:
In Zones 3-5
Begin sowing watermelon seeds indoors about 6 weeks before the last expected frost date. This gives the seedlings a head start in regions with shorter growing seasons.
Alternatively, you can direct sow seeds in the garden after the danger of frost has passed and the soil has warmed up, usually in late spring or early summer.
In Zones 6-8
Start seeds indoors about 4 weeks before the last frost date to extend the growing season.
Or, sow seeds directly into the garden once the soil temperature consistently exceeds 70°F (21°C), typically in late spring.
In Zones 9-12
In these warmer areas, you can start seeds indoors about 2-3 weeks before the last frost date or whenever you need to protect small seedlings from the pests or the weather until they’re sturdy enough to plant out.
Direct sowing can be done as early as late winter or early spring, ensuring the soil is warm enough for seed germination.
For all zones, whether starting seeds indoors or sowing directly, ensure that soil temperatures are suitable for germination. Watermelons require warm conditions both day and night, making soil temperature a critical factor in successful germination and growth.
How to Start Watermelon Seeds
Starting watermelon seeds indoors can give these warmth-loving plants a head start, especially in cooler climates. Here’s a step-by-step guide to effectively start watermelon seeds:
Choosing or Making a Seed Starting Mix
Watermelon seeds thrive in a light, well-draining seed starting mix. A mix of coconut coir and perlite in equal parts is ideal, as it provides good aeration and moisture retention.
Choosing Containers for Starting Seeds
Watermelon starts can outgrow their containers pretty quickly, so we recommend starting them in 3″ pots.
Depth to Plant
Plant watermelon seeds at a depth of about 1/2 inch. Covering the seeds with soil helps maintain the necessary moisture for germination while allowing the seedlings to emerge easily.
Moisture Requirement for Seeds
Maintain consistent moisture in the seed starting mix. Watermelons require evenly moist soil for optimal germination, but be careful to avoid overwatering.
Optimal Temperature for Germination
The ideal temperature for watermelon seed germination is between 75-90°F (24-32°C). A heat mat can be used to maintain this temperature range, especially in cooler environments.
Light Requirements for Germination
Once the seeds are planted, they need bright light to germinate properly. Place the seed trays in a sunny window or under grow lights to ensure they receive enough light.
Time to Germination
Under optimal conditions, watermelon seeds usually germinate within 7-10 days, but this can vary based on temperature and other environmental factors.
Prepare the Garden Bed for Growing Watermelon
Preparing a garden bed for watermelons using a no-dig or no-till approach fosters a healthy soil ecosystem and is beneficial for these fruit-bearing plants. Here’s a step-by-step guide:
Choosing a Location
Watermelons require full sun, so choose a location that receives at least 6-8 hours of direct sunlight daily.
Select an area with well-drained soil. Watermelons prefer consistent moisture but not waterlogged conditions.
They thrive in fertile, loamy soil with a neutral to slightly acidic pH. Rich organic matter content is beneficial.
Preparing the Garden Bed

Start by spreading a thick layer (about 4-6 inches) of organic matter such as compost, aged manure, or leaf mold over the intended planting area. This layer will provide nutrients and improve soil structure.
If the soil is compacted, you can loosen it gently with a garden fork. Cover the organic matter with a layer of mulch, like straw or wood chips. This helps retain moisture, suppress weeds, and over time, it will break down and further enrich the soil.
Prepare the garden bed right after sowing the seeds indoors and allow the bed to rest for a few weeks before planting. This time lets the organic matter start to integrate with the soil below and encourages beneficial microbial activity.
If possible, test the soil’s pH. Watermelons prefer a pH of around 6.0 to 6.8. Adjust the pH if necessary using organic methods.
When ready to plant, move aside the mulch and make mounds or holes for your watermelon plants or seeds. This minimizes soil disturbance and maintains the integrity of the no-till bed.
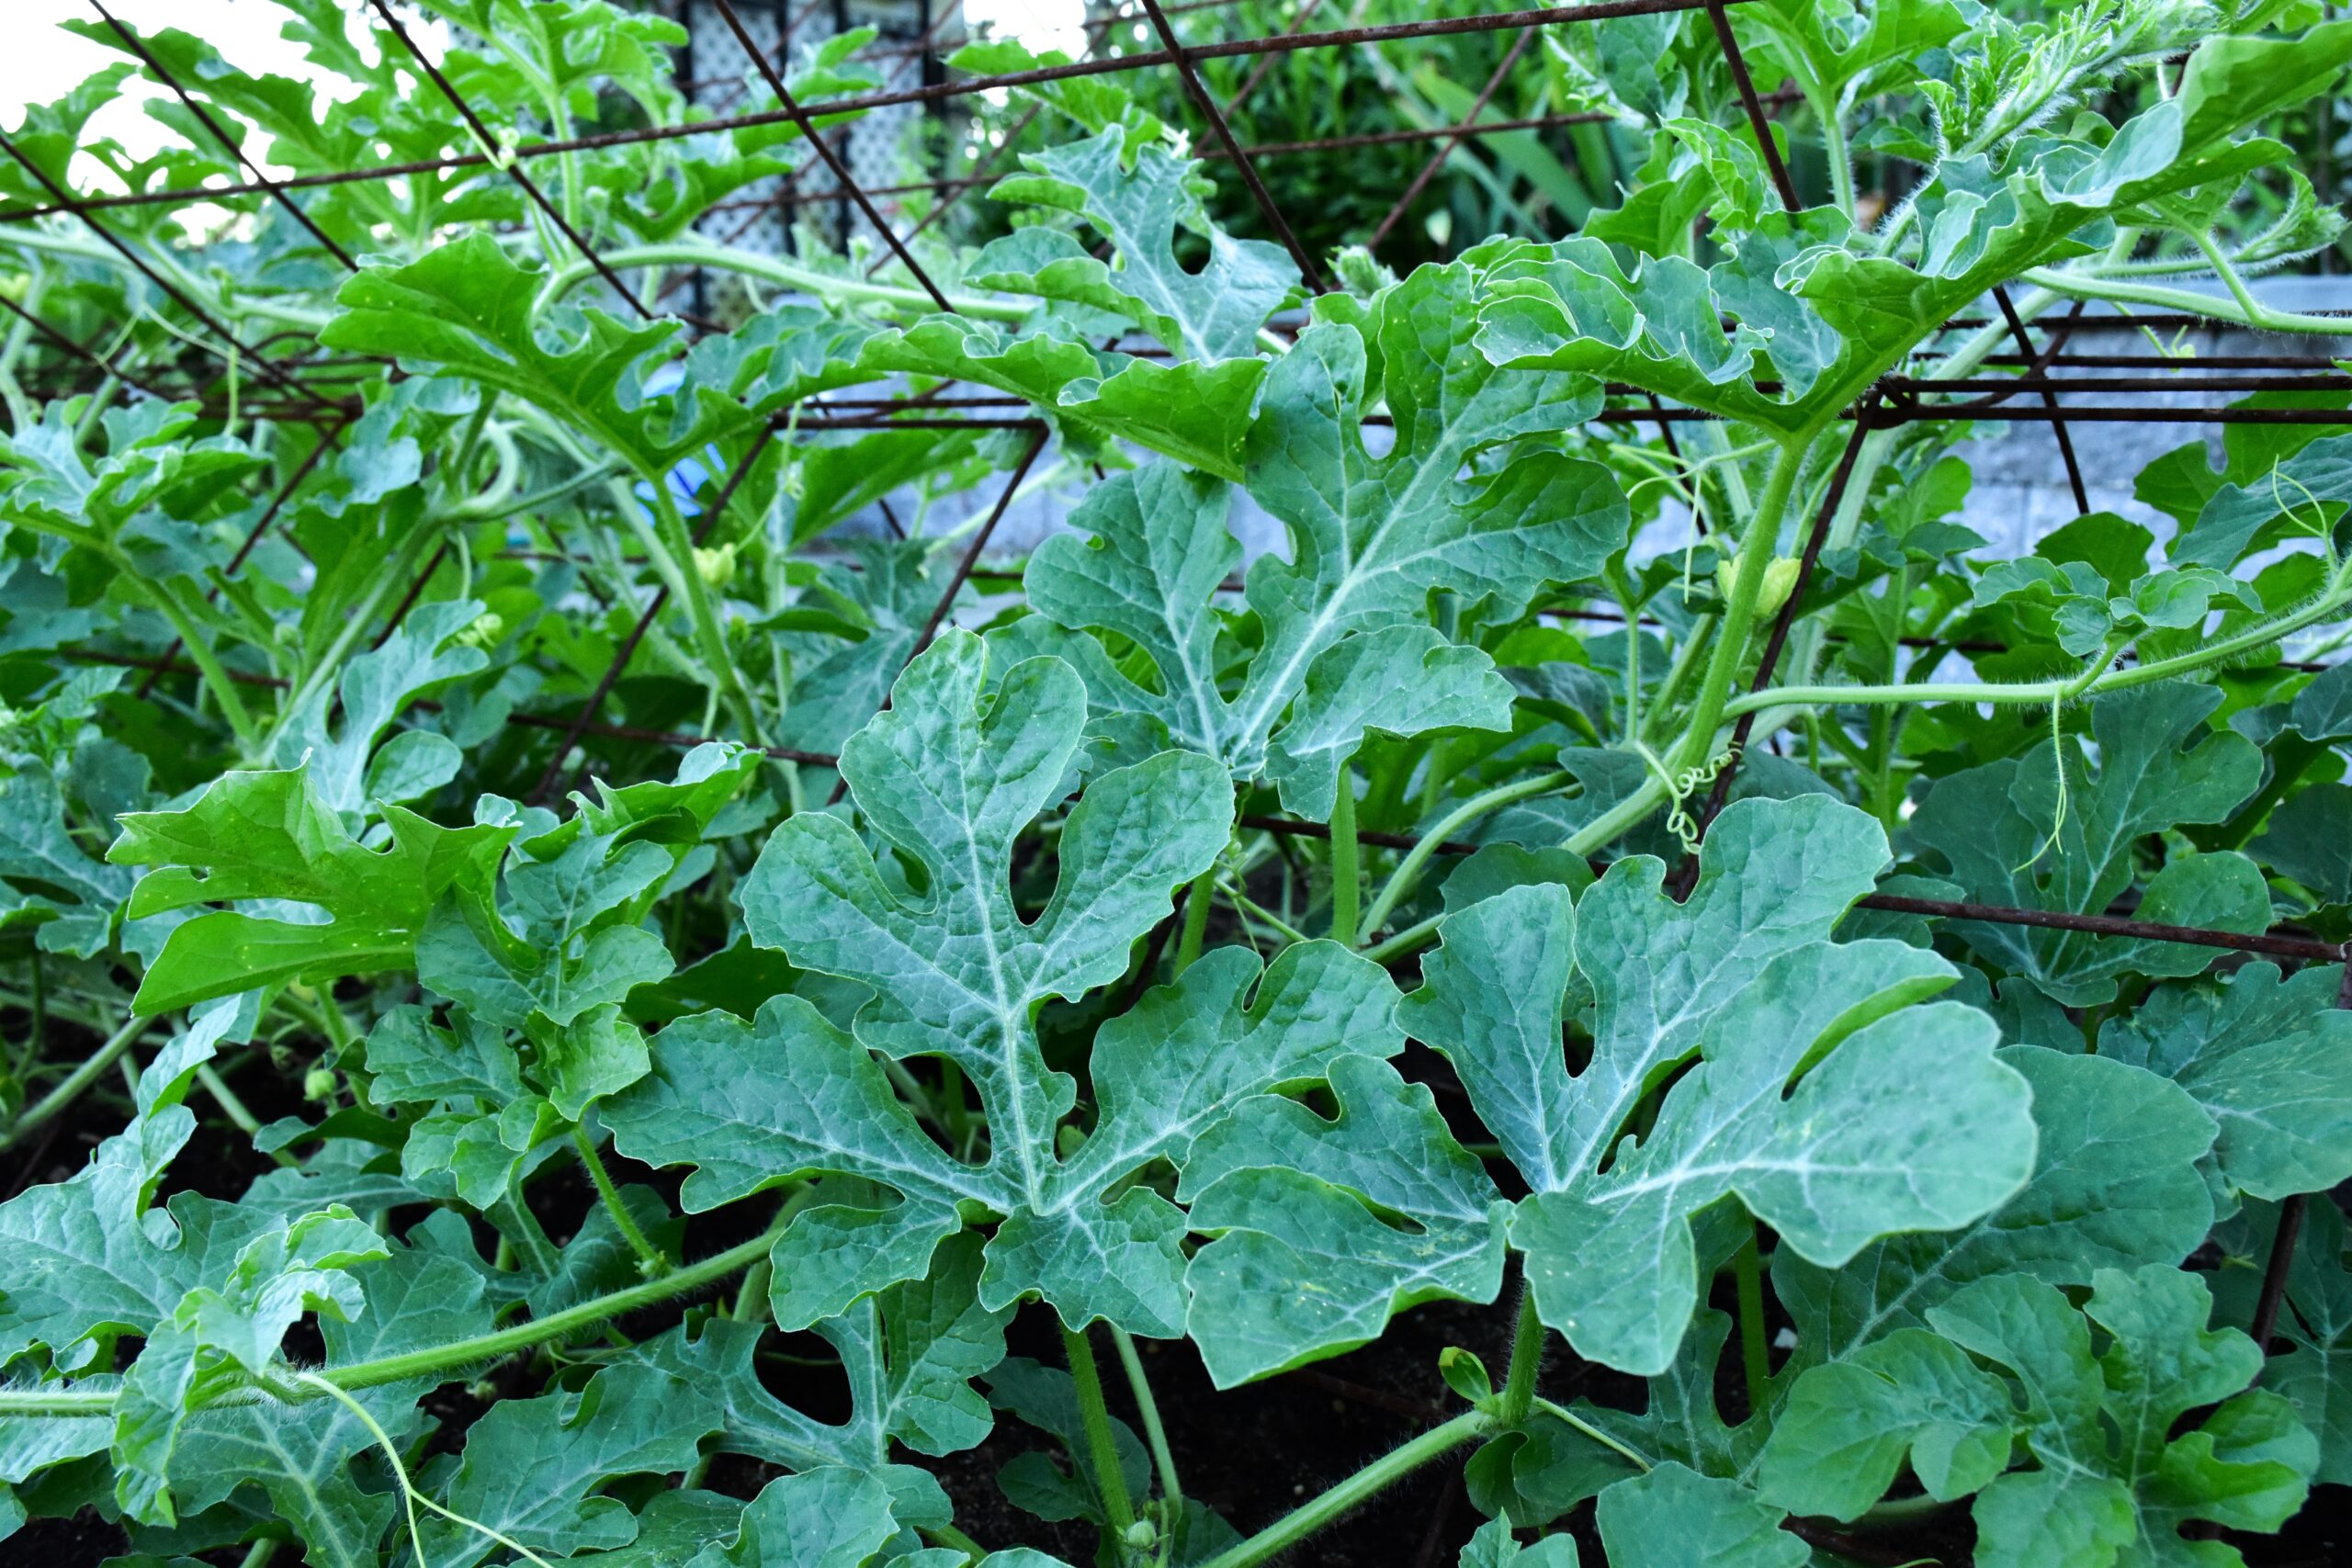
Providing Support for Growing Watermelons
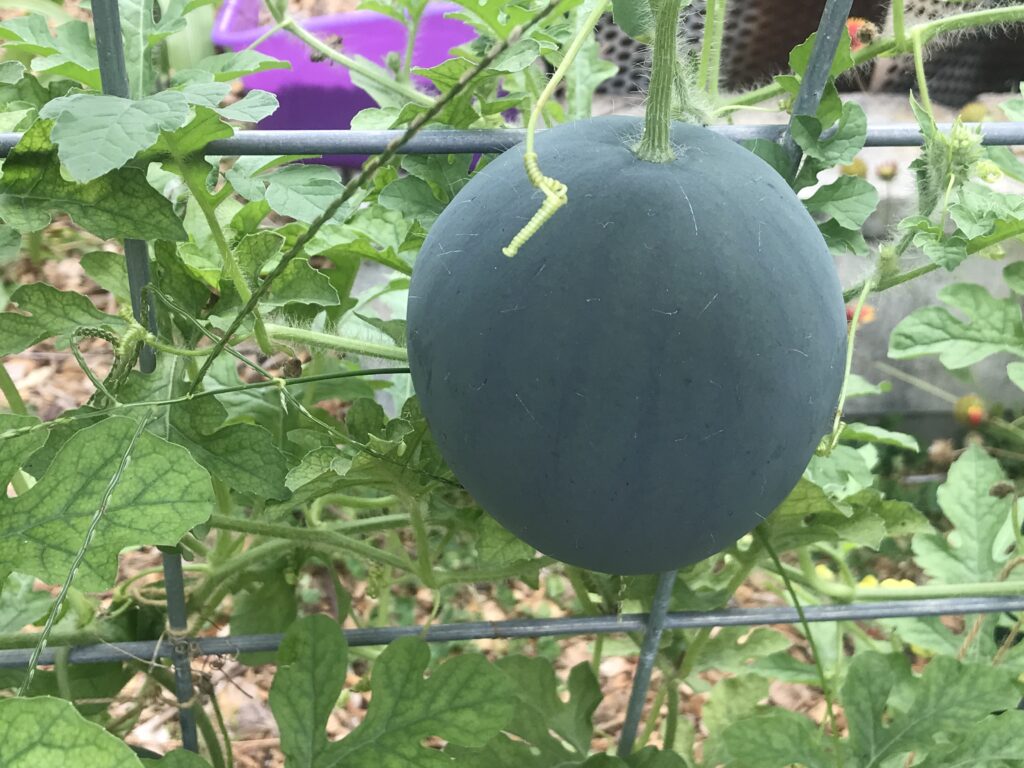
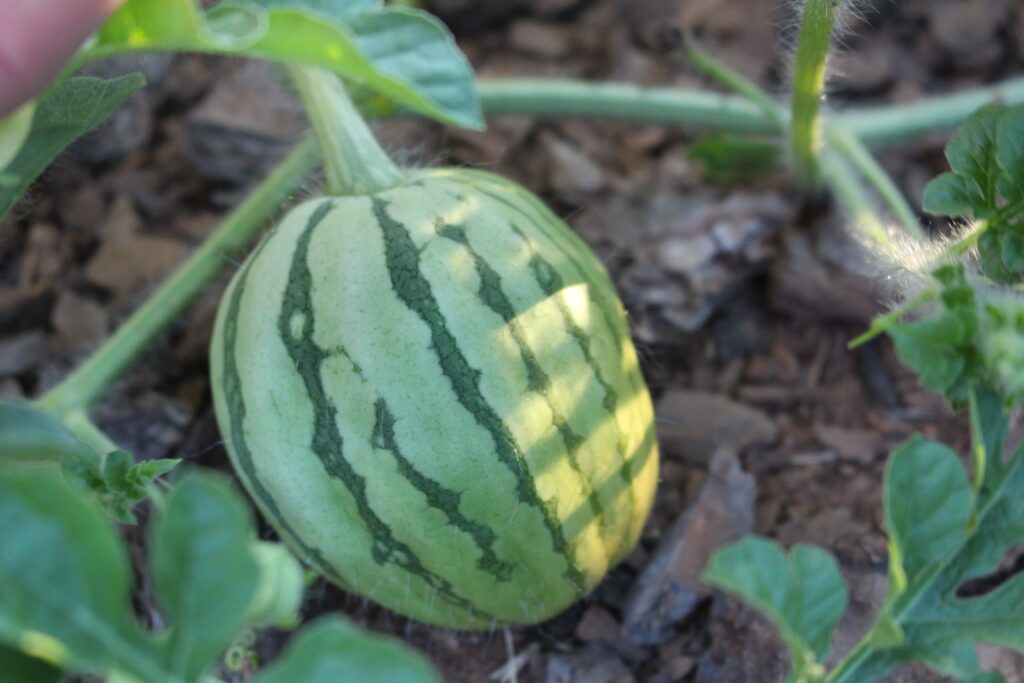
Support structures are particularly beneficial for small watermelon varieties like Sugar Baby, as they help manage space, improve air circulation, and keep the fruit off the ground. Here are some ideas for supports and instructions on how to set them up:
Store-Bought Supports
Sturdy trellises are excellent for supporting watermelon vines. Look for trellises that can handle the weight of growing watermelons.
Durable garden netting or mesh can be used with frames or stakes to create a support structure, ensuring it’s strong enough to support the fruit.
Build a wooden trellis using vertical posts and horizontal crosspieces. Ensure it’s securely anchored in the ground.
Construct a frame with PVC pipes and attach sturdy netting or mesh. This lightweight structure can be customized to fit your garden’s layout.
Create an A-frame or teepee using bamboo poles or similar materials. Stretch strong twine or netting between the poles for the vines to climb.
When to Install Supports
Install your chosen support structure at the time of planting or just before the vines begin to spread. This prevents damage to the developing plants and makes training the vines easier.
Ensure the support is stable and robust enough to hold the weight of the fruit.
Position the trellis or frame to maximize sun exposure and air circulation.
Leave enough space around the structure for easy maintenance and harvesting.
Supporting the Fruit
As the watermelon fruit grows, it may need additional support to prevent it from pulling down the vine or falling off. Use slings made from stretchy material like pantyhose or soft cloth to cradle the fruit and distribute its weight evenly on the support.
How to Direct Sow Watermelon in the Garden
Direct sowing watermelon seeds in your garden can be a straightforward and rewarding process. Here’s a step-by-step guide:
Depth to Plant
Sow watermelon seeds at a depth of about 1 inch. This depth ensures that the seeds have enough soil coverage to retain moisture while being close enough to the surface to germinate effectively.
Spacing
Space the planting spots about 3-6 feet apart, depending on the variety. Watermelon vines need plenty of space to spread out.
If planting in rows, maintain a distance of 6-8 feet between each row to provide ample room for vine growth and air circulation.
Watering In After Planting
After sowing, water the area well to moisten the soil. The soil should be kept consistently moist until germination occurs.
Use a gentle spray to avoid disturbing the soil and displacing the seeds.
Thinning
Once the seedlings emerge and grow a few inches tall, thin them to keep the strongest plant at each spot. This process ensures that each watermelon plant has enough space and resources to grow optimally.
Mulching
Apply a light layer of organic mulch around the seedlings to help retain soil moisture, regulate soil temperature, and suppress weed growth.
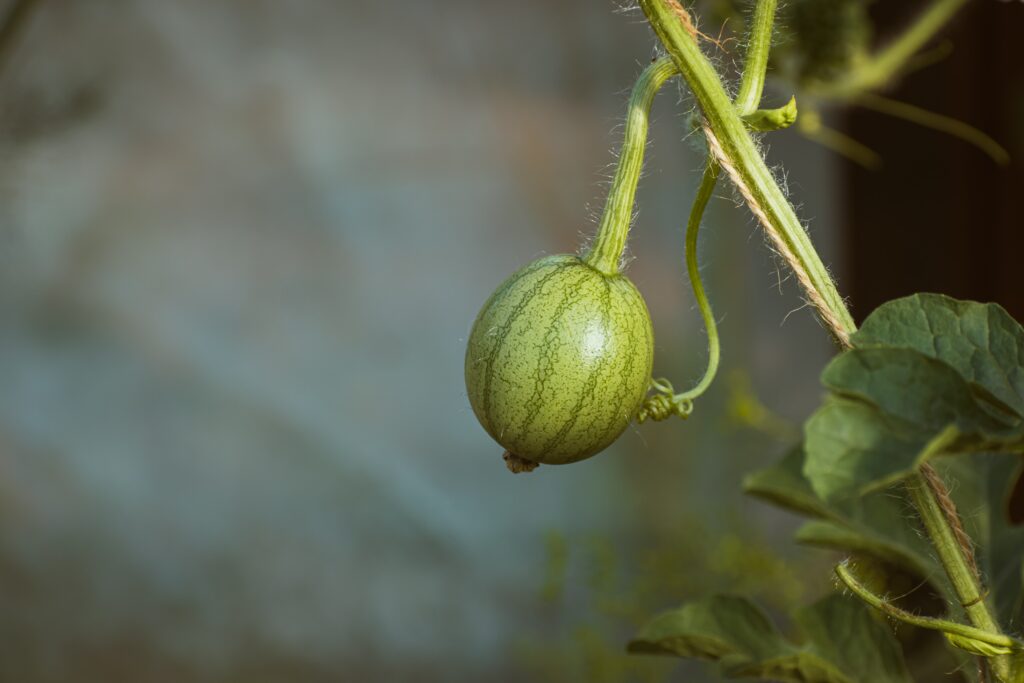
Trellising
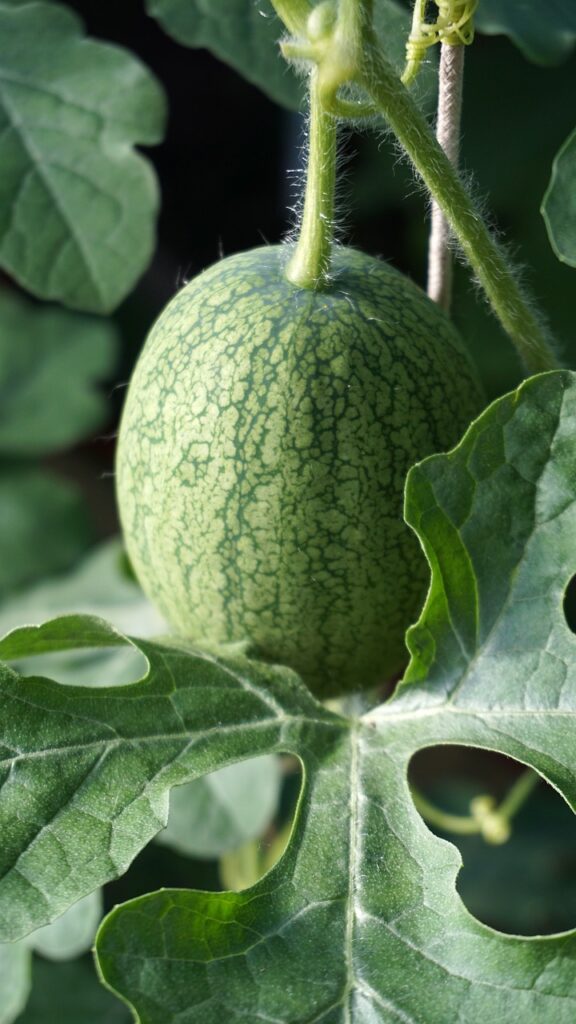
For smaller watermelon varieties, consider using trellises to keep the fruit off the ground. This is especially useful in smaller gardens or to keep the fruit clean and reduce the risk of rot and pest infestations.
Install trellises at the time of planting or shortly after to avoid disturbing the roots later.
Are Your Watermelon Starter Plants Ready to Plant Out?
Determining the right time to transplant watermelon starter plants is key to their successful growth outdoors. Here’s how to tell when they’re ready:
Watermelon starter plants are usually ready for transplanting when they have at least two to three true leaves and are about 3-4 inches tall. True leaves are the leaves that emerge after the initial seed leaves (cotyledons).
Check the roots by gently removing a plant from its container. The roots should be well-developed and visible but not overly crowded.
Hardening Off Watermelon Starter Plants
Hardening off is the process of gradually acclimating indoor-grown plants to outdoor conditions. Here’s how to harden off your watermelon starters:
About 7-10 days before transplanting, begin exposing your watermelon plants to the outdoors. Start with 1-2 hours per day in a shaded, sheltered spot.
Gradually increase the time the plants spend outside each day, adding more sunlight and exposure to outdoor temperatures.
Be cautious of extreme temperatures or harsh conditions. Avoid putting young plants outside on very windy days or when there’s a risk of frost.
Continue to water the plants as needed during the hardening-off period.
By the end of the hardening-off period, your watermelon plants should be able to withstand a full day outside in the conditions they will face in the garden.
How to Plant Out Watermelon Starters into the Garden
When transplanting watermelon starters into the garden, here’s what to do:
Depth and Spacing
Plant watermelon starters at the same depth they were growing in their containers.
Space the plants about 3-6 feet apart, depending on the variety. Allow enough space for the vines to spread.
Mulching
After planting, apply a layer of organic mulch around the plants. Mulch helps retain soil moisture and suppresses weeds.
Watering In After Planting
Water the plants thoroughly after transplanting. This helps settle the soil around the roots and provides the necessary moisture for establishing.
Trellising
For smaller varieties or to save space, you can use trellises for your watermelon plants. Set up the trellis at planting time to avoid disturbing the roots later.
Caring for Watermelon Plants
Watermelons are vigorous growers that require regular care to produce large, sweet fruits. They thrive in warm weather and need consistent attention, particularly in terms of watering, feeding, and vine management.
Watering
Consistency is Crucial: Watermelon plants need consistent moisture, especially during the fruit development stage. Provide regular watering to keep the soil evenly moist.
Overwatering can lead to waterlogged soil and potential root problems. Ensure the soil has good drainage.
As the fruits near harvest, reducing the amount of water can help concentrate sugars in the fruit, enhancing their sweetness.
Feeding
Feed watermelon plants with a balanced fertilizer that has equal parts nitrogen, phosphorus, and potassium. Apply as per the product instructions, typically once every 3-4 weeks.
Too much nitrogen can promote foliage growth at the expense of fruit development.
Weeding
Regularly remove weeds around your watermelon plants. Weeds compete for nutrients and water, which are vital for your watermelons.
Weed carefully around the plants to avoid disturbing the roots.
Supporting and Tying Up
For smaller varieties or to save space, trellises can be used to train the vines. This keeps the fruit off the ground, reducing the risk of rot and pest issues.
If using a trellis, gently tie the vines to the structure as they grow. Use soft materials like cloth strips or twine.
As the watermelons grow larger, they may need additional support. Netting or fabric slings can be used to cradle the fruit and distribute its weight evenly on the trellis.
Tips and Tricks for Growing Watermelon
Successfully growing watermelons involves more than just basic care; it requires attention to specific practices and organic methods to ensure the best growth and fruiting. Here are some tips for cultivating healthy watermelons:
General Growing Tips
Here are a few helpful tips for growing watermelon:
Before planting, warm up the soil using black plastic covers or fabric. This can speed up germination and early growth, especially in cooler climates.
Ensure good pollination for fruit set by attracting bees and other pollinators to your garden. You can do this by planting a variety of flowers nearby, including borage and cosmos.
Organic Ways for Addressing Pests
Attract natural predators like ladybugs and lacewings to your garden to control pests such as aphids and mites.
Use row covers to protect young plants from pests. Remember to remove them during flowering to allow for pollination.
Use mild, organic insecticides like insecticidal soap for controlling pest infestations. Apply them in the evening to avoid harming beneficial insects.
Organic Ways for Avoiding and Treating Disease
Space your watermelon plants properly to ensure good air circulation, which can prevent many fungal diseases.
Water at the base of the plant to keep the foliage dry and reduce the risk of fungal diseases.
Copper-based fungicides can be used as an organic option to treat fungal diseases. Follow the label instructions for application.
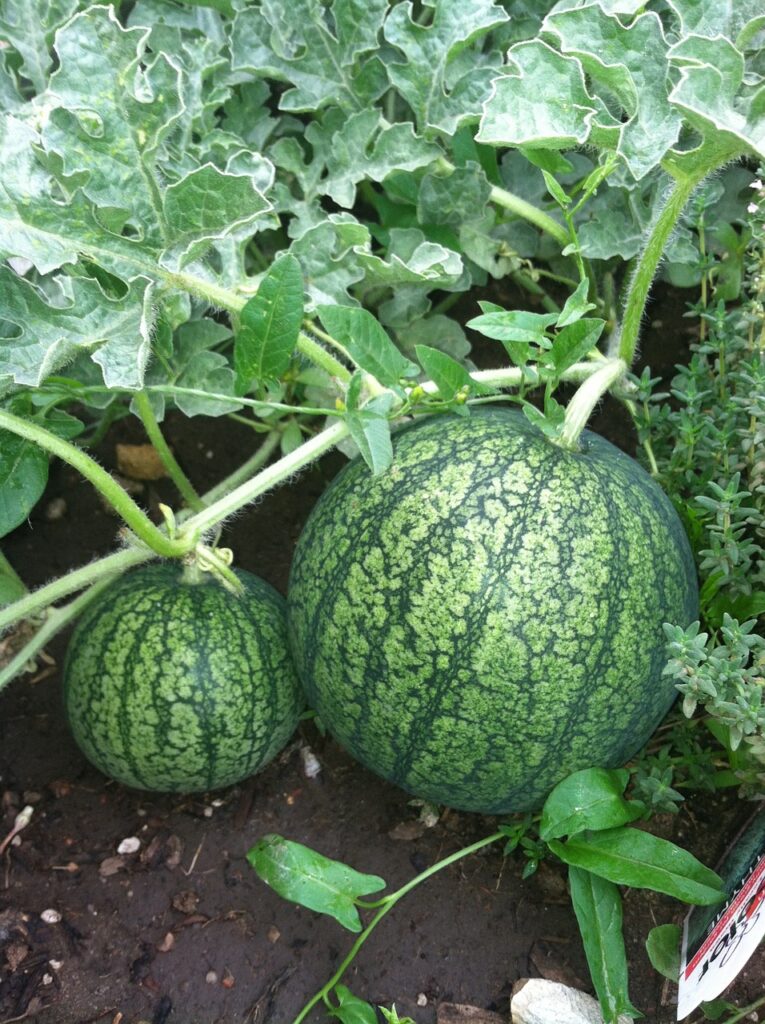
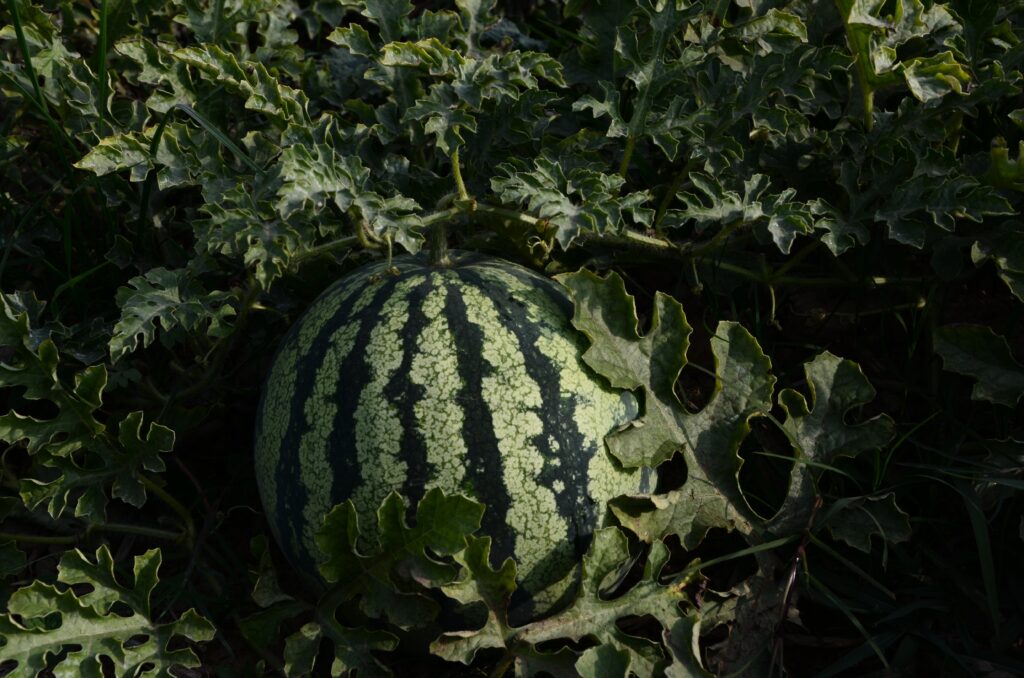
What to Expect of Your Watermelon Harvest
Timing is crucial for harvesting watermelons at their peak of sweetness. Here’s what to look for:
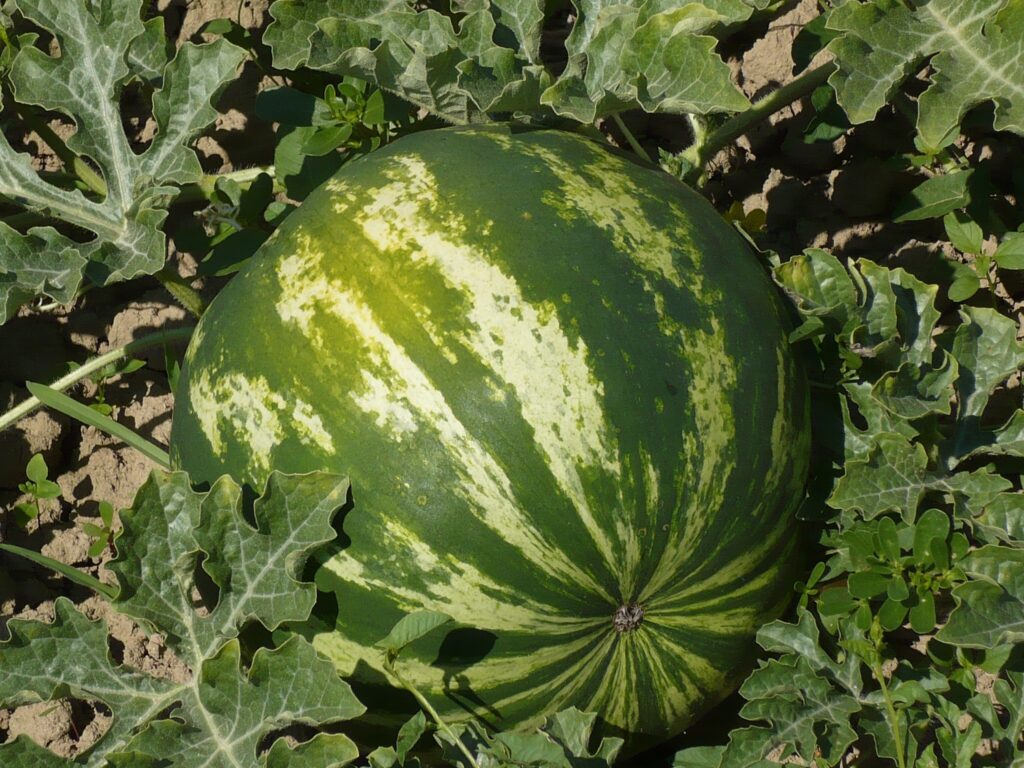
Watermelons typically take about 70 to 100 days from planting to reach maturity, but this can vary based on the variety and growing conditions.
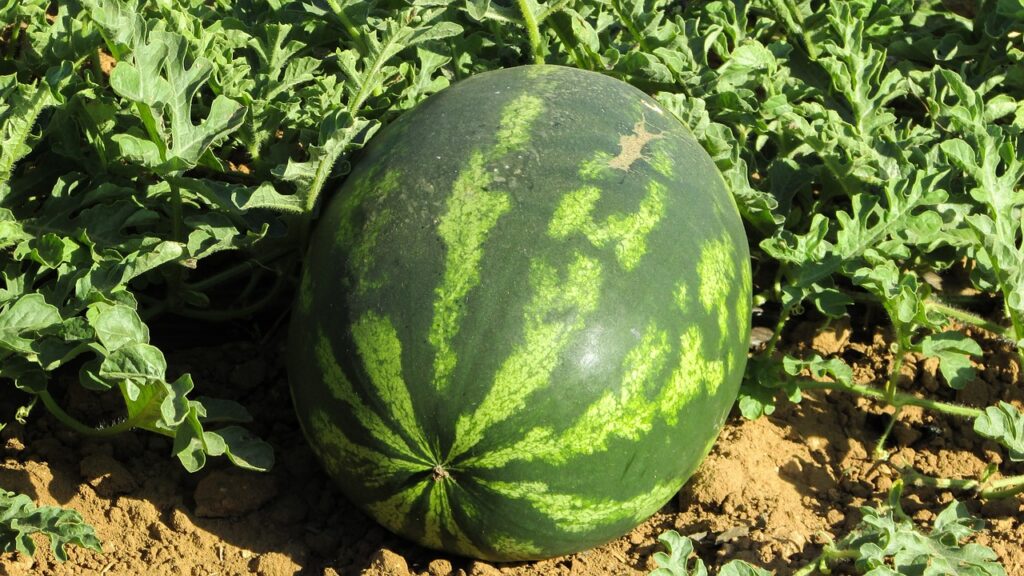
A ripe watermelon will have a dull appearance on the top and a creamy yellow spot on the bottom where it rests on the ground. When tapped, a ripe watermelon should produce a hollow sound.
The tendril closest to the fruit will dry out and turn brown as the watermelon nears maturity.
How and When to Harvest Watermelon
Besides the tendril indicator, look for the yellow ground spot and the dull appearance of the rind.
Cut the watermelon from the vine using a sharp knife or garden shears. Leave a few inches of stem attached to prolong freshness.
Harvest watermelons in the cool of the morning for the best flavor and to maintain freshness.
How to Store Watermelon
Before cutting, you can store watermelons at room temperature for about 7-10 days.
Once cut, wrap the watermelon in plastic and refrigerate to keep it fresh. Cut watermelon can be stored in the refrigerator for 3-5 days.
Freezing raw watermelon is not recommended as it can become mushy upon thawing.
Growing watermelon is a rewarding venture that brings the taste of summer right to your garden.
Watermelons offer a delightful and refreshing experience.