Roselle, scientifically known as Hibiscus sabdariffa, is a unique and versatile plant, highly regarded for its edible leaves, flowers, and calyces. Belonging to the Malvaceae family, which includes cotton, okra, and other hibiscus species, Roselle is cherished for both its culinary uses and ornamental beauty. Growing Roselle from seed is beneficial, both as an edible plant and as a lovely addition to your landscape.
Commonly referred to as the Florida cranberry, sorrel, or red sorrel in different parts of the world, Roselle is a tropical annual or perennial shrub. It thrives in warm, humid climates and is typically grown in USDA Hardiness Zones 8-11. However, it can be grown as an annual in cooler zones where summers are warm.

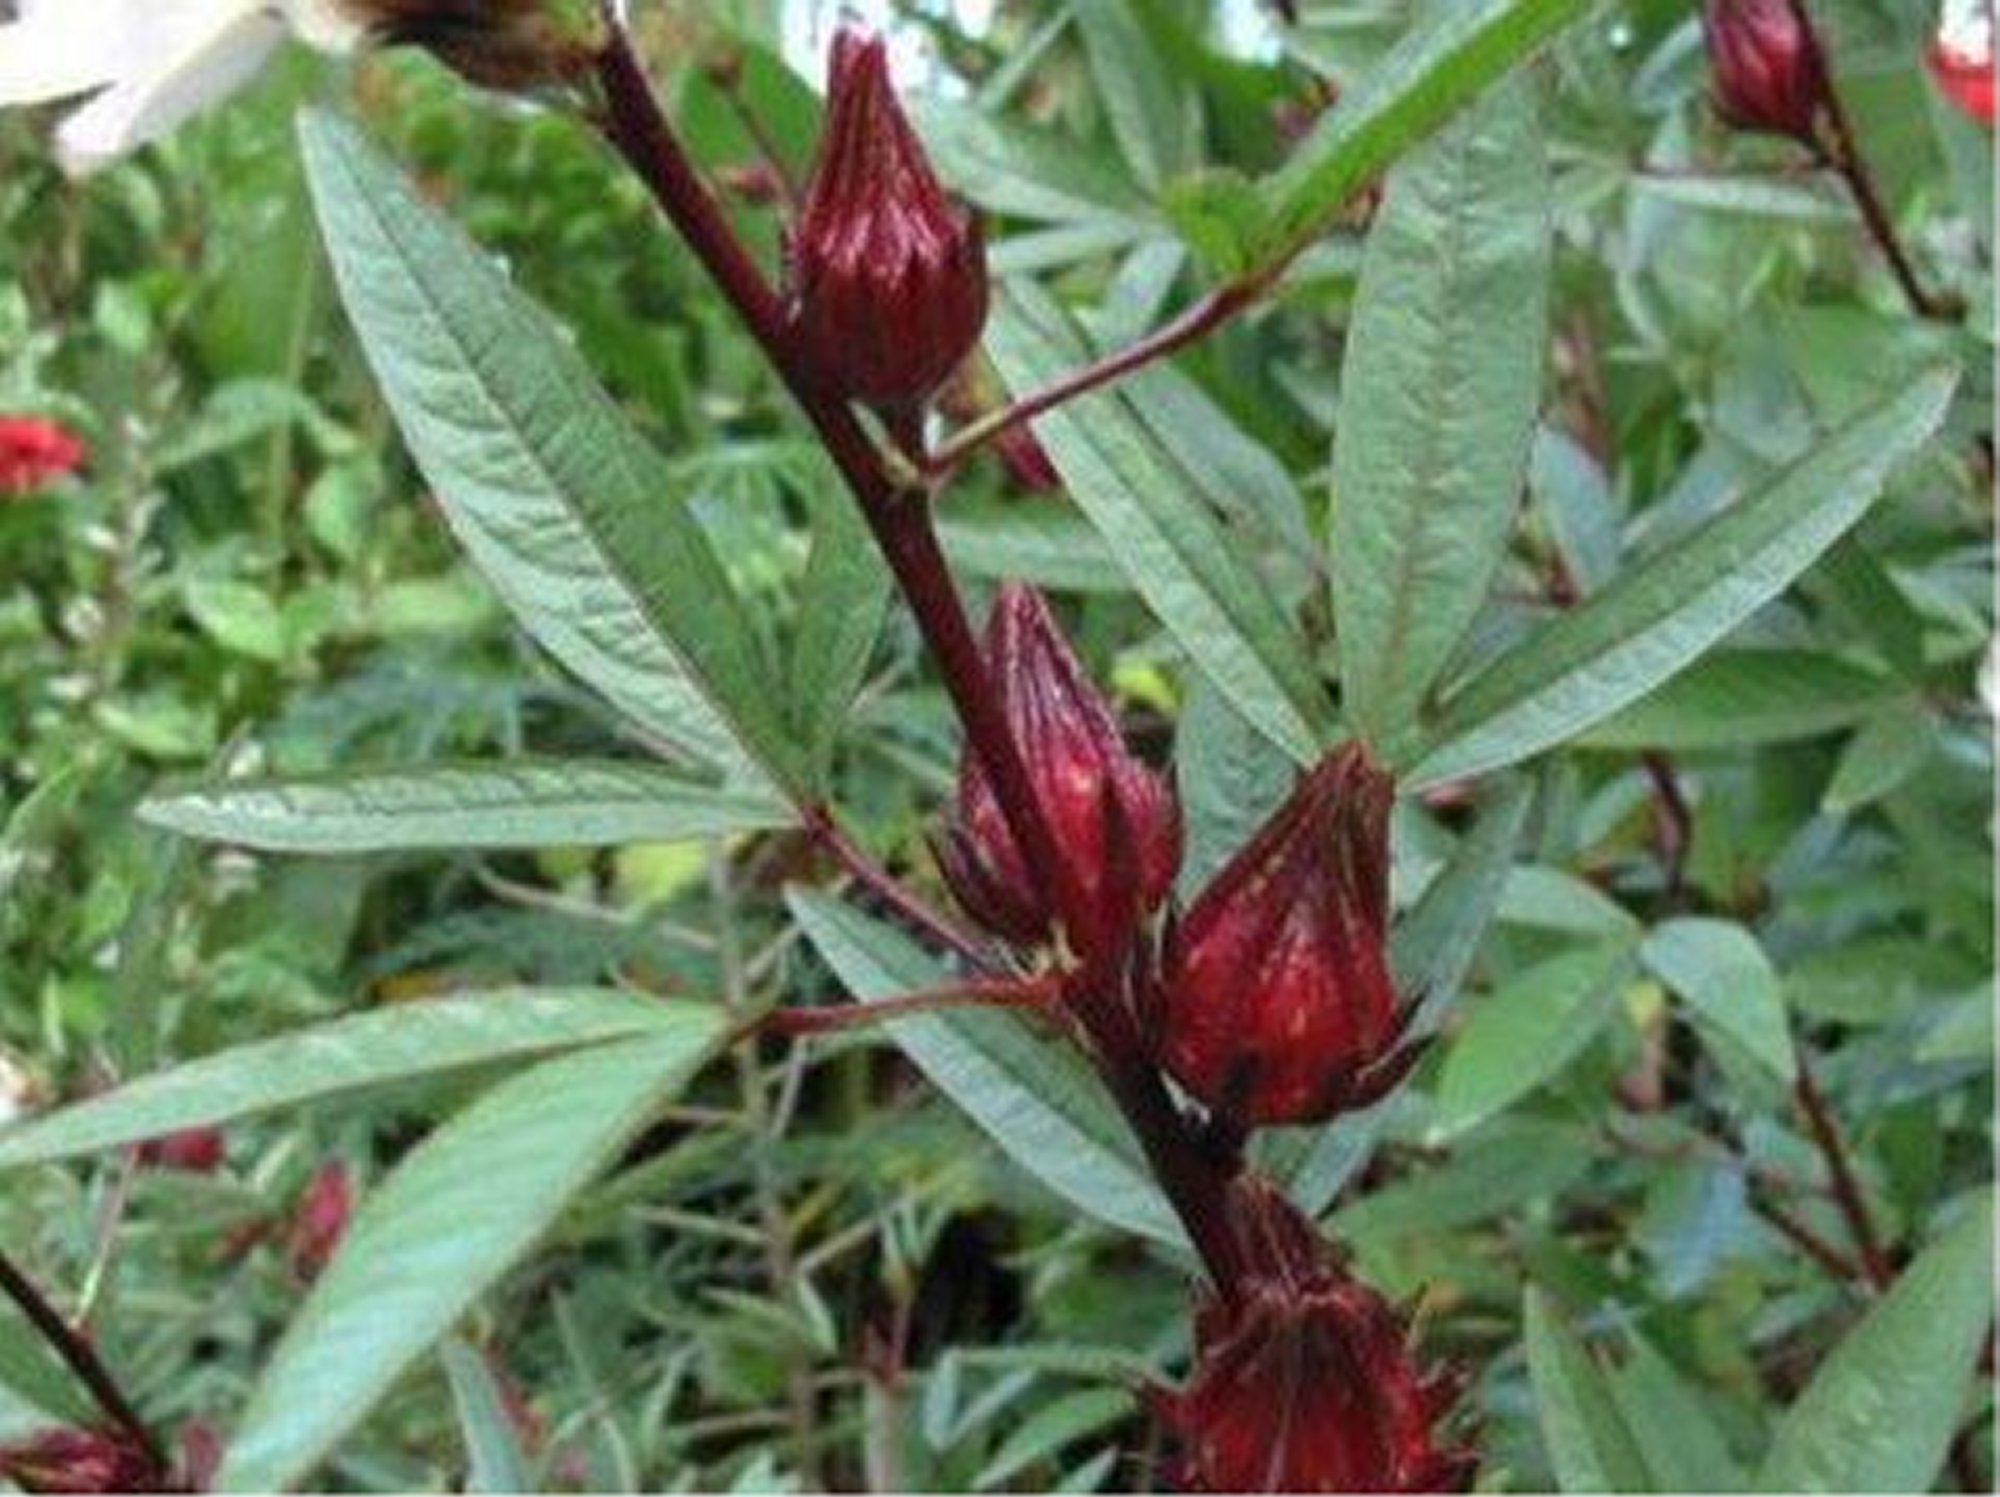
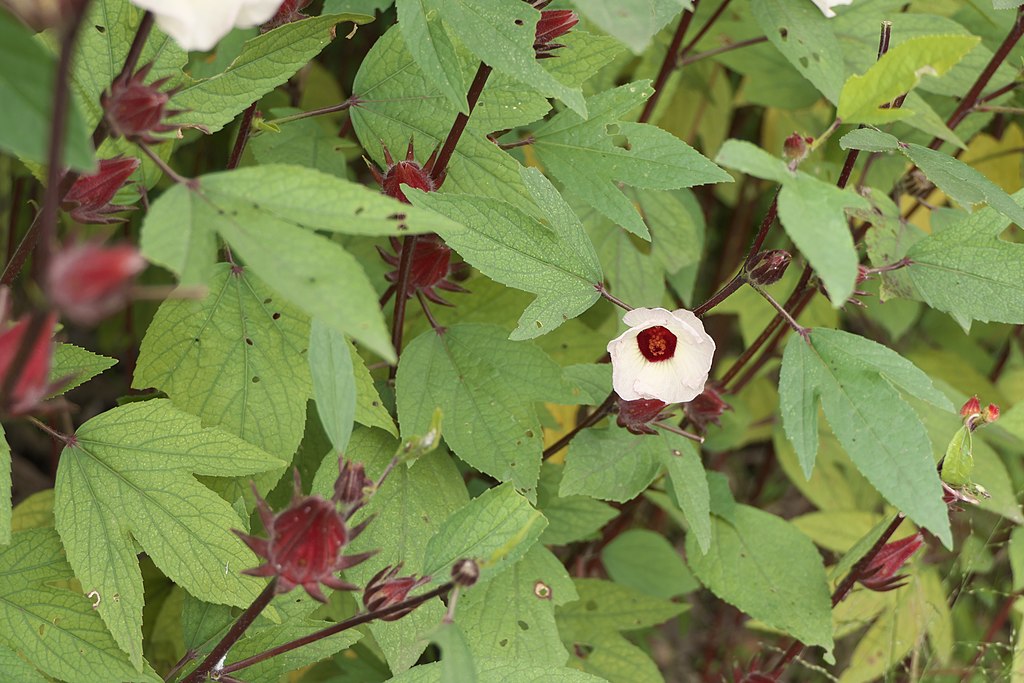
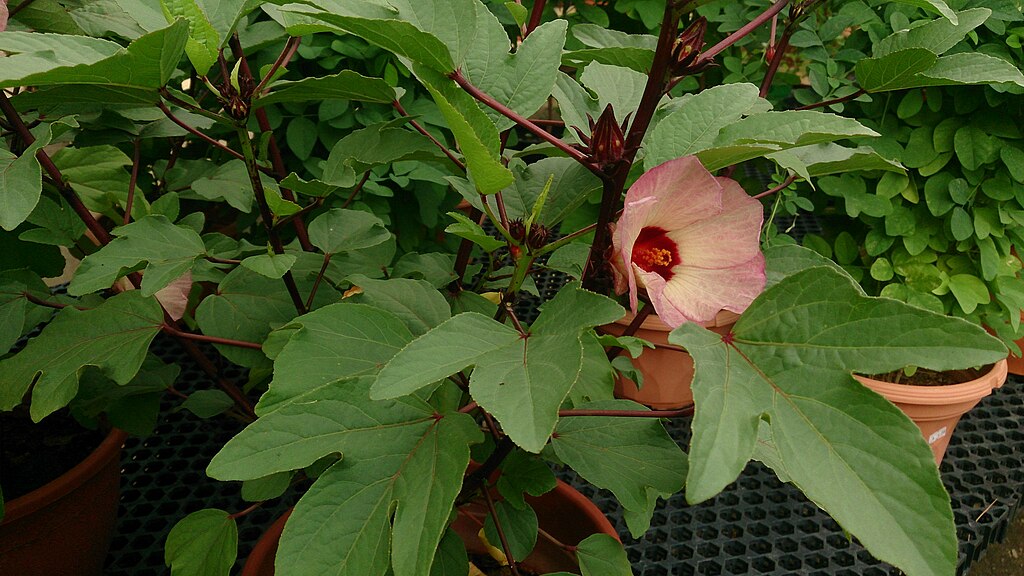
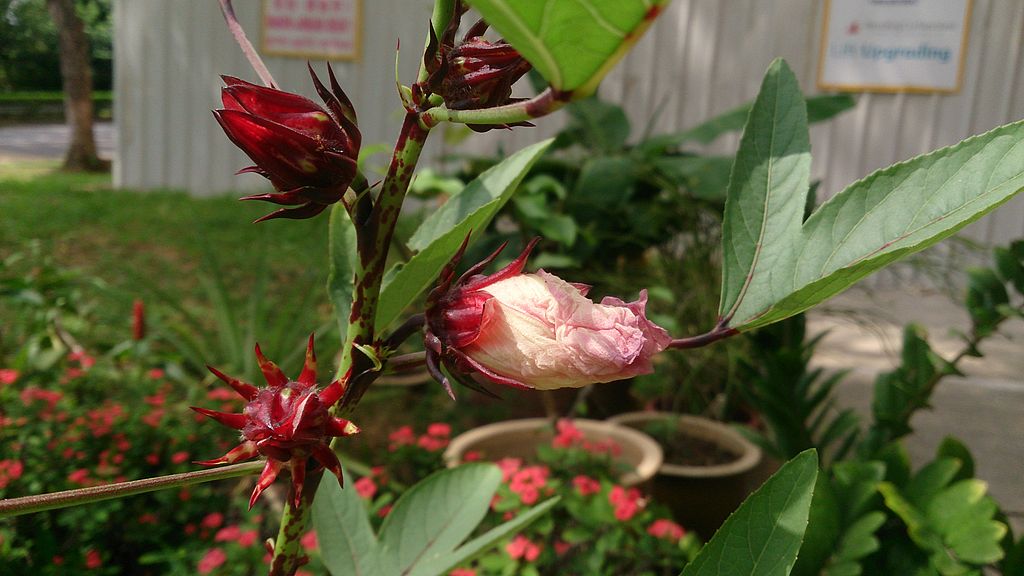
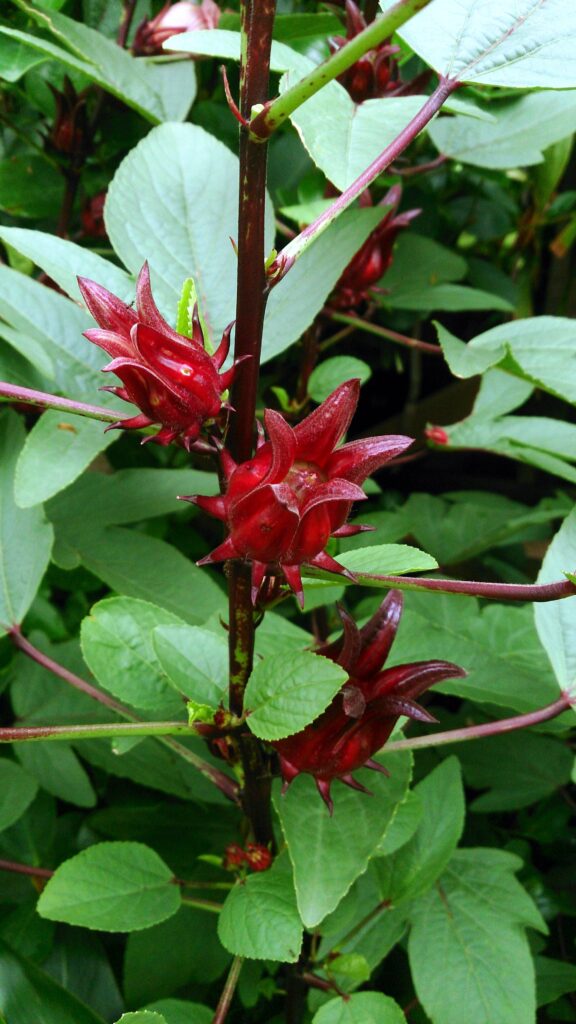
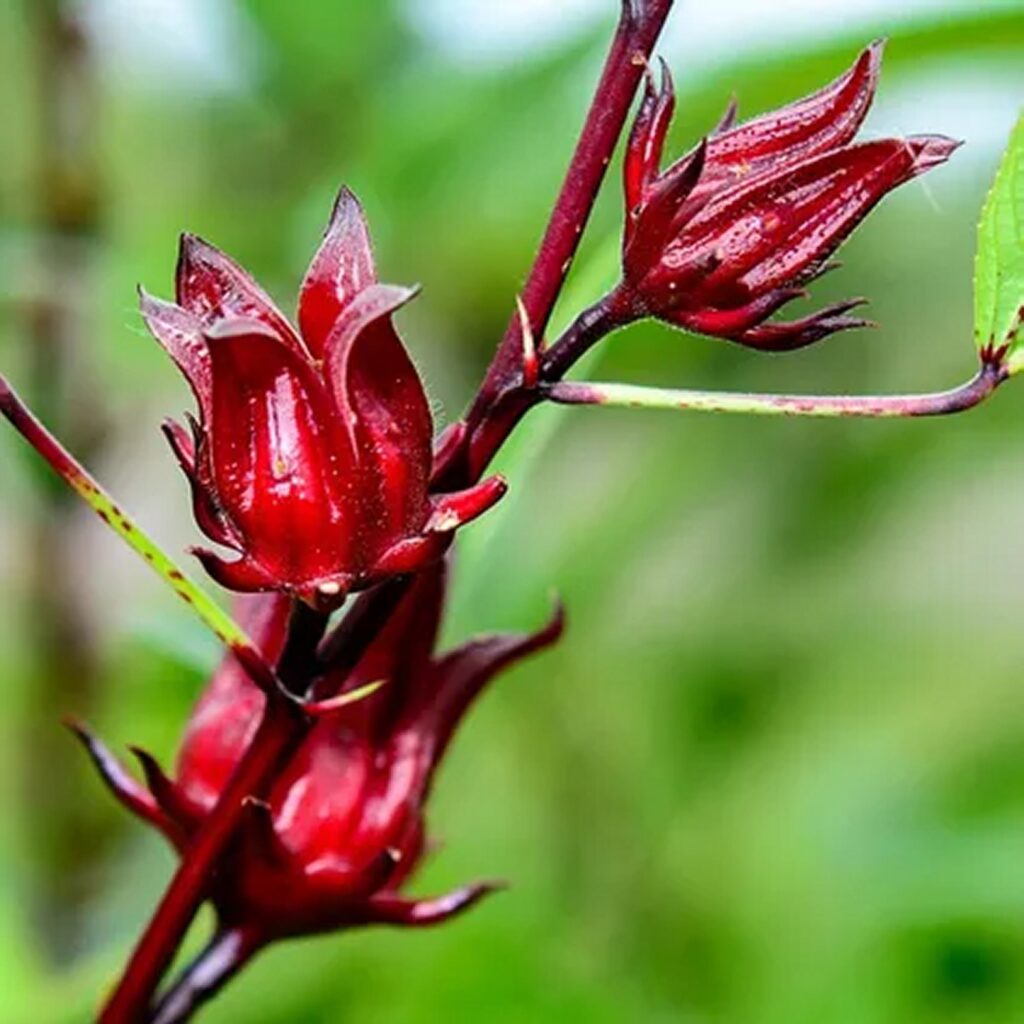
Roselle plants are characterized by their stunning, hibiscus-like flowers and the fleshy, bright red calyces that form around the seed pods. These calyces are the most prized part of the plant, commonly used to make teas, jams, jellies, syrups, and a variety of other culinary delights, known for their tart, cranberry-like flavor.
The plant prefers a long, warm growing season, and it starts flowering in late summer to early fall as the days shorten. In tropical and subtropical regions, Roselle can grow year-round, often reaching heights of 6-8 feet.
When to Start Roselle Seeds

Timing for starting Roselle (Hibiscus sabdariffa) seeds is crucial to ensure their proper growth and development. Here’s a guide based on USDA Hardiness Zones:
In Zones 3-5
Due to the shorter growing season in these zones, begin sowing Roselle seeds indoors about 6-8 weeks before the last expected frost date. This gives the plants a head start.
Direct sowing outdoors is not recommended in these zones as the growing season may not be long enough for Roselle to mature fully.
In Zones 6-8
Start seeds indoors approximately 4-6 weeks before the last frost date. This allows the plants to establish before transplanting.
You can also direct sow in the garden, but do so only after the danger of frost has passed and the soil has warmed sufficiently, typically in late spring.
In Zones 9-12
In these warmer areas, starting seeds indoors 3-4 weeks before the last frost date can help manage the growth environment, though it’s often not necessary due to the longer growing season.
Direct sow Roselle seeds in the garden in late winter or early spring, ensuring the soil temperature is warm enough for seed germination.
For Roselle, the key is to ensure that the plants have enough time to mature and produce calyces, which typically happens in late summer to early fall. Therefore, adjusting your planting time based on your specific climate and the length of the growing season is crucial.
Preparing Roselle Seed to Plant

When growing Roselle from seed, soaking can be beneficial to speed up germination. The seed coat of Roselle is quite hard, and soaking can help to soften it, allowing for quicker and more uniform germination. Here’s how to do it:
Soaking Roselle Seeds
Use lukewarm water, ideally around room temperature. Avoid using hot water, as it can damage the seeds.
Place the Roselle seeds in the water and let them soak for about 24 hours. This duration is sufficient to soften the seed coat without causing the seeds to begin decomposing.
After soaking, drain the seeds and plant them immediately. The soaked seeds are more delicate and should be handled with care.
Sow the soaked seeds in your chosen starting mix, following the general guidelines for planting depth and conditions suitable for Roselle.
By soaking the seeds, you can expect a quicker germination, which can be particularly beneficial if you’re growing Roselle in an area with a shorter growing season or if you’re looking to get a head start on the growing process.
How to Start Roselle Seeds
Starting Roselle (Hibiscus sabdariffa) seeds indoors can give your plants a beneficial head start. Here’s a guide to help you through this process:
Opt for a well-draining, nutrient-rich seed starting mix. A combination of coconut coir or compost with vermiculite or perlite works well. This type of mix supports moisture retention while providing enough aeration for the roots.
Use large cell trays, small pots, or soil blocks for starting Roselle seeds. Ensure they are at least 2-3 inches deep to accommodate the roots. Containers should have drainage holes to prevent waterlogging.
Plant Roselle seeds about 1/4 inch deep in the soil. This depth allows for sufficient soil coverage to maintain moisture while enabling the seedlings to break through the surface easily.
Keep the soil consistently moist but not saturated. Using a spray bottle to gently mist the soil can prevent it from becoming too wet, which might lead to seed rot.
Roselle seeds germinate best at temperatures between 70-85°F (21-29°C). A warm environment is key to successful germination. Use a heat mat if necessary to maintain this temperature range, especially in cooler climates.
After planting, place the seed containers in a location that receives bright, indirect light. If natural light is insufficient, consider using grow lights to provide the necessary light exposure.
Under optimal conditions, Roselle seeds typically germinate within 7-14 days, though this can vary based on temperature and other environmental factors.
Preparing Your Garden Bed for Growing Roselle from Seed or Starts
Preparing a garden bed for Roselle using a no-dig or no-till approach is an effective method to preserve soil structure and fertility. Here’s how to do it:
Choosing a Location
Roselle thrives in full sun, requiring at least 6-8 hours of direct sunlight daily for optimal growth.
Choose an area with well-draining soil. While Roselle appreciates moisture, it should not be waterlogged.
Roselle prefers soil that is rich in organic matter with a slightly acidic to neutral pH.
Preparing the Garden Bed
Start by spreading a generous layer of organic matter such as compost, decomposed leaves, or well-rotted manure over the intended planting area. This layer will supply nutrients and improve soil structure.
Cover the organic material with a layer of mulch like straw, bark, or shredded leaves. This helps retain soil moisture and suppress weeds. Over time, the mulch will break down and further enrich the soil.
While waiting for your roselle seeds to germinate and develop, allow the layers to settle and integrate for a few weeks before planting. This process allows the organic matter to begin breaking down and merging with the underlying soil.
When ready to plant, move aside the mulch in each spot and add a bit more compost where you will place the Roselle seeds or transplants.
How to Direct Sow Roselle in the Garden
Direct sowing Roselle (Hibiscus sabdariffa) in your garden can be straightforward if you follow these steps:
Sow Roselle seeds about 1/4 to 1/2 inch deep in the soil. This depth ensures the seeds are adequately covered but not too deep, allowing for effective germination.
Space the seeds or seedlings about 3 to 5 feet apart, as Roselle plants can grow quite large. This spacing allows each plant enough room to develop fully.
If planting in rows, maintain a distance of about 4-6 feet between rows for easy access and maintenance.
After sowing the seeds, water the area gently but thoroughly. The goal is to provide enough moisture for germination without washing away the soil or the seeds.
Keep the soil consistently moist but not waterlogged during the germination period.
Once the seedlings emerge and reach a few inches in height, thin them to the strongest plant in each spot. Thinning is essential to avoid overcrowding and to ensure optimal growth and development of each plant.
Are Your Roselle Starter Plants Ready to Plant Out?
Determining the right time to transplant Roselle (Hibiscus sabdariffa) starters into the garden is key to their successful establishment. Look for these signs:
Roselle starters are ready for transplanting when they are about 3-6 inches tall and have developed several true leaves, indicating a strong enough root system to support transplanting.
Check the roots by gently removing a plant from its container. If the roots are well-developed and form a network around the soil ball, the plant is ready for the garden.
Hardening Off Roselle Starter Plants
Hardening off involves gradually acclimating indoor-grown Roselle plants to outdoor conditions. Here’s how:
Begin hardening off your Roselle plants about 7-10 days before the planned transplant date.
Initially, place the plants outdoors in a shaded, protected area for a few hours each day.
Gradually increase the time the plants spend outdoors each day, including more direct sunlight exposure as the days progress.
Watch for signs of stress and protect the plants from extreme weather conditions, such as strong winds or late frosts.
Continue to water the plants regularly during the hardening-off process to maintain consistent soil moisture.
How to Plant Out Roselle Starters into the Garden
Transplanting your Roselle starters requires careful handling to ensure they thrive in their new environment:
Plant the starters at the same depth they were growing in their containers.
Space the plants about 3-5 feet apart, as Roselle can grow into large bushes.
After planting, apply a layer of organic mulch around the plants. This helps retain soil moisture, regulate temperature, and control weeds.
Water the plants deeply immediately after planting to settle the soil around the roots and provide essential moisture for adaptation.
Caring for Roselle Plants
Roselle, known for its vibrant flowers and edible calyces, requires consistent care throughout its growing season. This care includes adequate watering, feeding, regular weeding, and providing support as the plant grows.
Roselle plants prefer evenly moist soil. Water the plants regularly, especially during dry spells, to maintain soil moisture. Avoid overwatering to prevent root rot.
A layer of organic mulch around the plants can help conserve soil moisture and reduce the frequency of watering.
Feed Roselle plants with a balanced, all-purpose fertilizer every 4-6 weeks during the growing season. This will provide the necessary nutrients for growth and flowering.
Enriching the soil with compost can also provide slow-release nutrients to the Roselle plants.
Keep the area around your Roselle plants free of weeds, which can compete for nutrients and water.
As Roselle plants grow taller, they may require staking or support, especially in windy areas. Use stakes or trellises to keep the plants upright and well-supported.
Gently tie the plants to the supports with soft materials like twine or strips of cloth to prevent damage to the stems.
Tips and Tricks for Growing Roselle
Successfully growing Roselle (Hibiscus sabdariffa) involves more than just basic care; it requires attention to specific practices and organic approaches to ensure the best growth and yield. Here are some tips and methods for cultivating healthy Roselle plants:
Optimal Sunlight
Ensure your Roselle plants get full sun exposure for the majority of the day. This is essential for healthy growth and abundant flowering.
Pruning
Lightly prune the plants to encourage bushier growth, which can lead to more flowers and calyces.
Harvesting Roselle
The prime time to harvest Roselle is typically late summer through fall, once the flowers have bloomed and the calyces (the fleshy red structures surrounding the seed pods) have become plump and bright red but are still tender.
Harvest the calyces as soon as they are fully colored but before they become too woody, typically after the flower has bloomed and wilted.
Roselle leaves can be harvested throughout the growing season. Young leaves are tender and ideal for salads, while older leaves can be cooked like spinach.
Harvesting Method
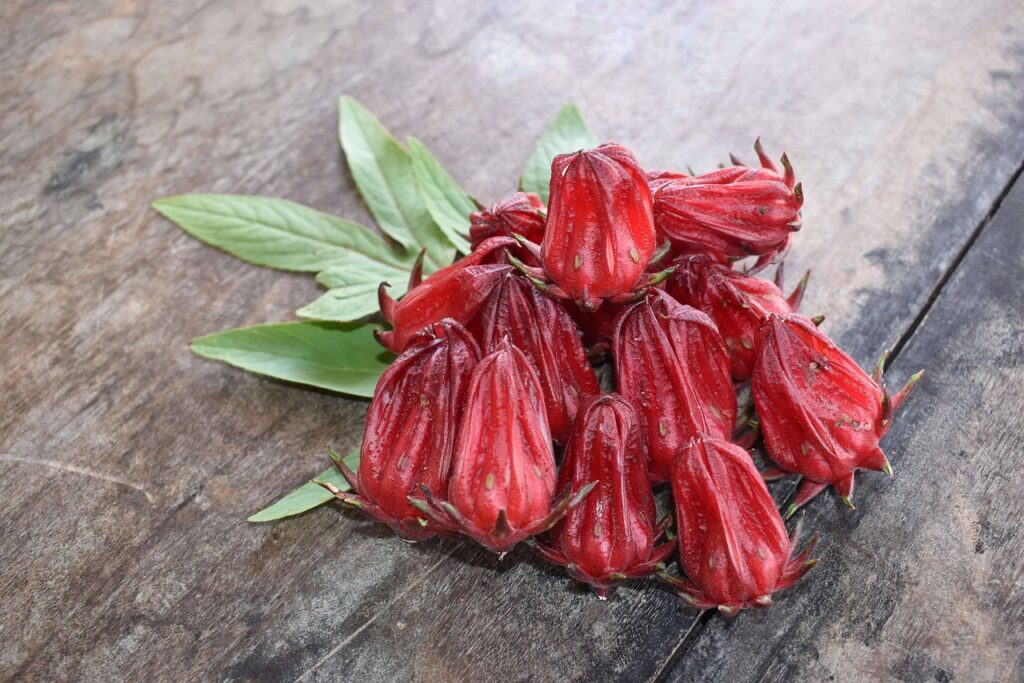
To harvest the calyces, gently twist and pull them off the plant. Be sure to leave the seed pod on the plant.
For leaves, snip off individual leaves or leafy shoots with a pair of scissors or garden shears.
How to Store Roselle
Place fresh calyces in a plastic bag in the refrigerator, where they can last for up to a week.
For longer storage, calyces can be frozen. Simply wash them, pat dry, and place them in a freezer-safe bag or container.
To dry Roselle calyces, spread them out in a single layer in a dry, well-ventilated area away from direct sunlight. Once completely dried, store them in an airtight container in a cool, dark place.
How to Use Roselle
Dried calyces are commonly used to make hibiscus tea, known for its tart flavor and deep red color.
The calyces can be cooked down with sugar to make jams, jellies, and syrups.
They can also be used in sauces or desserts for a tart, fruity flavor.
The leaves can be used fresh in salads or cooked like other leafy greens.
Roselle is not just limited to culinary uses. Its vibrant red calyces are also used in natural dyes and can be a striking addition to floral arrangements.
Growing Roselle Adds Tropical Flair

Growing Roselle from seed presents a unique and delightful experience for any gardener who wants a tropical feel to their landscape or garden.
This versatile plant, with its stunning flowers and flavorful calyces, offers more than just aesthetic appeal – it brings a bounty of culinary and medicinal benefits.


_4.jpg)
.jpg)
_1.jpg)
_6.jpg)
_3.jpg)