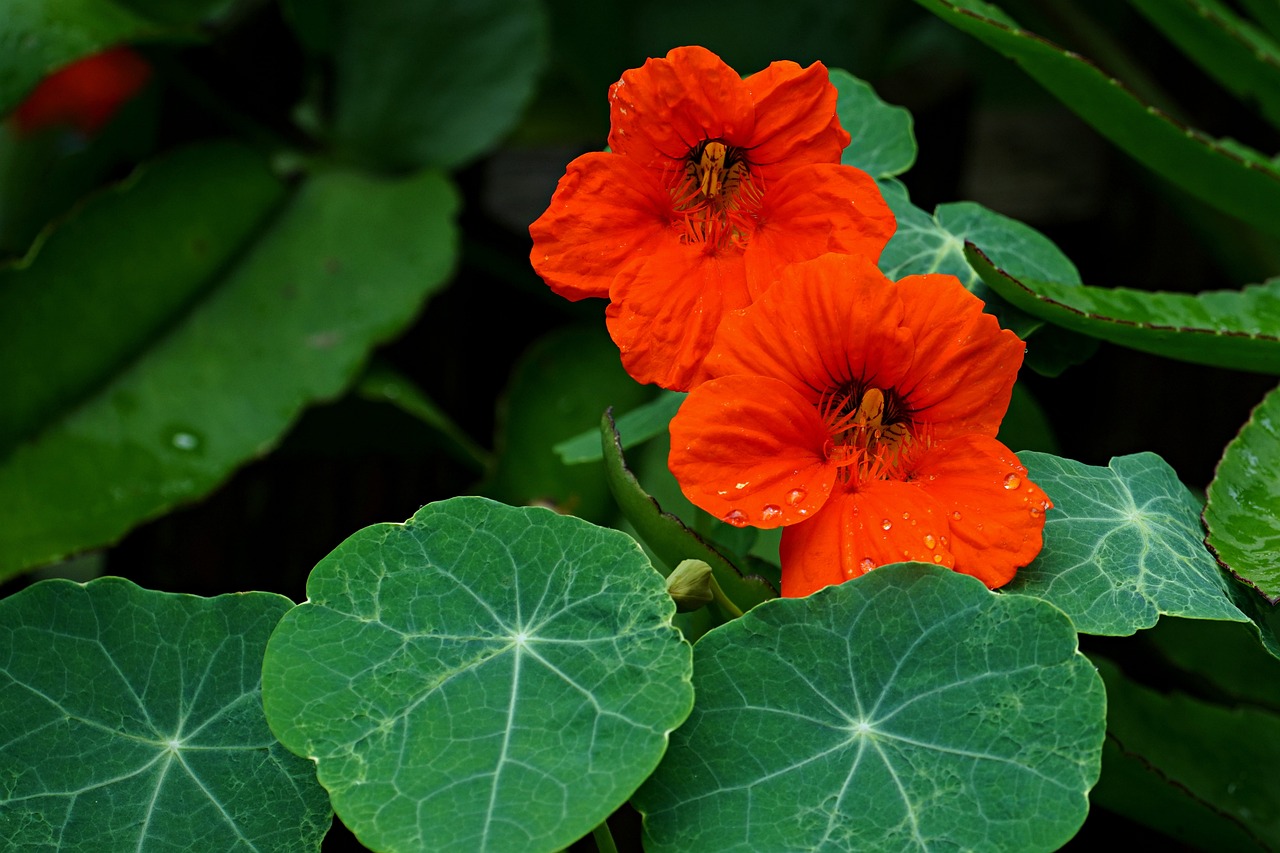
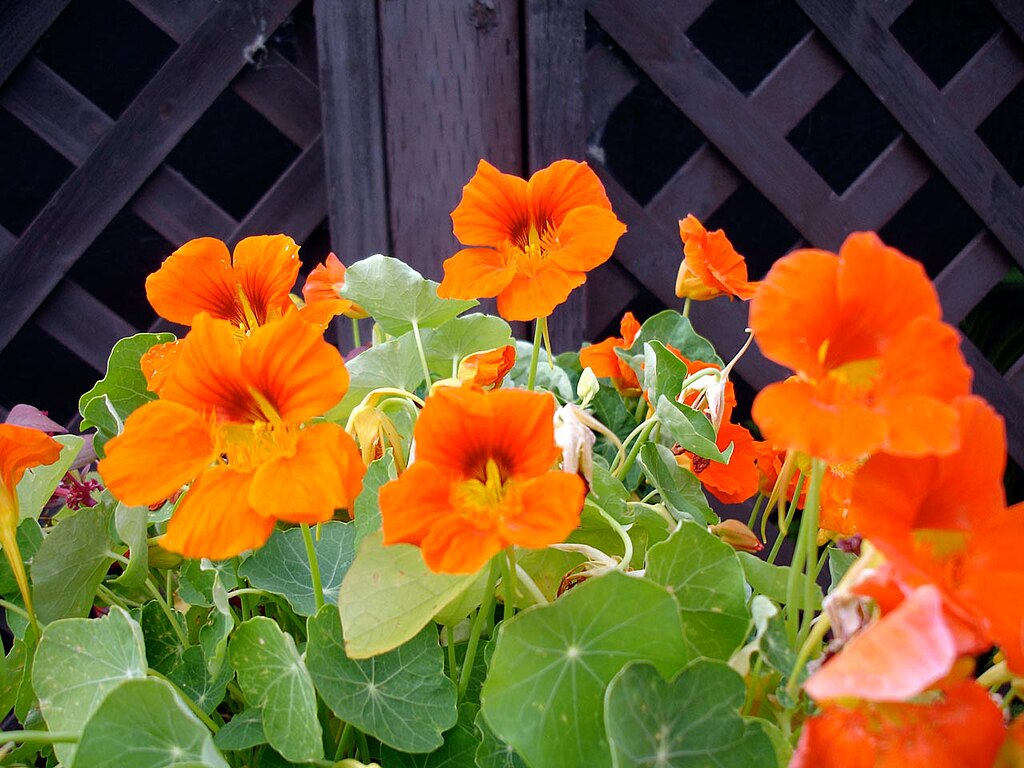
Nasturtiums, or Tropaeolum majus, are vibrant and versatile flowering plants that belong to the Tropaeolaceae family. They are sometimes called “Indian cress,” as the leaves and flowers are edible. Many gardeners begin growing nasturtium for these edible flowers.
Nasturtiums are native to South America, particularly the Andes region, and have been cultivated worldwide for their ornamental beauty and culinary uses.

Nasturtiums are annual plants in most climates, although they may behave as short-lived perennials in warmer regions. They may also self-seed if conditions are right.
They are well-suited to a wide range of zones and can thrive in USDA hardiness zones 2 to 11
When to Start Growing Nasturtium from Seed

In Zones 3-5:
Start growing nasturtium seeds indoors about 4-6 weeks before the last expected frost date in spring.
Seeds can be sown directly outdoors after the danger of frost has passed and soil temperatures have warmed up, typically around mid to late spring.
In Zones 6-8:
Start nasturtium seeds indoors 2-4 weeks before the last expected frost date in spring.
Sow seeds directly outdoors after the last frost date when soil temperatures are consistently above 50°F (10°C), usually in early to mid-spring.
In Zones 9-12:
Nasturtium seeds can be started indoors or sown directly outdoors throughout the year due to milder climates.
For indoor starting, choose a time that aligns with your desired planting schedule, ensuring that the plants have enough time to establish before hot summer temperatures.
Adjust the timing based on local climate conditions and frost dates in your specific region for optimal germination and growth of nasturtium plants.
Preparing Nasturtium Seeds to Plant
Nasturtium seeds can benefit from nicking and soaking to speed up germination.
Use a sharp knife or nail clippers to make a small nick or scratch on the seed coat of each nasturtium seed. This helps to break the seed coat and allows moisture to penetrate, promoting faster germination.
Be gentle while nicking the seeds to avoid damaging the embryo inside.
Place the nasturtium seeds in a bowl or container.
Cover the seeds with room temperature water and let them soak for about 12-24 hours. This softens the seed coat and speeds up the germination process.
After soaking, drain the water and plant the seeds immediately or store them in a damp paper towel until ready for planting.
Direct Sowing Nasturtium Seeds
Nasturtium seeds germinate best in soil temperatures between 65°F to 75°F. Once soil temperatures have warmed, you can direct sow them outdoors.
In a sunny location, sow nasturtium seeds at a depth of about 1 inch in well-draining soil. Cover the seeds lightly with soil, patting it down gently to ensure good seed-to-soil contact.
Keep the soil consistently moist but not waterlogged during the germination period. Water the planting area thoroughly after sowing the seeds to ensure adequate moisture.
Nasturtium seeds typically germinate within 7 to 14 days under optimal conditions. Keep the soil consistently moist during this period to support germination and seedling growth.
How to Start Growing Nasturtium Seeds in Cell Trays or Soil Blocks

Use a well-draining seed starting mix suitable for germinating seeds. You can purchase a commercial seed starting mix or create your own by combining equal parts of coconut coir, perlite, and vermiculite.
Select large cell trays or soil blocks for planting nasturtium seeds. Ensure that the containers have drainage holes at the bottom to prevent waterlogging.
Plant nasturtium seeds at a depth of about ½-1 inch in the seed starting mix. Gently press the seeds into the soil but avoid burying them too deep.
Keep the seed starting mix consistently moist but not waterlogged.
Place the containers in a warm location or use a seedling heat mat to maintain optimal germination temperatures of 65°F to 75F°
Nasturtiums will need bright, indirect light once they sprout. Place the containers in a location with adequate light or use grow lights to provide supplementary lighting.
Nasturtium seeds typically germinate within 7 to 14 days when provided with the right conditions of warmth, moisture, and light.
Continue to monitor and water the seedlings as needed until they are ready for transplanting outdoors.
How to Know When Your Nasturtium Starter Plants are Ready for Transplanting
Wait until your nasturtium starter plants have developed several sets of true leaves and sturdy stems. They should be at least 2 to 3 inches tall and show signs of healthy growth.
Check the roots of the starter plants. If they are well-developed and fill the containers or soil blocks, it’s a good indication that the plants are ready for transplanting.
Ensure that outdoor conditions are suitable for transplanting, with frost-free nights and warm daytime temperatures. Avoid transplanting during periods of extreme heat or cold.
How to Prepare Garden Bed for Growing Nasturtium Plants

Select a sunny to partially shaded location for planting nasturtiums. They thrive in full sun but can tolerate some shade. Choose a spot with well-draining soil and adequate airflow.
Provide consistent moisture to the soil without waterlogging. Nasturtiums tolerate dry conditions but benefit from regular watering during dry spells, especially when young.
Nasturtiums prefer moderately fertile, well-draining soil with a slightly acidic to neutral pH range of 6.0 to 7.0. Incorporate organic matter such as compost or aged manure into the soil to improve fertility and drainage.
Hardening Off Nasturtium Starter Plants
Start by placing your nasturtium starter plants outdoors in a sheltered location for a few hours each day, gradually increasing the time and exposure to sunlight over the course of 1 to 2 weeks.
Ensure that the plants are protected from strong winds, direct sunlight, and extreme temperatures during the hardening-off period. Use shade cloth or row covers if necessary.
Keep the soil moist but not waterlogged during the hardening-off process. Monitor the plants closely for any signs of stress, wilting, or sunburn, and adjust their exposure accordingly.
Transplanting Your Nasturtiums
Once your nasturtium starter plants have adjusted to outdoor conditions and show no signs of stress, they are ready for transplanting into the garden.
How to Plant Nasturtium into the Garden
Dig planting holes for the nasturtium plants at a depth equal to the size of their root balls. Place the plants in the holes, ensuring that the soil level matches the level of the surrounding ground.
Space growing nasturtium plants approximately 8 to 12 inches apart to allow for adequate air circulation and room for growth. Larger varieties, such as our “Tall Mixed” may need slightly more space at about 12 to 15 inches. Adjust spacing based on the variety and growth habits of your plants.
Apply a layer of organic mulch, such as straw or shredded leaves, around the base of the nasturtium plants. Mulching helps retain soil moisture, suppress weeds, and maintain a consistent soil temperature.
Water the newly planted nasturtiums thoroughly after planting to settle the soil around the roots. Continue to water regularly, keeping the soil evenly moist but not waterlogged.
Avoid overhead watering to prevent wetting the foliage, which can lead to fungal diseases. Water at the base of the plants or use drip irrigation.
Caring for Nasturtium Plants
Nasturtiums prefer moderate watering, allowing the soil to dry slightly between waterings. Water deeply and thoroughly, especially during dry periods, but avoid overwatering to prevent root rot.
Nasturtiums are relatively low-maintenance and do not require heavy feeding. However, you can apply a balanced, all-purpose fertilizer sparingly once or twice during the growing season to promote healthy foliage and flower production.
Keep the area around nasturtium plants free from weeds, which can compete for nutrients and moisture. Regularly remove weeds by hand or use mulch to suppress weed growth.
Tips and Tricks for Growing Nasturtiums
Nasturtiums do not require pinching back for bushy growth. However, you can pinch off spent flowers to encourage continuous blooming and prevent seed formation, which can prolong the flowering period.
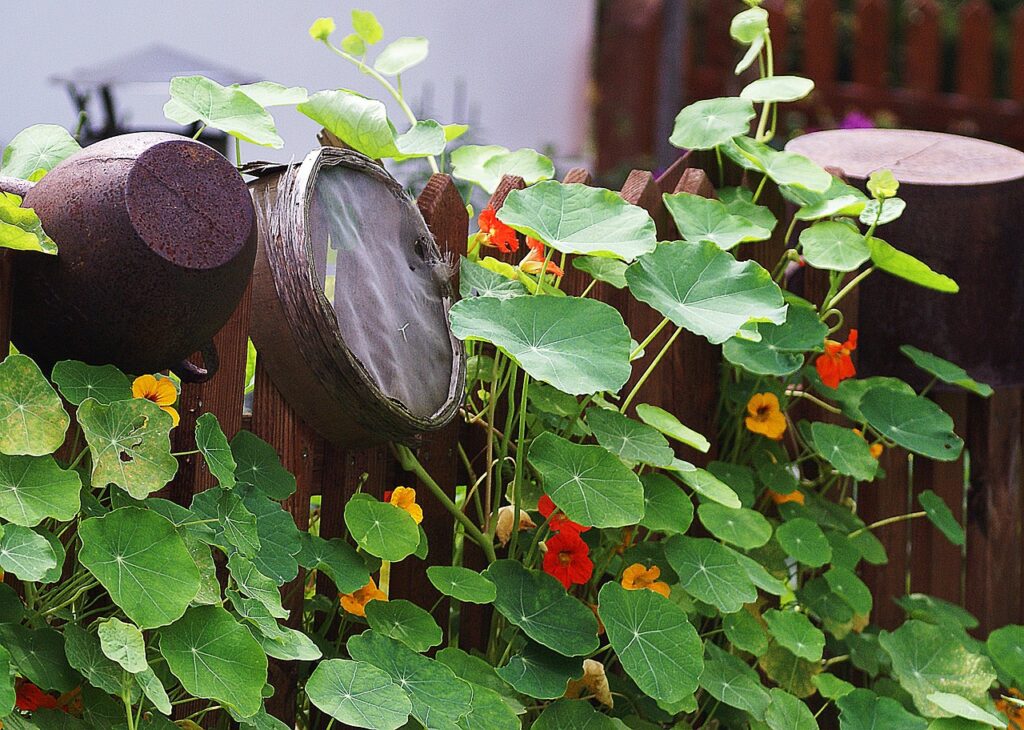
While many nasturtiums are low-growing and generally do not require staking, taller varieties or those grown in containers may benefit from light supports. Consider using small trellises, stakes, or bamboo poles for support, especially if you want to train them to climb.
Create a natural support structure by planting nasturtiums near other climbing plants or shrubs for them to weave through.
Other Tricks
Deadhead spent flowers regularly to promote continuous blooming.
Harvest nasturtium leaves and flowers for culinary use, as they add a peppery flavor to salads, sandwiches, and garnishes.
Avoid over-fertilizing, as excessive nutrients can lead to lush foliage but reduced flower production.
How to Harvest Nasturtium Flowers and Leaves for the Table

Here is how to harvest nasturtium flowers and leaves for culinary use:
Harvest nasturtium flowers and leaves when they are young and tender for the best flavor and texture. Avoid harvesting older, tough leaves or flowers past their prime.
You will need clean gardening scissors or small pruning shears for harvesting nasturtium flowers and leaves.
Harvesting Flowers
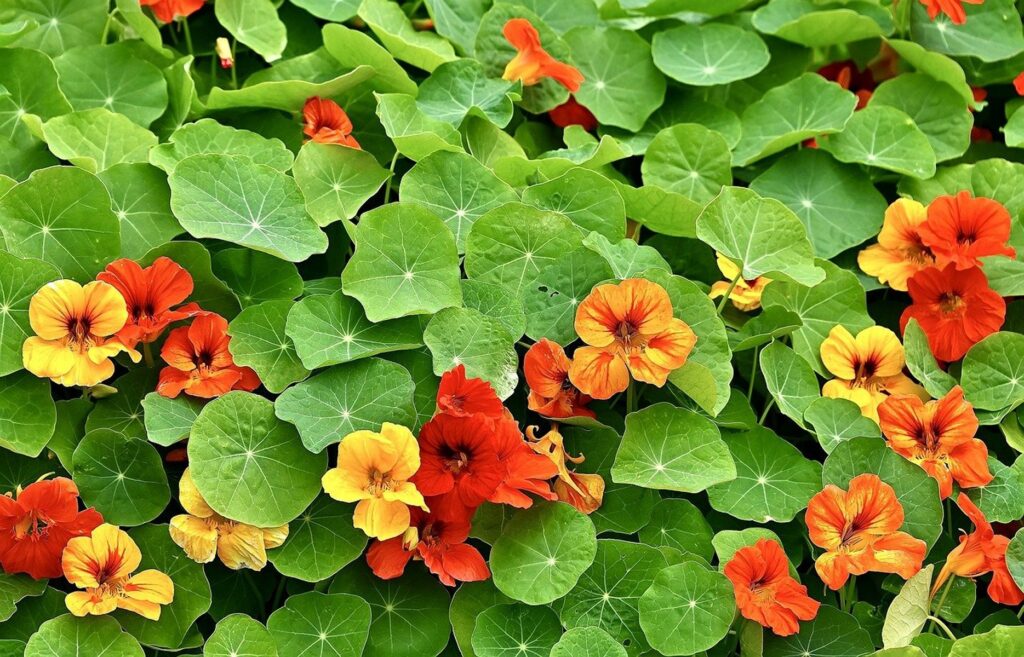
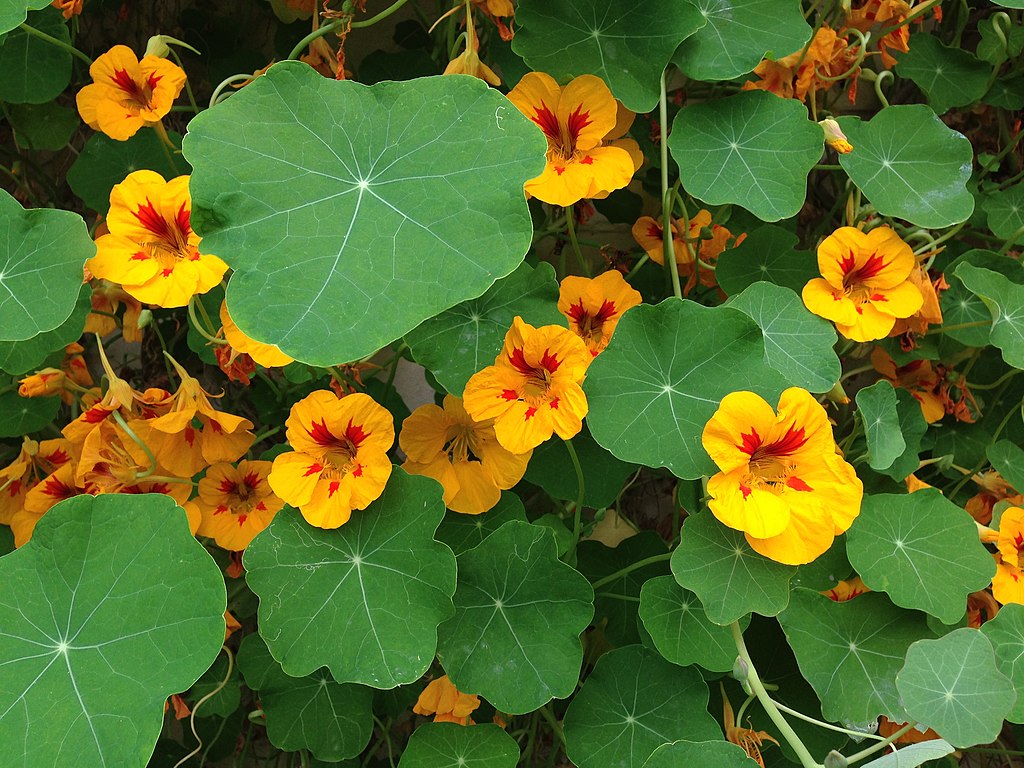
Select flowers that are fully open and vibrant in color. Nasturtium flowers come in various shades, including yellow, orange, and red.
Use scissors to snip the flowers from the stem, leaving a short stem attached to the flower. Avoid pulling or twisting the flowers, as this can damage the plant.
Harvesting Leaves
Choose young, healthy leaves from the top of the plant for the best flavor.
Cut the leaves near the stem using scissors, taking care not to damage the main stem or surrounding foliage.
After harvesting, gently rinse the nasturtium flowers and leaves under cool running water to remove any dirt or insects. Pat them dry with a clean towel or paper towel.
Storing
Use the harvested nasturtium flowers and leaves immediately for fresh consumption or store them in a plastic bag or container lined with a damp paper towel in the refrigerator. They can stay fresh for a few days when properly stored.
You can also dehydrate them, and when crumbled and combined with salt, make a beautiful and delicious seasoning mix.
Using Nasturtium Flowers and Leaves
Nasturtium flowers can be used as edible garnishes for salads, soups, or appetizers. They add a colorful and peppery accent to dishes.
Nasturtium leaves have a peppery flavor similar to watercress and can be used in salads, sandwiches, pesto, or as a flavorful addition to cooked dishes.
After Your Nasturtiums Flower
After flowering, nasturtiums may continue to produce blooms throughout the growing season, especially if spent flowers are regularly deadheaded. As the season progresses and temperatures cool, the growth of nasturtiums may slow down.
In colder climates or during winter, nasturtiums are typically annuals and may not survive frost or freezing temperatures. However, in milder climates or if protected from extreme cold, they may persist and even self-seed for the following year.
Nasturtiums are known for their ability to reseed readily. After the flowers fade and seed pods develop, allow some seed pods to mature and dry on the plant. Harvest the mature seed pods by gently collecting them from the stems. You can store the seeds in a cool, dry place for replanting in the next growing season.
Nasturtiums are versatile and resilient plants that add beauty and flavor to gardens. They produce colorful flowers and peppery leaves that are edible and can be used in culinary dishes.
With proper care, nasturtiums can reseed and return each year, providing a delightful addition to your garden landscape and culinary adventures.


.jpg)
_(8153560849).jpg)