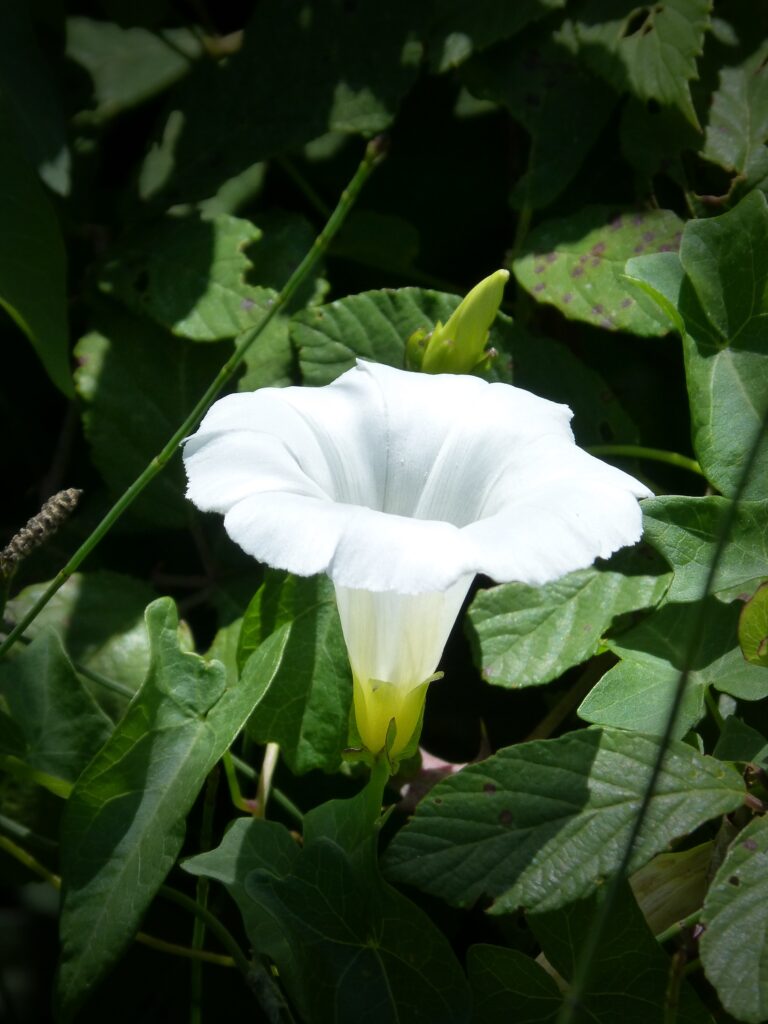
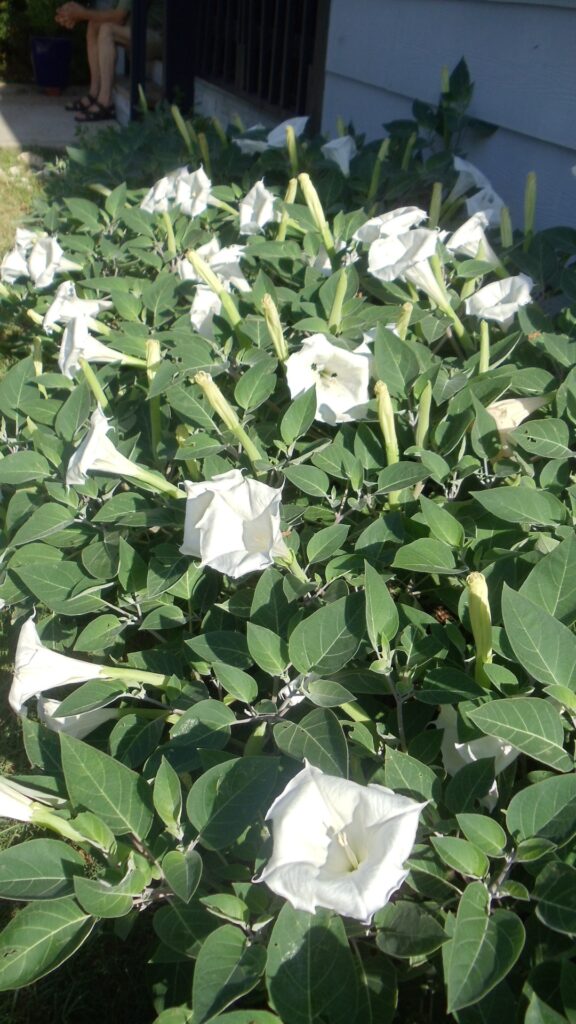
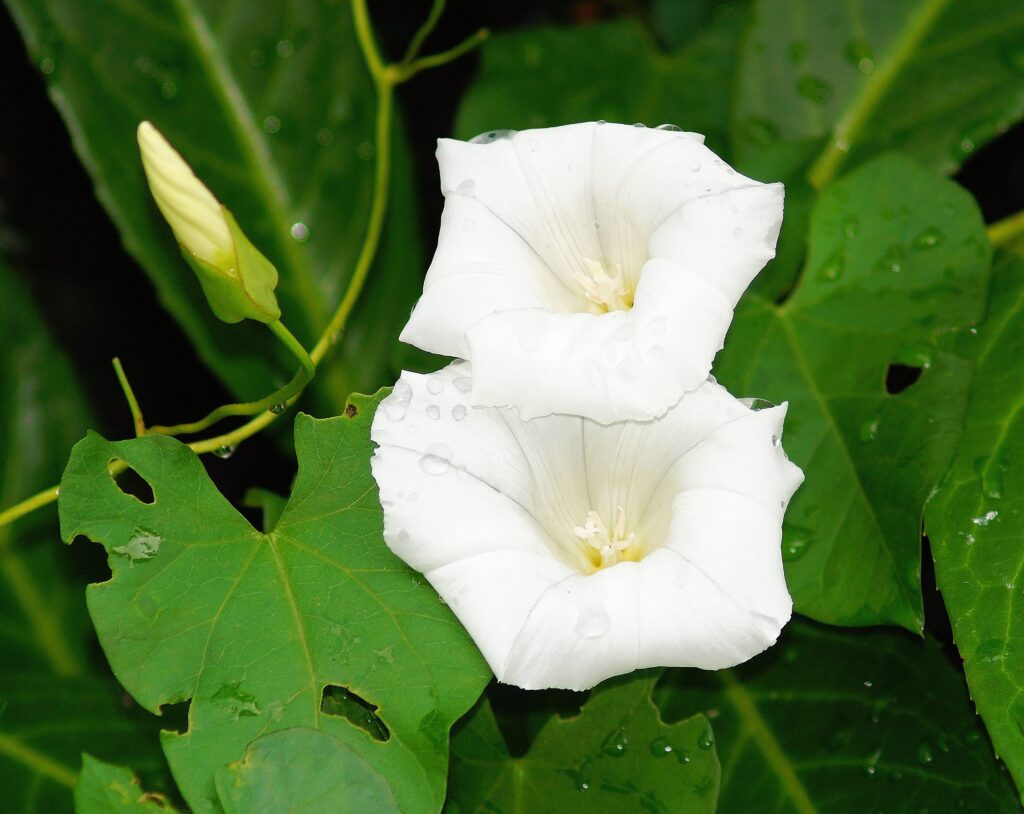
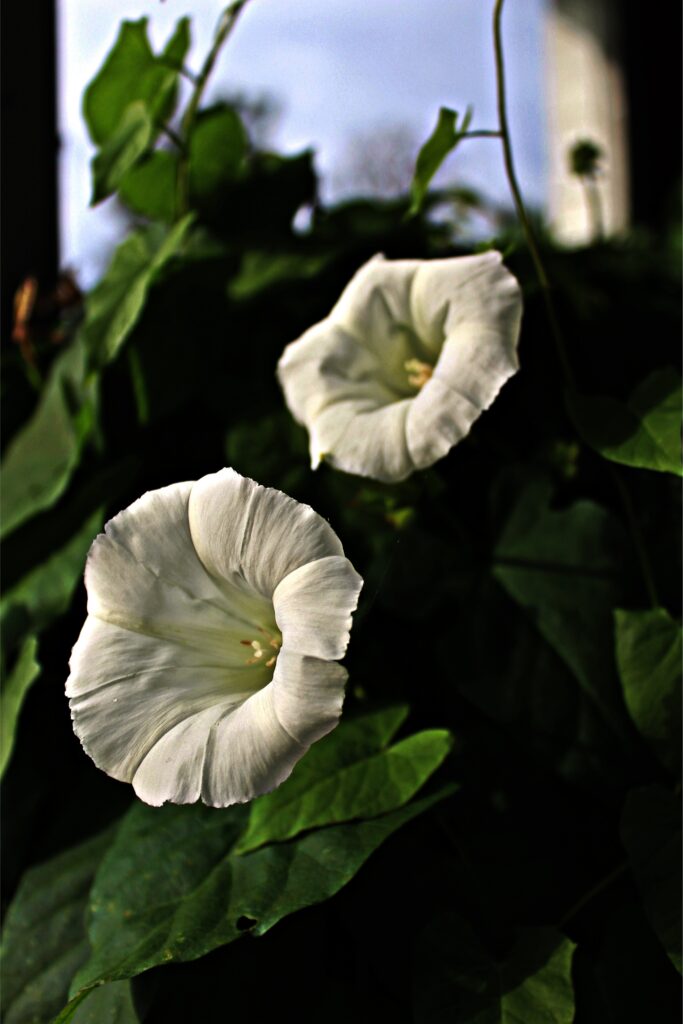
Moonflowers, scientifically known as Ipomoea alba, is a captivating vine renowned for its large, fragrant white flowers that bloom in the evening, emitting a delightful fragrance. Growing moonflowers for nighttime pollinators is a beautiful way to add biodiversity to your garden.
Moonflowers often self-seed, dropping their seeds as the flowers mature and die back. This natural process can lead to new moonflower plants sprouting in the same area, creating a continuous cycle of growth and blooming.

Moonflowers are in the Convolvulaceae family, related to morning glories, and are native to tropical and subtropical regions of the Americas, including Central and South America.
In the United States, moonflowers are commonly grown as annuals in colder climates but can behave as perennials in Zones 8-12.

When to Start Moonflower Seeds
Whether you direct sow or start them indoors, timing is important when growing moonflowers.
Zones 3-5
In colder climates like zones 3-5, where frost is common, it’s best to start moonflower seeds indoors about 4-6 weeks before the last expected frost date. Transplant seedlings outdoors after the danger of frost has passed and the soil has warmed up.
Zones 6-8
In moderate climates such as zones 6-8, you can start moonflower seeds indoors 2-4 weeks before the last expected frost date. Directly sow seeds outdoors after the last frost when the soil is warm and there’s no risk of frost.
Zones 9-12
In warmer zones 9-12, where frost is rare or mild, you can sow moonflower seeds directly outdoors after all danger of frost has passed. Starting seeds indoors is optional but can provide a head start on the growing season.
Preparing Moonflower Seeds
To speed up germination, moonflower seeds can benefit from a process called scarification, which involves nicking or soaking the seeds. Here’s how to do it:
Use a sharp knife or nail clippers to gently nick the outer seed coat of each moonflower seed. Make a small, shallow incision, being careful not to damage the inner seed.
Aim to create a small opening in the seed coat, allowing water to penetrate and initiate germination more quickly.
After nicking, nicked moonflower seeds in a small container filled with warm water, ensuring they are fully submerged.
Let the seeds soak for 24 hours to soften the seed coat and encourage germination. After soaking, drain the water and proceed with planting the seeds according to your preferred method (indoors or outdoors).
Direct Growing Moonflower Seeds
Plant moonflower seeds about 1/2 inch to 1 inch deep in the soil. Ensure that the soil is loose and well-draining to promote healthy root development.
Keep the soil consistently moist but not waterlogged during the germination period. Water the planted area gently to avoid disturbing the seeds.
Moonflower seeds germinate best in warm soil temperatures between 70-80°F. Ensure that the soil is adequately warm before sowing the seeds outdoors.
Moonflower seeds do not require light to germinate. In fact, they germinate better in darkness, so there’s no need to expose them to direct sunlight during the initial stages.
Moonflower seeds typically germinate within 7 to 14 days under optimal conditions. However, it’s essential to be patient as germination time can vary based on environmental factors.
Need for Supports
Moonflowers are climbing vines and require supports to climb as they grow. Provide a trellis, fence, or other sturdy structure for the vines to climb and twine around as they reach maturity.
I’ve found it’s best to install any supports before sowing or transplanting to prevent damaging the plants.
Starting Moonflower Seeds Indoors in Cell Trays or Soil Blocks
Use a well-draining seed starting mix suitable for moonflower seeds. You can create a mix by combining equal parts of coconut coir, vermiculite, and perlite to provide a light and airy medium.
Select generously sized cell trays or soil blocks for starting moonflower seeds indoors. Choose containers that are at least 2 inches deep to accommodate root growth. Ensure the containers have drainage holes to prevent waterlogging.
Plant moonflower seeds about 1/2 inch deep in the seed starting mix. Gently press the seeds into the soil but avoid burying them too deeply.
Keep the seed starting mix consistently moist but not waterlogged. Water the trays or blocks gently to avoid disturbing the seeds.
Moonflower seeds germinate best in warm temperatures between 70-80°F. Provide a warm and consistent environment for the trays or blocks, such as using a heating mat if necessary.
Moonflower seeds typically germinate within 7 to 14 days under optimal conditions. Monitor the trays or blocks regularly for signs of germination and adjust watering and temperature as needed.
When Will Growing Moonflower Starter Plants to Plant Out?
Moonflower starter plants are ready for transplanting into the garden when they have developed a strong root system and several sets of true leaves. Typically, this occurs when the plants are about 4-6 weeks old after germination.
Look for healthy growth, sturdy stems, and roots that fill the containers or soil blocks. Avoid transplanting too early when the plants are still fragile.
Preparing the Garden Bed for Growing Moonflowers
Select a sunny location for your growing moonflowers, as they thrive in full sun. Ensure the area receives at least 6-8 hours of direct sunlight daily for optimal growth and blooming.
Ensure the chosen location has adequate moisture retention in the soil without being waterlogged. Moonflowers prefer moderately moist soil, so avoid areas prone to excessive dryness or waterlogging.
Moonflowers prefer well-draining soil with a pH level ranging from slightly acidic to neutral (pH 6.0 to 7.0). Amend the soil with organic matter such as compost or well-rotted manure to improve fertility and soil structure.
Hardening Off Your Growing Moonflower Plants
Start hardening off moonflower starter plants about 7-10 days before you plan to transplant them into the garden. Ensure that the outdoor conditions are favorable, with mild temperatures and no risk of frost.
Begin by placing the moonflower starter plants outdoors in a sheltered location with filtered sunlight for a few hours each day. Choose a spot that is protected from strong winds and direct sunlight during the initial stages.
Gradually increase the exposure time and intensity of sunlight over the course of several days. Aim for a gradual transition to full sun exposure to prevent sunburn and shock to the plants.
Keep a close eye on the moisture level of the soil in the containers or trays. Outdoor conditions may cause the soil to dry out more quickly, so water the plants as needed to maintain consistent moisture.
During the hardening-off period, the moonflower starter plants will acclimate to outdoor conditions, including fluctuations in temperature, wind, and sunlight. This process strengthens the plants and prepares them for transplanting into the garden.
If there’s a sudden drop in temperature or adverse weather conditions, such as heavy rain or strong winds, temporarily move the plants to a protected area or bring them indoors until the conditions improve.
After the hardening-off period, when the moonflower starter plants have successfully acclimated to outdoor conditions, they are ready for transplanting into the garden.
Planting Moonflower into the Garden
Dig a hole in the garden soil that is slightly larger than the root ball of the moonflower plant. The planting depth should be such that the top of the root ball is level with the soil surface. Avoid planting too deeply, as this can lead to root suffocation.
Space moonflower plants approximately 12 to 15 inches apart to allow for proper air circulation and room for growth. This spacing helps prevent overcrowding and competition for nutrients and sunlight among the plants.
After planting the moonflower plants, apply a layer of organic mulch around the base of each plant. Use materials such as shredded bark, compost, or straw to help retain moisture, regulate soil temperature, suppress weed growth, and improve overall soil health.
Water the newly planted moonflower plants thoroughly immediately after planting to settle the soil around the roots and provide initial moisture. Use a gentle stream of water to avoid disturbing the soil.
After the initial watering, continue to keep the soil consistently moist but not waterlogged. Water the plants deeply and evenly, ensuring that the entire root zone receives adequate moisture. Avoid overwatering, as this can lead to root rot and other problems.
Monitor the soil moisture regularly, especially during hot and dry periods. Adjust the watering frequency as needed based on weather conditions and soil moisture levels. Aim to keep the soil evenly moist, but allow the top inch or so of soil to dry out slightly between waterings to prevent waterlogged conditions.
Caring for Moonflower Plants
Moonflower plants prefer consistently moist soil but not waterlogged. Water deeply and evenly, especially during dry periods, to ensure the entire root zone receives adequate moisture. Avoid overwatering, as it can lead to root rot. Mulching around the plants helps retain soil moisture.
Fertilize moonflower plants with a balanced, water-soluble fertilizer every 2-3 weeks or use a slow-release granular during the growing season to promote healthy growth and blooming.
Regularly inspect the garden bed for weeds and remove them promptly to reduce competition for nutrients and sunlight. Mulching helps suppress weed growth, but manual weeding may still be necessary.
Tips and Tricks for Growing Moonflowers
Moonflowers benefit from pinching back to encourage bushier growth and more blooms. Pinch off the tips of growing stems when the plants are young to promote branching. Repeat this process as needed throughout the growing season.
Ensure that moonflower plants receive at least 6-8 hours of direct sunlight daily for optimal growth and blooming.
Regularly prune away dead or damaged stems and spent flowers to maintain plant health and encourage continuous blooming.
Keep an eye out for common pests like aphids and caterpillars, and treat promptly if necessary. Also, watch for signs of diseases such as powdery mildew and take preventive measures as needed.
Harvesting and Collecting Moonflower Seeds
After moonflower plants have finished flowering, they may produce seed pods containing seeds for future growth. These seed pods can be left on the plant to mature and dry naturally.
Moonflower plants tend to reseed, as the mature seed pods can split open, dispersing seeds into the surrounding soil. This natural self-seeding process can result in new moonflower plants sprouting in the same area, contributing to a continuous cycle of growth and blooming in subsequent years.
To harvest and collect moonflower seeds for replanting, wait until the seed pods on the moonflower plants have turned brown and dried completely. This indicates that the seeds are mature and ready for harvest.
Use sharp scissors or pruners to carefully cut the seed pods from the plant.
Place the harvested seed pods in a paper bag or container to allow them to dry further and release any remaining seeds.
Once the seed pods have dried completely, gently crush them to release the seeds. Separate the seeds from any debris or chaff.
Store the collected moonflower seeds in a cool, dry place in an airtight container until you are ready to plant them in the next growing season.
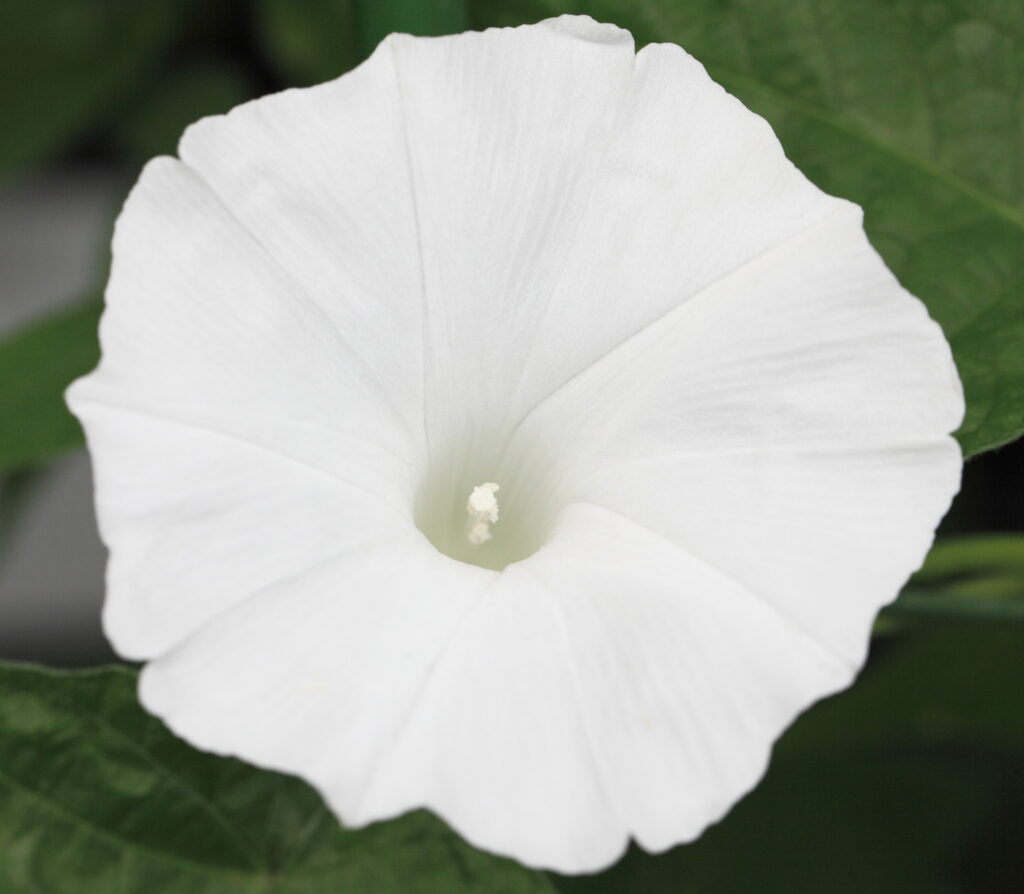
Moonflower vines are a delightful addition to any garden, offering fragrant blooms that open at night and attract pollinators.