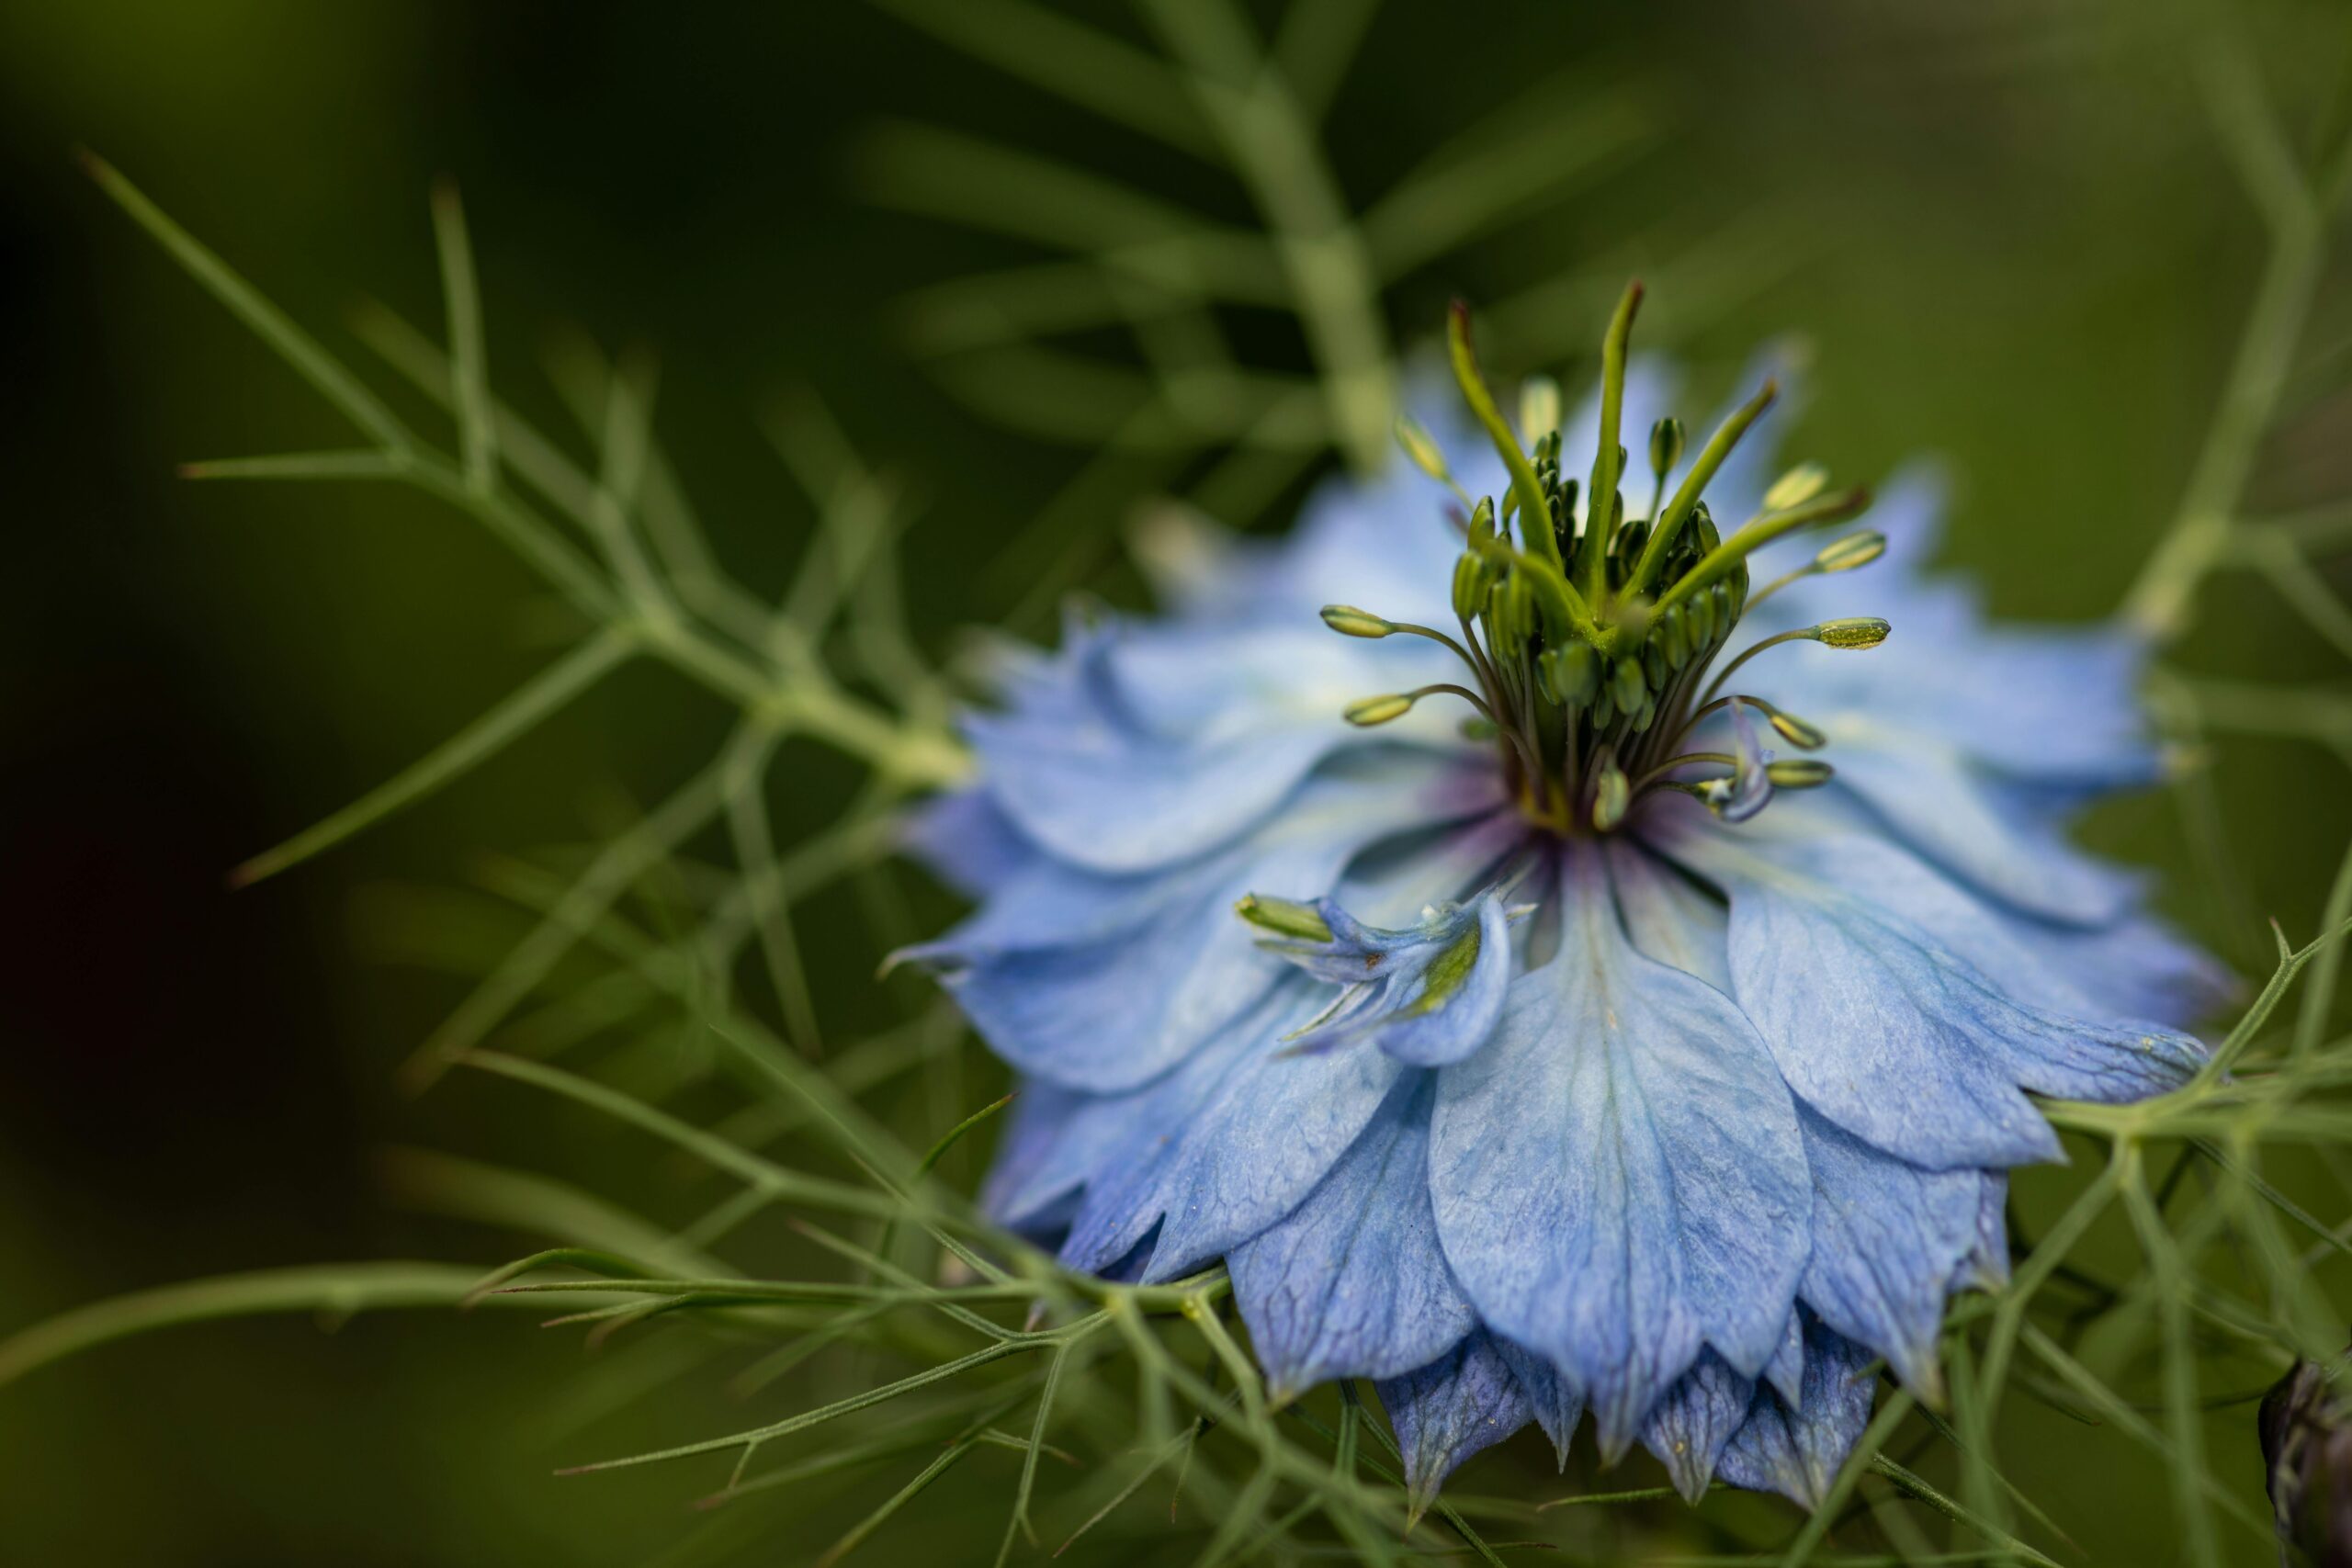
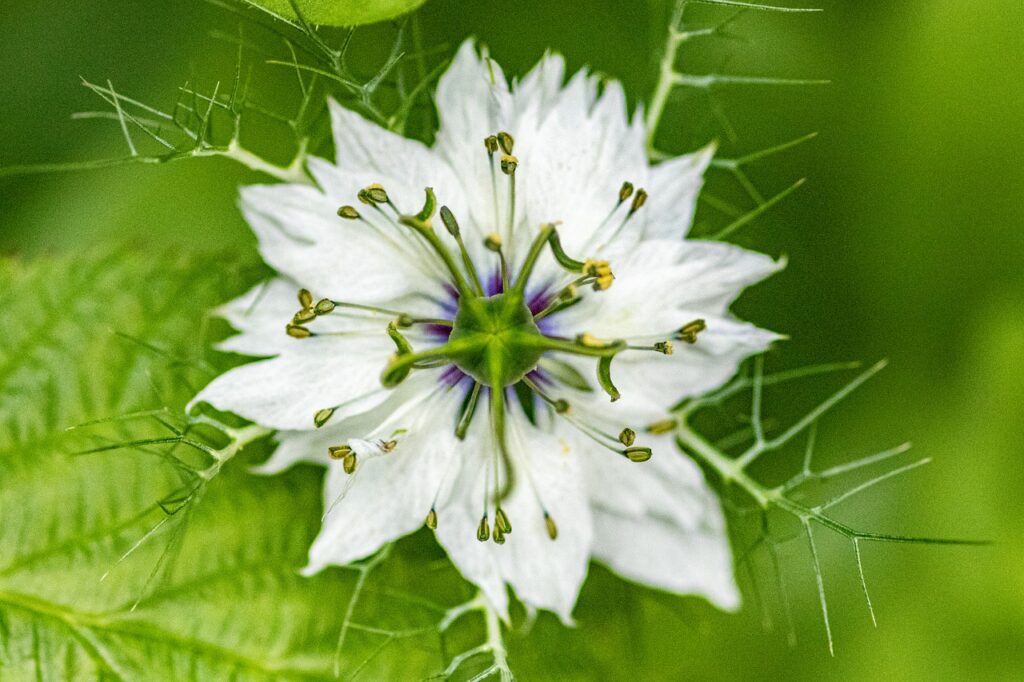
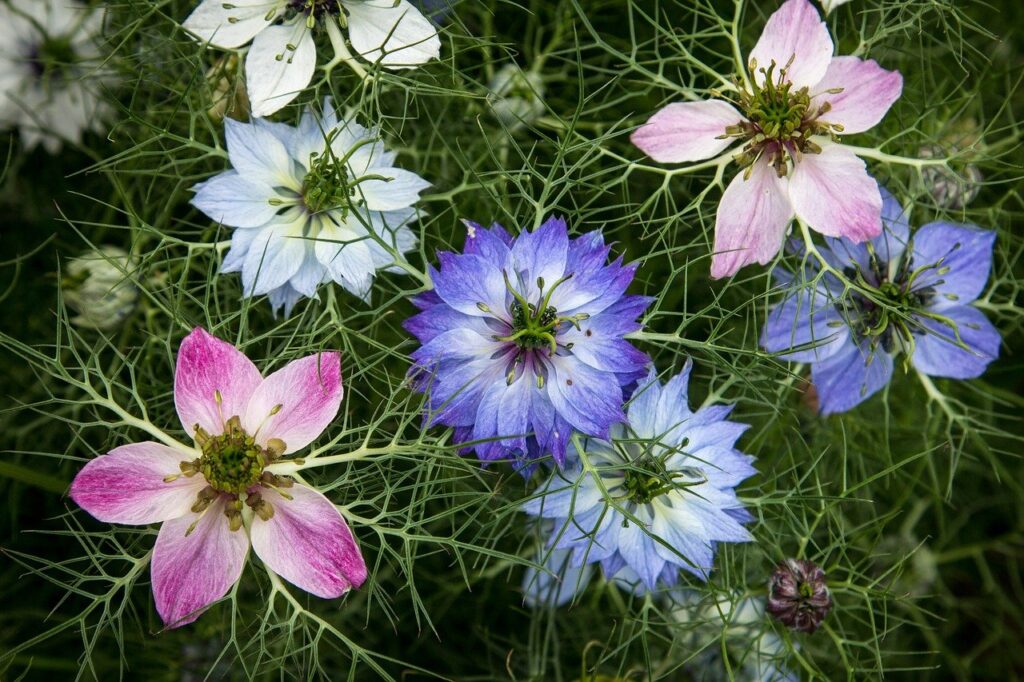
Love-in-a-Mist, scientifically known as Nigella damascena, is a charming and delicate flowering plant that belongs to the Ranunculaceae family. Its airy foliage and uniquely structured flowers give it a whimsical appearance that has made it a favorite among gardeners and floral designers alike.
Due to its intricate and distinctive floral form, there is a long list of description and amusing names for these flowers:
- Bird’s Nest
- Blue Crown
- Chase-the Devil
- Jewel of the Nile
- Ragged Lady
- Devil-in-the-Bush
- Bride’s Bonnet
- Mist Flower
- Fennel Flower
As well as being quite pretty to look at, the use of Love in a Mist as a medicinal plant dates back to the bronze age.
Native to southern Europe, North Africa, and parts of the Mediterranean, Love-in-a-Mist thrives in regions with mild climates. In the United States, it is best suited for growing in USDA hardiness zones 2 through 11, but its life cycle and performance can vary depending on the climate.
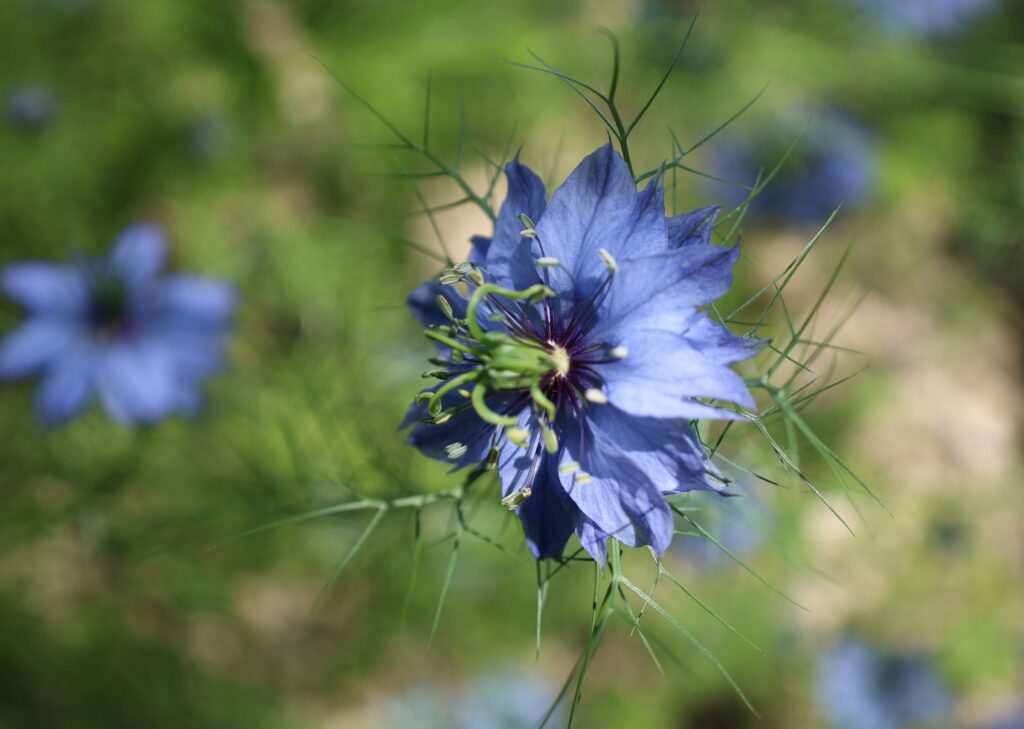
Nigella damascena is an annual plant, completing its entire life cycle within a single growing season. In cooler regions, it is often grown as a spring and early summer bloomer, while in warmer areas with milder winters, it can be sown in the fall for an early spring display.
The plant is well-adapted to self-seeding, which allows it to establish itself year after year without the need for replanting. In gardens where conditions are favorable, it can become a reliable reseeder, creating naturalized drifts of its delicate blooms.
This plant thrives in full sun and well-drained soil, making it an easy and rewarding choice for cottage gardens, wildflower meadows, and even containers.
With proper care, Love-in-a-Mist will grace your garden with its enchanting flowers and ornamental seed pods, making it both a visual and textural delight.
When to Start Love-in-a-Mist Seeds
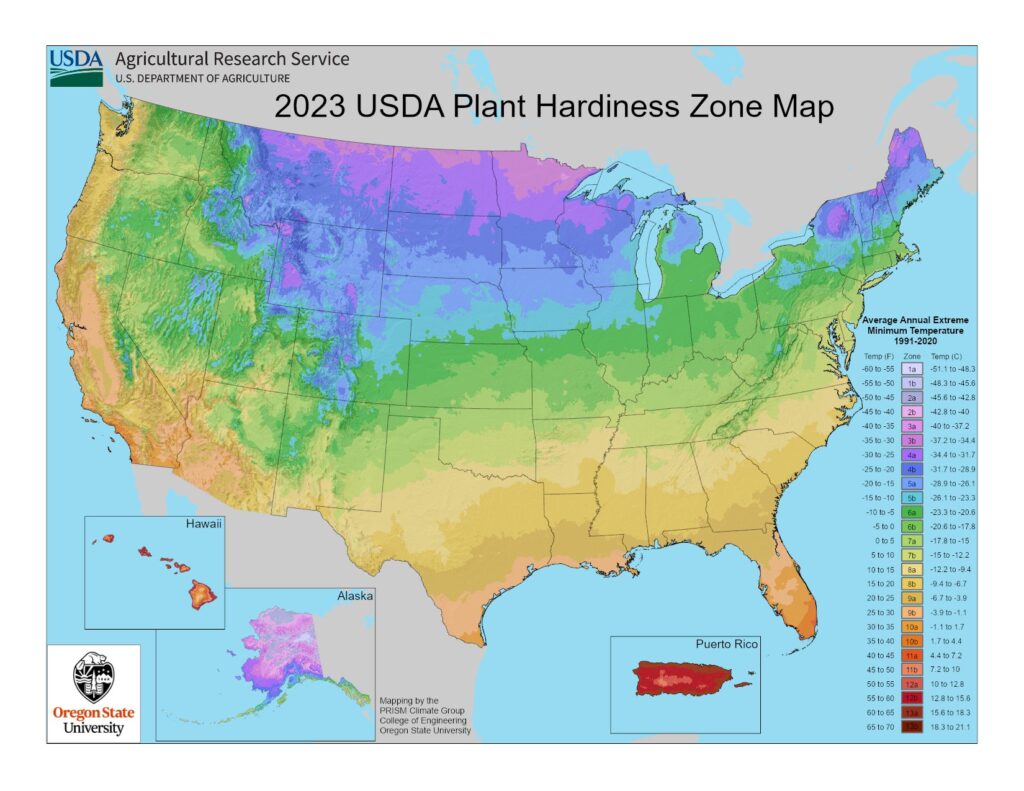
Love-in-a-Mist is a hardy annual that can be grown in a wide range of climates across the United States. The timing of when to start seeds indoors or sow them directly outdoors depends on the USDA hardiness zone and local climate conditions. Proper timing ensures that your plants will thrive and bloom abundantly during the growing season.
In Zones 3-5:
In colder zones, the growing season is shorter, so it’s advisable to start Love-in-a-Mist seeds indoors. Begin sowing indoors about 6 to 8 weeks before the last expected frost date. This will give the seedlings time to establish a strong root system before being transplanted outdoors.
After the last frost has passed and the soil has warmed up, you can transplant the seedlings outdoors. For direct sowing, wait until the soil has warmed to around 60°F (15°C) and the risk of frost has passed, typically in late spring.
In Zones 6-8:
In zones 6-8, the growing season is longer, and Love-in-a-Mist can be started indoors or directly sown outdoors. If starting indoors, sow seeds 4 to 6 weeks before the last expected frost date. This gives the plants a head start, but you can also direct sow seeds outdoors once the danger of frost has passed, usually in early spring.
Direct sowing is an easy option as Love-in-a-Mist is fairly tolerant of cooler soil temperatures and can be sown once daytime temperatures consistently reach around 50°F (10°C).
In Zones 9-12:
In warmer climates (zones 9-12), Love-in-a-Mist is best treated as a cool-season annual. In these zones, direct sowing outdoors can be done in the fall or very early spring to avoid the heat of summer.
If starting indoors, sow seeds 4 to 6 weeks before your target planting time, usually in late summer or early fall, to allow plants to grow in cooler conditions.
You can also direct sow outdoors in early spring before the summer heat arrives, giving the plants a chance to thrive in the milder temperatures.
How to Direct-Sow Love-in-a-Mist Seeds
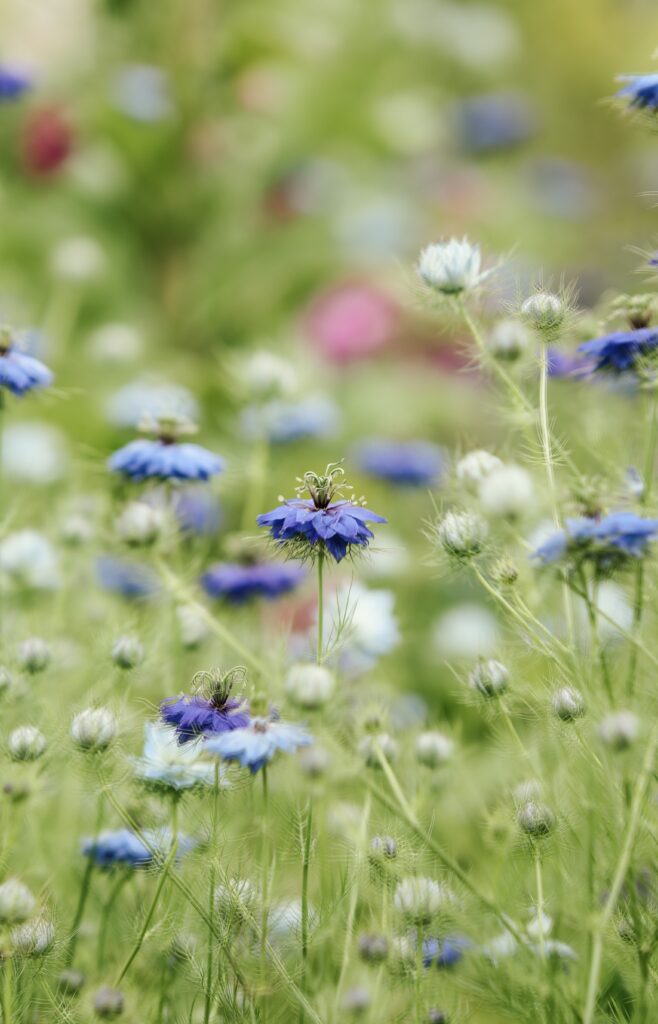
Love-in-a-Mist is an excellent choice for direct sowing, as it thrives when planted directly in the garden soil. This method not only simplifies the process but also helps the plant establish itself in its natural environment without the need for transplanting.
To sow Love-in-a-Mist seeds outdoors, prepare a well-draining garden bed in a sunny location. The seeds should be planted at a shallow depth, approximately 1/8 inch beneath the soil surface.
A light covering of soil ensures that the seeds remain in place while still allowing them to access the light needed for germination.
Water the planting area gently after sowing to ensure the soil is evenly moist but not waterlogged. Maintaining consistent soil moisture is crucial during the germination period, as dry conditions can hinder seedling development.
The optimal temperature for germination ranges between 60°F and 70°F. In most regions, seeds can be sown outdoors in early spring as soon as the soil can be worked, or in fall in areas with mild winters. Germination occurs best in these moderate temperatures.
Love-in-a-Mist seeds require light for germination. Avoid burying them too deeply, as this can block the light and delay or prevent sprouting. The shallow planting depth is sufficient to meet this requirement.
Germination typically takes 10 to 14 days, depending on the conditions. During this time, monitor the soil to ensure it stays moist, and be patient as the delicate seedlings begin to emerge.
Once established, Love-in-a-Mist grows rapidly and will soon fill the garden with its characteristic feathery foliage and ethereal blooms.
How to Start Love-in-a-Mist Seeds Indoors
Starting Love-in-a-Mist seeds indoors allows for a controlled environment, giving seedlings a strong start before transplanting them into the garden. This method is particularly useful in regions with unpredictable early spring weather or short growing seasons.
To prepare for indoor sowing, begin by selecting or making a seed starting mix that is light, well-draining, and low in nutrients. A good mix includes fine peat or coconut coir, perlite, and vermiculite. Avoid using garden soil, as it can be too dense and may harbor pests or diseases.
Choose containers such as cell trays, soil blocks, or shallow seed-starting flats. Containers should have drainage holes to prevent waterlogging.
For Love-in-a-Mist, individual cells or soil blocks approximately 1.5 to 2 inches deep work well, as they provide adequate space for the roots to develop without becoming overcrowded.
Plant the seeds at a shallow depth of 1/8 inch. Sprinkle them lightly with the seed starting mix to ensure contact with the soil while allowing light to penetrate, which is essential for their germination.
Water the seeds gently to moisten the soil evenly. Keep the soil consistently moist but not soggy throughout the germination period. A misting bottle or a watering can with a fine spout works well to avoid displacing the seeds.
Maintain an optimal temperature of 60°F to 70°F for germination. If needed, use a heat mat under the trays to provide consistent warmth.
Love-in-a-Mist seeds require light to germinate, so place the trays in a bright location, such as a south-facing window or under grow lights. Ensure the lights are positioned 2 to 4 inches above the trays and run for 12 to 16 hours per day.
Germination typically occurs within 10 to 14 days under these conditions. During this time, check the moisture levels regularly and avoid allowing the soil to dry out. Once the seedlings emerge, continue providing bright light and maintain even watering until they are ready for transplanting into the garden.
When to Plant Love-in-a-Mist Starter Plants into the Garden
Love-in-a-Mist starter plants are ready to be transplanted into the garden when they show healthy growth and have established a strong root system. This is usually indicated by the development of multiple true leaves beyond the initial seed leaves, known as cotyledons. These true leaves resemble the feathery, fern-like foliage characteristic of mature plants.
Check the roots by gently lifting a seedling from its container. The roots should hold the soil together and show signs of robust growth without being overly tangled or circling the bottom of the container. Overcrowded or root-bound plants may struggle to establish themselves after transplanting.
Timing is also crucial. Love-in-a-Mist seedlings prefer cool weather, so they should be planted out after the last frost date in your area but while temperatures remain mild. In regions with mild winters, fall-planted seedlings can be moved outdoors once they are sufficiently established and daytime temperatures are favorable.
Ensure the seedlings are sturdy and not overly leggy, as weak stems can indicate insufficient light or readiness for transplanting. Strong, upright growth with vibrant green foliage is a good indicator that the plants are ready for the transition.
Before planting, acclimate the seedlings to outdoor conditions through a process called hardening off. This gradual exposure helps them adjust to fluctuations in temperature, wind, and sunlight, ensuring they adapt well when moved to the garden.
Hardening Off Love-in-a-Mist Starter Plants
Hardening off is a crucial process to help Love-in-a-Mist starter plants transition from the controlled indoor environment to the variable conditions of the outdoors. This gradual acclimation strengthens the plants and reduces transplant shock.
Begin the process about one to two weeks before you plan to transplant your seedlings into the garden. Choose a mild day without extreme temperatures, heavy rain, or strong winds as the starting point.
Place the starter plants outdoors in a sheltered, partially shaded area for one to two hours on the first day. Avoid direct sunlight during this initial stage, as the tender seedlings may be prone to scorching.
Gradually increase the time the plants spend outside each day. Over the course of several days, introduce them to more sunlight by moving them into areas with dappled light or morning sun. By the end of the hardening-off period, they should be able to withstand full sun for most of the day.
Monitor the plants closely during this time. Check the soil moisture regularly, as exposure to wind and sunlight can cause the soil to dry out faster than it does indoors. Water as needed to keep the soil evenly moist but not waterlogged.
Protect the seedlings from extreme weather during the hardening-off period. If frost or strong winds are forecast, bring the plants indoors or cover them with lightweight fabric to shield them from harsh conditions.
By the end of the hardening-off process, the plants should appear sturdy, with firm stems and vibrant foliage. They will now be well-prepared to thrive in their permanent garden location.
Preparing the Garden Bed for Love-in-a-Mist Plants
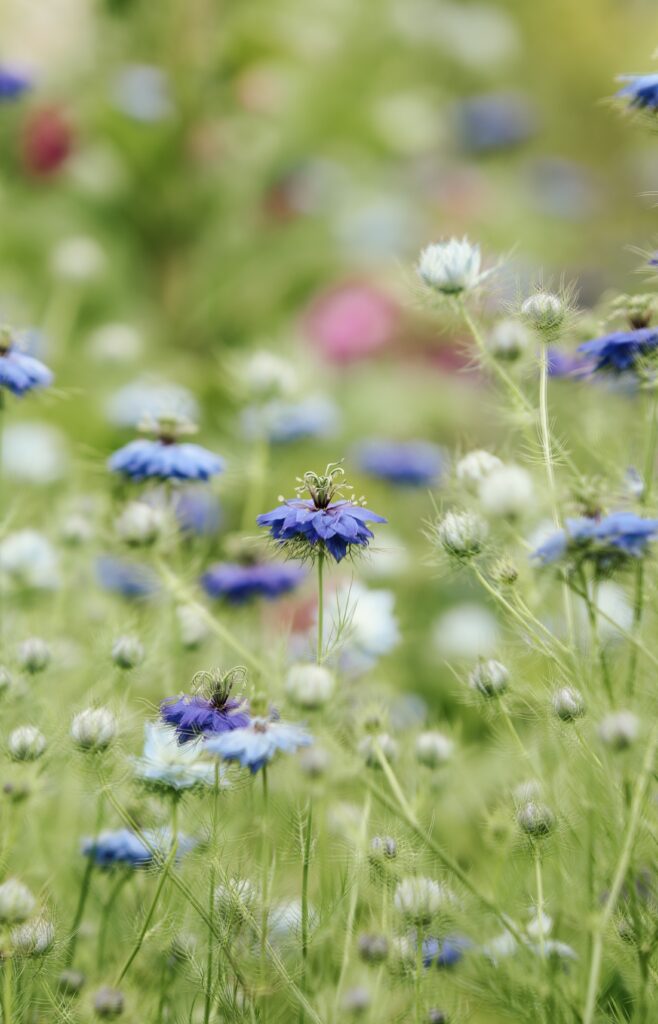
Preparing a well-suited garden bed for Love-in-a-Mist ensures that the plants thrive and display their full potential. Proper planning and preparation create an environment where these delicate plants can grow with minimal care.
Start by choosing a location that receives full sun for most of the day. While Love-in-a-Mist can tolerate partial shade, full sun promotes robust growth and more abundant blooms. Select a site with good air circulation to help prevent diseases.
Ensure the location has well-draining soil, as Love-in-a-Mist prefers moderate moisture but does not tolerate standing water. The soil should remain evenly moist during the growing season, especially during germination and early growth, but it should not be waterlogged.
The ideal soil type for Love-in-a-Mist is loose and sandy or loamy, rich in organic matter. Incorporate well-aged compost or other organic amendments into the soil before planting to enhance fertility and structure. Aim for a neutral to slightly acidic pH, between 6.0 and 7.0, as this range supports healthy growth.
While Love-in-a-Mist is not overly demanding, these soil improvements can boost flower production and plant vigor.
There is no need for trellising or support for Love-in-a-Mist plants. These plants grow to a modest height, typically 12 to 18 inches, and have sturdy stems that can stand on their own without additional reinforcement.
To prepare the bed, loosen the soil to a depth of at least 6 to 8 inches to promote good root penetration. Remove any weeds or debris, as these can compete with young plants for nutrients and water. Level the soil surface to create an even planting area, ensuring water can disperse evenly.
How to Plant Love-in-a-Mist Into the Garden

Planting Love-in-a-Mist into the garden is a straightforward process that allows the seedlings to establish themselves in their permanent location. With proper care during planting, they will quickly adapt and begin to thrive.
Plant Love-in-a-Mist seedlings at the same depth as they were in their original containers. Avoid planting too deeply, as this can stress the plants and hinder their growth. Gently firm the soil around the base of the plants to eliminate air pockets without compacting the soil.
Space the plants approximately 6 to 12 inches apart. This spacing provides enough room for the plants to grow without overcrowding, ensuring proper air circulation and reducing the risk of fungal diseases.
Apply a thin layer of organic mulch, such as straw, shredded bark, or compost, around the base of the plants. The mulch helps retain soil moisture, regulates soil temperature, and suppresses weed growth. Keep the mulch a few inches away from the stems to prevent moisture buildup that could lead to rot.
After planting, water the seedlings thoroughly to help them settle into the soil and eliminate any remaining air pockets. Continue to water consistently during the first few weeks as the plants establish their roots.
Allow the soil to dry slightly between waterings, as Love-in-a-Mist does not tolerate overly wet conditions. Once established, these plants are relatively drought-tolerant and require less frequent watering.
Caring for Love-in-a-Mist Plants
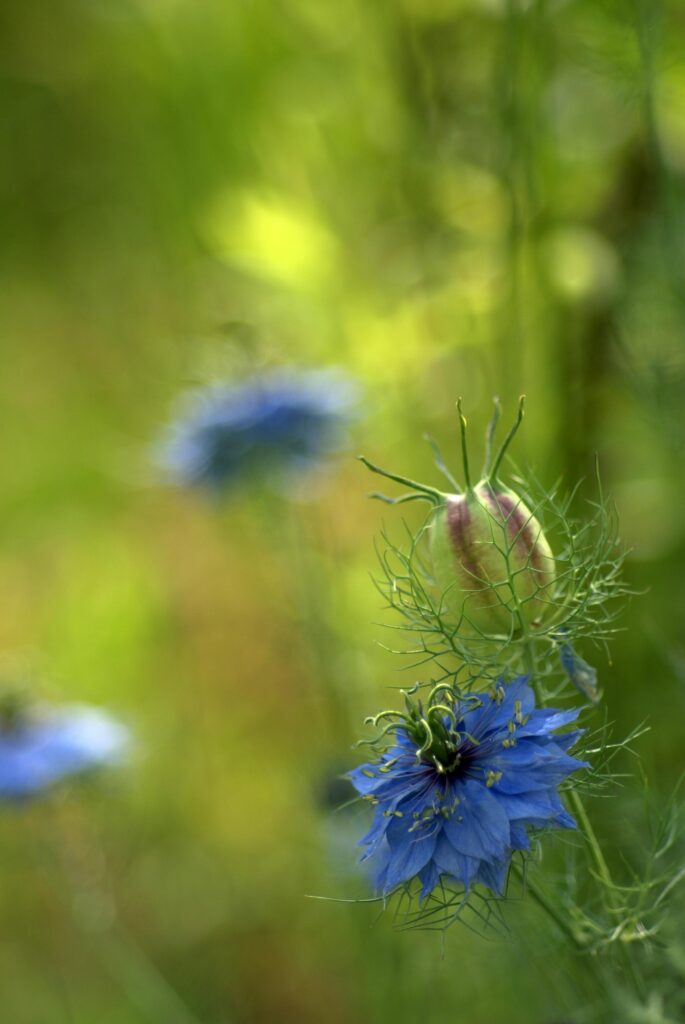
Proper care ensures that Love-in-a-Mist plants grow vigorously and produce abundant blooms. These low-maintenance plants are resilient, but they still benefit from thoughtful attention to their basic needs.
Watering
Love-in-a-Mist thrives with consistent moisture during germination and early growth. Once established, it is moderately drought-tolerant and requires only occasional watering. Allow the top inch of soil to dry between waterings to avoid overwatering, which can lead to root rot.
During extended dry spells or periods of high heat, increase watering frequency to keep the plants healthy and flowering. Water at the base of the plants to minimize leaf wetness and reduce the risk of disease.
Feeding
These plants are not heavy feeders and typically perform well in average garden soil enriched with organic matter. If your soil is poor or depleted, apply a balanced, slow-release fertilizer once during the growing season.
Over-fertilizing can lead to excessive foliage growth at the expense of flowers, so err on the side of restraint. Compost or organic amendments worked into the soil before planting can also provide sufficient nutrients without the need for additional feeding.
Weeding
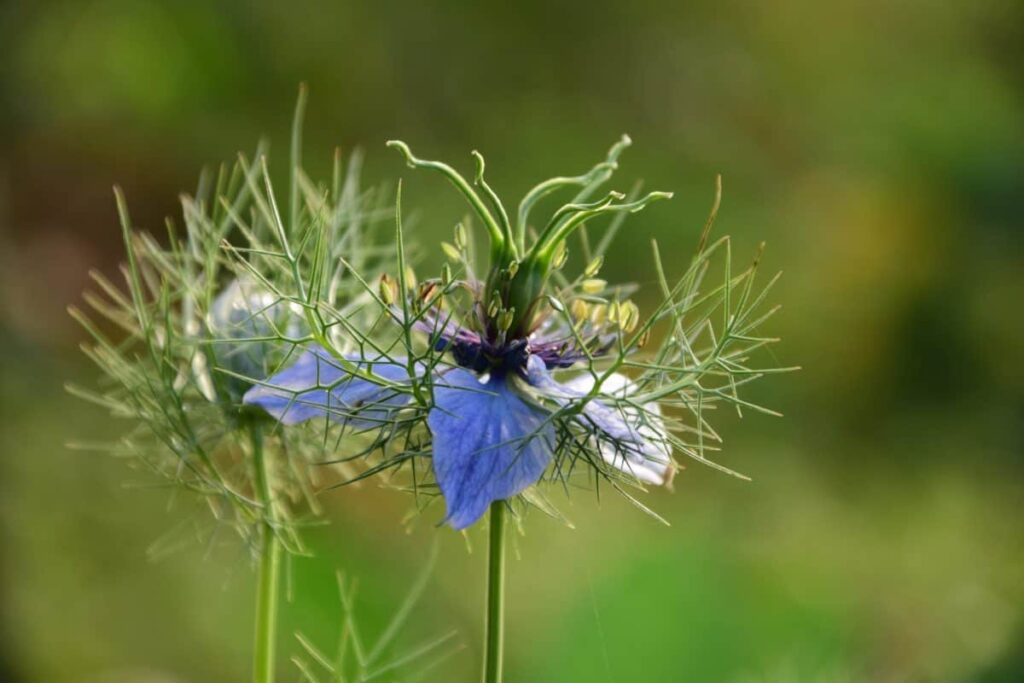
Weed competition can hinder the growth of Love-in-a-Mist, especially in the early stages. Regularly remove weeds from around the plants to prevent them from stealing nutrients, water, and light. A layer of organic mulch can significantly reduce weed growth while helping to retain soil moisture and regulate temperature. Be careful when weeding near young seedlings to avoid disturbing their shallow root systems.
Pest Control
Love-in-a-Mist is relatively pest-resistant and rarely affected by significant infestations. However, keep an eye out for aphids, which may occasionally appear on the foliage or flower stems.
If infestations occur, remove them by spraying the plants with a strong stream of water or applying insecticidal soap. Avoid using broad-spectrum insecticides, as they can harm beneficial insects like pollinators.
In general, these plants do not require intensive pest management. Their natural hardiness and feathery foliage make them less appealing to many garden pests. Monitoring regularly and maintaining healthy growing conditions will prevent most problems.
Tips and Tricks for Growing Love-in-a-Mist
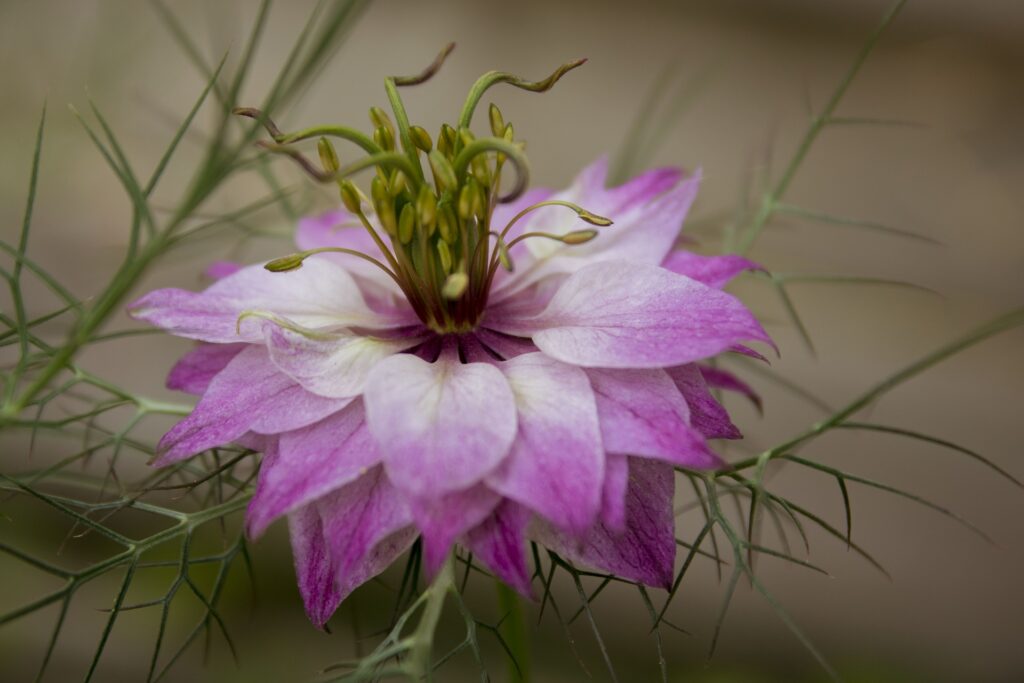
Love-in-a-Mist is a low-maintenance annual that thrives with minimal intervention, but a few simple techniques can enhance its growth and flower production.
Pinching Back
Pinching back Love-in-a-Mist is not necessary for their growth or flowering. These plants naturally branch and form a full, bushy habit without needing to be pinched.
However, if you wish to encourage slightly denser growth or prolong blooming, you can pinch the tips of young plants when they are about 4 to 6 inches tall. This practice is entirely optional and primarily useful in creating a more compact appearance.
Succession Sowing
Successive sowing is an excellent way to extend the bloom period of Love-in-a-Mist. By sowing seeds every two to three weeks, you can enjoy a continuous display of flowers throughout the growing season.
Don’t Deadhead Them
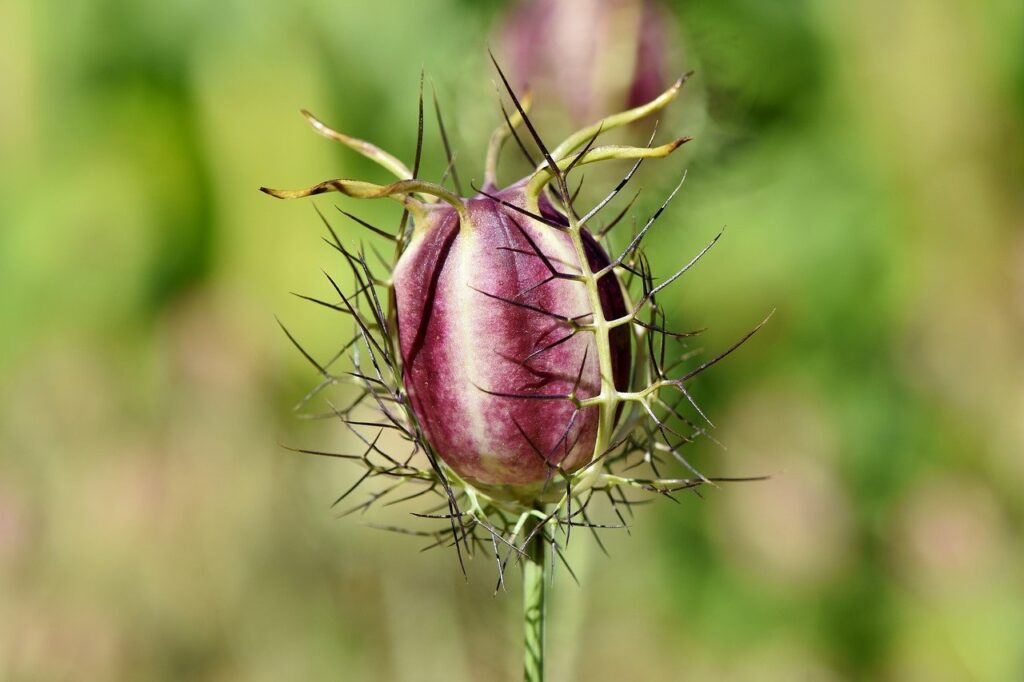
Removing spent blooms is unnecessary unless you want to prevent the plants from self-seeding. Note that allowing the distinctive seed pods to develop can add visual interest to the garden and provide seeds for next year’s planting.
If you prefer a more naturalized look, Love-in-a-Mist can be left to self-seed freely. The resulting seedlings will emerge in the following season, creating a charming, meadow-like effect. For a tidier appearance, thin out the self-seeded plants as needed.
Keep Them Lean
Grow Love-in-a-Mist in a well-drained site with plenty of sunlight and avoid overwatering. These plants are adapted to relatively lean conditions and will perform better without excessive moisture or fertilizer.
By following these tips, you’ll enjoy a garden filled with Love-in-a-Mist’s unique flowers and ethereal beauty with very little effort.
Love-in-a-Mist After Bloom Party
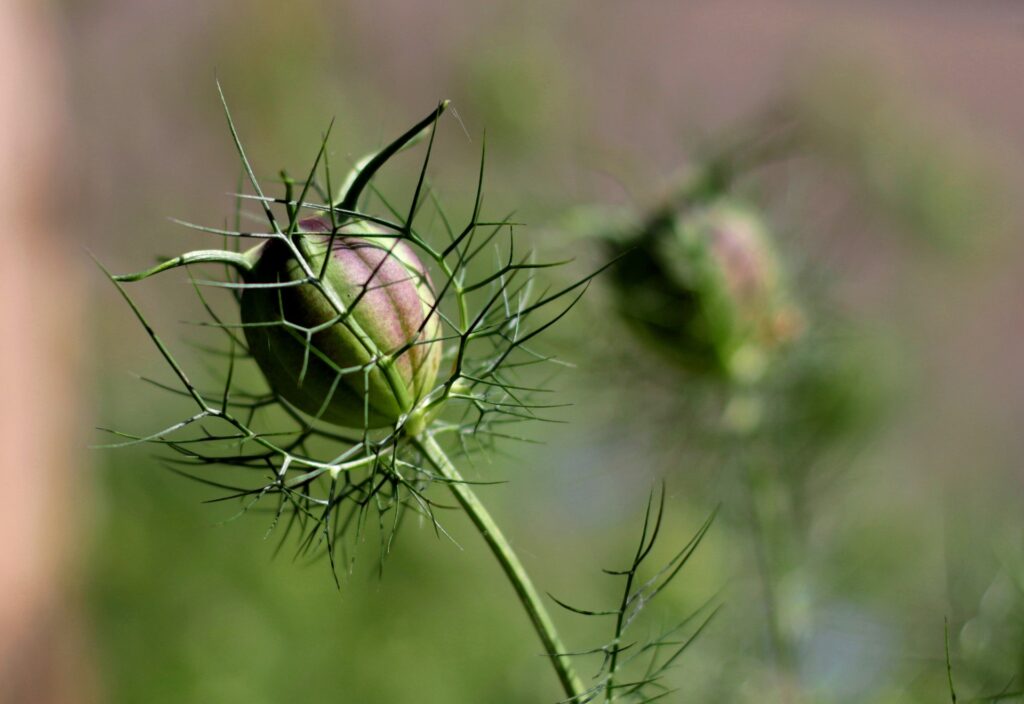
After flowering, Love-in-a-Mist plants typically begin to die back as the weather cools. They are annuals, so they do not overwinter and will not return the following year unless they have self-seeded.
In colder climates (USDA Zones 4-8), Love-in-a-Mist dies after the first frost, and the plants do not regenerate. However, in mild climates or when left to self-seed, they can reappear each spring.
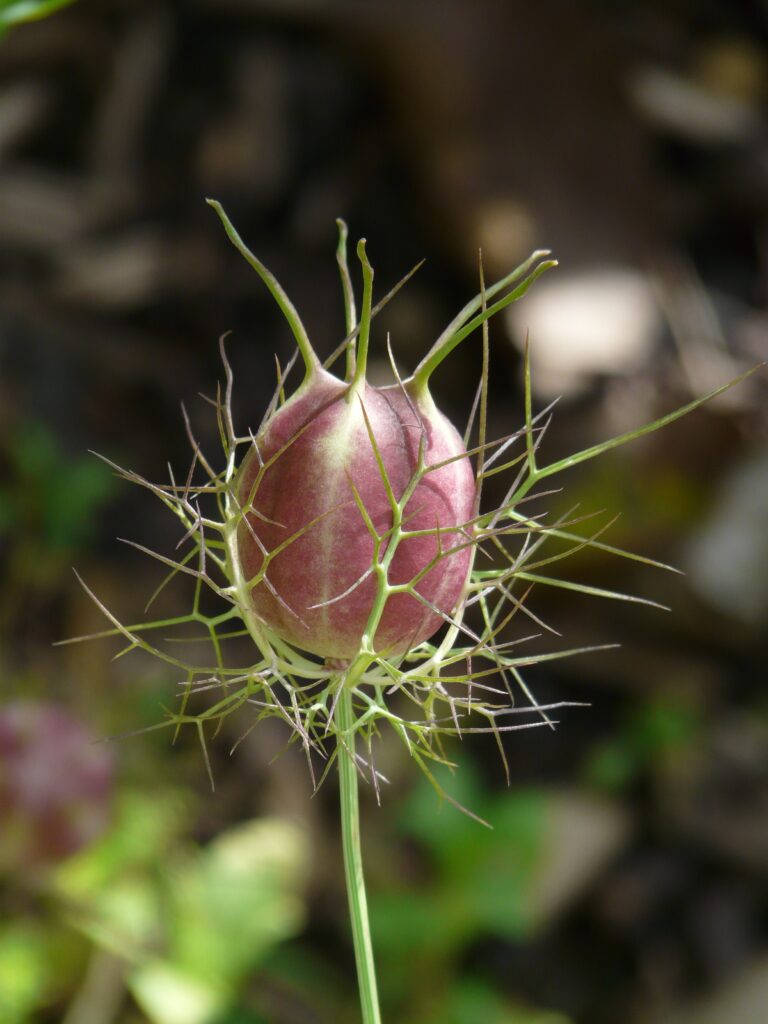
Self-seeding is one of the most charming aspects of Love-in-a-Mist. The plants produce distinctive seed pods that, when allowed to mature, burst open to release seeds. These seeds will often fall around the base of the plant and can germinate the following year.
If you want to encourage reseeding, simply leave the seed pods in place to mature. If you prefer a more controlled growth, you can deadhead the plants to prevent seeds from dispersing.
How to Harvest and Collect Love-in-a-Mist Seeds
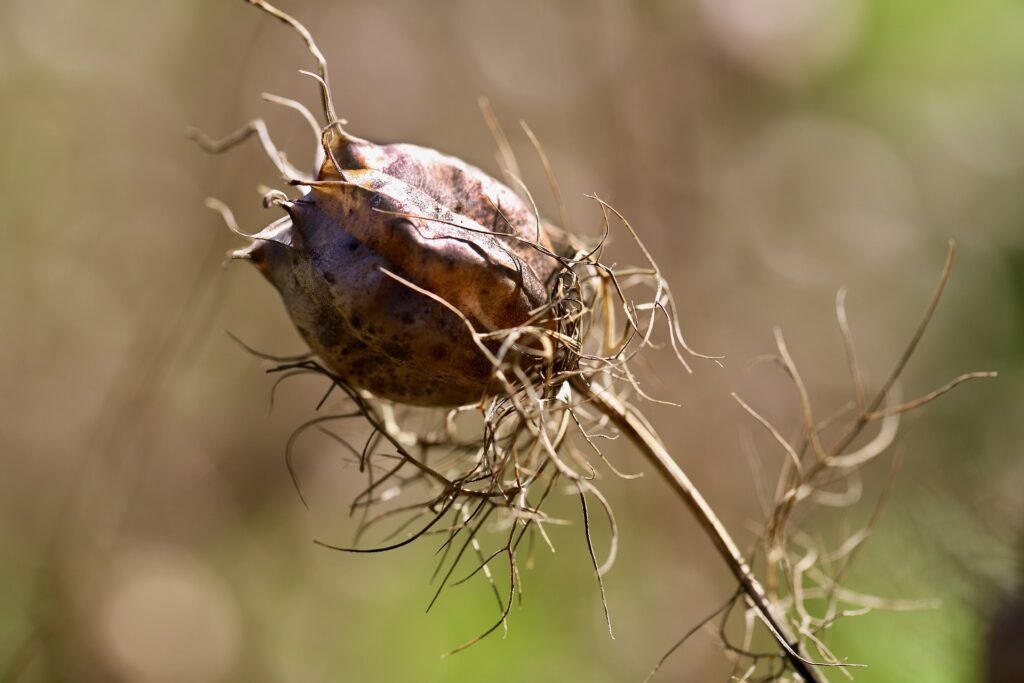
To harvest seeds, wait until the seed pods have dried on the plant. These pods are typically green when immature and will turn brown and dry when ready for collection. Once the pods are completely dry, carefully cut them from the plant using pruning shears or scissors. Place the pods in a paper bag or container to fully dry out for a few more days.
After the pods are completely dry, carefully open them to release the small black seeds inside. The seeds are easy to collect by gently shaking the pods or by hand. Store the seeds in a cool, dry place in an airtight container, away from direct sunlight. If properly stored, Love-in-a-Mist seeds can remain viable for a few years.
Time to Get Planting
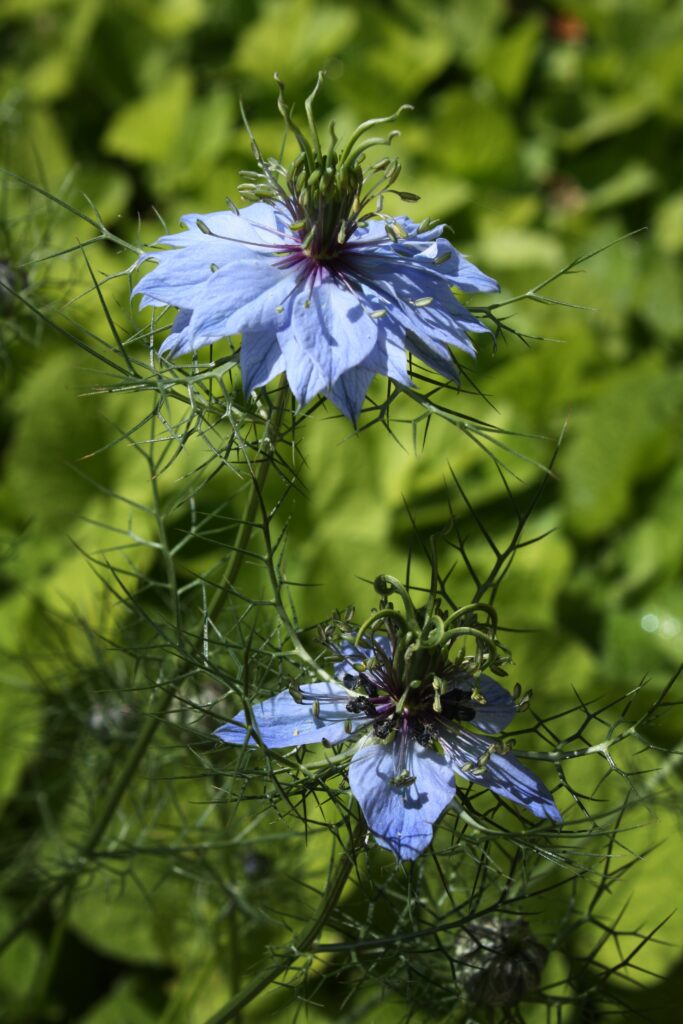
Love-in-a-Mist is a striking and easy-to-grow annual that adds unique beauty to any garden. With minimal care, these plants produce delicate flowers that add a whimsical touch throughout the growing season. They thrive in sunny, well-drained locations and are a great choice for gardeners looking to attract pollinators like bees and butterflies.
Whether grown as part of a mixed flower bed or allowed to naturalize with self-seeding, Love-in-a-Mist is a low-maintenance option that rewards gardeners with charming, lacy blooms. Following the proper care and harvesting guidelines will ensure that these plants continue to thrive and reseed for seasons to come.
