
Collards, known for their nutritious and flavorful leaves, are a staple in many gardens. Officially named Brassica oleracea var. viridis, they belong to the Brassicaceae family, which includes cabbage, kale, and broccoli. Growing collards is relatively simple and many gardeners find them to be one of the most prolific vegetables in the garden.
Collards are valued for their ability to thrive in cooler temperatures, but my experience is that they are one of the most heat-tolerant brassicas. They’re nutritious and versatile in culinary uses.

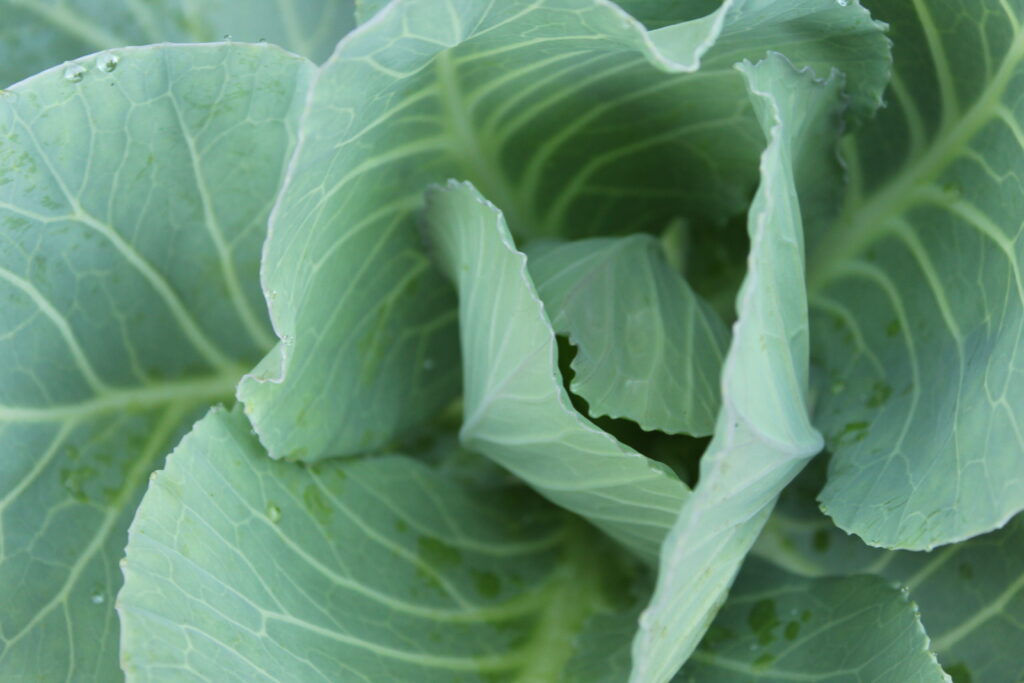
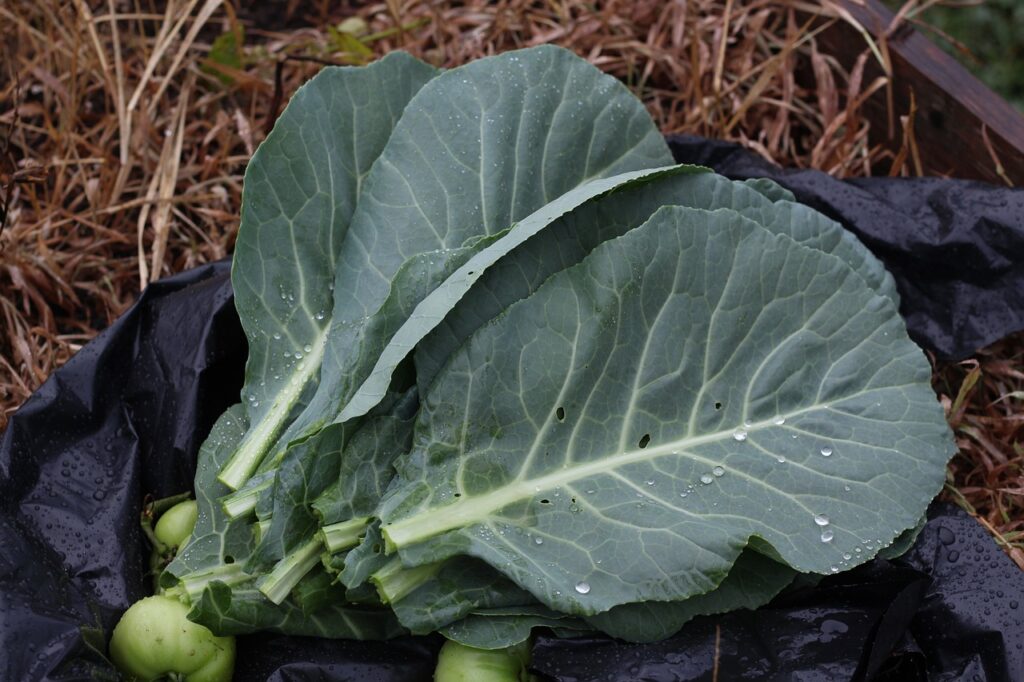
Characterized by their large, dark green leaves and robust, upright stems, collards are a biennial plant commonly grown as an annual. They are particularly well-suited to USDA Hardiness Zones 3 through 12, showcasing their adaptability across a wide range of climates.
However, collards can tolerate frost, which often enhances their flavor, making them a favorite for fall and winter gardens.
When to Start Collards from Seed

The timing for starting collard seeds varies based on your hardiness zone:
In Zones 3-5
Starting Indoors: Begin sowing collard seeds indoors about 4-6 weeks before the last expected frost date. This early start allows the seedlings to establish themselves before being transplanted outdoors.
Direct Sowing: Directly sow seeds into the garden as soon as the soil can be worked in early spring. Collards can handle light frosts, making them ideal for early planting.
In Zones 6-8
Starting Indoors: Start seeds indoors approximately 4-6 weeks before the last frost date to extend the growing season.
Direct Sowing: You can also sow seeds directly in the garden in early spring, once the risk of heavy frost has passed.
In Zones 9-12
Starting Indoors: In these warmer regions, starting seeds indoors can be done about 4 weeks before the last frost date.
Direct Sowing: Direct sowing in the garden can occur in late winter or early spring. In these zones, you may also consider a fall planting for a winter harvest.
In all zones, starting collards indoors can provide a head start on the growing season, especially in areas with shorter windows of mild weather. Whether starting seeds indoors or sowing directly in the garden, ensure that the soil is fertile and well-drained for optimal growth.
How to Start Collards from Seed

Starting collards seeds indoors can ensure a healthy start for your plants, especially in cooler climates. Follow this step-by-step guide for successful germination and early growth:
Choosing or Making a Seed Starting Mix
A suitable seed starting mix for collards should be lightweight, well-draining, and rich in organic matter. You can use a commercially available seed starting mix or make your own by combining coconut coir, perlite, and compost in equal parts.
Choosing Containers for Starting Seeds
Small pots, cell trays, or soil blocks are ideal for starting collards seeds. Ensure they have adequate drainage holes. Containers should be at least 2-3 inches deep to accommodate initial root growth.
Depth to Plant
Sow collards seeds about 1/4 to 1/2 inch deep in the soil. This shallow depth ensures the seeds have sufficient soil coverage for moisture retention and are close enough to the surface to germinate effectively.
Moisture Requirement for Seeds
The soil should be consistently moist but not waterlogged. Use a spray bottle to gently water the soil, keeping it evenly damp to promote germination.
Optimal Temperature for Germination
Collards seeds germinate best at temperatures between 60-70°F (15-21°C). Maintaining this range is important for successful germination.
Light Requirements for Germination
After planting, place the seed containers in a location with bright, indirect light. A sunny windowsill or under grow lights are good options. Consistent light exposure aids in healthy seedling development.
Time to Germination
Collards seeds typically germinate within 5-10 days under optimal conditions. However, this can vary slightly based on environmental factors.
Prepare Your Garden Growing Collards
Preparing a garden bed for collards without tilling the soil is beneficial for maintaining soil structure and health. Here’s how to do it using a no-dig approach:
Choosing a Location
Collards thrive in full sun to partial shade. Choose a location that receives at least 4-6 hours of sunlight daily.
Opt for an area with well-draining soil. Collards prefer consistent moisture but do not fare well in waterlogged conditions.
They grow best in fertile soil rich in organic matter. The soil should have a neutral to slightly acidic pH.
Preparing the Garden Bed
Spread a layer of organic matter such as compost, leaf mold, or well-rotted manure over the intended planting area. These materials will nourish the soil as they break down.
Cover the organic layer with mulch, like straw or shredded leaves. Mulch helps retain soil moisture, regulates temperature, and suppresses weed growth.
If the soil is compacted, then gently loosen the soil with a garden fork. Then, while you’re waiting for your collards starters to sprout, allow the bed to rest for a few weeks before planting. This period lets the organic matter start to decompose and incorporate into the soil below.
When ready to plant, simply move aside the mulch in each planting spot, add a bit more compost, and plant your collards seeds or transplants.
How to Direct Sow Collards in the Garden
Direct sowing collards in your garden is an effective way to grow these nutritious leafy greens. Here’s a detailed guide:
Sow collards seeds at a depth of about 1/4 to 1/2 inch. This shallow depth ensures the seeds are well covered for moisture retention but close enough to the surface for successful germination.
Space the seeds or seedlings about 18 to 24 inches apart to give each plant enough room to grow. Collards can grow into large plants, so sufficient spacing is essential.
If sowing in rows, keep the rows approximately 24 inches apart.
After sowing, water the area gently but thoroughly. The goal is to moisten the soil without causing the seeds to wash away. Consistent soil moisture is crucial for good germination.
Once the seedlings are a few inches tall, thin them out to the recommended spacing. This ensures that each plant has enough space and resources to develop fully.
You can transplant thinned seedlings to other areas of your garden if desired.
Apply a layer of organic mulch around the seedlings to help retain soil moisture, suppress weeds, and regulate soil temperature.
Be cautious not to cover the young plants completely with mulch.
Hardening Off Collards Starter Plants
Hardening off is the process of gradually acclimating indoor-grown plants to outdoor conditions. Here’s how to do it:
Start about a week before you plan to transplant. Place collards outdoors in a shaded, sheltered area for a few hours each day.
Gradually increase their time outside each day, introducing them to more sunlight and varied temperatures.
Protect the seedlings from extreme conditions such as strong winds or late frosts.
Maintain regular watering during the hardening off period to keep the soil consistently moist.
Planting Out Your Collards into the Garden
Follow these steps when planting your collards starters in the garden:
Plant the starters at the same depth they were growing in their containers.
Space the plants 18 to 24 inches apart to allow ample room for growth.
After planting, apply a layer of organic mulch around the plants. This helps retain moisture, suppress weeds, and regulate soil temperature.
Water the plants well after planting to settle the soil around the roots and provide necessary hydration for their adjustment to the new environment.
Caring for Collards Plants
Collards, known for their resilience and nutritional value, have low maintenance needs. These leafy greens are relatively easy to grow and can be very rewarding with the right care.
Collards need consistent moisture to grow lush and tender leaves. Water them regularly, ensuring the soil remains evenly moist but not waterlogged.
Applying a layer of organic mulch around the plants can help retain soil moisture and reduce the frequency of watering.
Feed collard plants with a balanced, all-purpose fertilizer to promote healthy growth. This is particularly important if your soil lacks nutrients.
Adding compost around the base of the plants can provide a steady supply of nutrients and improve soil health.
Keep the area around your collards free from weeds. Weeds compete for nutrients and water, which are crucial for the growth of your plants.
Tips and Tricks for Growing Collards
Growing collards successfully involves more than just basic care; it includes understanding their specific needs and addressing challenges organically. Here are some tips and organic approaches for cultivating healthy collards:
Plant collards in early spring for a summer harvest or in late summer for a fall and winter harvest, as cooler temperatures can enhance their flavor.
Harvest leaves from the bottom up to encourage new growth at the top, allowing for a continuous harvest throughout the season.
In warmer weather, collards may bolt (flower and go to seed). Regular harvesting and adequate watering can delay bolting.
Organic Ways for Addressing Pests
Attract beneficial insects like ladybugs and lacewings to your garden to naturally control common pests such as aphids and caterpillars.
Use floating row covers to protect young plants from pests. Remove the covers as plants grow larger or when temperatures rise.
In case of severe infestations, use organic insecticides like Spinosad for cabbage worms and Sluggo for snails and slugs. Both are organic options and are very effective when applied according to product instructions.
When and How to Harvest Collards
Collards are known for their ability to be harvested over a prolonged period. Here’s how to harvest them:
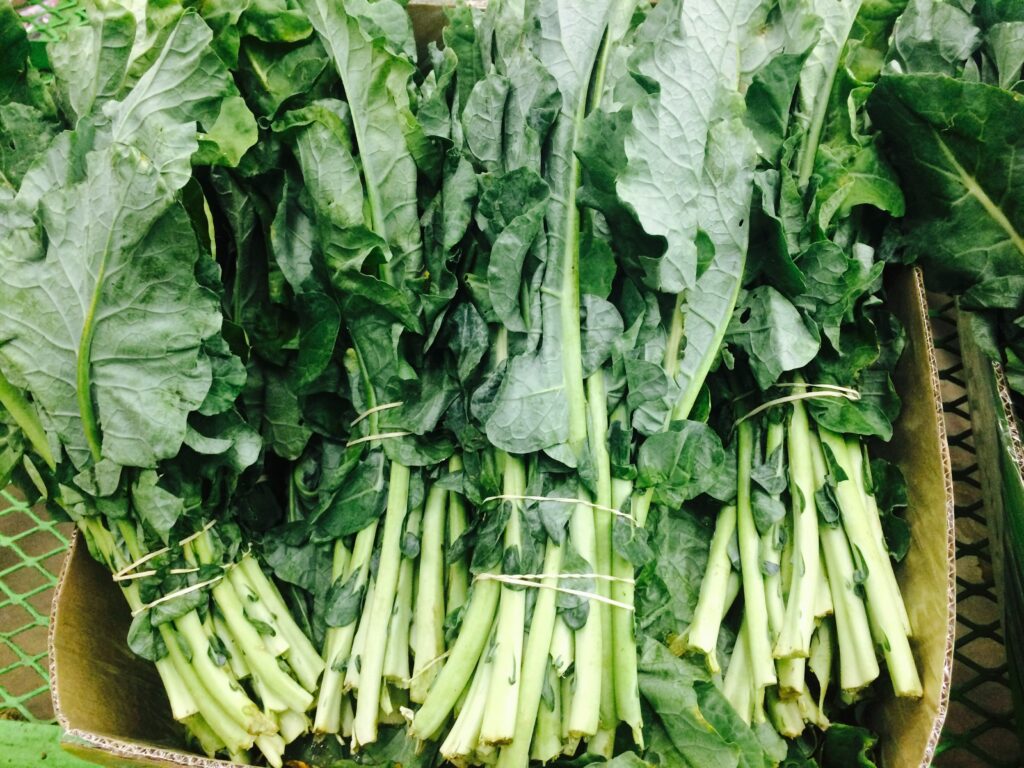
Begin harvesting when the leaves are large enough to eat, typically when they are about 10-12 inches long.
Harvest the lower, older leaves first, cutting them off at the stem. This method allows the plant to continue growing and producing new leaves from the top.
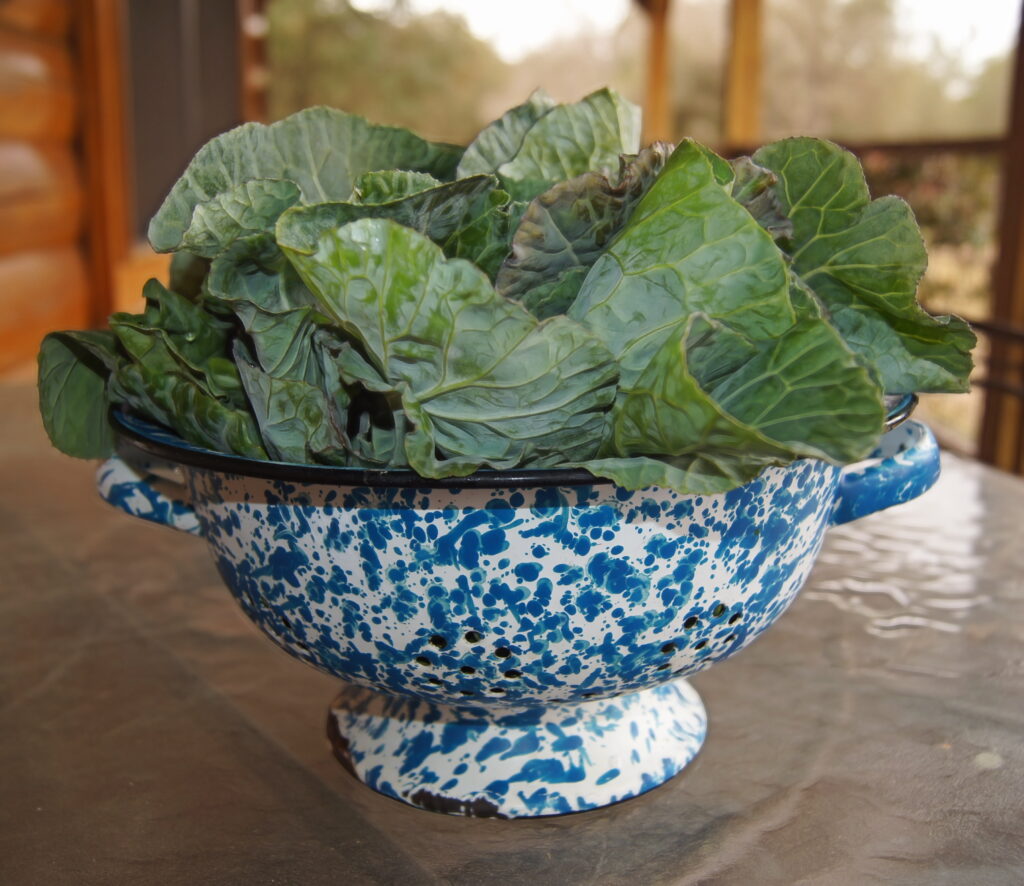
Cleaning collards is a simple process:
Hold the collard leaves under cool, running water to remove any dirt or debris.
For extra gritty leaves, submerge them in a bowl of water and swish around, then rinse.
Pat the leaves dry with a clean towel or use a salad spinner to remove excess water.
How to Store Collards
Proper storage can extend the freshness of collards:
Store collards in a plastic bag in the refrigerator. They typically stay fresh for up to a week.
For long-term storage, blanch the leaves for about three minutes, plunge them into ice water, drain, and then freeze in airtight bags.
How to Cook with Collards
Collards are versatile in the kitchen:
Sautéing and Braising: They can be sautéed with garlic, onions, or mixed with other greens. Braising in a flavorful broth is another popular method.
Soups and Stews: Add chopped collard greens to soups and stews.
Raw in Salads: Young, tender leaves can be used raw in salads.
Growing collards offers a rewarding experience, providing a nutritious and versatile green for your kitchen.
From planting to harvesting, caring for collards is straightforward, and the rewards are plentiful.


