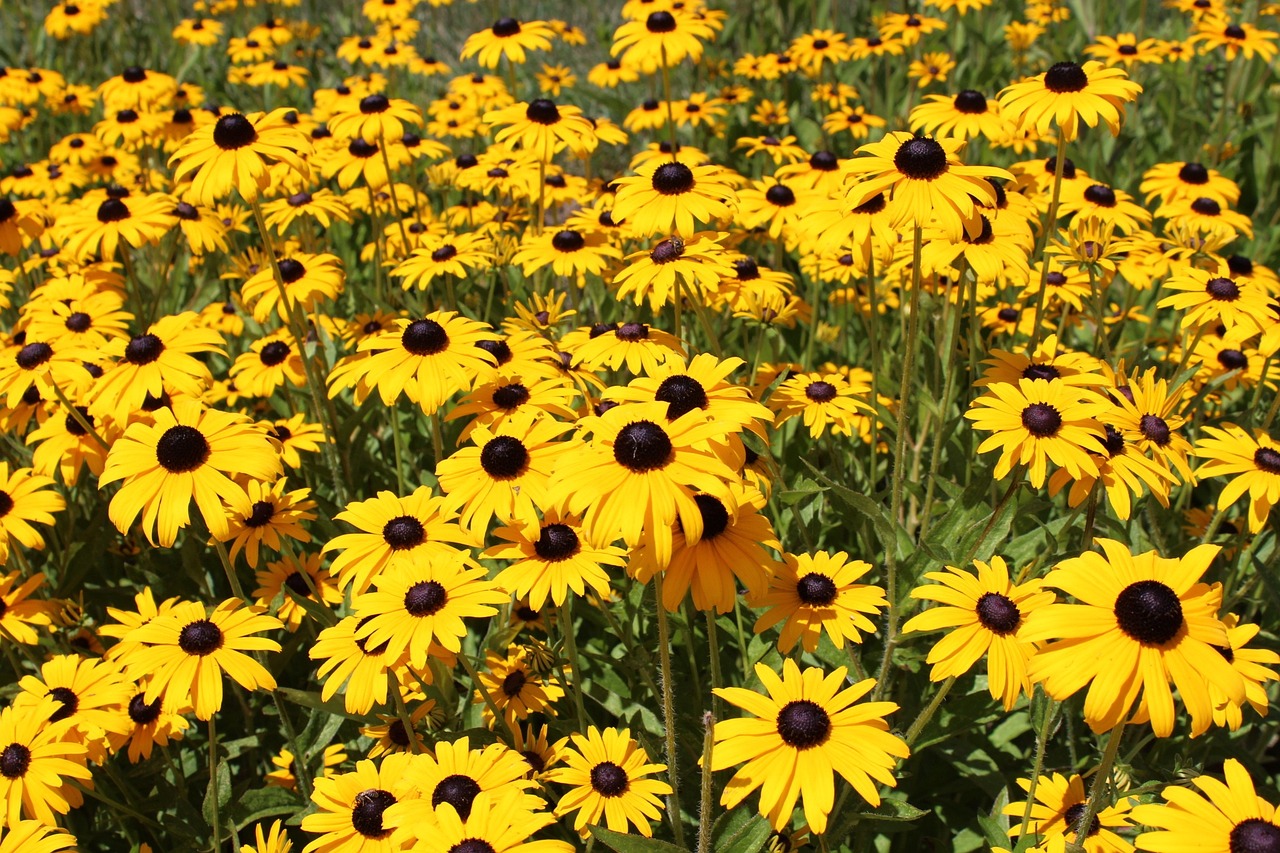
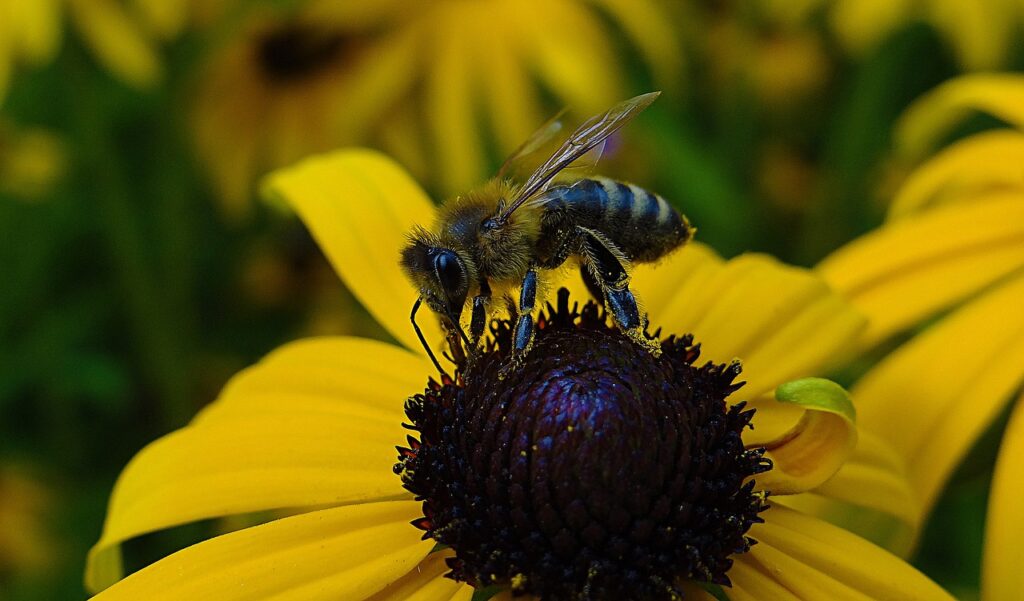
Black-Eyed Susans, scientifically known as Rudbeckia hirta, are delightful perennial wildflowers native to North America. These vibrant blooms are also commonly referred to as Gloriosa Daisies and belong to the Asteraceae family. Growing Black-Eyed Susans for your garden is an excellent way to add fodder to local wildlife.
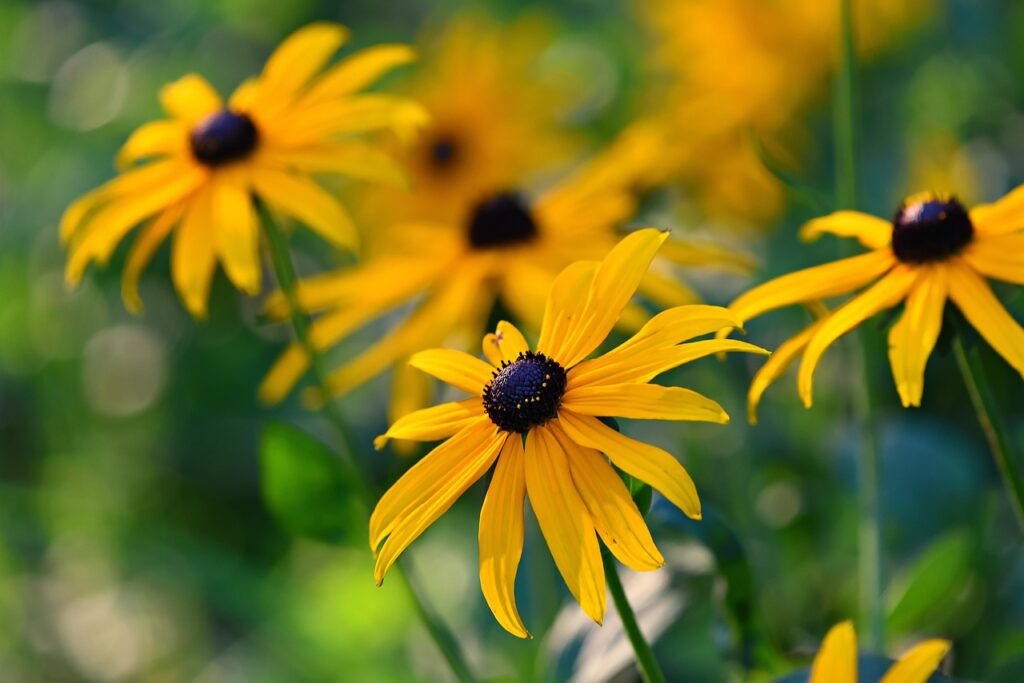
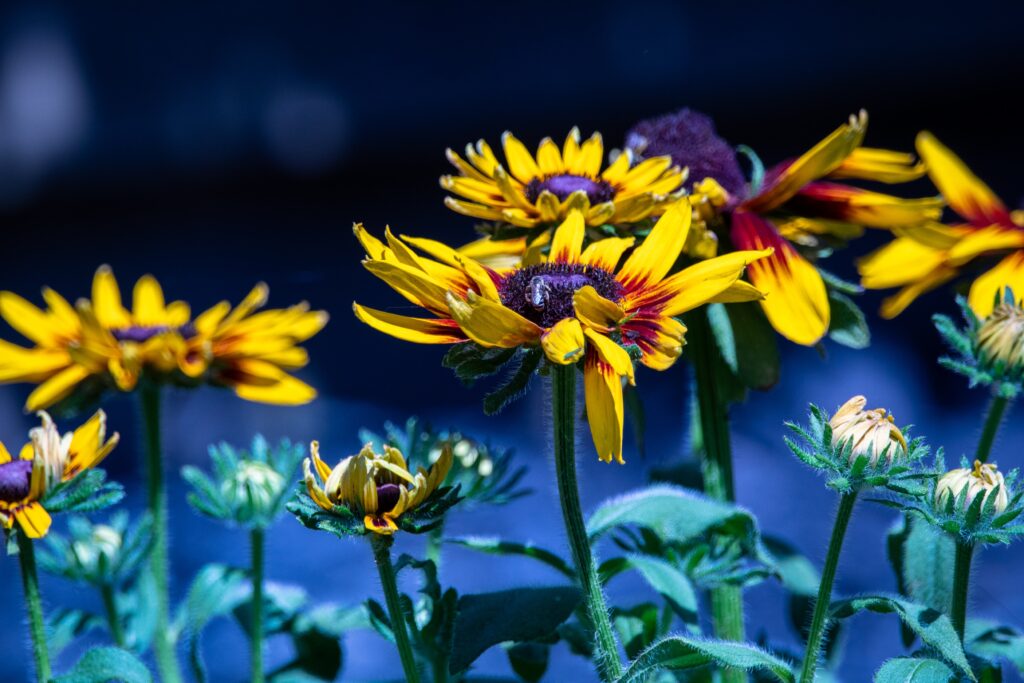
These flowers have striking daisy-like flowers with prominent dark brown centers, surrounded by golden petals. They are native to eastern and central North America, thriving in fields, prairies, and open woodlands.

When to Start Black-Eyed Susans Seeds:
In Zones 3-5, you can start growing Black-Eyed Susans indoors or under cover about 8-10 weeks before the last expected frost in spring. This allows ample time for the plants to establish themselves before facing the outdoors.
In Zones 6-8, and gardeners in these moderate zones, starting seeds indoors about 6-8 weeks before the last expected frost is a good practice. This provides a head start on the growing season.
In Zones 9-12, where the climate can run to the extremes, you can sow Black-Eyed Susans directly in the garden year-round. However, starting them indoors is still an option for earlier blooms. Start flower seeds indoors during the hot summers to plant out in fall, or during the winter to plant out in spring.

How to Start Black-Eyed Susans Seeds in Cell Trays or Soil Blocks:
Use a commercial seed starting mix that is sterile and well-draining. Alternatively, you can create your mix by combining coconut coir and vermiculite or perlite in equal parts. This mix provides an ideal texture for seedlings to establish themselves.
Opt for cell trays or small pots. These containers offer individual spaces for each seedling, making transplanting easier. Ensure that the containers have proper drainage to prevent waterlogging.
Plant the Black-Eyed Susans seeds approximately 1/4 inch deep. This shallow depth allows for easier germination.
Maintain consistently moist soil. Keep the mix damp but avoid overwatering, which can lead to seed rot.
Provide a temperature range of 70-75°F to encourage successful germination. Using a heating mat can help maintain the desired temperature if the environment is cold.
Black-Eyed Susans do not require light for germination. Placing a humidity dome or plastic wrap over the containers can help maintain moisture levels and create a mini-greenhouse effect.
Under proper conditions, Black-Eyed Susan seeds typically germinate within 10-20 days.
When Your Black-Eyed Susans Plants Are Ready to Plant into the Garden
You’ll know your growing Black-Eyed Susans plants are ready for transplant when they exhibit the following characteristics:
- When the seedlings have grown to be 4 to 6 inches tall, they are typically sturdy enough for transplanting.
- Look for the appearance of the second set of leaves, referred to as the “true leaves.” This indicates that the seedlings are mature enough for transplant.
- If the last frost date has passed in your region and the outdoor temperatures are consistently mild, your Black-Eyed Susans plants are ready for garden transplantation.
How to Prepare Garden Bed for Black-Eyed Susans
Select a sunny location for your Black-Eyed Susans, ideally receiving full sun, but they can tolerate light shade.
Ensure that the chosen spot meets the sunlight requirements. Adequate light is crucial for the healthy growth and blooming of Black-Eyed Susans.
Black-Eyed Susans thrive in well-draining soil. Incorporate organic matter, such as compost or well-rotted organic material, into the soil to improve its quality and enhance drainage.
Aim for a slightly acidic to neutral pH, typically ranging from 6.5 to 7.5.
Hardening Off Black-Eyed Susan Starter Plants
About one to two weeks before transplanting, place your Black-Eyed Susans seedlings outdoors in a sheltered location. Start with a few hours each day and gradually increase the time over the course of a week.
Gradually expose the seedlings to outdoor conditions, including wind and direct sunlight. This helps them acclimate to the harsher environment.
Protect the seedlings from harsh weather, such as strong winds or sudden temperature drops, during the hardening-off period. Bring them indoors or cover them if necessary.
Once the seedlings have adapted to outdoor conditions and are more robust, they are ready for transplanting into the garden.
Planting Black-Eyed Susans Plants into the Garden
Plant Black-Eyed Susans at the same depth as they were in their containers, ensuring that the roots are fully covered and supported.
Space the Black-Eyed Susans plants 12-18 inches apart to allow for proper air circulation and encourage healthier growth.
Apply a 2-3 inch layer of organic mulch around the base of the plants. Mulching helps retain soil moisture, regulate temperature, and control weeds.
Water your newly transplanted Black-Eyed Susans thoroughly after planting. Continue to keep the soil consistently moist, especially during the initial growth phase. Be mindful not to overwater, as this can lead to root rot.
Caring for Black-Eyed Susans Plants
Maintain consistent soil moisture by watering when the top inch of soil becomes dry. Provide a deep soaking to encourage strong root development.
Fertilize your Black-Eyed Susans once established with a slow-release fertilizer. Reapply during the growing season as instructed by the manufacturer. Choose a fertilizer formulated for flowers, avoiding excess nitrogen. This can lead to excessive foliage growth at the expense of flowers. Reapply in the spring to stimulate another season of flowers
Regularly remove weeds around your Black-Eyed Susans plants to reduce competition for nutrients and ensure their healthy growth.
What to Expect of Black-Eyed Susans:
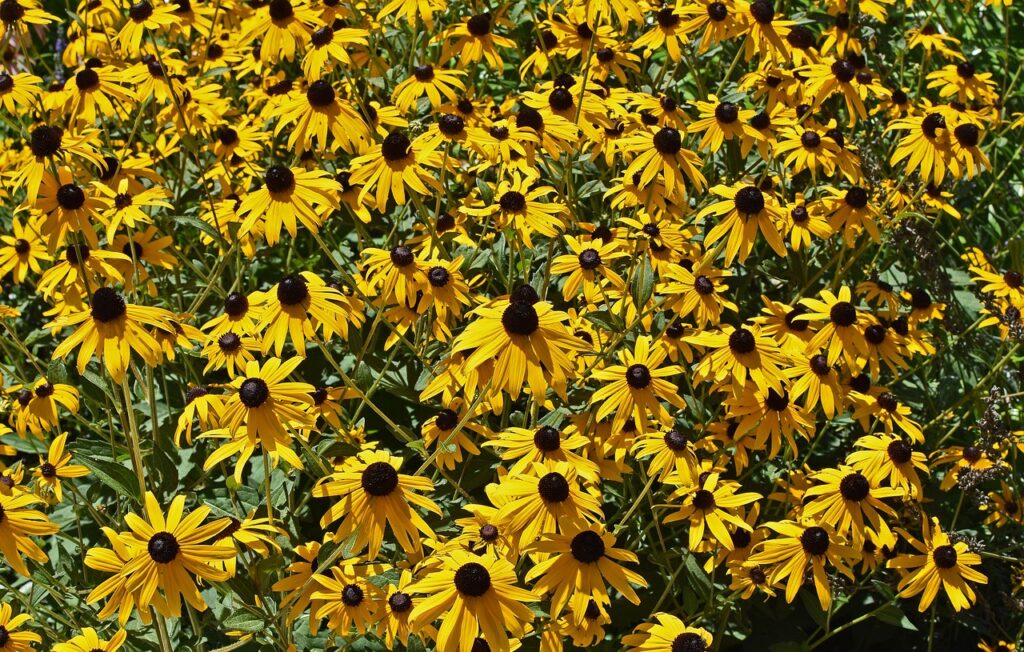
Black-Eyed Susans are known for their stunning and vibrant blooms, making them a popular choice for gardens. Here’s what you can expect:
Black-Eyed Susans typically bloom from mid-summer to early fall. Their bright yellow or orange petals with dark centers add a burst of color to your garden during this period.
Overwintering Rudbeckia
In colder regions, such as Zones 3-5, Black-Eyed Susans may die back to the ground in winter. They often return in the spring from their root systems.
In milder climates, such as Zones 6-8, Black-Eyed Susans may remain partially evergreen during the winter, continuing to provide some greenery even in the colder months.
In subtropical and tropical Zones 9-12, Black-Eyed Susans can remain evergreen throughout the winter, and they may continue to produce occasional blooms.
Lifespan
Black-Eyed Susans are generally short-lived perennials, typically living for 2-3 years. However, they can reseed themselves, creating new plants to replace aging ones.
If you allow some spent flowers to go to seed, they will often produce new plants the following year. Be mindful of this, as they can become somewhat invasive if not managed.
Collecting Black-Eyed Susan Seeds
To collect seeds from Black-Eyed Susans, wait until the flower heads have dried on the plant. Cut the heads and remove the seeds. Store the seeds in a cool, dry place in an airtight container. Properly stored, they can remain viable for several years.
Growing Black-Eyed Susans from seed can be a rewarding experience. With the right care and attention, these beautiful and resilient flowers can thrive in your garden, providing color from mid-summer through early fall and the potential for self-sustaining populations through their reseeding capabilities.