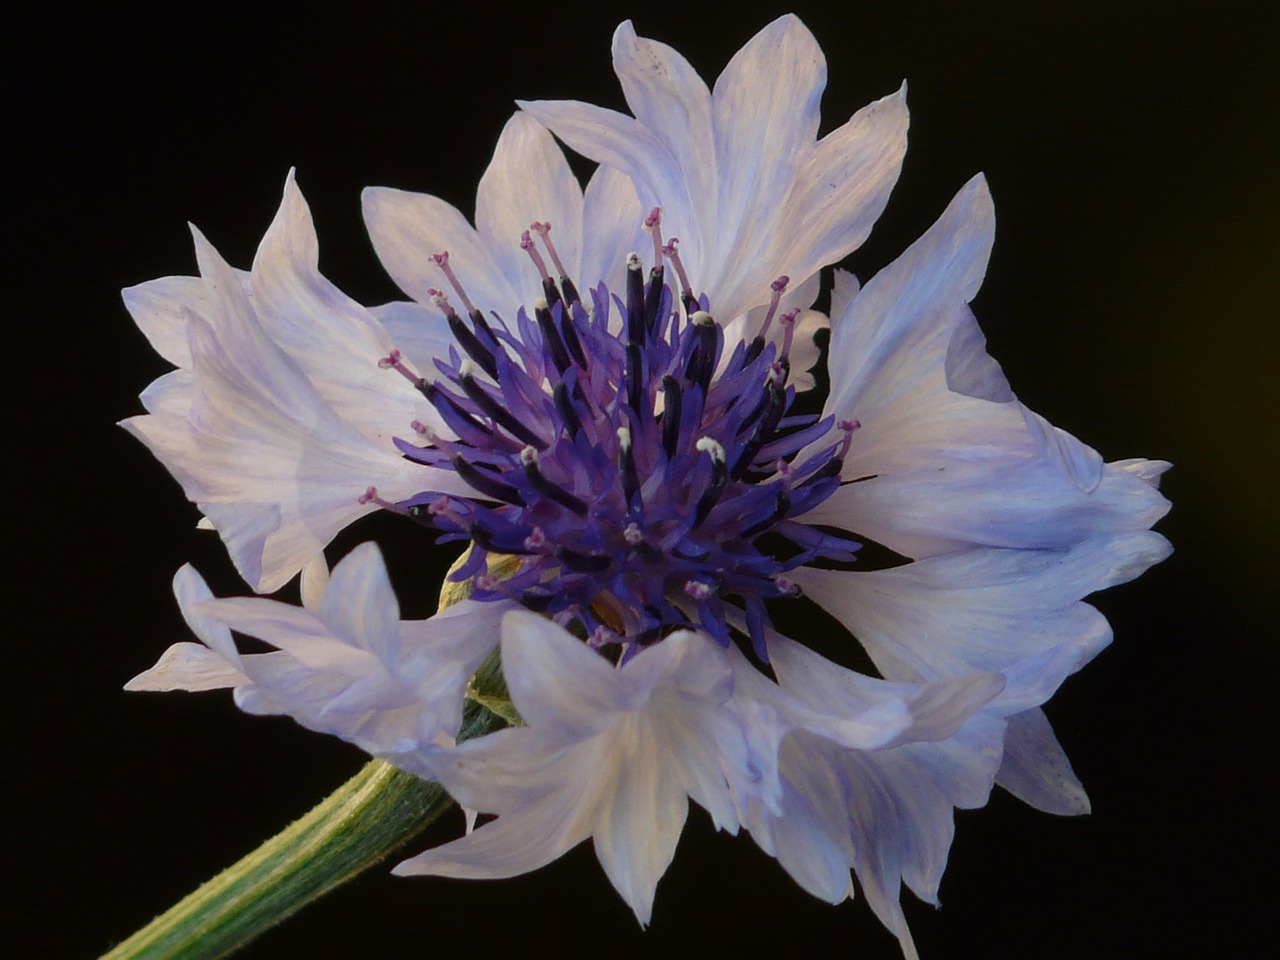
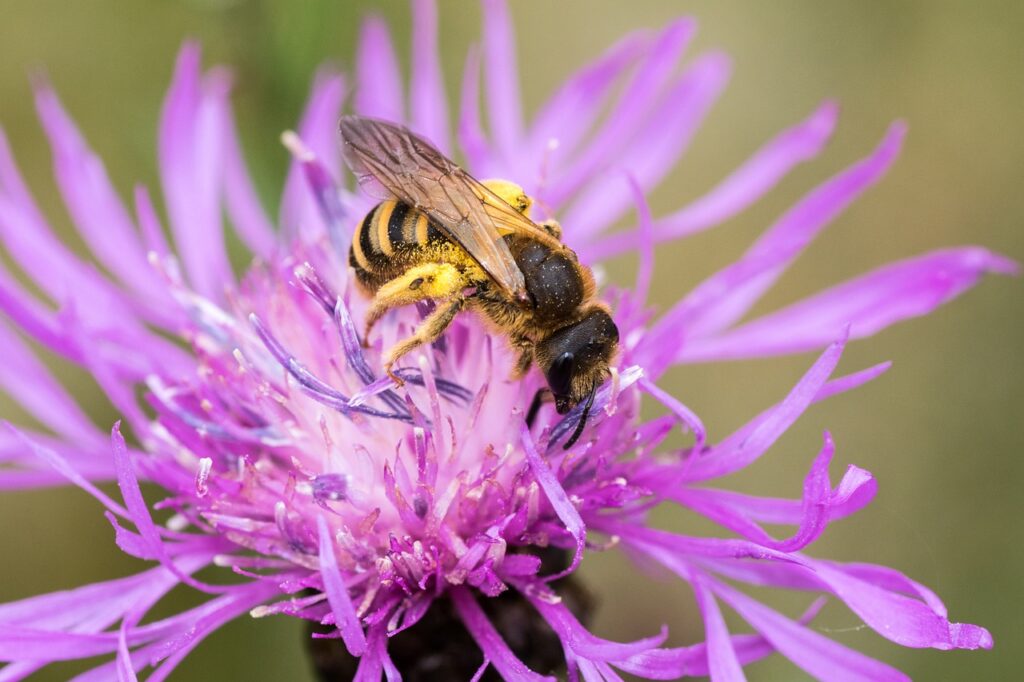
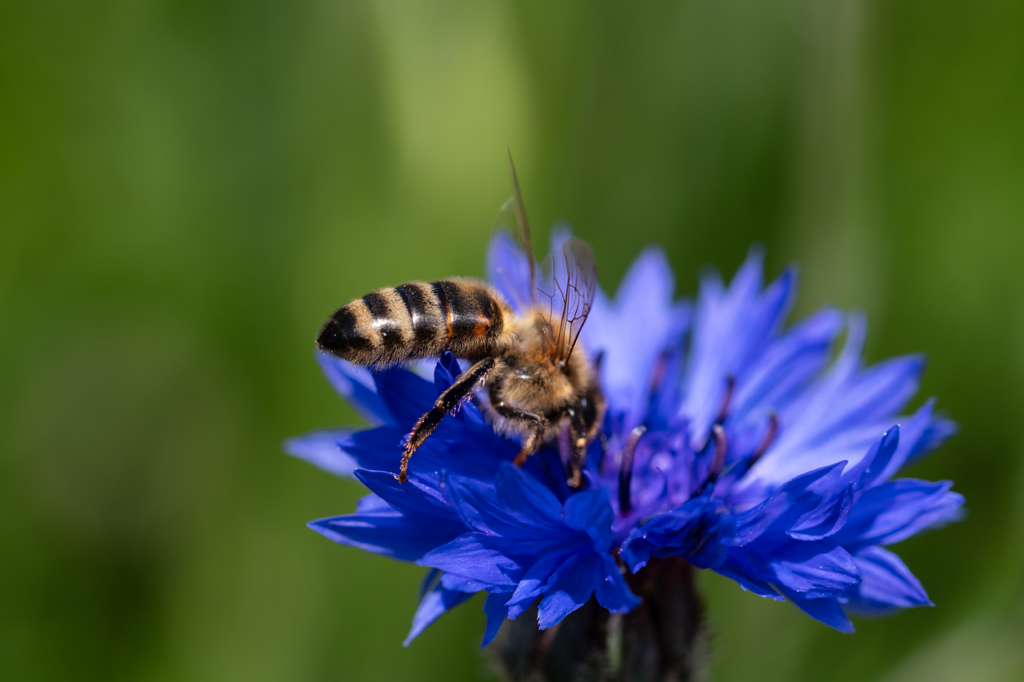
Bachelor’s Buttons, scientifically known as Centaurea cyanus, are charming annual flowering plants. They’re also commonly called Cornflowers. These plants belong to the Asteraceae family, a group that includes numerous well-known garden flowers.
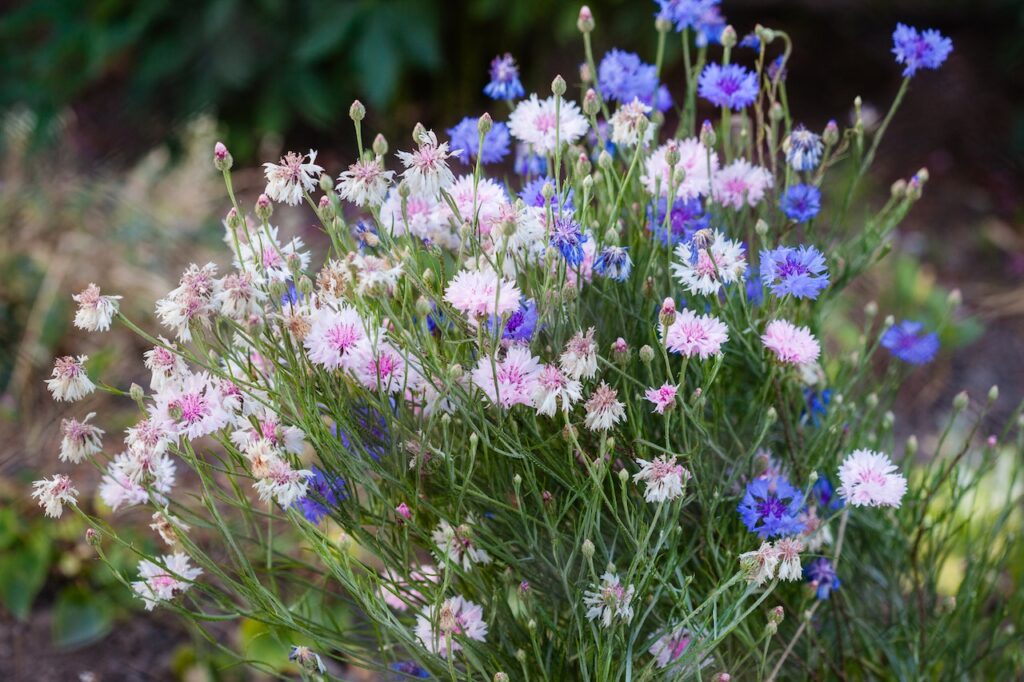
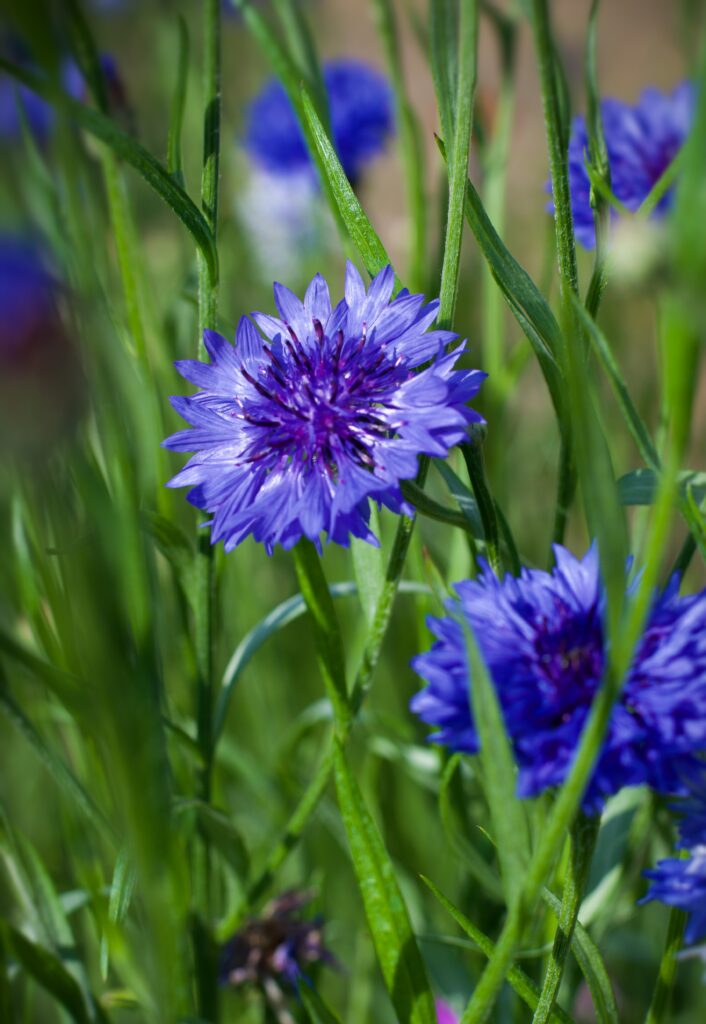
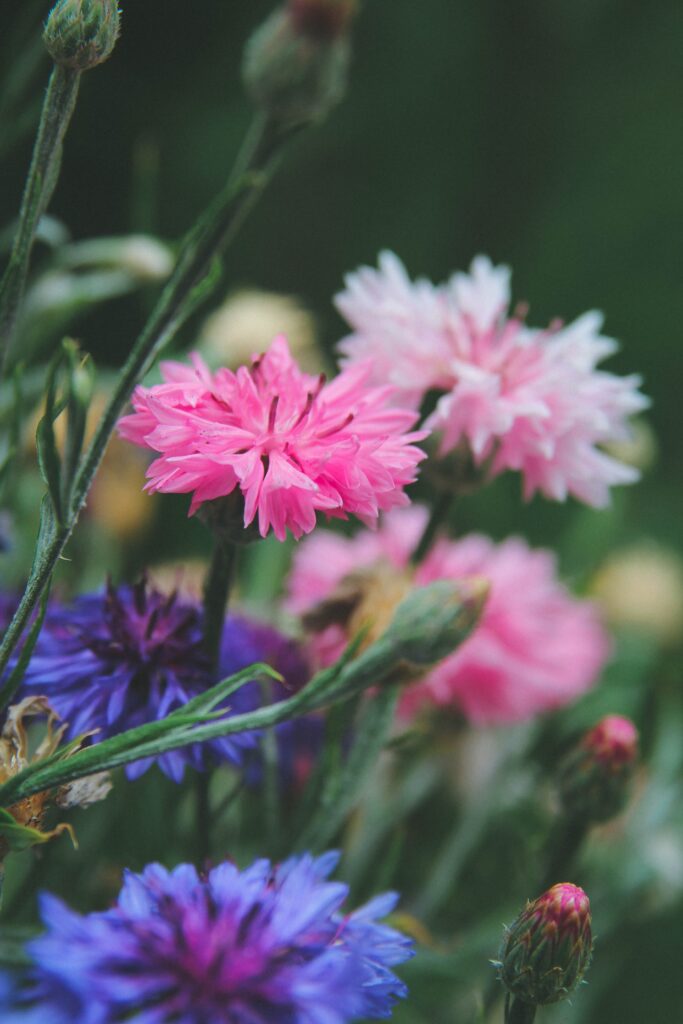
Bachelor’s Buttons are known for their vibrant, cornflower-blue blooms, but they can also come in various shades of pink, white, and lavender. They are adaptable to a wide range of climates and can thrive in different zones and seasons, making them a versatile choice for garden enthusiasts.

These lovely flowers are well-suited for zones 3 to 9 and typically flourish during the late spring to early summer.
With their captivating appearance and relatively simple cultivation requirements, growing Bachelor’s Buttons in the landscape gives any home a cottage garden feel.

When to Start Bachelor’s Buttons Seeds
In Zones 3-5, start Bachelor’s Buttons seeds indoors or under cover about 6-8 weeks before the last expected frost in spring. Alternatively, you can sow them directly in the garden after the last frost.
In Zones 6-8, you’ll have the flexibility to start Bachelor’s Buttons seeds either indoors or directly outdoors. If starting indoors, do so about 4-6 weeks before the last expected frost.
In Zones 9-12, Bachelor’s Buttons can be sown directly outdoors in the fall or early spring. These flowers can prove sensitive to heat and heavy rains. so start seeds indoors in the middle of winter or late summer summer. Growing Bachelor’s Buttons in hot climates works best when you plant out in the very early spring and fall.
How to Start Bachelor’s Buttons Seeds
Fill your cell trays, small pots, or soil blocks with a well-draining seed starting mix. Use trays or pots with adequate drainage holes to prevent overwatering.
Choosing the Right Seed Starting Mix
A seed starting mix for growing Bachelor’s Buttons seeds should be fine-textured and lightweight. It ensures that young roots can easily penetrate the mix. You can purchase a pre-made mix or create your own using equal parts perlite or vermiculite with an equal part coconut coir. This blend provides good aeration and moisture retention.
Selecting Containers
Opt for cell trays, small pots, or soil blocks that are at least 2 inches deep. Ensure they have drainage holes to prevent waterlogging.
Planting Depth
Sow Bachelor’s Buttons seeds approximately 1/4 inch deep in the starting mix. Firm the mix gently over the seeds to ensure good seed-to-soil contact.
Moisture Requirements for Seeds
Keep the mix consistently moist but not soggy. To avoid disturbing the seeds, use a misting spray or a bottom watering method. Use a plastic dome or cover to maintain humidity during germination.
Optimal Temperature for Germination
Maintain a temperature of around 60-70°F (15-21°C) for the Bachelor’s Buttons seeds to germinate effectively. Using a heat mat can help regulate temperature if necessary.
Light Requirements for Germination
Bachelor’s Buttons seeds do not require light for germination. In fact, they germinate better in the absence of light. Keep them in a dark or low-light location until they sprout.
Time to Germination
Typically, Bachelor’s Buttons seeds will germinate within 7-21 days. Be patient and maintain the proper conditions for successful germination.
When to Plant Bachelor’s Buttons into the Garden
You’ll know your Bachelor’s Buttons plants are ready for transplant when they exhibit the following characteristics.
- When the seedlings have grown to be 4 to 6 inches tall, they are typically sturdy enough for transplanting.
- Look for the appearance of the second set of leaves, referred to as the “true leaves.” This indicates that the seedlings are mature enough for transplant.
- If the last frost date has passed in your region and the outdoor temperatures are consistently mild, your Bachelor’s Buttons plants are ready for garden transplantation.
How to Prepare the Garden Bed for Bachelor’s Buttons
Select a sunny location for your Bachelor’s Buttons, ideally receiving full sun. These plants thrive in at least 6 hours of direct sunlight each day.
Bachelor’s Buttons prefer soil that is rich in organic matter and has a slightly acidic to neutral pH, typically ranging from 6.5 to 7.5. Incorporate compost or well-rotted organic matter into the soil to enhance its quality and improve drainage.
Hardening Off Bachelor’s Buttons
Hardening off your Bachelor’s Buttons plants is a crucial step to prepare them for the transition to the garden. Here’s how to do it.
About one to two weeks before transplanting, place your Bachelor’s Buttons seedlings outdoors in a sheltered location. Start with a few hours each day and gradually increase the time over the course of a week.
Gradually expose the seedlings to outdoor conditions, including wind and direct sunlight. This helps them acclimate to the harsher environment.
Protect the seedlings from harsh weather, such as strong winds or sudden temperature drops, during the hardening-off period. Bring them indoors or cover them if necessary.
Once the seedlings have adapted to outdoor conditions and are more robust, they are ready for transplanting into the garden.
How to Plant Bachelor’s Buttons Plants into the Garden
When transplanting Bachelor’s Buttons, ensure that the plants are at the same depth as they were in their containers. Avoid burying them too deep, as this can hinder their growth.
Space the Bachelor’s Buttons plants 12-18 inches apart to allow for proper air circulation and encourage healthier growth.
Apply a 2-3 inch layer of organic mulch, such as compost, around the base of the plants. Mulching helps retain soil moisture, regulate temperature, and control weeds.
Water your newly transplanted Bachelor’s Buttons thoroughly after planting. Continue to keep the soil consistently moist, especially during the initial growth phase. Be mindful not to overwater, as this can lead to root rot.
Caring for Bachelor’s Buttons Plants
Maintain consistent soil moisture by watering when the top inch of soil becomes dry. Provide a deep soaking to encourage strong root development.
Fertilize your Bachelor’s Buttons with an flower fertilizer every 4-6 weeks during the growing season or use a slow-release fertilizer Avoid formulas with excessive nitrogen, as it can lead to excessive foliage growth at the expense of flowers. Instead, choose varieties with a higher middle number, or phosphate. Organic sources include bone meal or fish emulsion.
Tips and Tricks for Growing Bachelor’s Buttons
Bachelor’s Buttons do not require pinching back. They naturally produce bushy growth and abundant flowers if they’re not overwatered. However, pruning in early summer can result in bushier, more compact growth.
These plants generally do not require additional supports, as they have strong, upright stems. However, if you experience exceptionally windy conditions, staking may be beneficial to prevent bending or breaking of the stems.
Organic Ways for Avoiding and Treating Disease
Ensure adequate spacing between Bachelor’s Buttons to promote air circulation, reducing the risk of fungal diseases.
Avoid overhead watering. Water the base of the plants early in the day to allow foliage to dry before evening, reducing the risk of mildew.
In case of mildew issues, use a combination of 6 Tablespoons of 3% hydrogent peroxide to one gallon of water and spray the foliage late in the day, every three days, for about a week.
Other Tricks for Growing Bachelor’s Buttons
Deadhead spent flowers to promote continuous blooming. Growing multiple colors of Bachelor’s Buttons together creates an eye-catching display.
What to Expect from Bachelor’s Buttons
Bachelor’s Buttons typically bloom from late spring to early summer. They have the ability to self-seed, often producing new plants in the same area where they were grown.
How to Harvest Bachelor’s Buttons for Dried Flowers
Bachelor’s Buttons make lovely dried flower arrangements. Harvest the flowers when they are in full bloom and show their most vibrant color.
- Cut the stems to the desired length and bundle them.
- Hang the bundles upside down in a dark, dry, well-ventilated place.
- After about two weeks, the flowers will be ready for arrangements.
How to Harvest and Store Bachelor’s Button Seeds
Wait until the seed heads turn brown and feel dry to the touch. Then, gently crush the seed heads, allowing the seeds to fall into a container.
Store the seeds in a cool, dry place in a sealed container. They should remain viable for several years.
Bachelor’s Buttons, with their cheerful and sweet flowers give any landscape a cottagecore feel. Growing Bachelor’s Buttons is both rewarding and visually appealing.