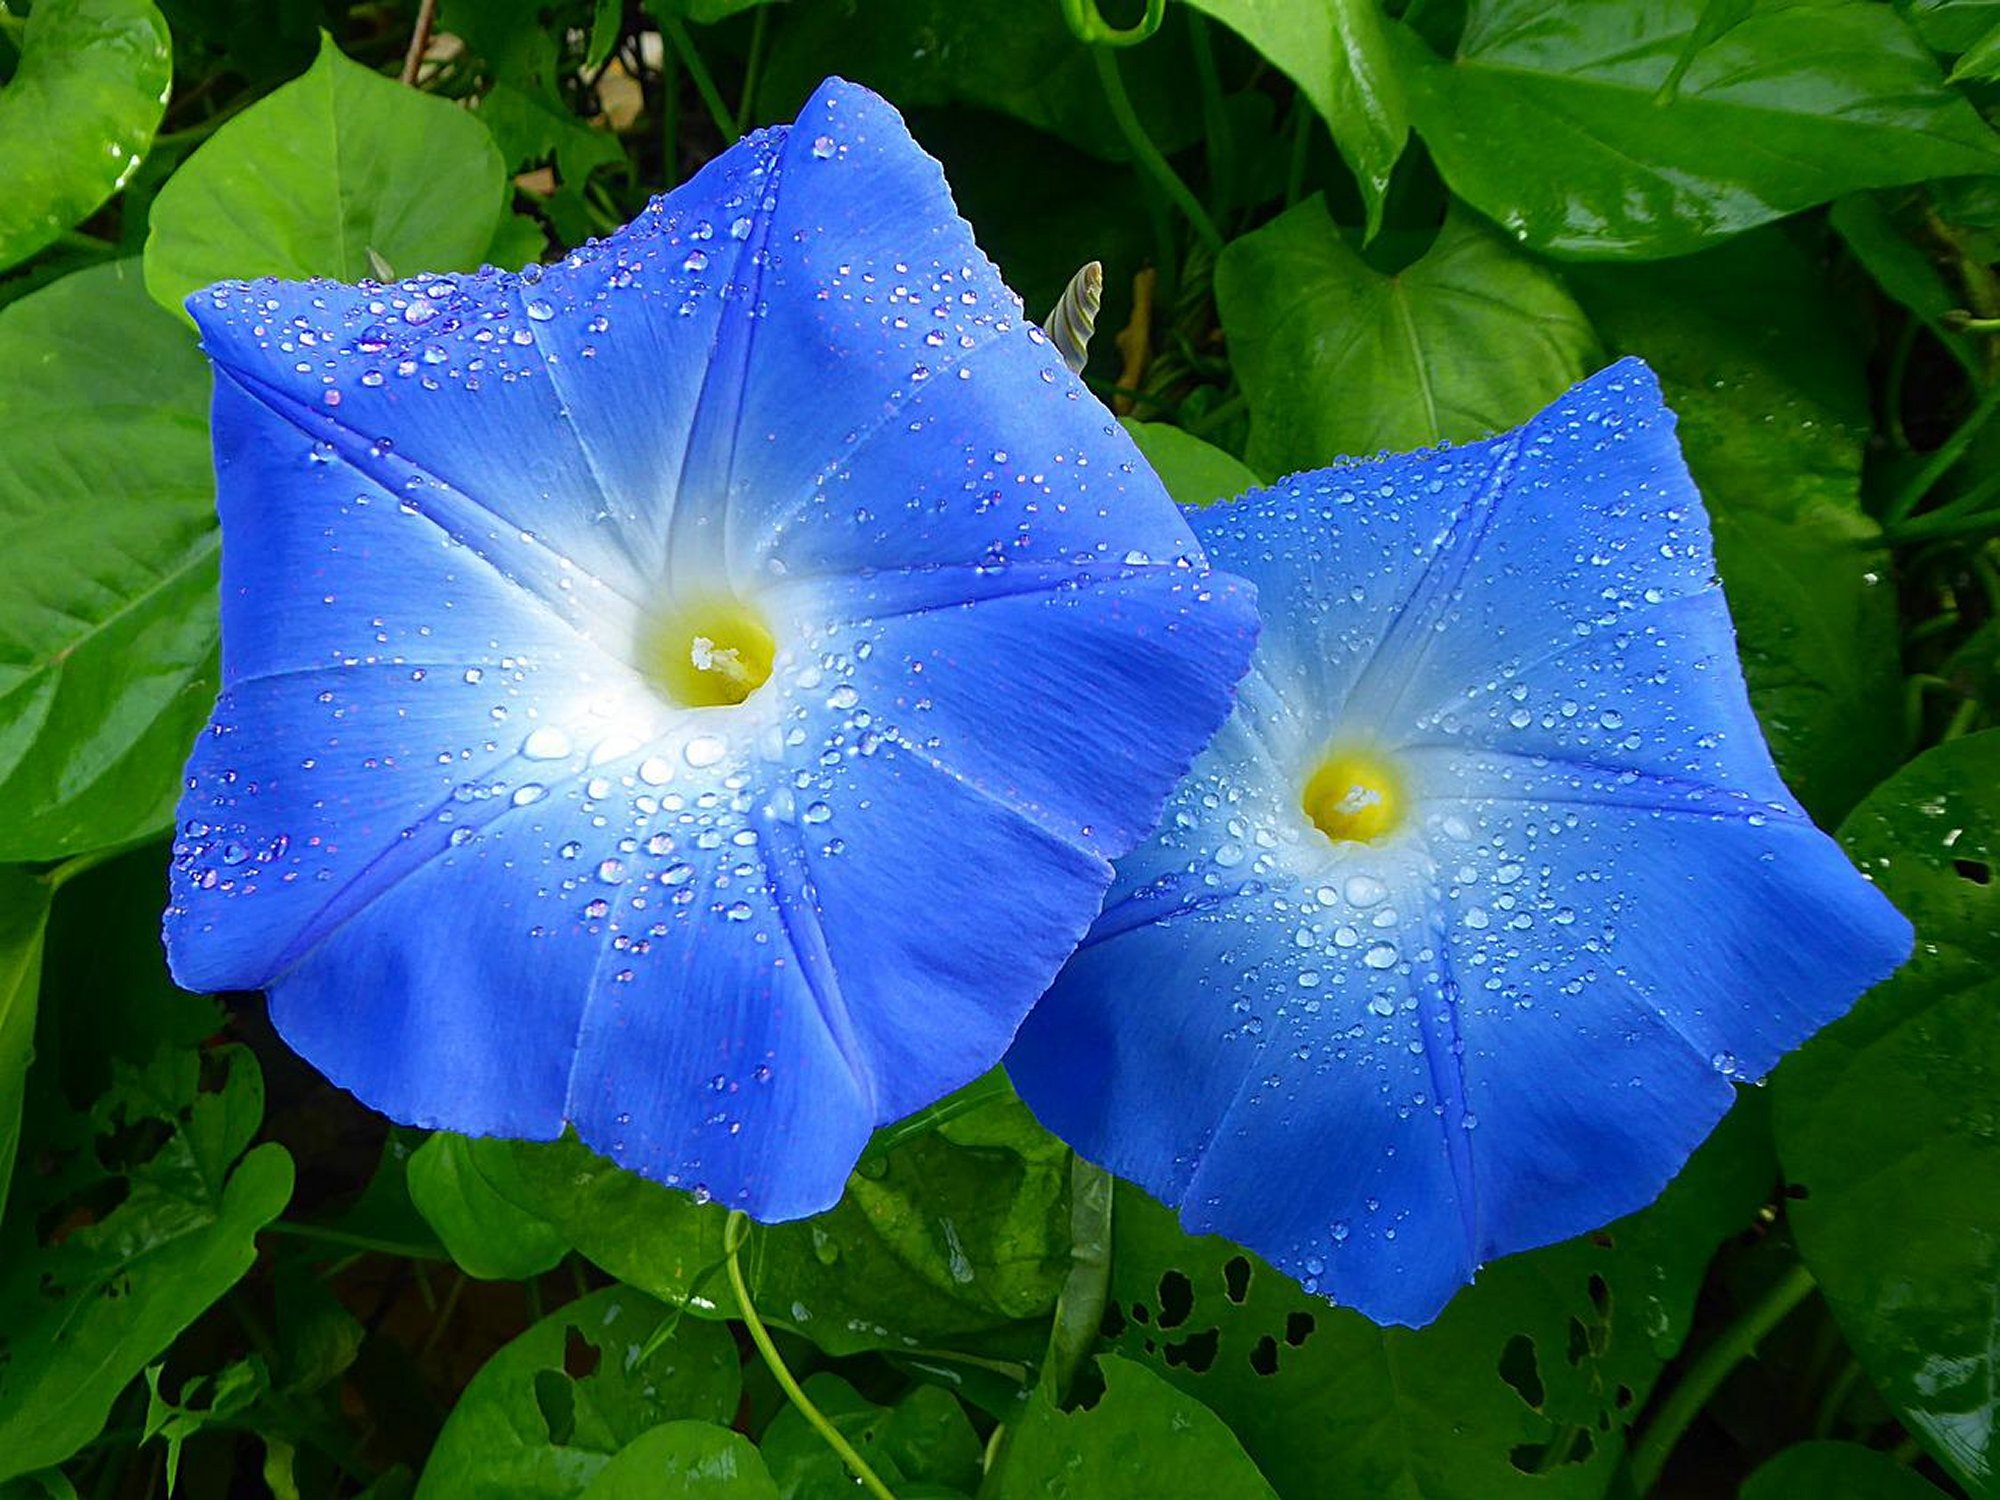
Morning glories, scientifically known as Ipomoea spp., are enchanting flowering vines known for their vibrant blooms that unfurl in the morning sunlight, creating a picturesque display in gardens and landscapes. Because of their old-fashioned charm, it’s worth learning how to grow morning glory from seed.
They belong to the Convolvulaceae family and are native to tropical and subtropical regions of the Americas, including Central and South America. These versatile vines are widely cultivated for their ornamental value and are cherished by gardeners for their easy cultivation and prolific flowering.
Morning glories are typically grown as annuals in USDA hardiness zones 3 to 9, where they thrive during the warm spring and summer months.
They are renowned for their self-seeding nature, often dropping seeds that germinate and grow into new plants, contributing to their continuous presence in the garden landscape.

When to Start Morning Glory Seeds
Morning glories like warmth and moisture to germinate, whether you start them indoors early or wait until your soil temperature has warmed.
In Zones 3-5:
Grow morning glory from seed indoors about 4-6 weeks before the last expected frost date. Transplant seedlings outdoors after the danger of frost has passed and soil temperatures have warmed up.
In Zones 6-8:
Morning glory seeds can be started indoors or sown directly outdoors after the last frost date, typically in late spring to early summer when soil temperatures are consistently warm.
In Zones 9-12:
You can grow morning glory from seed by sowing directly outdoors or starting indoors throughout the year in warmer climates.
Preparing to Grow Morning Glory Seeds

Morning glory seeds can benefit from scarification to speed up germination. Here’s how to do it:
Use a sharp knife or nail clippers to gently nick the outer seed coat of each morning glory seed. Make a small, shallow incision without damaging the inner seed.
Place the nicked morning glory seeds in a container filled with room-temperature water. Allow them to soak for 24 hours to soften the seed coat and encourage germination.
Direct Sowing Morning Glory Seeds
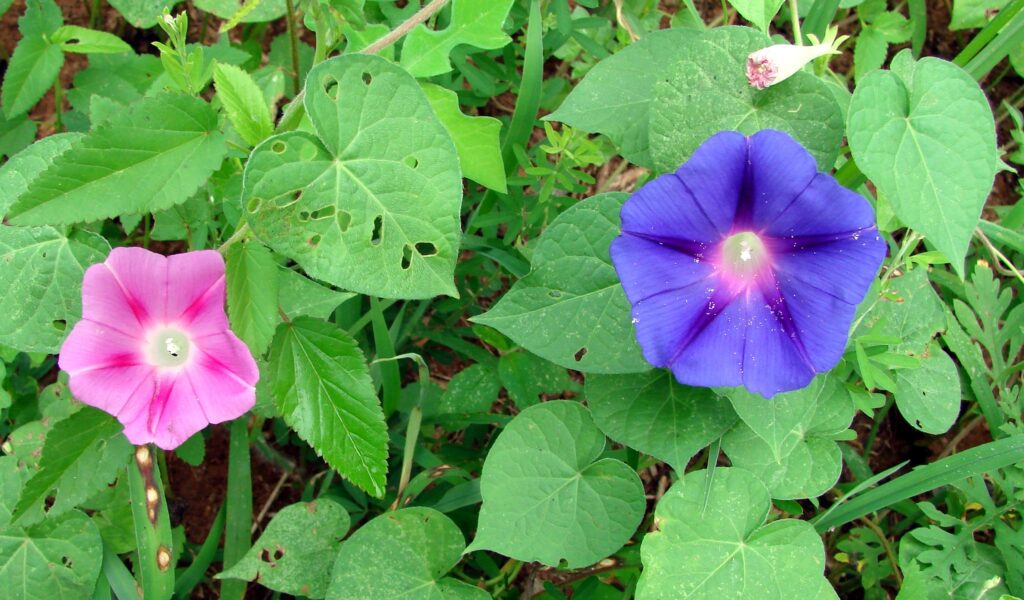
Most gardeners find that direct-sowing morning glories after soaking is the most efficient way to grow them.
Plant morning glory seeds approximately 1/4 to 1/2 inch deep in well-draining soil. Gently press the soil over the seeds to ensure good seed-to-soil contact.
Keep the soil consistently moist but not waterlogged during the germination period. Water the seeded area gently to avoid displacing the seeds.
Morning glory seeds germinate best in soil temperatures between 60°F to 75°F. Ensure the soil is adequately warmed before sowing seeds.
Morning glory seeds do not require light to germinate and can be covered with soil. However, providing indirect sunlight or dappled shade can help maintain optimal soil temperature and moisture levels.
Morning glory seeds typically germinate within 5 to 10 days under favorable conditions. However, germination time may vary based on environmental factors such as temperature and soil moisture.
Morning Glory Needs Supports to Climb
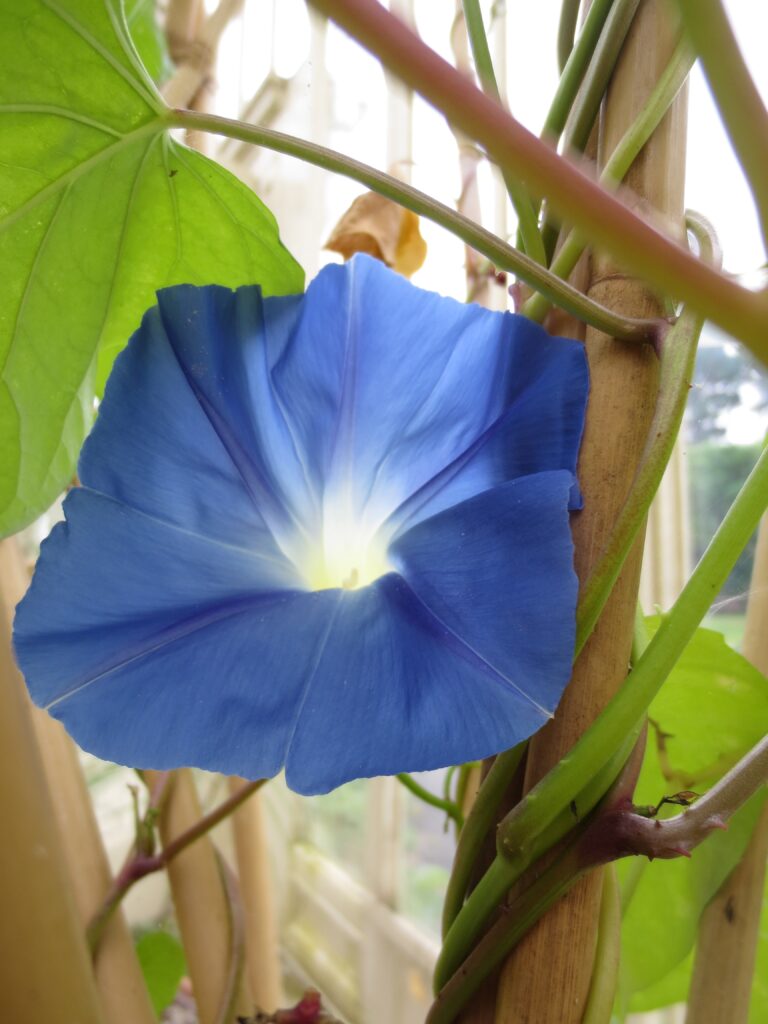
Morning glories are climbing vines that require support for vertical growth. Install trellises, arbors, fences, or other support structures near the seeded area to provide a framework for the vines to climb and twine around as they grow.
It’s easiest to install these garden structures before sowing or transplanting your morning glories to prevent damaging the plants. where existing supports
Starting Morning Glory Seeds Indoors
Select a well-draining, lightweight seed starting mix suitable to grow morning glory from seeds. You can purchase a pre-made seed starting mix from garden centers or create your own by combining coconut coir, perlite, and vermiculite in equal parts.
Use cell trays, seedling trays, or soil blocks for starting morning glory seeds indoors. Choose containers at least 2-3 inches deep that have drainage holes to prevent waterlogging.
Plant morning glory seeds approximately 1/4 inch deep in the seed starting mix. Gently press the seeds into the soil and cover lightly with a thin layer of the mix.
Keep the seed starting mix consistently moist but not waterlogged. Use a spray bottle or misting nozzle to water gently and avoid disturbing the seeds.
Maintain a consistent temperature of around 70°F to 75°F (21°C to 24°C) for optimal germination of morning glory seeds. Use a heat mat if needed to provide warmth from below.
Morning glory seeds do not require light to germinate and can be covered with a clear plastic dome or plastic wrap to create a mini greenhouse effect. Once seeds germinate, provide bright indirect light or fluorescent grow lights for healthy seedling growth.
Morning glory seeds typically germinate within 5 to 10 days under ideal conditions. Monitor the seed trays regularly and keep the soil moist until germination occurs.
When to Transplant Your Morning Glories
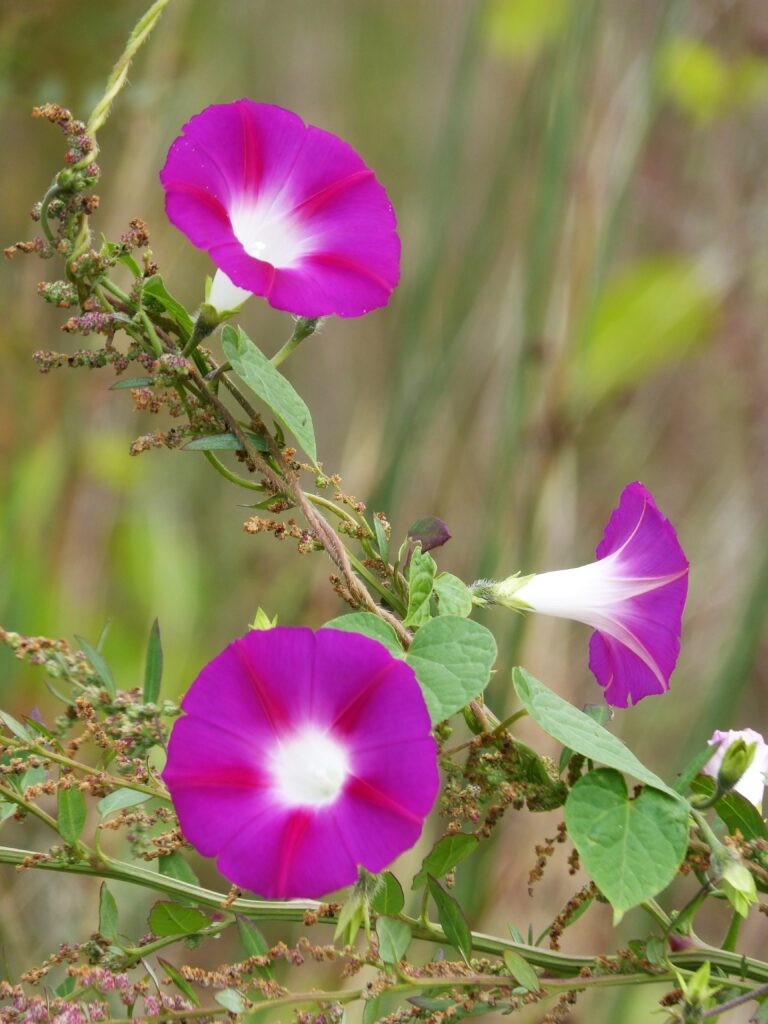
Morning glory starter plants are typically ready to be planted into the garden when they have developed strong, healthy roots and sturdy stems, and the weather conditions are favorable for outdoor planting. Here are some indicators to help you determine when your morning glory starter plants are ready for transplanting:
Check the bottom of the seedling containers or cell trays to see if the roots have started to fill the available space. Healthy root systems should be well-developed, with white or light-colored roots extending throughout the soil.
Gently lift the seedlings by their leaves or stems to assess their strength. Starter plants ready for transplanting should have sturdy stems that can support themselves without bending or breaking easily.
Look for the presence of multiple sets of true leaves on the seedlings. True leaves are typically larger and more defined than the initial seed leaves (cotyledons). Adequate leaf growth indicates that the seedlings are mature enough for transplanting.
Ensure that the outdoor weather conditions are suitable for transplanting morning glory seedlings into the garden. Wait until the danger of frost has passed, and the soil temperatures have warmed up to around 60°F to 70°F for optimal growth.
Aim to transplant morning glory seedlings into the garden during the early morning or late afternoon to minimize stress on the plants. Choose a day when the weather forecast predicts mild temperatures and no extreme weather conditions.
How to Prepare a Garden Bed to Grow Morning Glory Plants
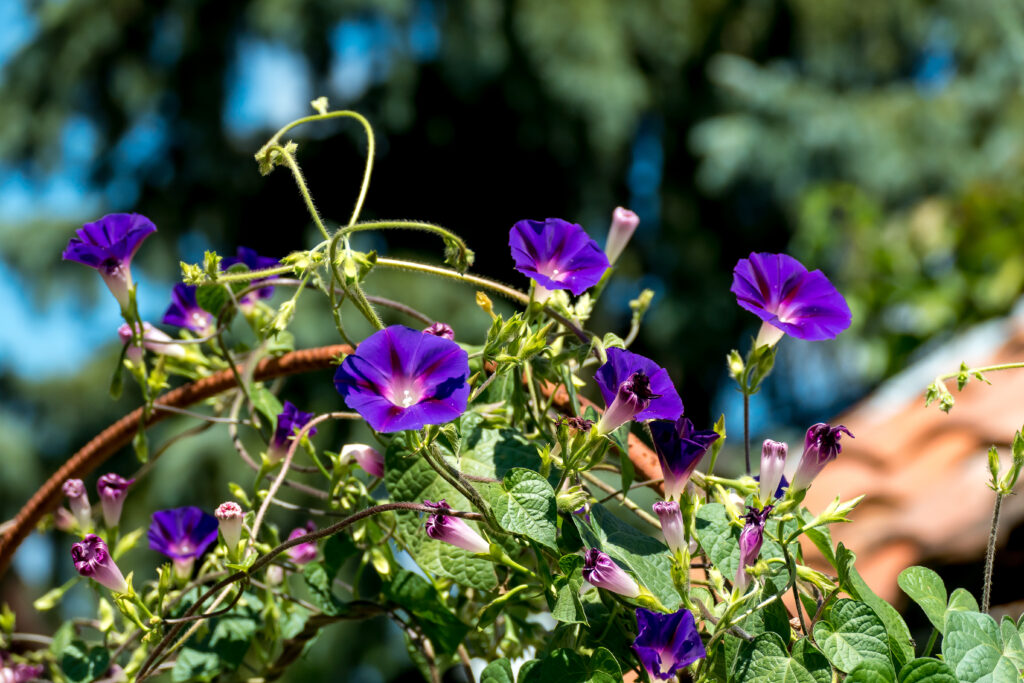
Select a sunny location to grow morning glory, as they thrive in full sunlight. Choose a spot with at least 6-8 hours of direct sunlight daily for optimal growth and blooming.
Provide well-draining soil to prevent waterlogging, as morning glories prefer moderately moist soil. Avoid waterlogged or excessively dry conditions, as they can affect plant health and growth.
Morning glory plants prefer fertile, loamy soil with good drainage. Incorporate organic matter such as compost or aged manure into the soil to improve fertility and moisture retention. Aim for a slightly acidic to neutral pH level between 6.0 to 7.0 for optimal growth.
Trellising and Support
Morning glories are climbing vines that require support for vertical growth. Install trellises, arbors, fences, or other support structures in the garden bed to provide a framework for the vines to climb and twine around as they grow.
It’s easiest to install these garden structures before sowing or transplanting your morning glories to prevent damaging the plants. where existing supports
Hardening Off Morning Glory Starter Plants
About 1-2 weeks before transplanting, gradually expose morning glory starter plants to outdoor conditions. Start by placing them in a sheltered, partially shaded area for a few hours each day, gradually increasing the exposure time.
During the hardening-off period, adjust watering to ensure that the soil remains consistently moist but not waterlogged. Avoid overwatering or allowing the soil to dry out completely.
Shield the plants from extreme weather conditions such as strong winds, heavy rain, or intense sunlight during the hardening-off process. Use row covers or shade cloth if necessary.
Keep an eye on the plants for any signs of stress, such as wilting or yellowing leaves. Adjust their exposure and watering as needed to help them acclimate gradually to outdoor conditions.
Planting Morning Glory Plants into the Garden
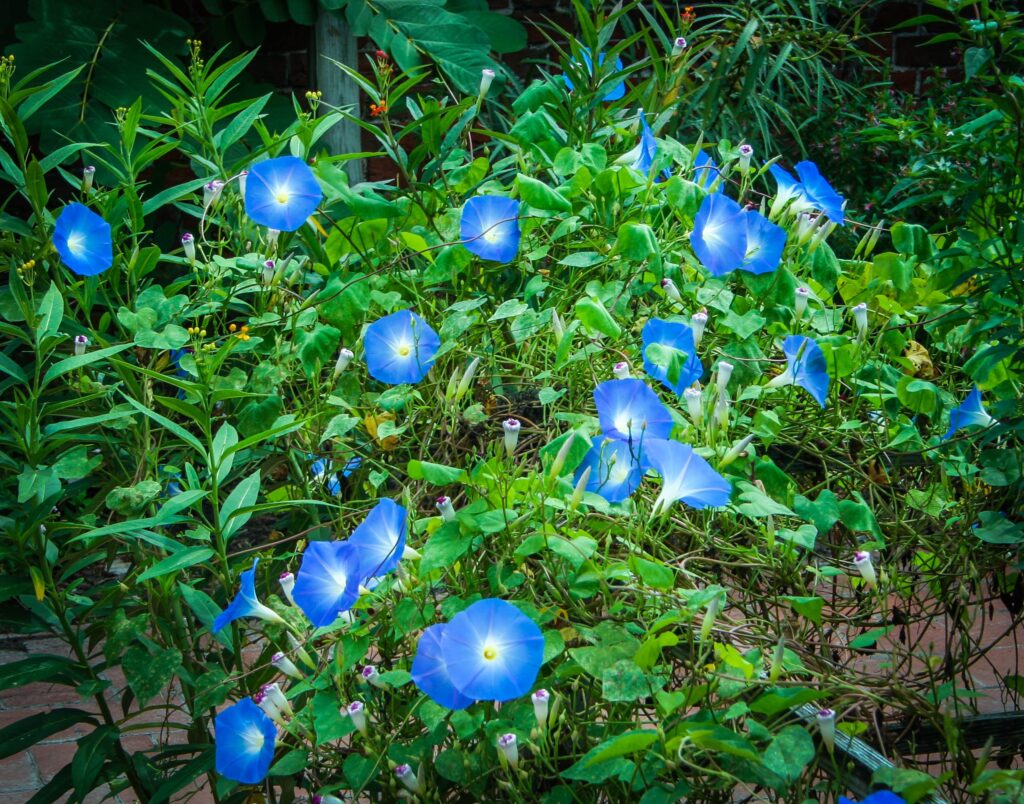
Dig planting holes in the garden bed that are slightly larger than the root ball of the morning glory starter plants. Plant them at the same depth as they were in their containers, ensuring that the soil level matches the top of the root ball.
Space morning glory plants at least 6-12 inches apart to allow for their spreading growth habit and prevent overcrowding. Provide adequate room for each plant to climb and twine around support structures.
Apply a layer of organic mulch, such as shredded bark or compost, around the base of the morning glory plants. Mulching helps retain soil moisture, suppresses weeds, and regulates soil temperature.
After planting, water the morning glory plants thoroughly to settle the soil and promote root establishment. Keep the soil consistently moist but not waterlogged during the initial period after transplanting.
Caring for Morning Glory Plants
Water morning glory plants regularly, especially during dry periods, to keep the soil consistently moist but not waterlogged. Water at the base of the plants to avoid wetting the foliage, which can lead to fungal diseases.
Apply a balanced fertilizer once a month during the growing season to provide essential nutrients for healthy growth and blooming. Choose a fertilizer with a balanced N-P-K ratio (nitrogen, phosphorus, potassium) suitable for flowering vines.
Regularly check the garden bed for weeds and remove them promptly to prevent competition for nutrients and space. Mulching around morning glory plants can help suppress weeds and reduce the need for frequent weeding.
Tips and Tricks to Grow Morning Glory
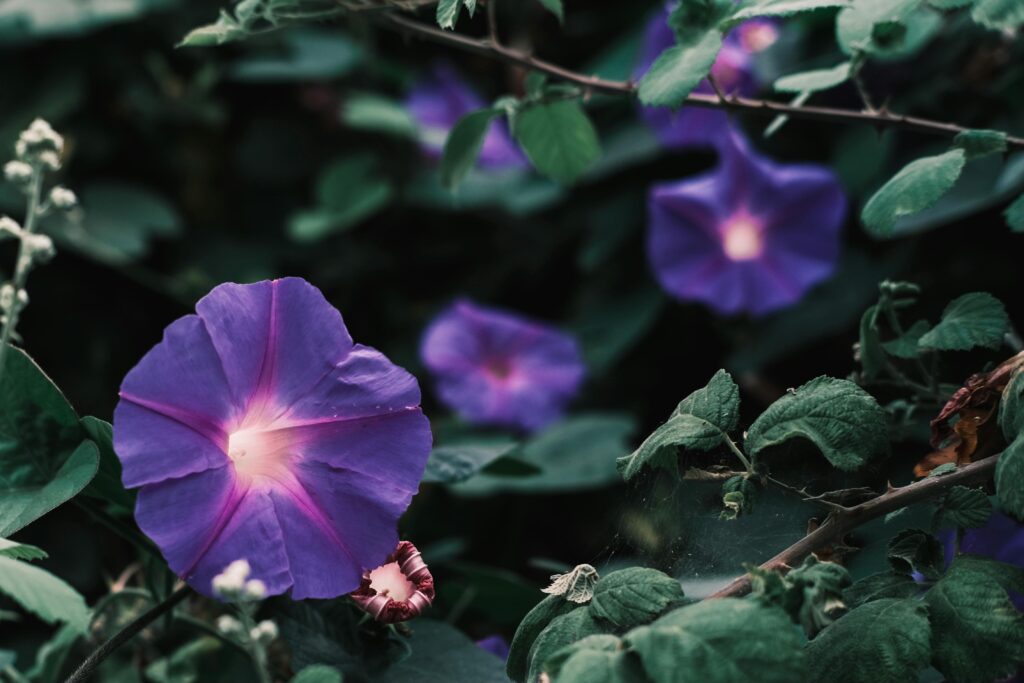
Morning glory plants do not typically require pinching back. However, you can pinch off the tips of overly vigorous vines to encourage branching and fuller growth, especially if they are becoming too leggy or unruly.
Morning glory plants benefit from staking or supports to climb and twine around. Here are some creative ideas for supporting them:
- Install a sturdy trellis or arbor for vertical climbing.
- Use bamboo stakes arranged in a teepee shape for a natural and rustic look.
- Repurpose old ladders or wooden pallets as vertical supports.
- Create a living wall by training morning glories to climb up a wire mesh or lattice panel.
Provide ample space to grow morning glory plants where they can spread and climb, as they can grow vigorously and cover large areas.
Deadhead faded blooms regularly to encourage continuous flowering throughout the season.
Monitor for pests such as aphids or spider mites and address them promptly using organic pest control methods like neem oil or insecticidal soap.
Consider planting morning glories near taller plants or structures to create a visually stunning vertical garden effect.
Harvesting and Collecting Morning Glory Seeds
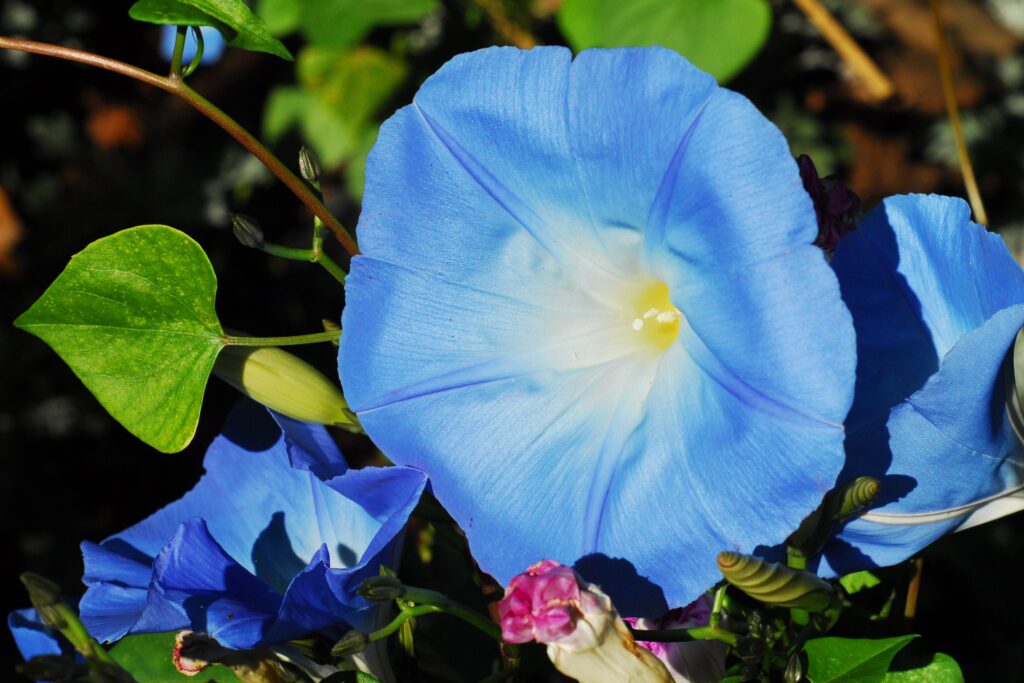
After flowering, morning glory plants may start to produce seed pods that contain seeds for the next growing season. These seed pods can be left on the plant to mature and dry naturally. In winter, morning glory plants in colder climates will die back, but they may self-seed if conditions are favorable. In warmer regions, morning glory plants may remain evergreen or die back partially, depending on local climate conditions.
Wait until the seed pods on the morning glory plant turn brown and dry out. Harvest the seed pods by gently snipping them from the plant using scissors or pruners.
Open the dried seed pods carefully and collect the seeds inside. Morning glory seeds are small and dark-colored, resembling small beans.
Store the collected morning glory seeds in a cool, dry place in a labeled container or envelope. Ensure the seeds are fully dried before storage to prevent mold or moisture damage.
Morning glories are versatile and beautiful flowering vines that add charm and color to any garden landscape. With their vibrant blooms, climbing habits, and ease of care, they are a favorite choice for gardeners looking to add vertical interest and a touch of whimsy to their outdoor spaces.
