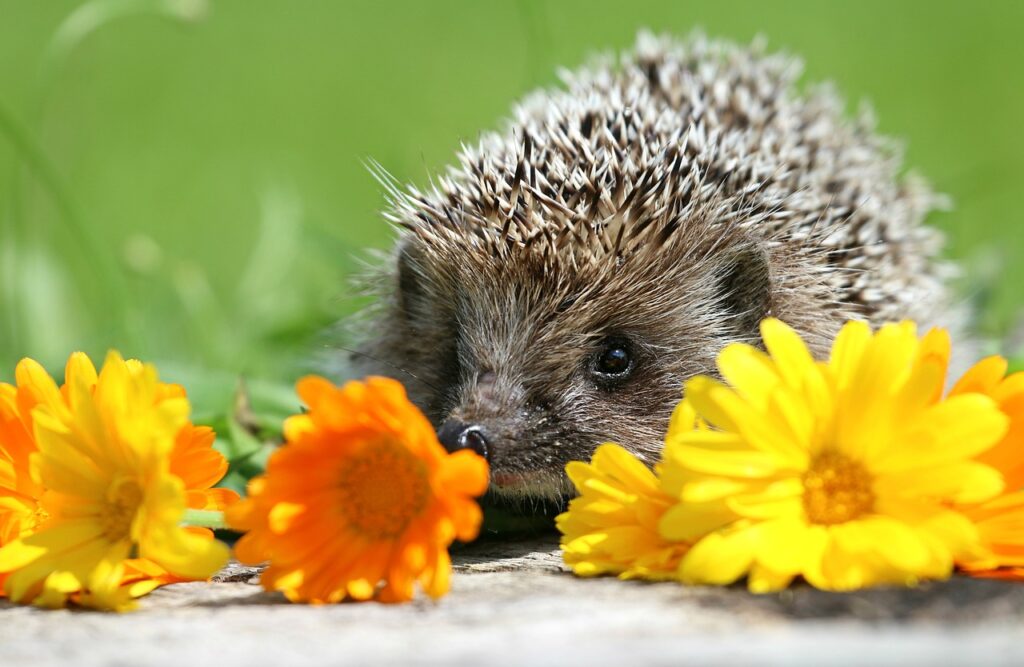
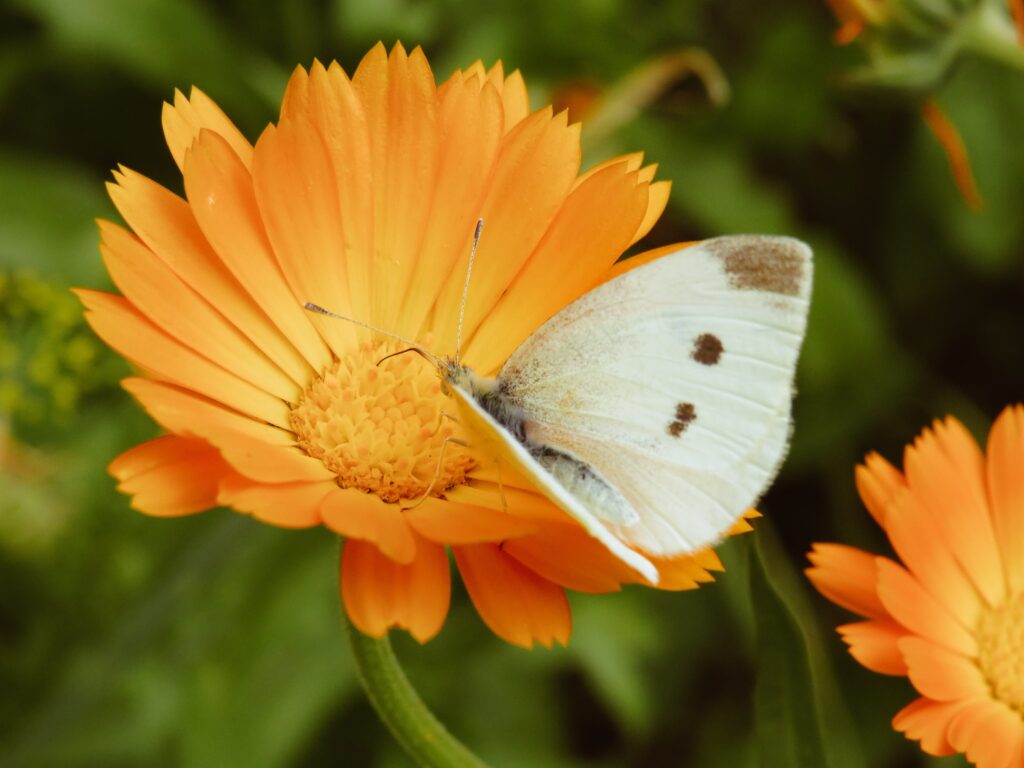
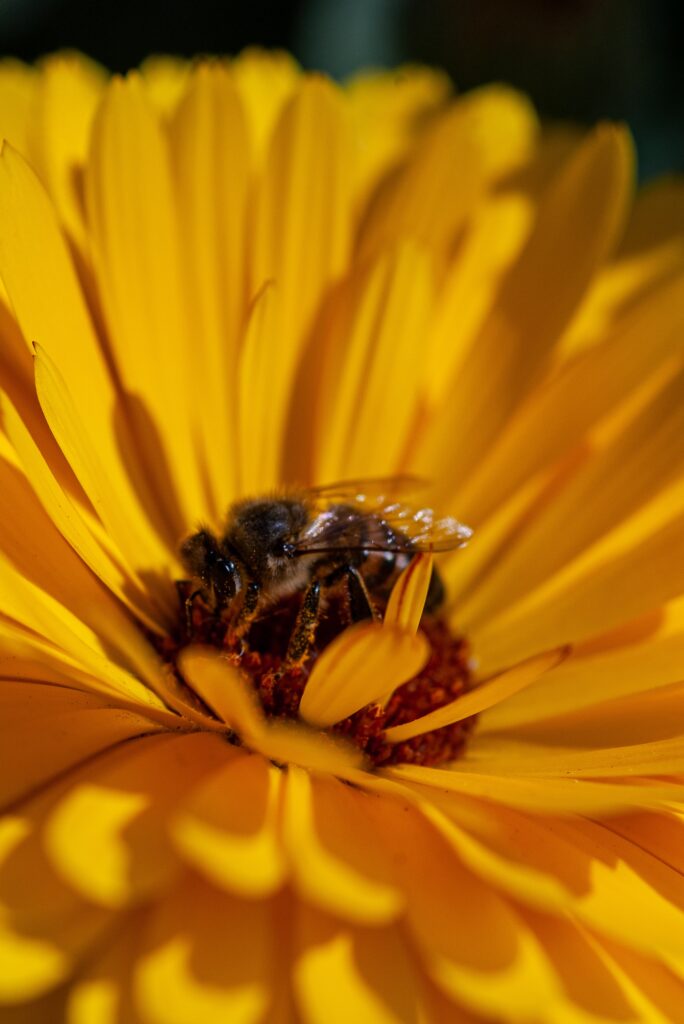
Calendula, also known as pot marigold, is an herbaceous annual plant of the Asteraceae family. This vibrant, daisy-like flower is native to the Mediterranean region but is now grown in many parts of the world. Growing Calendula in your garden provides bright sunny colors and attracts beneficial insects.
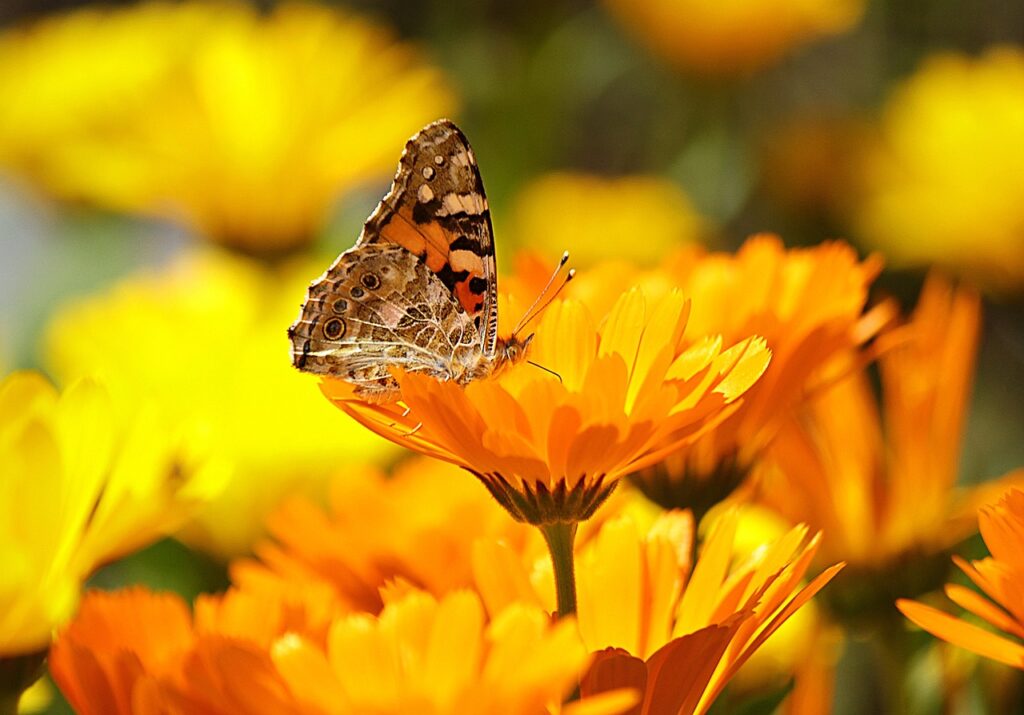
Calendula blooms come in shades of bright yellow and orange, adding a splash of color to gardens. It is valued not only for its ornamental beauty but also for its medicinal properties.

When to Start Calendula Seeds
In Zones 3-5, begin growing calendula seeds indoors 6-8 weeks before the last expected frost date. This extended growing season allows calendula to flourish.
In Zones 6-8, commence indoor seeding 4-6 weeks prior to the last frost date. The milder climate provides a bit more flexibility for outdoor planting.
In Zones 9-12, direct sowing is possible; however, starting seeds indoors is an option to get a head start. The warm climates of these zones support outdoor planting, but starting indoors is advantageous.
Calendula can be sensitive to hot temperatures, so start indoors over summer to plant in the fall. You can also start indoors in winter to plant in early spring.

How to Start Calendula Seeds
Choose or prepare a seed starting mix suitable for growing calendula. A mix with good drainage is essential. You can make your own mix by combining peat moss, perlite, and vermiculite in equal parts.
Opt for cell trays or small pots with drainage holes to prevent waterlogging. 2-3 inch deep containers are ideal.
Sow calendula seeds approximately 1/4 inch deep. Gently press the seeds into the soil, ensuring they are not buried too deeply.
Keep the seed starting mix consistently moist but not waterlogged. Using a spray bottle helps maintain moisture without disturbing the seeds.
Maintain a consistent temperature of 70-75°F for ideal germination. Using a heat mat can help regulate temperature if necessary.
Calendula seeds do not require light for germination. You can cover the containers with a clear plastic lid or plastic wrap until sprouts emerge.
Calendula seeds typically germinate in 7-14 days. Once the seedlings have two sets of true leaves and reach a height of 2-3 inches, they are ready for transplanting into the garden.
When Your Calendula Plants Are Ready for Transplanting
Calendula seedlings are ready for transplanting into the garden when they have at least two sets of true leaves and reach a height of about 2-3 inches. At this stage, they are sturdy enough to withstand outdoor conditions and can be safely planted in the garden bed.
Prepare a Garden Bed for Calendula
Select a sunny location with at least 6-8 hours of direct sunlight per day. Calendula thrives in full sun but can tolerate some light shade.
Ensure that the chosen spot receives ample sunlight, as calendula flourishes in bright, sunny conditions. Full sun is preferable, but it can tolerate partial shade.
Calendula prefers well-drained soil and does not thrive in waterlogged conditions. Ensure proper drainage in the garden bed to avoid excessive moisture.
Growing Calendula plants prefer loamy soil with a slightly acidic to neutral pH (around 6.0-7.0). Improve the soil by adding organic matter, such as compost or well-rotted manure, to enhance fertility and moisture retention.
Hardening Off Calendula Starter Plants:
About 7-10 days before the planned outdoor transplant date, begin hardening off your calendula seedlings. Choose a mild, overcast day to start.
Place the seedlings in a shaded or partially shaded area for 2-3 hours. Protect them from strong winds or heavy rain.
Over the next few days, gradually increase the time they spend outdoors and expose them to a bit more direct sunlight each day. Continue to shield them from harsh weather conditions.
Pay attention to your seedlings for any signs of stress, like wilting or discoloration. If you notice these symptoms, reduce their outdoor exposure temporarily.
After 7-10 days, your calendula seedlings should be accustomed to outdoor conditions. They can now be planted in your prepared garden bed, following the spacing recommendations for the specific calendula variety.
Hardening off is a crucial step to acclimate your indoor-started calendula seedlings to the outdoor environment, preventing transplant shock and ensuring their successful adaptation to garden conditions.
Planting Calendula Plants into the Garden
Dig a hole in your prepared garden bed that is about the same depth as the container the calendula plant is currently in. Gently remove the plant from its container and place it in the hole, ensuring that the soil level of the plant matches that of the garden bed.
Space calendula plants 12-18 inches apart, depending on the specific variety. This spacing allows for proper air circulation and prevents overcrowding.
Water your newly planted calendula thoroughly to help settle the soil and eliminate air pockets.
Apply a 2-3 inch layer of organic mulch, such as straw or compost, around the base of the plants. Mulch helps retain soil moisture, suppress weeds, and regulate soil temperature.
Caring for Calendula Plants
Calendula plants prefer consistently moist soil but are sensitive to waterlogging. Water deeply when the soil surface begins to dry. In hot and dry conditions, more frequent watering may be necessary. Avoid overhead watering to prevent fungal issues.
Calendula is not a particularly heavy feeder. In most cases, the addition of compost or well-rotted manure during soil preparation should provide sufficient nutrients. If needed, a balanced, slow-release fertilizer can be applied once the plants start to flower.
Regularly remove weeds from the garden bed, as they compete for nutrients and space. The mulch you applied can help suppress weed growth.

Tips and Tricks for Growing Calendula
Calendula does not require pinching back, but deadheading spent flowers promotes continuous blooming and a tidy appearance.
Supports: Most calendula varieties are compact and do not require support. However, taller varieties might benefit from stakes or plant supports in windy conditions.
Avoiding and Treating Disease
Proper spacing and good air circulation can help prevent common fungal diseases.
Avoid overhead watering to reduce the risk of fungal issues.
If signs of diseases such as powdery mildew or leaf spot appear, promptly remove affected leaves and dispose of them away from the garden.
Caring for calendula plants primarily involves maintaining adequate moisture, providing some nutrients, and keeping the garden bed free from weeds. These practices, along with deadheading for continuous blooming, will ensure healthy and vibrant calendula plants in your garden.
Additional Tips for Growing Calendula:
Calendula can be a beneficial companion plant in the garden, deterring certain pests and attracting pollinators.
If you want to encourage self-seeding, allow some flowers to go to seed. This will result in volunteer calendula plants in the following growing season.
What to Expect from Calendula
Calendula typically begins to bloom in late spring and continues throughout the summer and into early fall. Expect a profusion of vibrant, daisy-like flowers during this time.
In USDA growing zones 3-5, calendula is usually grown as an annual, and it won’t survive the harsh winter. In zones 6-8, it can behave as a short-lived perennial, especially if winters are mild. In zones 9-12, calendula often acts as a perennial, blooming through the cooler months and into the spring.
Calendula plants may die back or appear dormant during the winter but often regrow when conditions improve in spring. They may also self-seed and reappear.
The lifespan of a calendula plant can vary, but it typically lives for one to two years. Individual flowers bloom for several weeks to a few months.
Calendula has the ability to reseed readily, producing new plants in the garden. To control this, deadhead some flowers to prevent excessive self-seeding.
How to Harvest Calendula for Cut Flowers
- Harvest calendula flowers when they are fully open and vibrant, in the morning after the dew has dried.
- Cut the stems with sharp, clean scissors or garden shears, leaving a few inches of the stem.
- Place the harvested flowers in a bucket of lukewarm water immediately after cutting.
- To keep calendula fresh in a vase, change the water every 2-3 days and trim the stems slightly each time.
How to Use Calendula for Tea or Skin Care:
To make calendula tea, use dried flowers. Steep 1-2 teaspoons of dried calendula petals in a cup of boiling water for about 10 minutes. Strain and enjoy. Calendula tea is known for its soothing and anti-inflammatory properties.
Calendula can be used in skin care products like salves, balms, and creams. Infuse a carrier oil (such as olive oil or coconut oil) with dried calendula petals by placing them in a clean, dry jar, covering them with the oil, and letting them sit in a sunny window for several weeks. Strain the oil and use it as a base for various skin care recipes.
How to Harvest and Store Calendula Seeds
Allow some calendula flowers to mature and dry on the plant. Once the seed heads turn brown and the seeds are hard and dark, harvest them.
To collect the seeds, gently rub the dried seed heads between your fingers over a clean container or paper bag.
Store the calendula seeds in a cool, dry place in an airtight container. Label the container with the date of collection and the calendula variety if known.
By following these additional tips and insights, you can make the most of your growing calendula plants, whether in the garden, as cut flowers, or in various herbal and skin care applications.