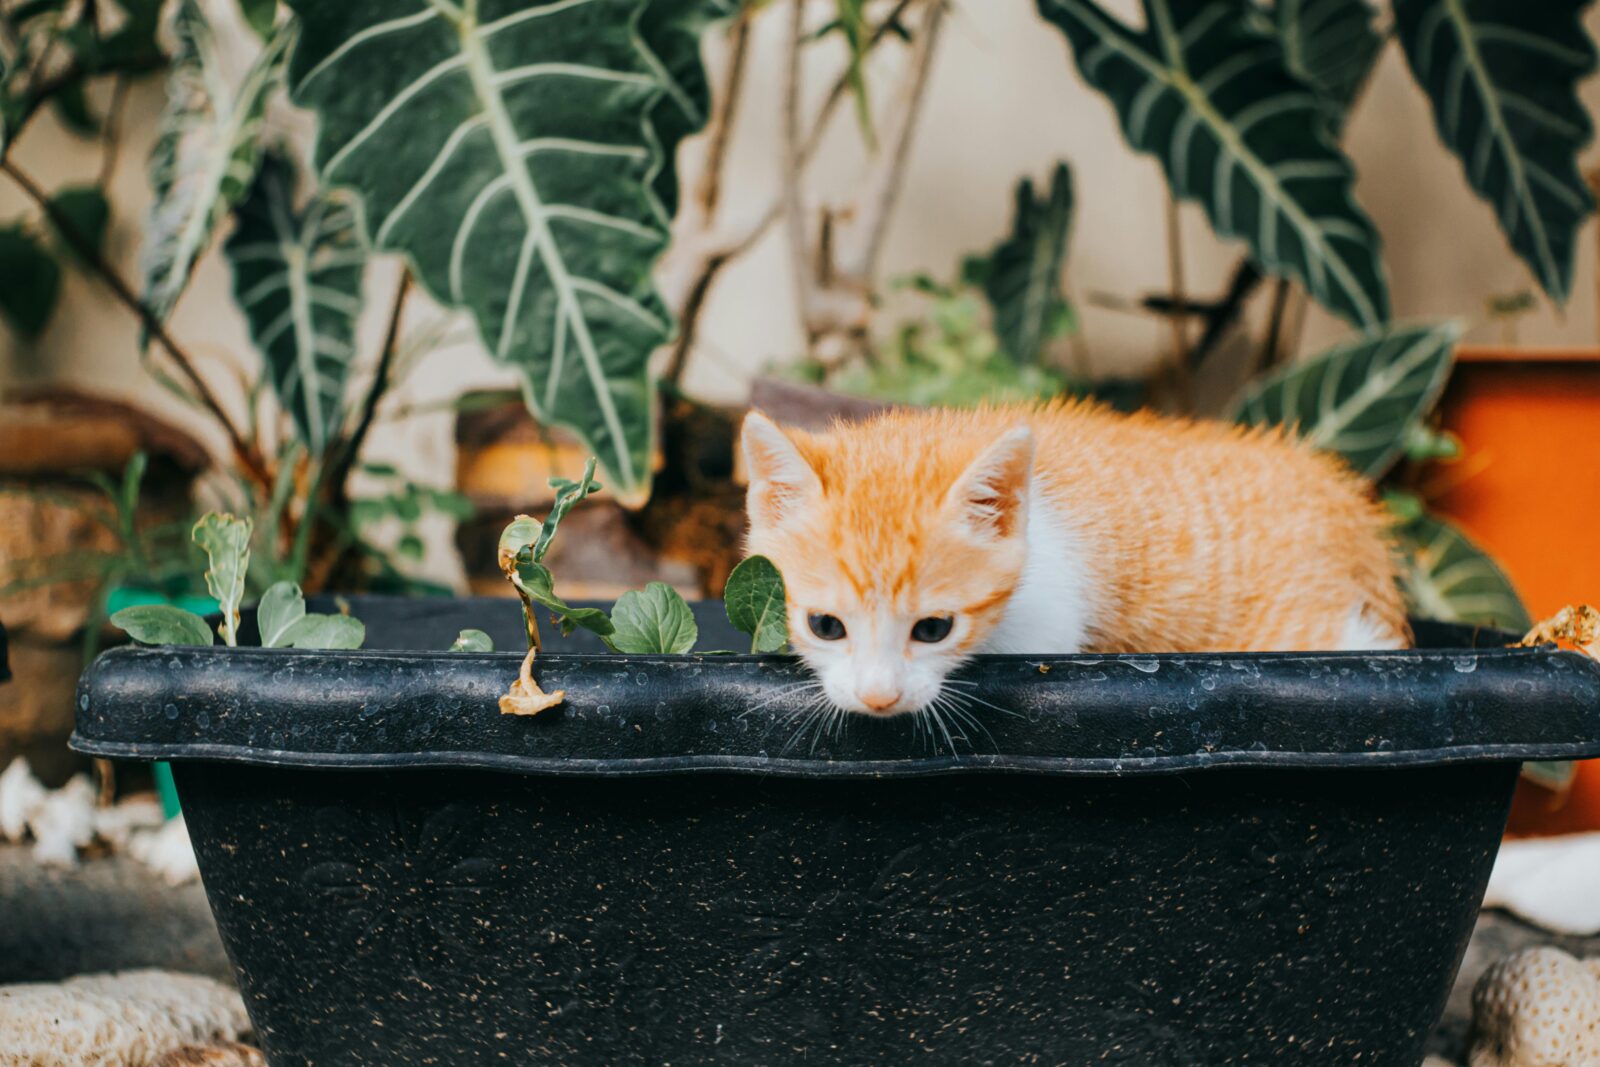
Did you know that choosing the right containers for Florida gardens can make or break your Florida garden? It’s true!…
Did you know that choosing the right containers for Florida gardens can make or break your Florida garden? It’s true!…
We’re still in the wake of Hurricanes Helene and Milton, and from the brown tips of every leaf and defoliated…
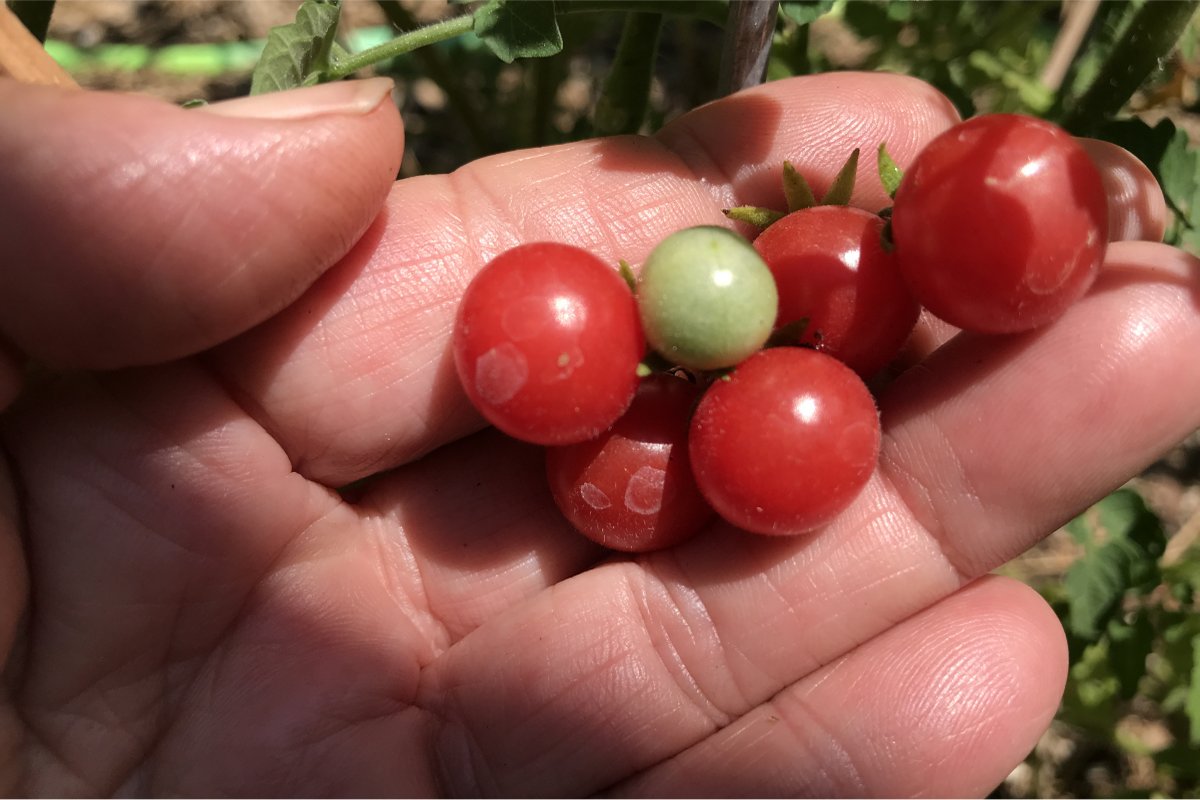
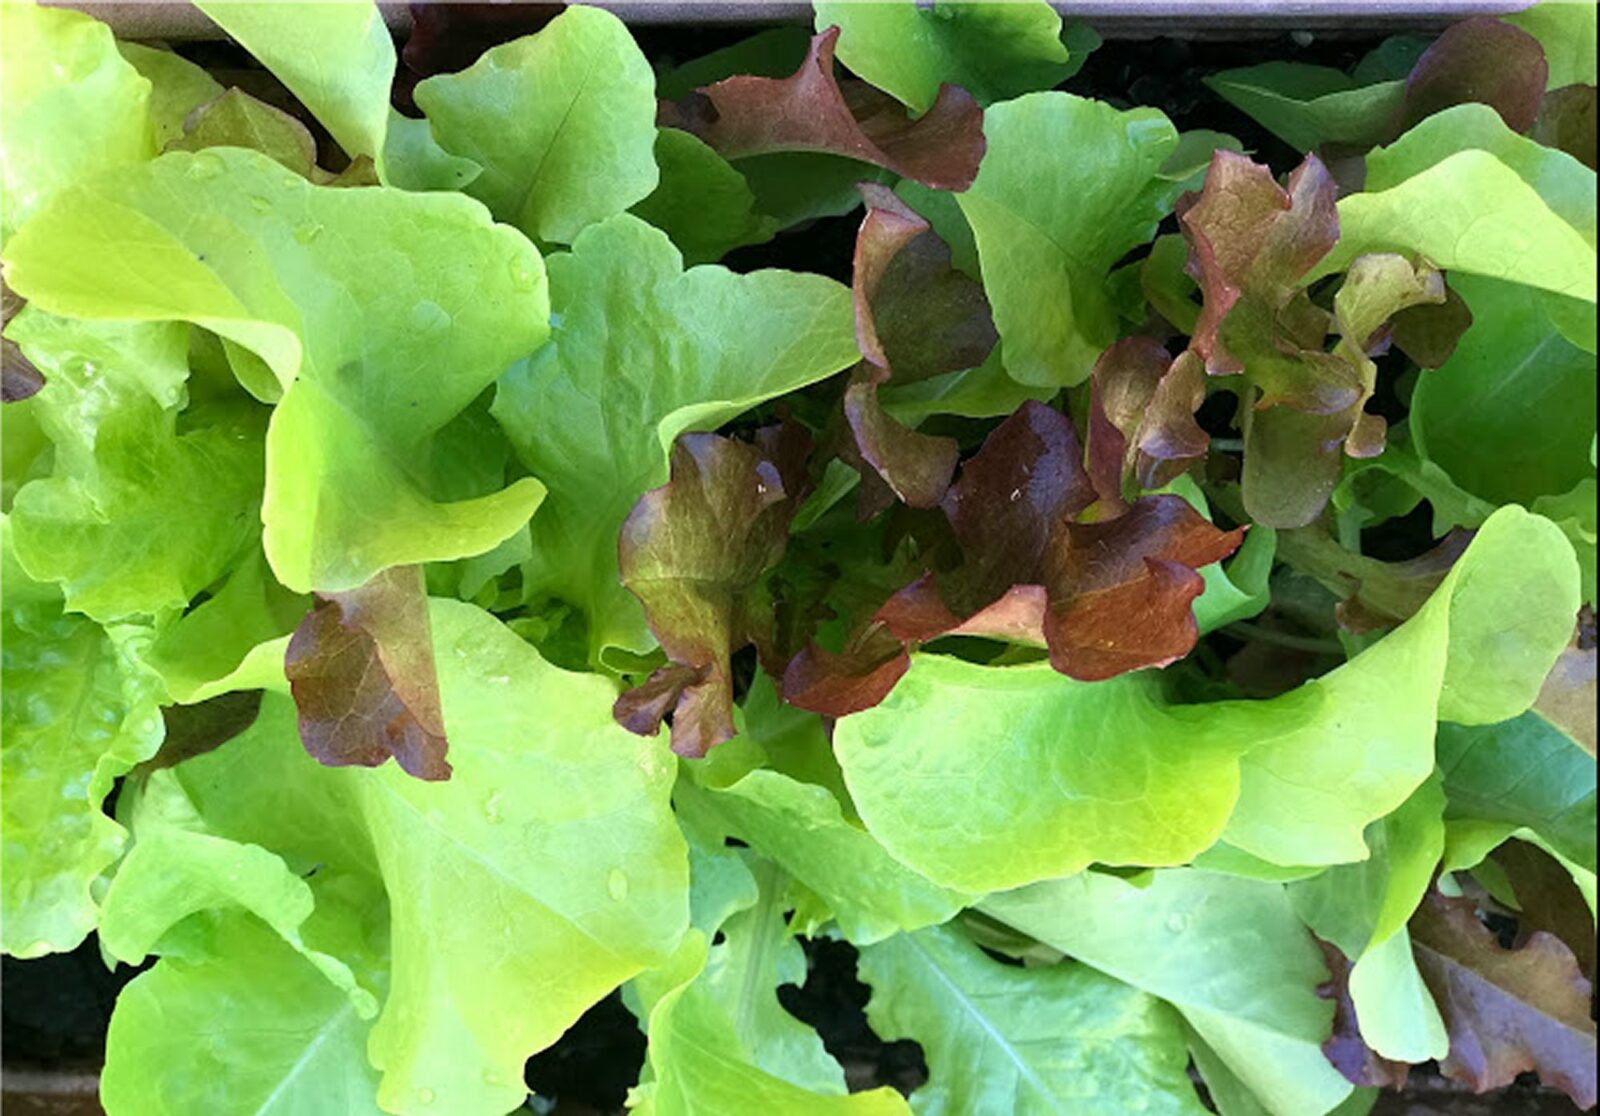
I’ve seen and heard many Florida gardeners complain that tomatoes just do not grow well here. It’s too hot, it’s…
In the verdant state of Florida, where the sun smiles generously, the question isn’t whether you can cultivate a thriving…
As a gardener in Florida, I’ve learned that our winters provide a unique setting for growing a variety of plants.…
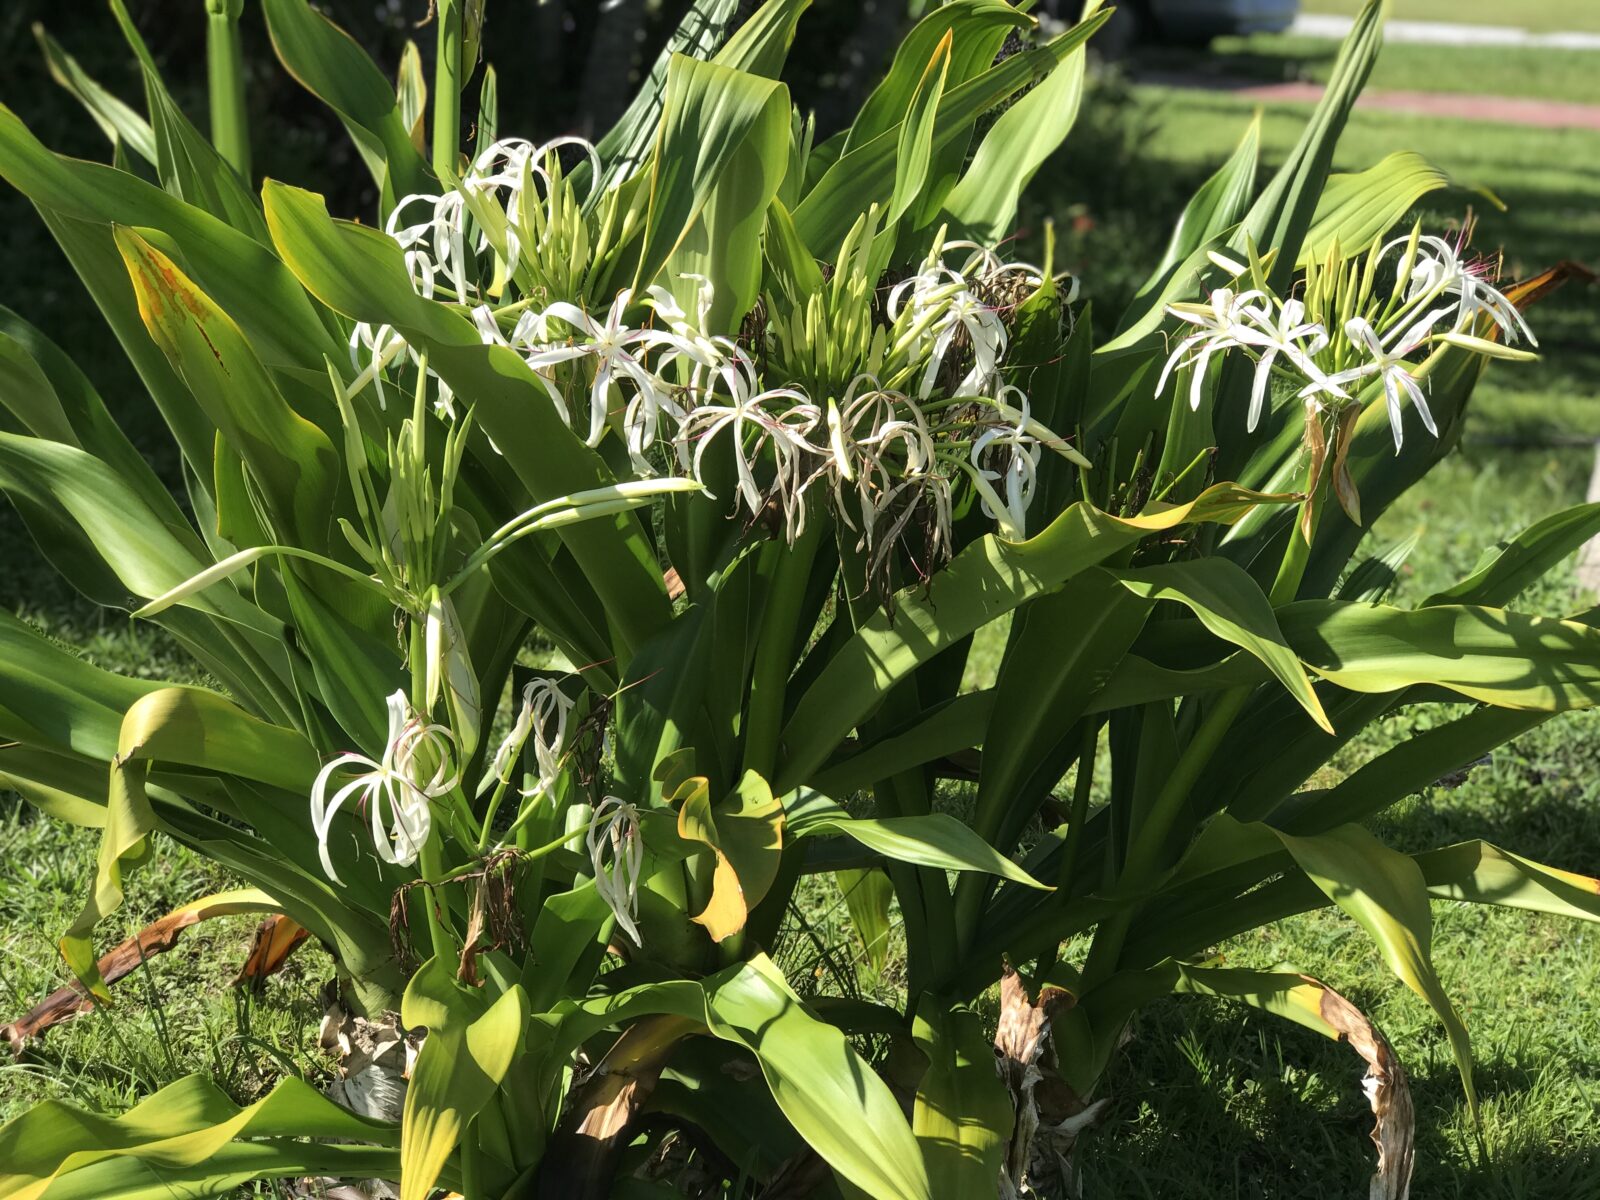
The Crinum Lily, renowned for its majestic beauty and resilience, is a captivating addition to any garden. This perennial plant…
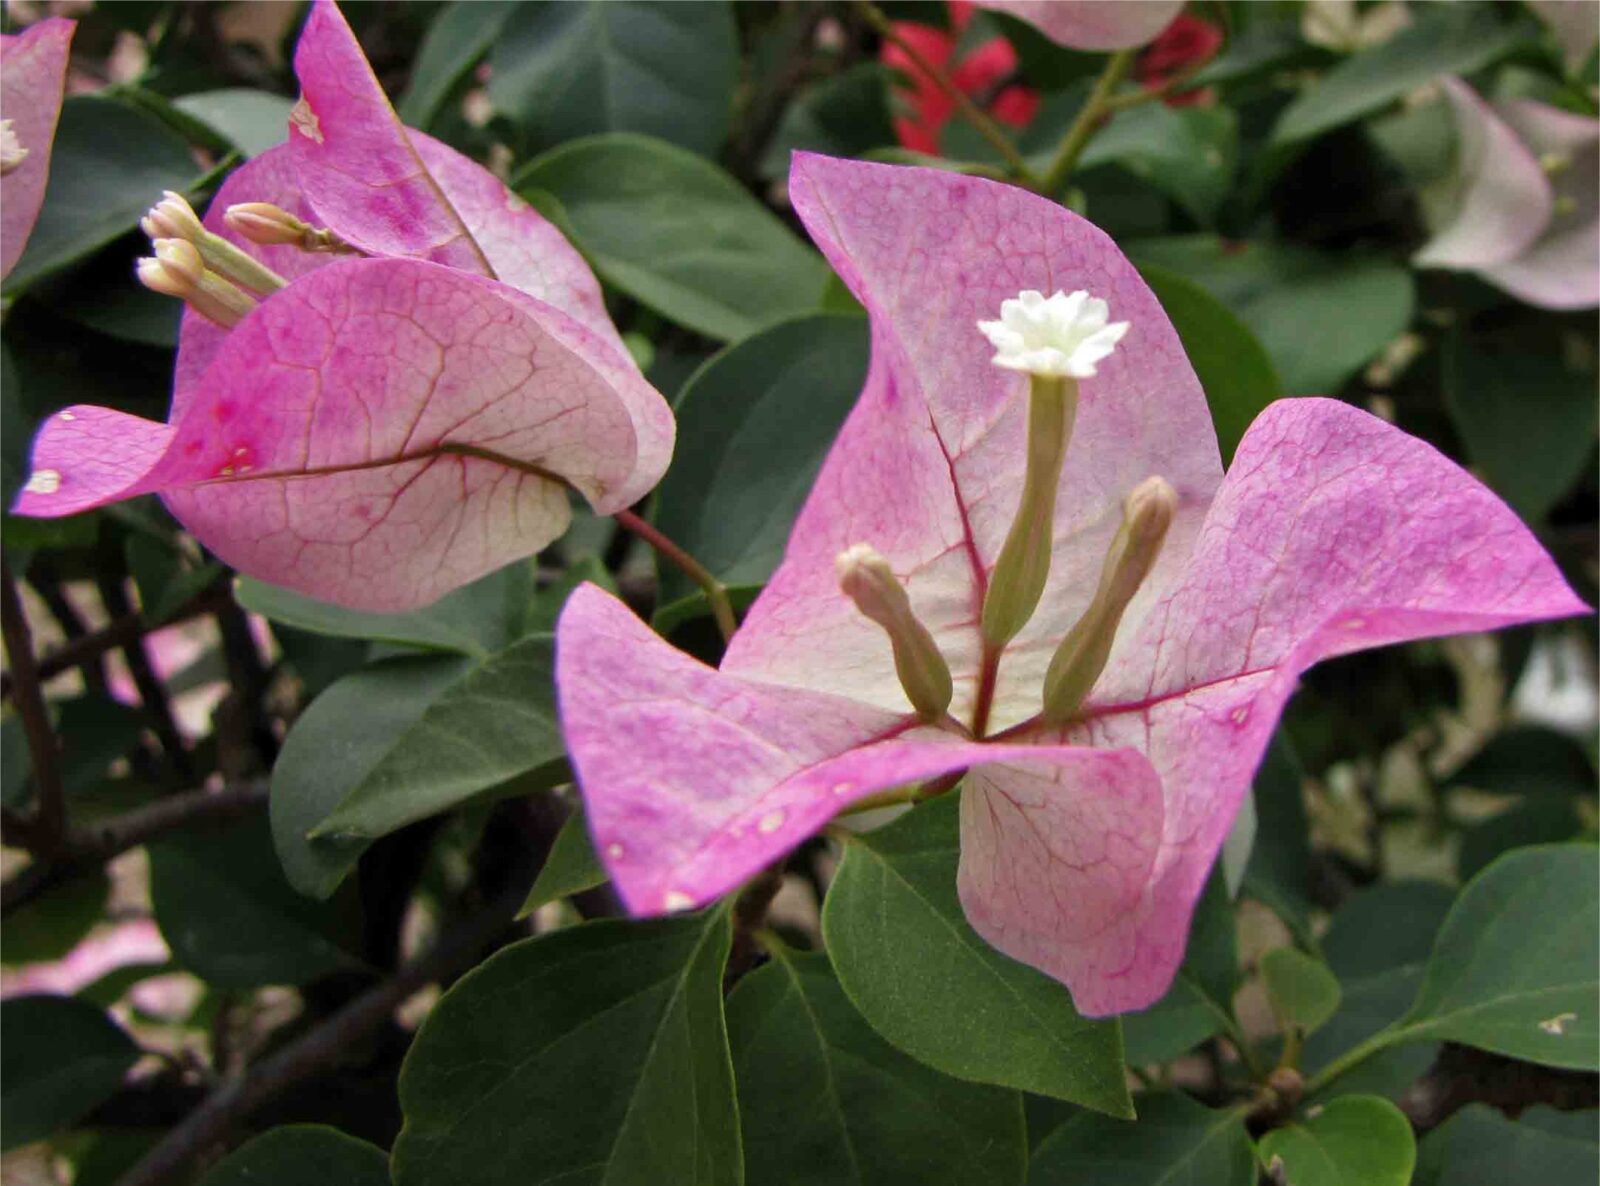
Bougainvillea (pronounced boo-guhn-VIL-yuh) is a stunning and vibrant flowering plant that originates from the tropical and subtropical regions of South…

If you’ve been paying attention to the weather forecast, it’s likely that the last thing on your mind is what…
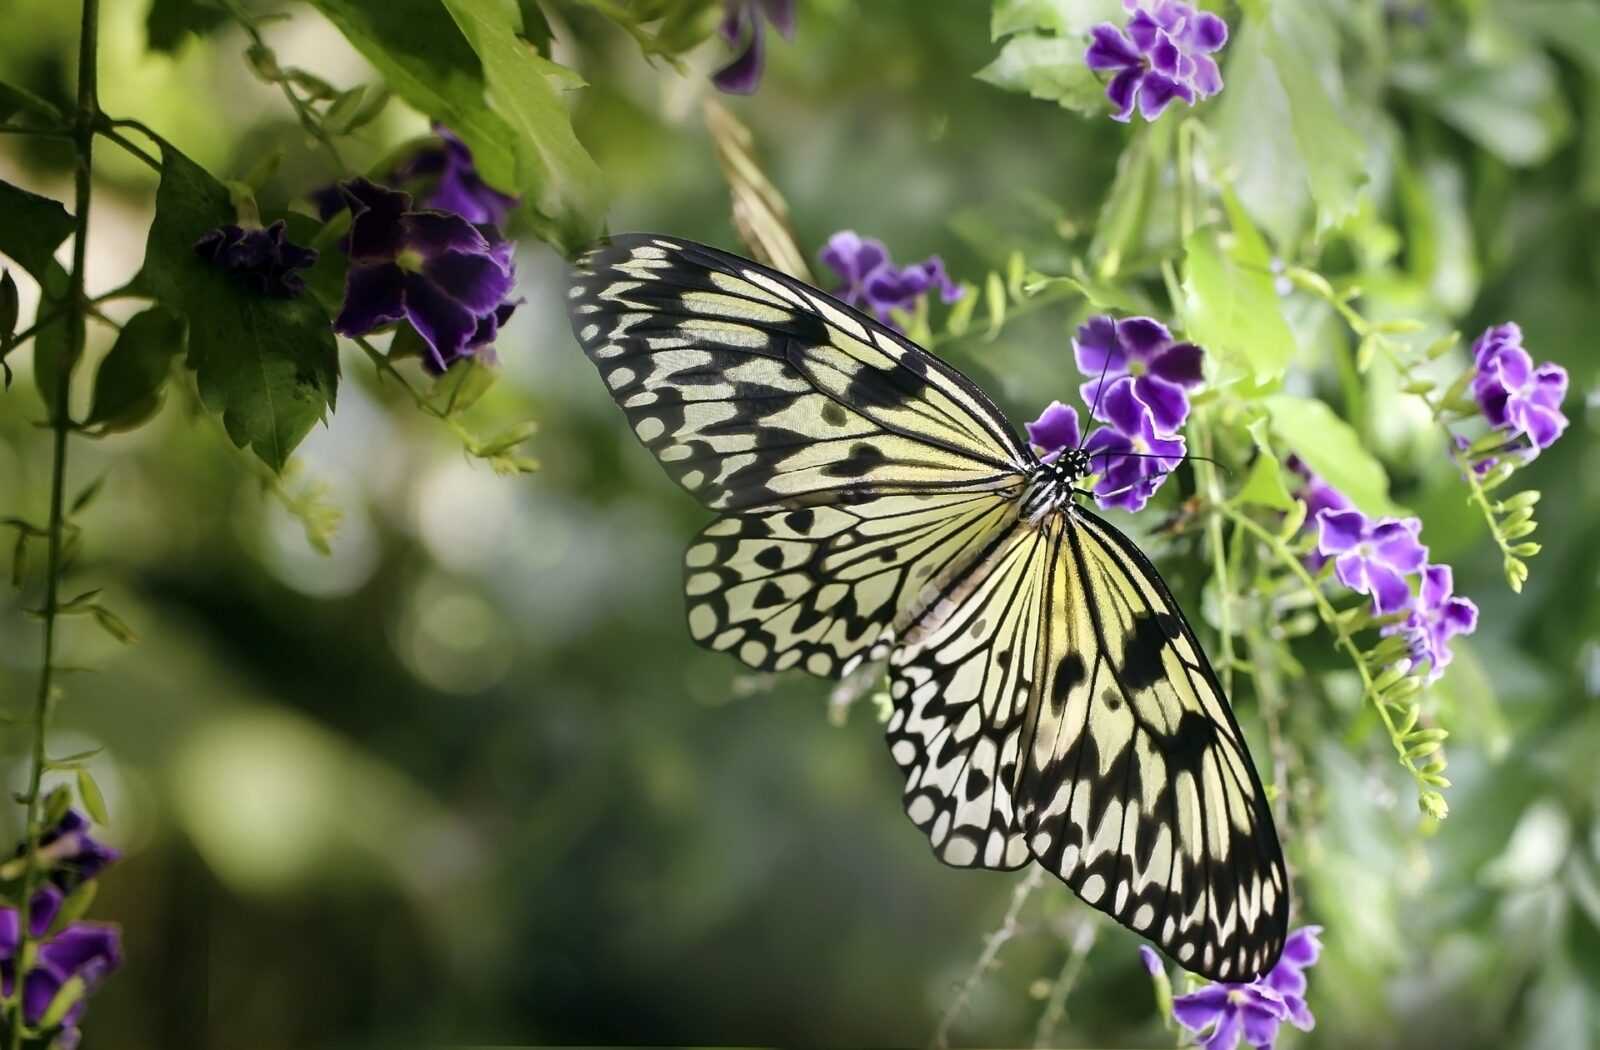
With its glorious sprays of deep purple flowers that dangle in graceful sprays, Duranta erecta brings vivid tropical color to…
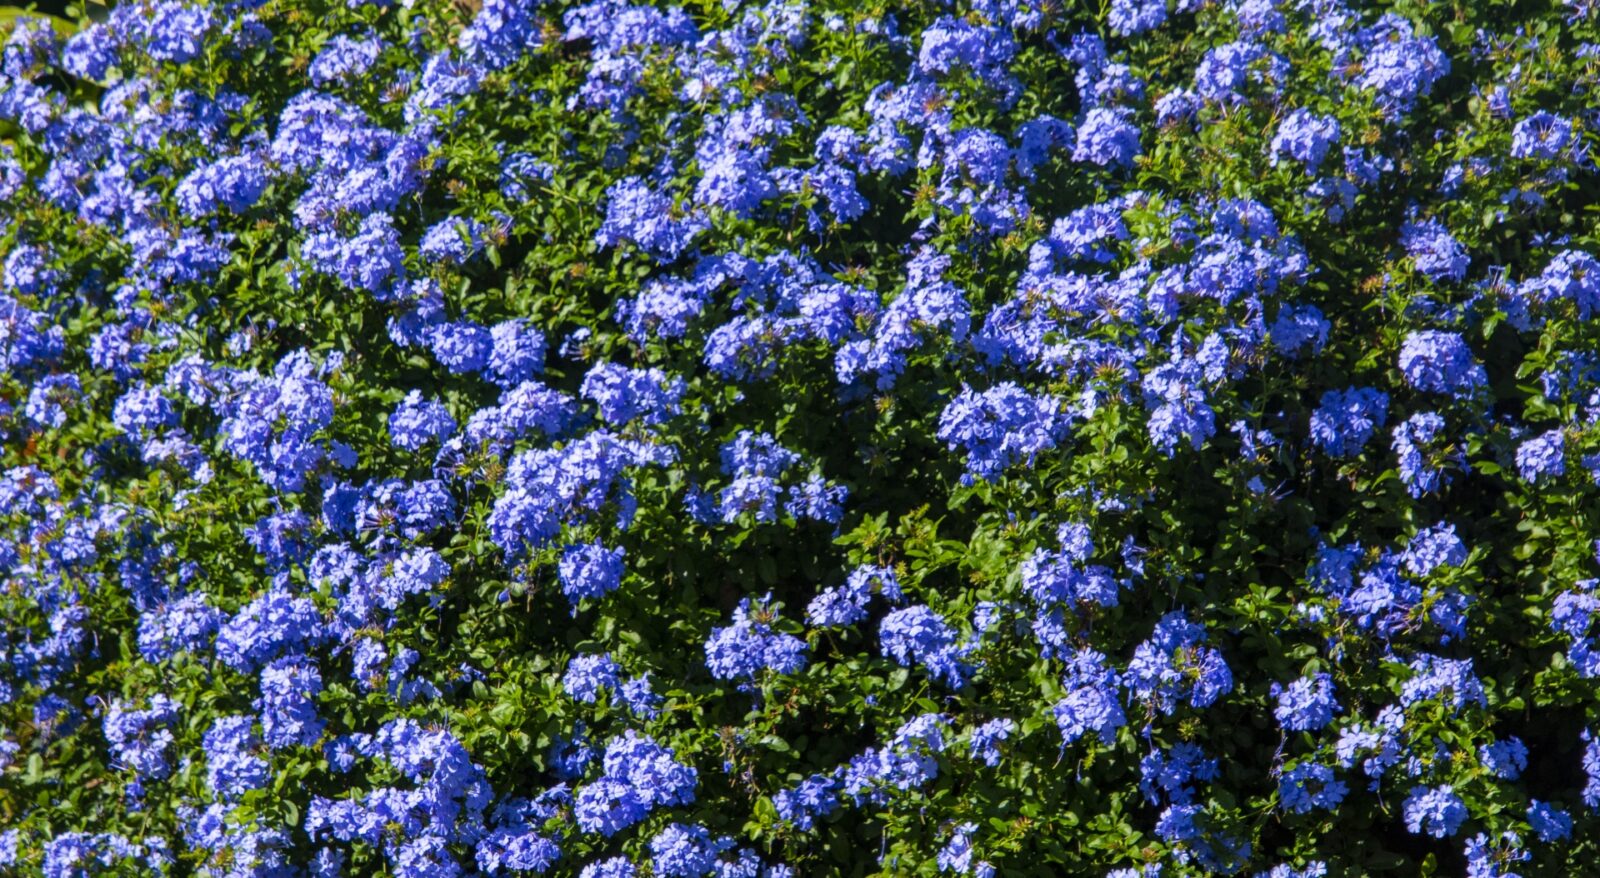
Plumbago, a genus comprising several species of flowering plants, has captured the hearts of gardeners and horticulturists around the world…