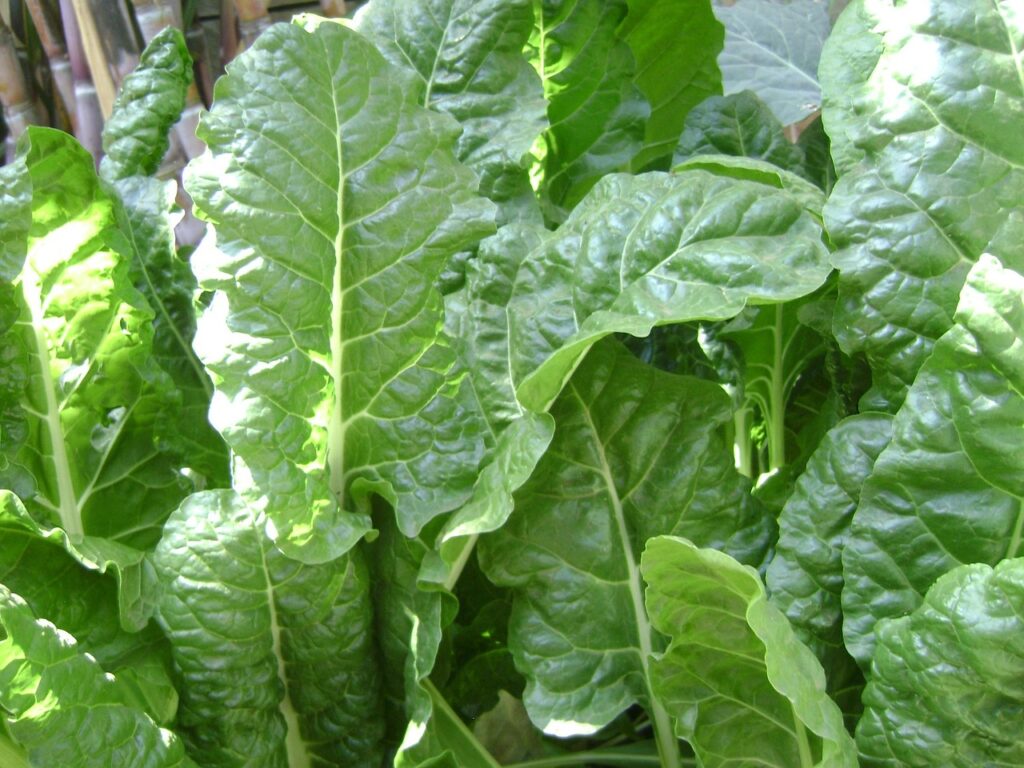
Spinach is a cool-season leafy green cultivated for centuries and prized for its tender leaves and exceptional cold tolerance. Growing spinach in the late fall and early spring is a great way to provide nutritious greens.
Spinacia oleracea belongs to the amaranth family, Amaranthaceae. It traces its origins to ancient Persia, where wild spinach species first grew in what is now Iran. The plant spread westward through the Mediterranean and became a staple crop throughout Europe.

Spinach thrives in USDA hardiness zones 3 through 9. It performs best during the cool seasons of spring and fall when temperatures remain moderate. Spinach works well as a fall crop when planted in late summer. It provides fresh greens well into autumn and even through mild winters in warmer zones.
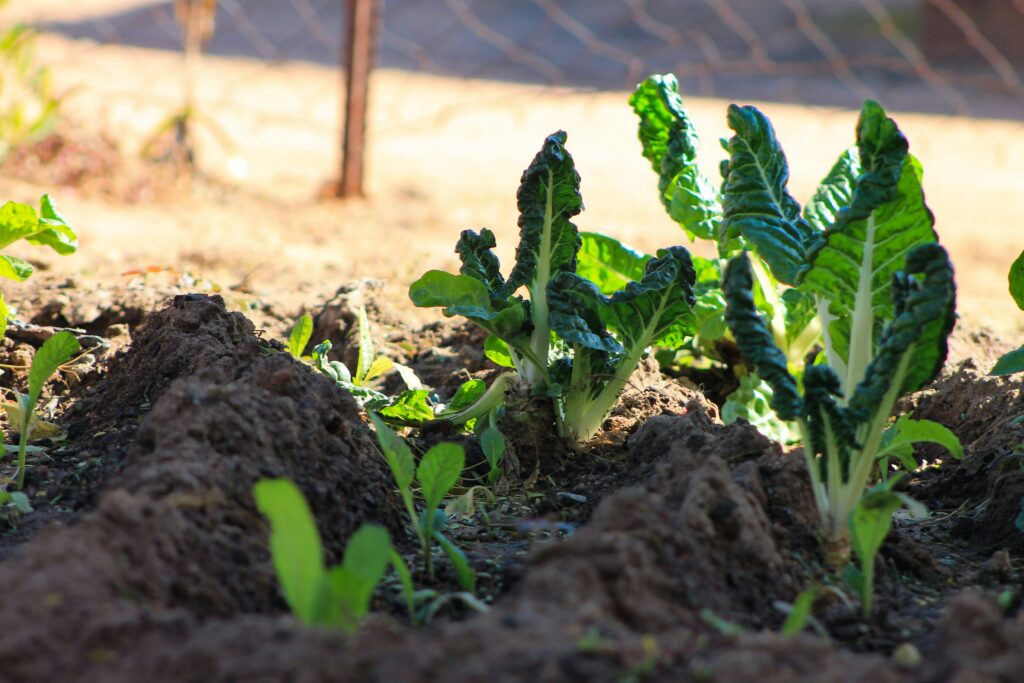
Spinach serves as an excellent cool-season crop for gardeners in northern regions. Its ability to germinate in cool soil and tolerate light frosts makes it one of the first vegetables that can be direct-sown each year. This fills the hungry gap between winter storage crops and summer abundance.
Spinach Characteristics
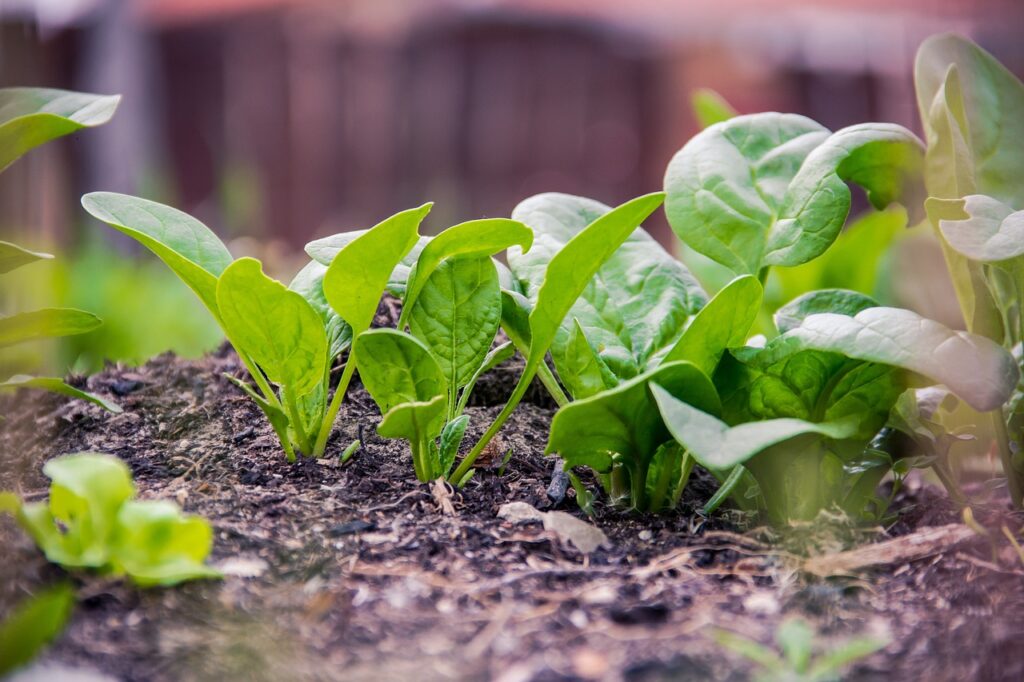
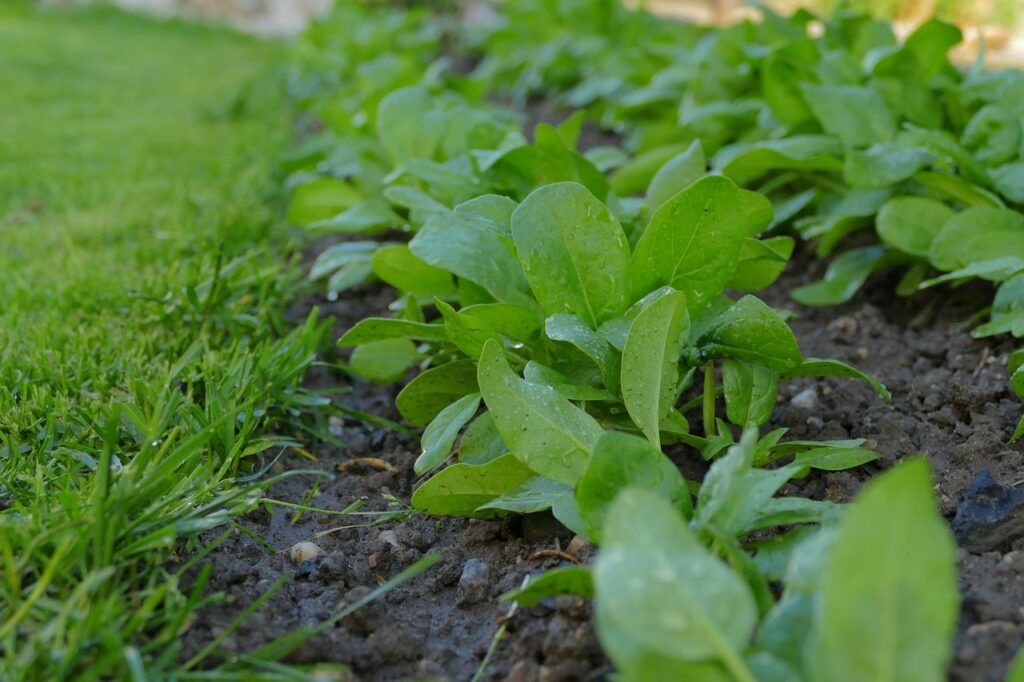
Spinach grows as a low-profile rosette plant. Many reach 6 to 10 inches in height when mature and spread 8 to 12 inches wide. Its compact growth habit makes iw well-suited for raised beds, container gardens, and traditional in-ground vegetable plots.
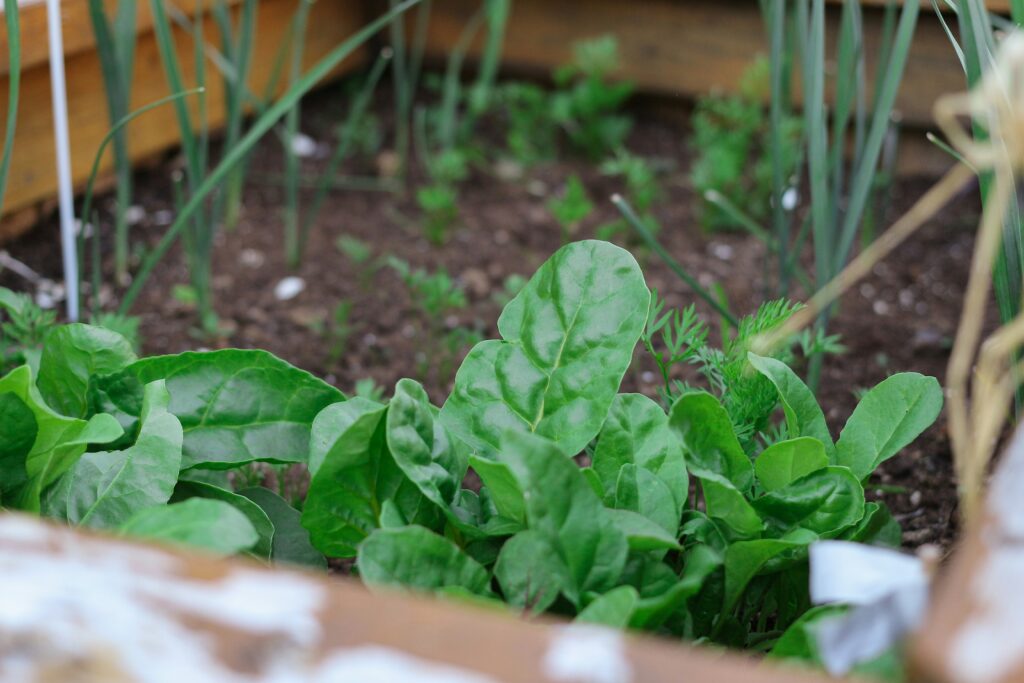
Gardeners often plant spinach in dedicated salad garden sections or alongside other cool-season greens in spring beds. It also works as an edging plant along pathways, where the attractive foliage provides both visual interest and easy harvest access.
- Lifespan: Annual
- Mature height: 6 to 10 inches
- Width: 8 to 12 inches
- 45 to 55 days to maturity for baby leaf harvest
- 50 to 60 days to maturity for full-sized leaves

Timing Your Spinach Planting
Spinach seeds can be started indoors for an early jump on the season. Alternatively, you can sow them directly into the garden once soil conditions permit. The timing varies considerably across climate zones.
Understanding the appropriate planting windows for your specific zone ensures optimal germination and prevents premature bolting during warm weather.
Zones 3-5:
Start spinach seeds indoors 4 to 6 weeks before the last expected spring frost. Direct sow seeds outdoors as soon as the soil can be worked in early spring, usually 4 to 6 weeks before the last frost date.
Continue succession plantings every two weeks until daytime temperatures consistently reach 75 degrees Fahrenheit.
For fall crops, direct sow seeds outdoors 6 to 8 weeks before the first expected autumn frost.
Zones 6-8:
Start spinach seeds indoors in mid to late January for earliest spring harvests. Direct sow seeds outdoors from late February through early April for spring crops.
Plant again from late August through September for fall and winter harvests.
In zone 8, gardeners can often continue planting throughout mild winters for nearly year-round production.
Zones 9-12:
Indoor seed starting is rarely necessary in these warm climates. Direct sow spinach seeds outdoors from October through February. Focus on the coolest months when temperatures remain below 75 degrees Fahrenheit during the day.
In zone 9, fall and winter planting provides the best results.
Zones 10-12 should treat spinach strictly as a winter crop planted from November through January.
Spinach Seed Preparation

Spinach seeds typically germinate in 7 to 14 days when soil temperatures remain between 40 and 75 degrees Fahrenheit. Germination occurs fastest at temperatures around 70 degrees Fahrenheit.
To speed germination, plant spinach seeds in consistently moist soil and maintain soil temperatures between 60 and 70 degrees Fahrenheit.
Covering the seeded area with a thin layer of compost or vermiculite helps retain moisture and prevents soil crusting, which can slow emergence.
Keep the soil surface evenly moist but not waterlogged until seedlings appear.
Preparing the Garden Bed for Growing Spinach
Choosing a Location
Select a garden bed that receives full sun to partial shade. Spinach tolerates more shade than many vegetables. Choose an area with good air circulation to reduce disease pressure. Avoid low-lying spots where cold air or water tends to pool.
Light Requirements
Spinach grows best in full sun during cool spring and fall weather. In warmer climates or during late spring planting, partial shade helps prevent premature bolting. Aim for 4 to 6 hours of direct sunlight daily. Provide protection from intense afternoon sun in zones 7 and warmer.
Moisture
Spinach requires consistently moist soil throughout its growing season. Choose a location where you can easily water regularly. The soil should drain well enough to prevent waterlogging but retain sufficient moisture between waterings.
Soil Type
Spinach thrives in loose, well-draining soil rich in organic matter. Work 2 to 3 inches of compost or well-rotted manure into the top 6 to 8 inches of soil before planting. The ideal soil pH ranges from 6.5 to 7.0. Add lime to raise pH or sulfur to lower it based on soil test results.
Direct Sowing Spinach Seeds
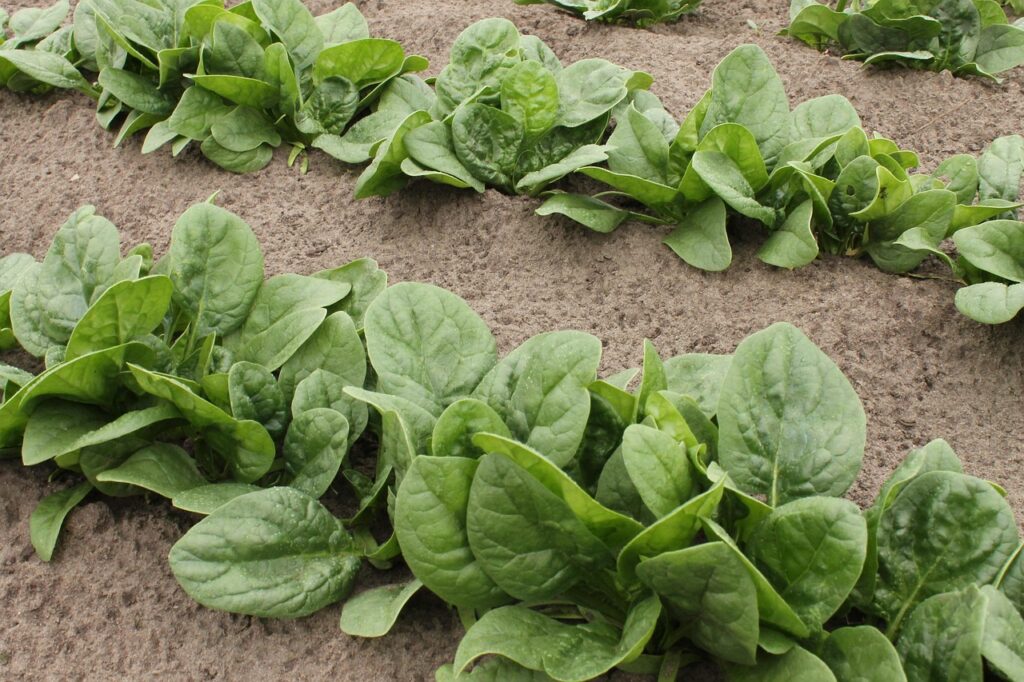
Prepare the soil by raking it smooth and removing debris. Create shallow furrows half an inch deep. Space rows 12 to 18 inches apart.
Sow spinach seeds 1 inch apart along the furrow. Cover with half an inch of soil and gently firm the surface.
Water immediately after planting. Keep the soil consistently moist until seedlings emerge. Check daily and water lightly if the surface begins to dry out.
Spinach seeds germinate best when soil temperatures range from 40 to 75 degrees Fahrenheit. Optimal germination occurs at 60 to 70 degrees Fahrenheit.
Spinach seeds do not need light to germinate. They sprout while covered with soil.
Expect seedlings to emerge in 7 to 14 days. Cooler soil temperatures slow germination while warmer conditions speed it up.
Starting Spinach Seeds Indoors
Use a lightweight seed starting mix for growing spinach. Purchase commercial seed starting mix or make your own by combining equal parts coco coir, vermiculite, and perlite.
Avoid using garden soil, which is too heavy and may contain disease organisms.
Choose containers with drainage holes. Cell trays with individual cells measuring 1 to 2 inches wide work well. Soil blocks also provide excellent results.
Avoid growing spinach seeds in containers smaller than 1 inch, as the roots need adequate space before transplanting.
Fill containers with moistened seed starting mix. Plant seeds half an inch deep. Place one or two seeds per cell or soil block.
Water gently after planting. Keep the seed starting mix consistently moist but not waterlogged. Bottom watering works well to prevent disturbing seeds. Check moisture daily.
Maintain temperatures between 60 and 70 degrees Fahrenheit for best germination. Spinach seeds tolerate cooler conditions down to 40 degrees Fahrenheit but germinate more slowly.
Spinach seeds do not require light to germinate. Once seedlings emerge, immediately move them to bright light.
Expect seedlings to emerge in 7 to 14 days. Provide strong light as soon as the first leaves appear to prevent leggy growth.
When to Plant Out Spinach Plants
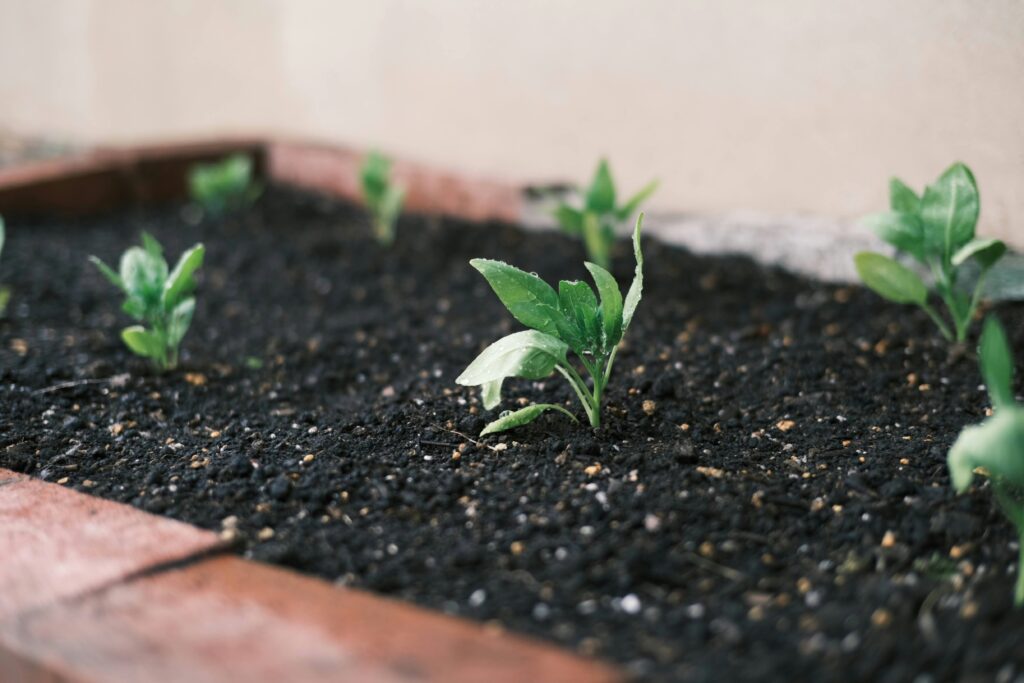
Spinach seedlings are ready to transplant when they have developed 2 to 4 true leaves. This typically occurs 3 to 4 weeks after germination.
The seedlings should be 2 to 3 inches tall with healthy green foliage. Transplant on a cloudy day or in the evening to reduce stress on young plants.
Hardening Off Spinach Plants
Begin hardening off spinach seedlings 7 to 10 days before transplanting.
Place seedlings outdoors in a sheltered, shaded location for 1 to 2 hours on the first day. Gradually increase outdoor exposure by 1 to 2 hours each day.
Move plants into partial sun after 3 to 4 days of shade exposure. Continue increasing time outdoors each day.
By day 7, seedlings should remain outside all day and night if temperatures stay above 32 degrees Fahrenheit.
Reduce watering slightly during the hardening off period, but do not let plants wilt.
Bring seedlings indoors if temperatures drop below freezing or if strong winds threaten to damage them.
Planting Out Spinach Plants
Dig holes slightly deeper than the root ball of each seedling. Space holes 4 to 6 inches apart in rows set 12 to 18 inches apart.
For intensive planting in raised beds, space plants 6 inches apart in all directions.
Remove seedlings carefully from their containers. Gently loosen any roots that circle the root ball. Place each seedling in its hole so the base of the stem sits at the same depth it grew in the container. Fill around roots with soil and firm gently.
Apply a 1 to 2 inch layer of organic mulch around plants. Keep mulch pulled back slightly from the base of stems.
Straw, shredded leaves, or compost work well. Mulch helps retain moisture and suppress weeds.
Water plants thoroughly immediately after planting. Provide enough water to moisten the soil 4 to 6 inches deep.
Water daily for the first week if rainfall is insufficient. After establishment, water whenever the top inch of soil feels dry.
Spinach Plant Care
Watering
Water spinach consistently throughout the growing season. Provide 1 to 1.5 inches of water per week through rainfall or irrigation. Water deeply to encourage strong root development.
Check soil moisture by inserting your finger 1 inch into the soil. Water when the top inch feels dry. Avoid overhead watering in the evening to reduce disease risk.
Feeding
Feed spinach plants with a balanced fertilizer or compost tea every 3 to 4 weeks during active growth. Side-dress plants with compost or apply a nitrogen-rich fertilizer to promote leafy growth.
Avoid over-fertilizing, which can lead to excessive growth and reduced flavor. A light application of fish emulsion or diluted liquid fertilizer works well for container-grown plants.
Weeding
Keep the area around spinach plants free of weeds. Weeds compete for nutrients, water, and light. Hand-pull weeds carefully to avoid disturbing shallow spinach roots. You can also snip off weeds at ground level and leave as mulch, as long as they haven’t gone to seed.
Mulch helps suppress weed growth. Remove weeds when small before they become established.
Pest Control
Monitor spinach regularly for common pests including aphids, leaf miners, and flea beetles. Remove aphids with a strong spray of water or apply insecticidal soap.
Cover plants with floating row covers to exclude leaf miners and flea beetles. Remove and destroy any leaves showing leaf miner damage.
Encourage beneficial insects like ladybugs and lacewings to help control aphid populations naturally. You can do this by planting wildflowers and avoiding synthetic pesticide use.
Tips and Tricks for Growing Spinach
Spinach works well as a cut-and-come-again crop. Harvest outer leaves when they reach 3 to 4 inches long, leaving the central growing point intact. The plant will continue producing new leaves for several weeks.
For baby leaf production, cut all leaves 1 inch above the crown when plants reach 4 to 5 inches tall. Most plants will regrow for a second harvest.
Once spinach bolts and sends up a flower stalk, the leaves become bitter and tough. Remove bolted plants from the garden and add them to the compost pile. They also make good fodder for small livestock (chickens, ducks, rabbits, etc.)
Harvest any remaining good leaves before discarding the plant. You cannot reverse bolting once it begins.
Provide afternoon shade in warmer climates to prevent bolting. Keep soil consistently moist as water stress triggers bolting. Choose slow-bolting varieties for late spring planting. Harvest leaves promptly when they reach usable size.
Plant spinach in succession every 2 to 3 weeks for a continuous harvest throughout the cool season. This ensures a steady supply of fresh leaves rather than a single large harvest.
Interplant spinach with taller crops that will provide shade as temperatures warm. In hot climates, use shade cloth to extend the harvest window into early summer.
Harvesting Spinach
When and How to Harvest Spinach
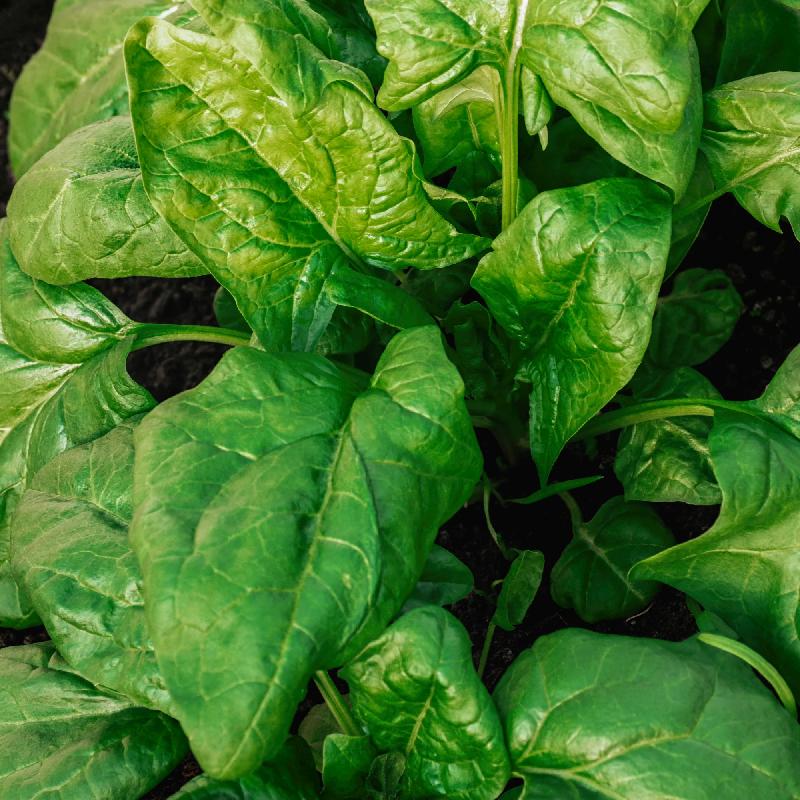
Harvest spinach when leaves reach 3 to 4 inches long for baby greens or 6 to 8 inches for full-sized leaves.
Begin harvesting 45 to 55 days after sowing for baby leaf or 50 to 60 days for mature leaves.
Pick outer leaves first, leaving the center rosette to continue producing. Cut leaves with scissors or pinch them off at the base of the stem. Harvest in the morning after dew dries for best flavor and crispness.
Stop harvesting once the plant begins to bolt and send up a flower stalk.
How to Clean and Store Homegrown Spinach
Rinse harvested spinach leaves thoroughly in cool water to remove soil and debris. Swish leaves gently in a large bowl of water or use a salad spinner. Drain and repeat if needed until water runs clear. Pat leaves dry with clean towels or use a salad spinner to remove excess moisture.
Store clean, dry leaves in plastic bags or containers lined with paper towels. Refrigerate for up to 5 to 7 days.
For longer storage, blanch leaves for 2 minutes, cool quickly in ice water, drain well, and freeze in airtight containers.
How to Cook with Spinach
Spinach works well in numerous dishes both raw and cooked. Fresh spinach salad combines raw leaves with various toppings and dressings for a nutritious side dish.
Creamed spinach features cooked leaves in a rich cream sauce flavored with garlic and nutmeg.
Spinach and feta phyllo pie, also known as spanakopita, layers seasoned spinach and cheese between crispy pastry sheets.
Sautéed spinach with garlic cooks quickly in olive oil for a simple side dish.
Spinach and artichoke dip blends cooked spinach with cheeses and artichokes for a popular appetizer.
Palak paneer combines spinach with Indian spices and cheese cubes in a creamy curry.
Growing Spinach in Your Garden
Spinach offers home gardeners a reliable, productive crop that thrives in cool weather and delivers fresh, nutritious greens throughout spring and fall.
It tolerates cold temperatures, germinates readily in cool soil, and produces abundant harvests of smooth, flavorful leaves perfect for salads, cooking, and freezing.
With proper timing, consistent moisture, and regular harvesting, spinach provides weeks of continuous production from a single planting.
Start your spinach seeds this season and enjoy the satisfaction of harvesting your own fresh greens.
Whether you plant a small container on your patio or dedicate a full garden bed to succession plantings, this versatile vegetable rewards minimal effort with maximum flavor.
Get your seeds in the ground during the next cool season and discover why generations of gardeners have made spinach a staple in their vegetable gardens.