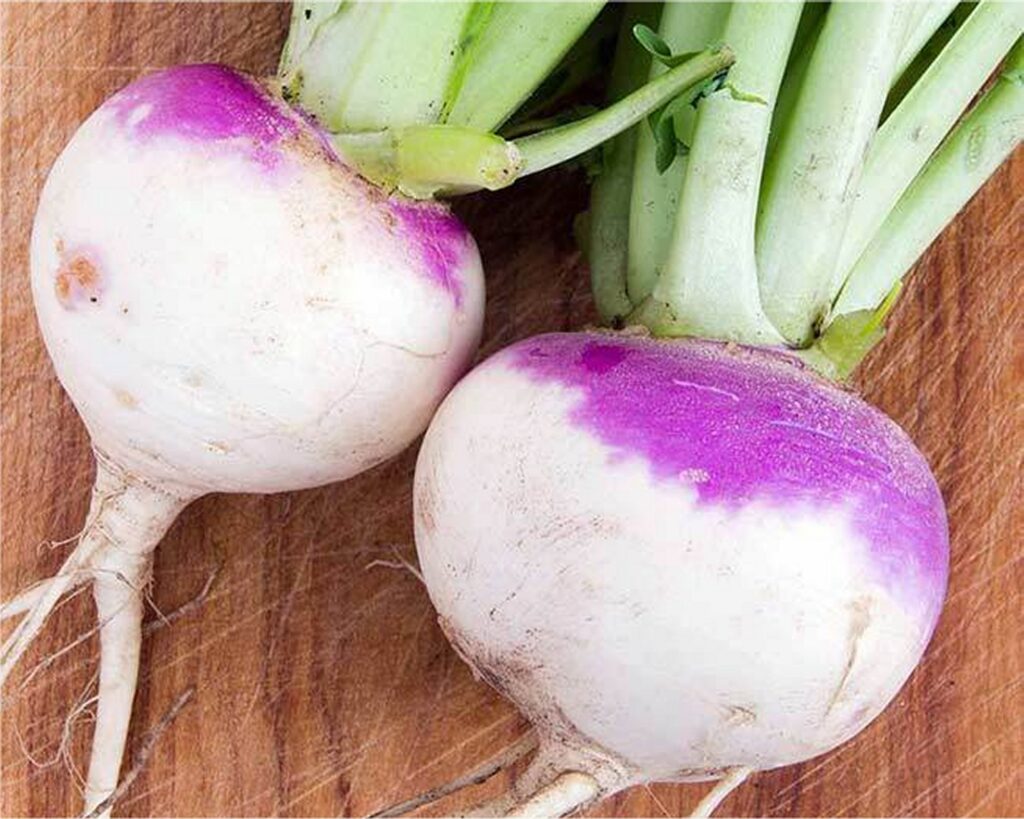
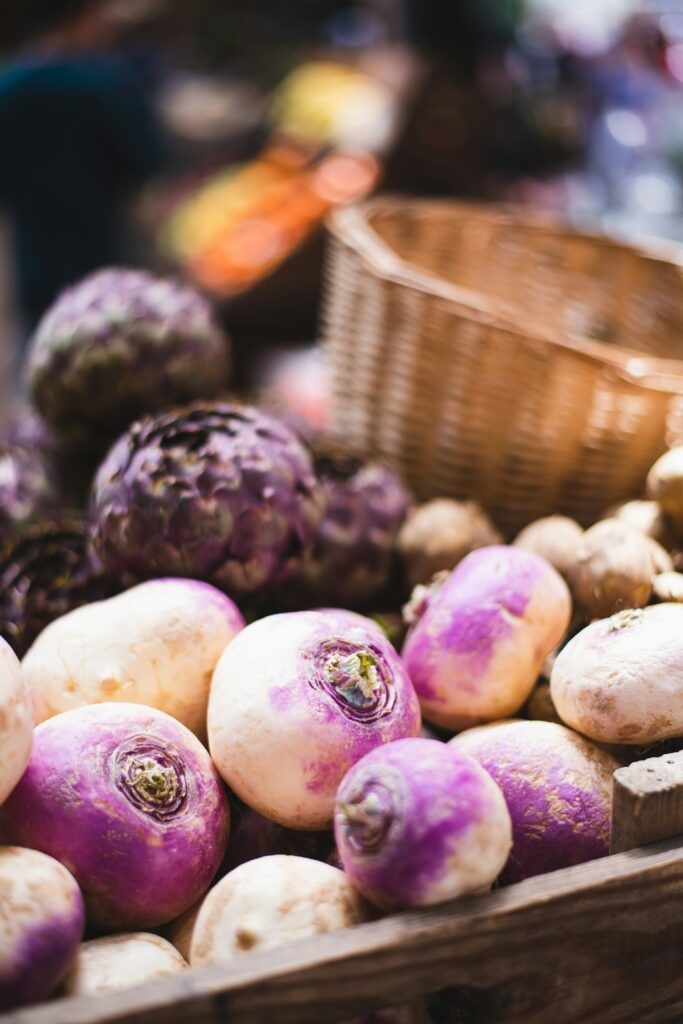
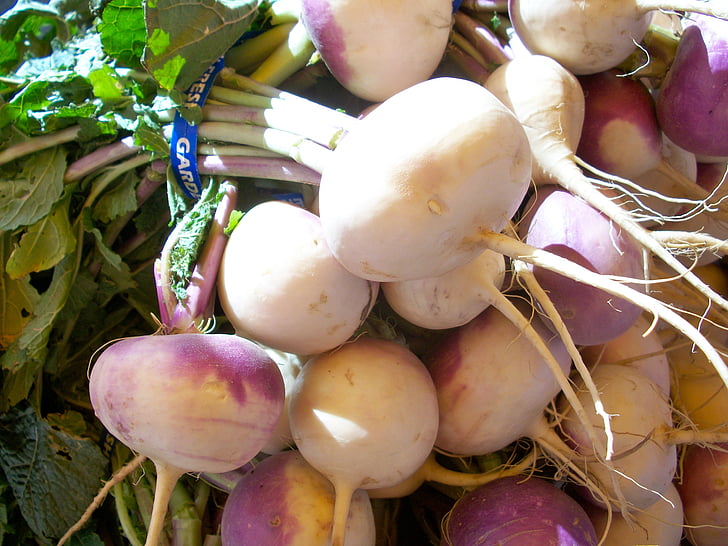
Rutabaga, often known as Swede or Swedish turnip, is a root vegetable that is a part of the Brassica family. This hardy plant, scientifically known as Brassica napus Napobrassica Group, is a cross between a turnip and a cabbage. Learning to grow rutabaga from seed will add variety to your winter menus.
Rutabagas are cherished for their sweet and earthy flavor, making them a popular choice in various cuisines. They thrive in cooler climates and are typically grown as a fall or winter crop, although planting times can vary based on geographical zones.

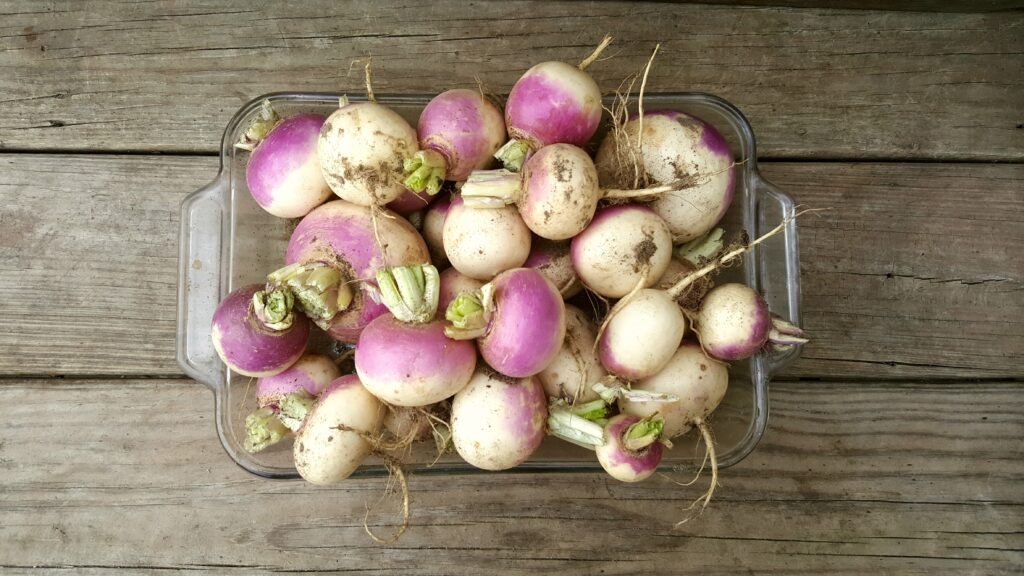
Where to Grow Rutabaga from Seed
Rutabagas are biennials, typically grown as annuals for their large roots. This cool-season crop is well-suited for growth in USDA Hardiness Zones 3 through 12, although the timing of planting varies across these zones. The ideal growing season for rutabagas is during cooler temperatures, as they develop the best flavor when matured in cool, frosty weather.

When to Start Rutabaga Seeds
Because rutabaga prefers cooler temperatures, noting the best time to plant is key to an abundant harvest.
In Zones 3-5
In these cooler climates, starting rutabaga seeds indoors is beneficial. Begin 4 to 6 weeks before the last expected frost date. This early start allows seedlings to establish well before being transplanted outdoors.
In Zones 6-8
In these intermediate zones, you have the flexibility of starting seeds indoors or directly sowing outdoors. For an indoor start, begin 3 to 4 weeks before the last frost. For outdoor sowing, wait until the soil can be worked in the spring.
In Zones 9-12
In these warmer zones, rutabaga seeds should be started in late summer or early fall. This timing ensures that the plants mature during cooler weather, which is crucial for their development.
For all zones, consider using cell trays or soil blocks for starting seeds. The multi-sowing technique, which involves planting several seeds per cell or block, is effective for rutabagas.
How to Start Rutabaga Seeds
If you’re thinking of starting them ahead, you can start several seeds in each cell or soil block.
Choosing or Making a Seed Starting Mix
Select a light, well-draining seed starting mix. You can also create your own blend by combining coconut coir, perlite, and compost in equal parts.

 Miracle-Gro Seed Starting Potting Mix, Enriched…
Choosing Containers
Opt for shallow cell trays or soil blocks. A depth of about 2 inches is ideal, providing sufficient room for the early development of roots.
Depth to Plant
Sow rutabaga seeds to a depth of ¼ inch. This shallow depth is key to ensuring the seed has enough light and warmth for germination.
Moisture Requirement for Seeds
Maintain consistent moisture in the soil, avoiding waterlogging. A spray bottle is useful for gently watering the surface.
Optimal Temperature for Germination
The best germination occurs at temperatures between 60°F and 70°F (15°C to 21°C).
Light Requirements for Germination
Ensure bright, indirect light is available. This can be achieved through a sunny windowsill or by using a grow light.
Time to Germination
Germination typically takes place within 7 to 14 days, depending on environmental conditions.
 Burpee SuperSeed Seed Starting Tray | 36 Cell…
 The Hydroponic City Seed Starter Trays, 216-Cell…


How to Prepare a Garden Bed for Rutabaga
Whether you decide to direct sow or start your seeds under cover, you’ll need to prepare a garden space for them.
Choosing a Location
Select a site for your rutabagas that receives full sunlight. They need at least six hours of direct sunlight daily. An area with partial shade can also work, but the root development might not be as robust.
Light Requirements
Full sun is ideal for rutabagas. This exposure ensures the plants get enough energy for healthy growth and root development. If your garden has varying light conditions, prioritize areas with the most sunlight.
Moisture
Rutabagas require well-drained soil. Excess moisture can lead to root rot or disease. If your garden tends to retain water, consider raising the beds or amending the soil to improve drainage.
Soil Type Preferred
These vegetables thrive in rich, loamy soil. The ideal soil for rutabagas is fertile, with plenty of organic matter. Incorporate compost or well-rotted manure into the soil to increase its nutrient content.
Soil pH
Rutabagas prefer a slightly acidic to neutral soil pH, ideally between 6.0 and 7.0. Test your soil’s pH and amend it accordingly with lime (to raise pH) or sulfur (to lower pH) if needed.
Preparing the Garden Bed
Begin by removing weeds and debris from the bed. If compacted, loosen the soil gently with a broad fork or garden fork. This aeration is crucial for root crops like rutabagas, which need loose soil to grow sizeable root mass.
Mix in organic matter such as compost or aged manure to enrich the soil. Level the bed with a rake to ensure an even surface for planting.
How to Direct Sow Rutabaga in the Garden
When direct sowing rutabaga seeds in the garden, wait until the soil has warmed to at least 50°F (10°C), typically after the last frost in spring.
Sow seeds ¼ inch deep in rows. Space the seeds about 1 inch apart in the row, and space rows 18 to 24 inches apart to allow for growth and air circulation.
Once the seedlings emerge and grow a few inches tall, thin them to stand about 6 inches apart. This spacing gives each plant enough room to develop a full-sized root.
Water the seeds gently but thoroughly after planting. Keep the soil consistently moist, especially during dry spells, to encourage steady growth.
Mulching around the plants once they emerge can help retain moisture and suppress weeds.
How to Know When Your Rutabaga Plants are Ready to Plant into the Garden
If you are sowing indoors, you’ll want to wait until the plants are ready to transplant before adding them to your garden.
Look for these key indicators:
Size of the Seedlings
Rutabaga seedlings are typically ready for transplanting when they are about 3 to 4 inches tall. At this stage, they should have several true leaves, which are the leaves that appear after the initial seed leaves.
Root Development
Gently check the root development by slightly lifting a seedling. If the roots have filled the cell or pot but are not yet circling extensively, the plant is ready. Overgrown roots can lead to transplant shock.
Overall Health
Healthy seedlings are sturdy with a vibrant green color. Avoid transplanting if the seedlings appear weak, leggy, or discolored, as these are signs of stress.
Step-by-Step Instructions for Hardening Off Rutabaga Starter Plants
Hardening off is a crucial process to acclimatize indoor-grown seedlings to outdoor conditions. It reduces transplant shock and improves survival rates.
Start Gradually
Begin the hardening-off process about 7 to 10 days before the intended transplant date. On the first day, place your rutabaga seedlings outside in a sheltered, partially shaded spot for 1-2 hours, avoiding direct sunlight and strong winds.
Increase Exposure Gradually
Each day, gradually increase the amount of time the seedlings spend outdoors and introduce them to more direct sunlight. Monitor the plants for any signs of stress, such as wilting or leaf burn.
Adjust Watering
As the seedlings adapt to outdoor conditions, adjust your watering to mimic natural rainfall patterns. Be cautious not to overwater, as outdoor conditions may dry the soil less rapidly than indoors.
Night Exposure
After several days, leave the seedlings outside overnight in a protected area if temperatures are mild and there’s no risk of frost.
Full Sun Exposure
Towards the end of the hardening-off period, allow the seedlings to experience full sun for a part of the day. Ensure they are well-watered during this stage.
Monitor Weather Conditions
Be mindful of weather forecasts. Bring the seedlings indoors or provide protection if there’s a risk of extreme weather conditions, such as frost or heavy rain.
Final Check
Before transplanting, ensure the seedlings have adjusted well and show no signs of stress. They should be robust and ready for the transition to the garden.
Planting Out Rutabaga
If you’re transplanting starts, make sure you give them a good head start:
Planting Depth and Spacing
Dig holes in your prepared garden bed, ensuring each hole is slightly larger than the root ball of your rutabaga seedlings. Plant the seedlings at the same depth they were growing in their containers. Space the plants about 6 inches apart. This spacing allows adequate room for growth and air circulation.
Mulching
After planting, apply a layer of organic mulch around the plants. Mulch helps retain soil moisture, regulate temperature, and suppress weeds. Use straw, shredded leaves, or compost as mulch.
Watering In After Planting
Water the seedlings thoroughly right after planting. This initial watering helps settle the soil around the roots and eliminates air pockets. Continue to provide consistent moisture as the plants establish and grow.
Caring for Rutabaga Plants
Caring for rutabaga plants involves regular watering, feeding, and weeding. These practices ensure healthy growth and optimal root development. Consistent care from planting to harvest is crucial for a successful crop.
Watering
Rutabagas need consistent moisture throughout their growing season. Water the plants deeply once a week, ensuring the soil is moist but not waterlogged. During hot, dry periods, increase watering frequency to maintain even soil moisture.
Feeding
Feed rutabaga plants with a balanced, all-purpose vegetable fertilizer. Apply according to the product’s instructions, typically once every 4-6 weeks. Avoid over-fertilizing, as too much nitrogen can encourage leaf growth at the expense of root development.
Weeding
Keep the garden bed free of weeds. Weeds compete with rutabagas for nutrients, water, and light. Regular weeding helps your rutabagas receive the resources they need to grow robustly. Be gentle when weeding around the plants to avoid disturbing their roots.
Tips and Tricks for Growing Rutabaga
Growing rutabagas successfully involves understanding their specific needs and how to address common challenges organically. Here are some tips and tricks for nurturing healthy rutabaga plants:
Special Needs for Rutabaga
- Rutabagas prefer cooler weather, so planting them at the right time is key for optimal growth.
- They need well-drained, fertile soil rich in organic matter.
- Thin seedlings adequately to prevent overcrowding, which can impede root development.
- Mulch to maintain soil moisture and temperature, especially important for root crops like rutabagas.
Common Pests of Rutabaga
Rutabagas can attract several pests, including root maggots, flea beetles, and aphids.
Root Maggots
Prevent root maggot infestations by using row covers to protect the plants. Crop rotation is also effective in minimizing these pests.
Flea Beetles
Dusting plants with diatomaceous earth or spraying with soap and water or neem oil can deter flea beetles.
Aphids
Introduce beneficial insects like ladybugs or apply insecticidal soap or neem oil to control aphids organically.

 Bonide Captain Jack’s 64 oz Neem Max Cold Pressed…
Avoiding and Treating Disease Organically
Rutabagas are susceptible to diseases such as clubroot and downy mildew.
Clubroot
Ensure proper soil drainage and pH balance to prevent clubroot. Rotate crops each year to reduce the risk of this soil-borne disease.
Downy Mildew
Improve air circulation around the plants and avoid overhead watering. Using a copper-based fungicide can help manage downy mildew organically.
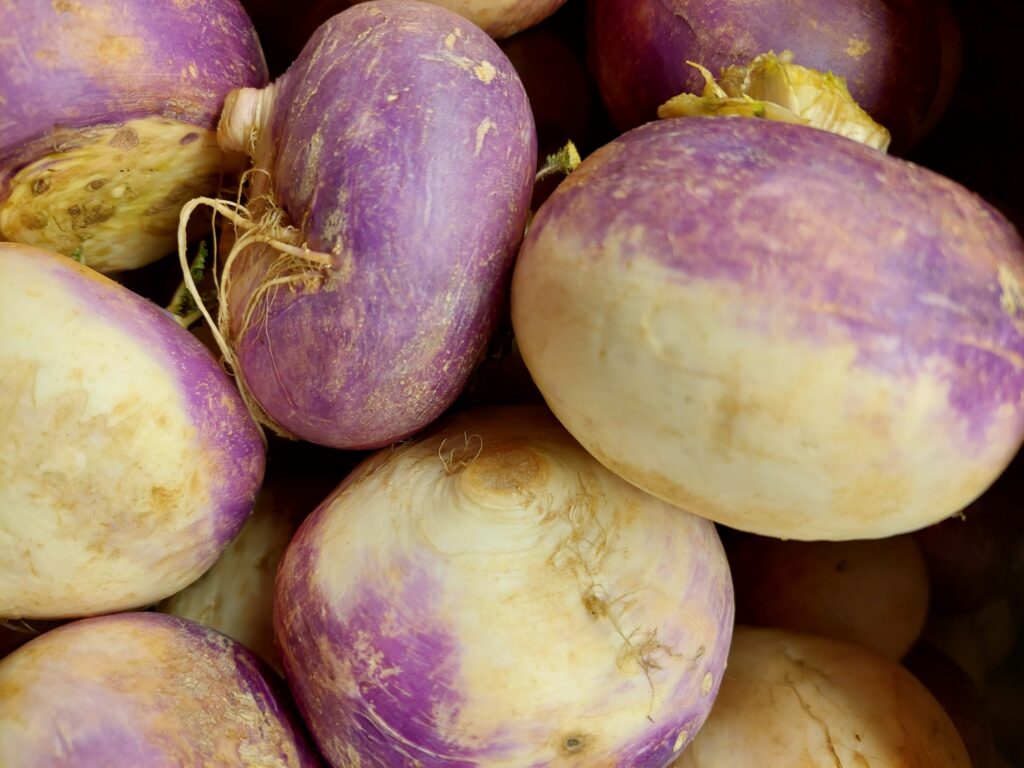
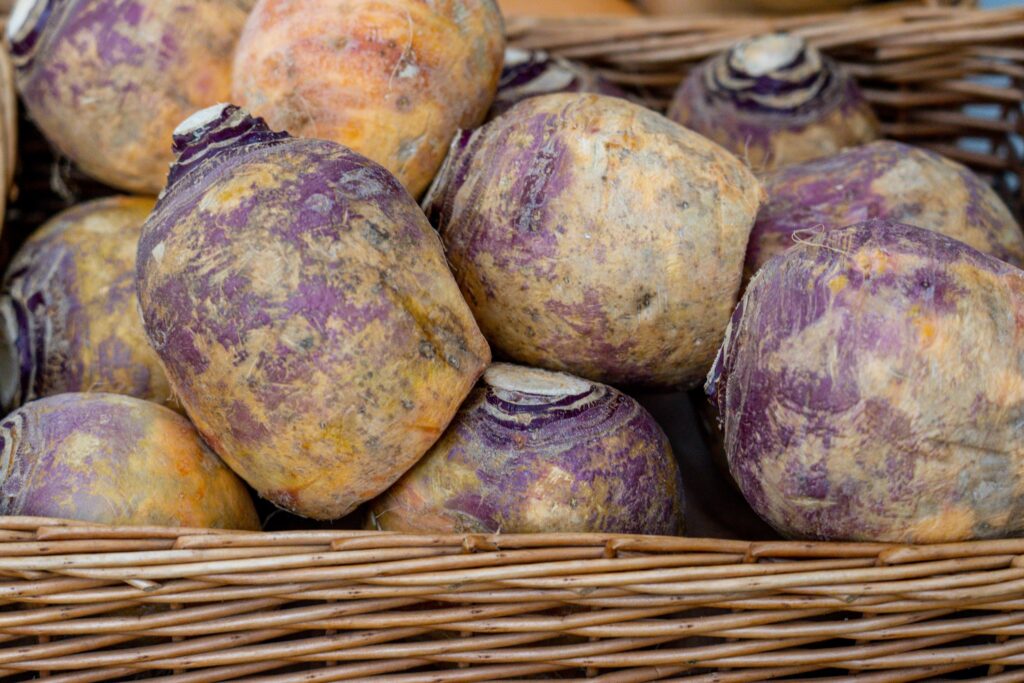
When to Harvest Rutabaga
Rutabagas typically take about 90 to 100 days to reach maturity from the time of sowing. You can expect the roots to be ready for harvest when they are about 4 to 6 inches in diameter.
The size can vary, but they should feel firm and be well-formed. Harvesting before the first hard frost is ideal, as cooler weather enhances their flavor.
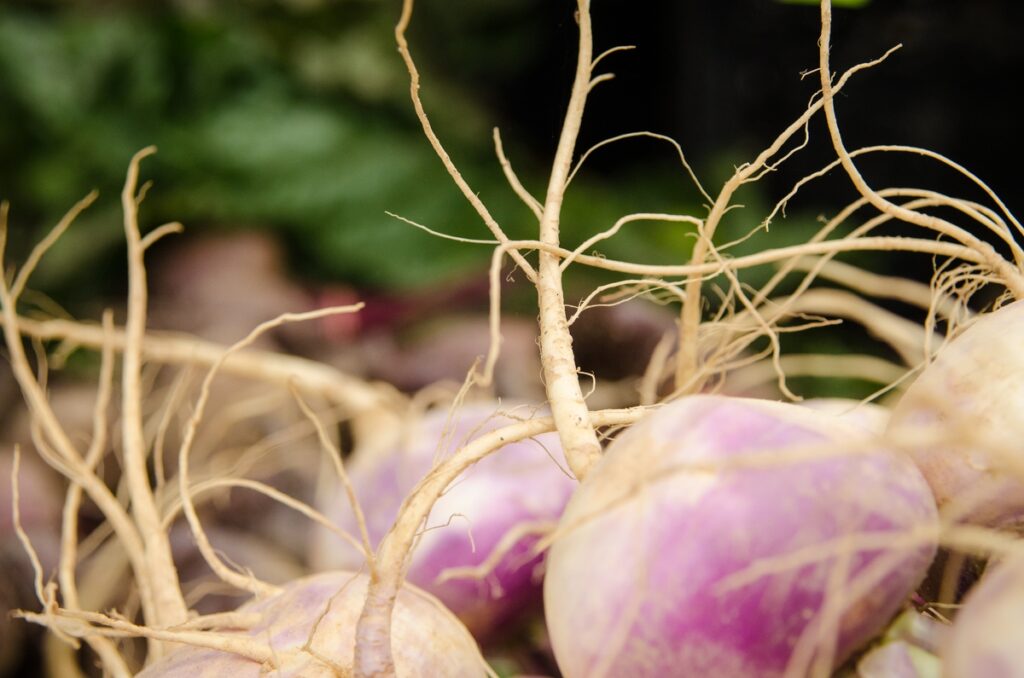
How to Harvest Rutabaga
To harvest rutabagas, use a garden fork to gently loosen the soil around the plant. Carefully lift the root from the ground, ensuring not to damage it.
For multi-sown rutabagas, carefully separate the individual plants, taking care not to disturb the roots of the remaining plants. Remove the largest root first and allow the others to continue to mature. Harvest as needed.
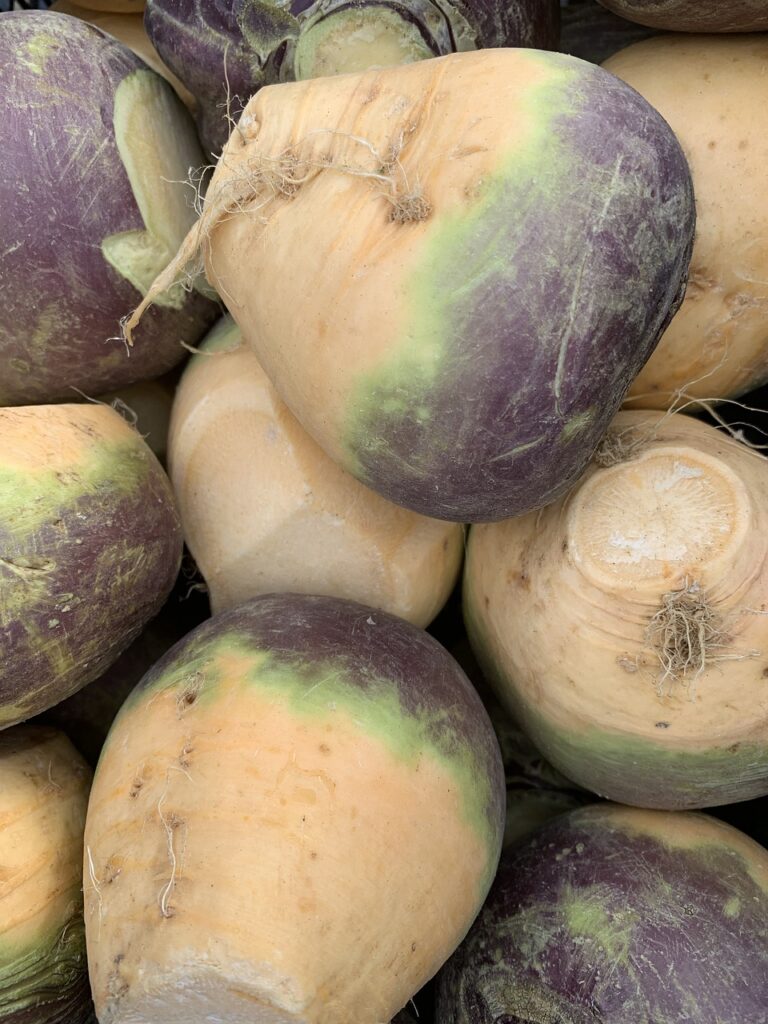
How to Clean Rutabaga
Once harvested, brush off any loose soil from the rutabaga.
If using them right away, rinse them under cool running water to remove any remaining dirt. Be gentle to avoid bruising the skin, which can lead to quicker spoilage.
If storing them for long term, gently brush off the dirt and wash before using.
How to Store Rutabaga
You may want to eat your rutabagas right away or store them.
Short Term
For short-term storage, keep rutabagas in a cool, dark place, like a pantry or cellar, where they can last for a few weeks. Ensure the area is well-ventilated to prevent moisture buildup.
Long Term
For long-term storage, rutabagas can be kept in a root cellar or refrigerator. In a root cellar, store them in slightly damp sand or peat moss to maintain humidity. In a refrigerator, place them in a plastic bag with some holes for air circulation in the vegetable drawer. Rutabagas can last several months under proper storage conditions.
Cooking with Rutabagas
Rutabagas are a versatile vegetable that can be used in a variety of culinary preparations. Their sweet, slightly peppery flavor makes them a delicious addition to many dishes. Here are some popular ways to incorporate rutabaga into your cooking:
Roasted Rutabaga
Roasting brings out the natural sweetness of rutabagas. Cut them into cubes, toss with olive oil and seasonings, and roast until tender.
Mashed Rutabaga
A healthier alternative to traditional mashed potatoes with a lower carbohydrate count. Boil rutabaga cubes until soft, then mash with butter, cream, and seasonings.
Rutabaga Soups and Stews
Their robust texture makes them perfect for soups and stews. They add depth and heartiness to these dishes. Use similar to white potatoes in recipes.
Rutabaga Fries
A healthier take on French fries. Cut rutabagas into sticks, season, and bake or fry until crispy.
Rutabaga Slaw
Shredded rutabaga can be used in coleslaw recipes for a crunchy, unique twist.
Grow Rutabaga Successfully from Seed
Growing rutabagas from seed is a rewarding process that brings a nutritious and flavorful vegetable to your table.
Remember, patience and care are key when you grow rutabag from seed. It can take a while to develop their roots to an adequate size.
With their versatility in the kitchen, from roasting to mashing, rutabagas add both nutrition and variety to your meals.
Last update on 2025-08-07 / Affiliate links / Images from Amazon Product Advertising API
This product presentation was made with AAWP plugin.