I have to admit it — I have an embarrassingly gullible sweet tooth. Always have had. So, when I first discovered sweet potatoes as a kid, I was hooked. A vegetable that tastes like dessert — it doesn’t get any better than that. I still have a sweet tooth, and when I discovered I could grow sweet potatoes in Florida year-round, I became doubly hooked.
In fact, the ability to grow sweet potatoes, bananas, and pineapples in my backyard is probably the reason I still live in Florida. Facing increasing heat and some increasingly scary weather. With skyrocketing housing and insurance costs.
In the face of the — let’s admit it — pretty awful and kind of unfair reputation we residents of the state have amongst the rest of the world.
But I get sweet potatoes and bananas and pineapples (sometimes) out of my sandy dirt, and that makes it all worth it.
Sweet potatoes are not only delicious but incredibly nutritious. They’re one of the few familiar and beloved staple foods we can grow in abundance in subtropical regions like Florida.
One of the reasons I blog about the plants I grow (and those I just want to grow) is to remind myself of all the details and shortcuts I’ve discovered over the years. It helps me to remember when I share on my blog, and so many (too many!) times I simply forget that I need to plant things a certain way by a certain time.
So, I’m going to cover what I know about sweet potatoes here. Although you can grow sweet potatoes in Florida at any time of year, the summer months are really the last chance you’ll have to plant them in time for those sweet-potato-eating holidays we all know and love around the end of the calendar year.
So, let’s get started…
Sweet Potatoes Have a Backstory
Sweet potatoes (Ipomoea batatas) are native to Central and South America. They’re most closely related to morning glories, not white potatoes.
Morning glories and moonflowers (both Ipomea species) are native to Florida, so our state is a prime candidate for sweet potato production.
I remember reading that, many years ago, Florida farmers grew Irish (white) potatoes from January to April, then sweet potatoes from May to November. It was one of the state’s most profitable crops.
(Why or how we bothered to go into the orange juice business is a mystery to me.)
Sweet potatoes have a sprawling growth habit that covers lots of ground and produces cute little pinkish-purple flowers that resemble those of their cousins, the morning glory. Most importantly, they produce delicious edible tubers.
History and Spread of Sweet Potatoes:
Sweet potatoes have a rich history dating at least 5,000 years. They were first domesticated in Central or South America, and eventually even ended up in Polynesia (archeologists are still trying to figure out how, although “boat” is the KISS answer to that one.)
When you have something as awesome as sweet potatoes, word gets around. Soon, anywhere on the planet with a long enough warm season to grow them was producing their own crops.
Over time, sweet potatoes became a valuable crop, adapting to different growing conditions and evolving into numerous cultivated varieties.
Sweet Potato Varieties for Florida
There are several popular cultivars of sweet potatoes grown for food in the United States. Here are some noteworthy varieties:
Beauregard
Beauregard sweet potatoes have a vining growth habit, producing long and sprawling vines that can spread across the garden. They require ample space to grow and are often trained along trellises or allowed to spread on the ground.
They’re relatively easy to grow, making them a popular choice among home gardeners and farmers. They also have good resistance to pests and diseases, and their vigorous vines provide good ground cover, suppressing weed growth and protecting the soil from excess sun and heat.
Beauregard sweet potatoes were developed at Louisiana State University and released in 1987. Since then, they’ve become one of the most widely grown sweet potato cultivars.
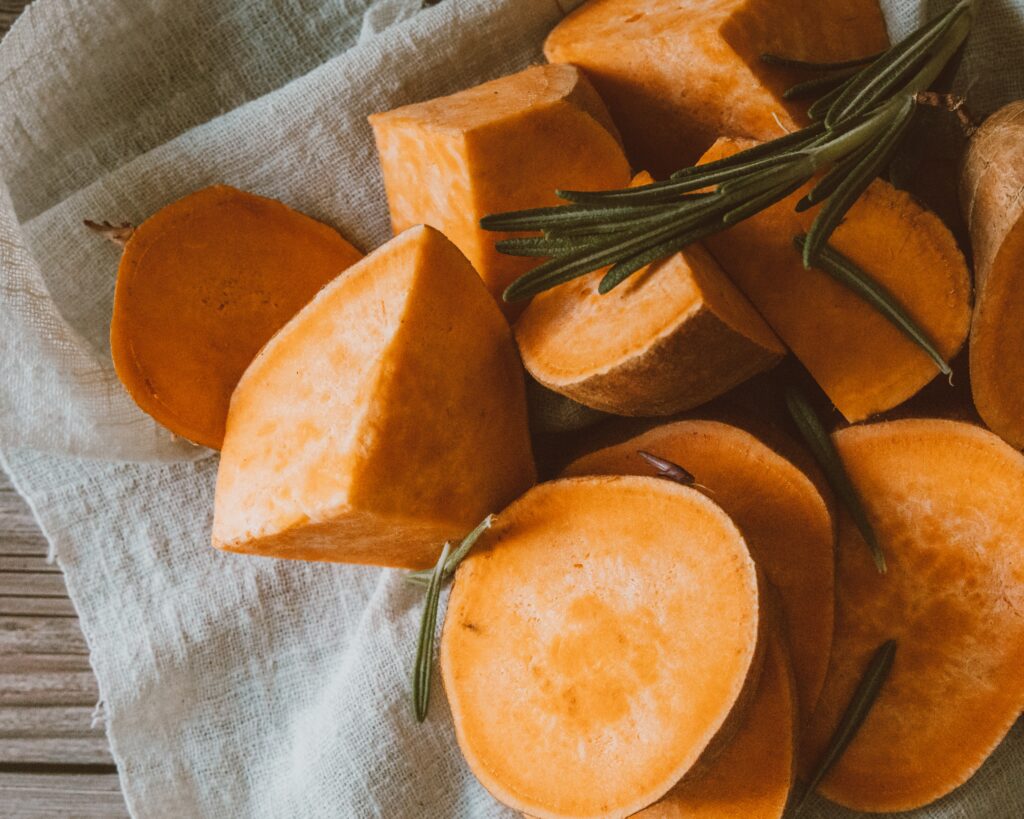
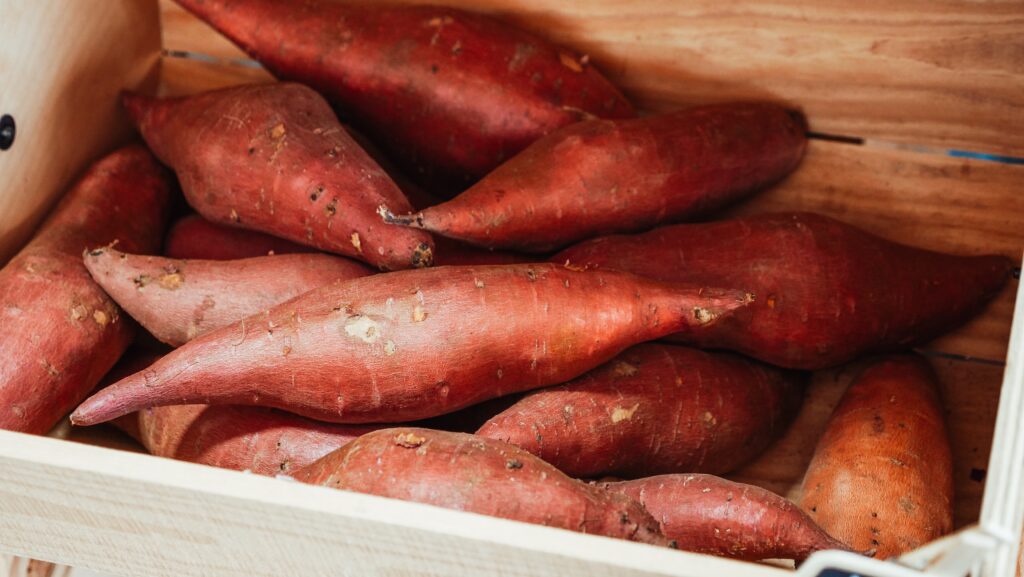
Beauregard sweet potatoes have a reddish-brown skin and a bright orange flesh. The skin is relatively smooth and easy to peel, while the flesh is firm and moist.
Beauregard sweet potatoes are smooth and creamy when cooked. Not too dry and not too moist, they’re pretty versatile in the kitchen.
They have a sweet and nutty flavor with hints of honey and caramel. They are known for their pleasing taste, and their flavor intensifies when cooked. They’re sweet, but not TOO sweet, with a well-rounded flavor.
Centennial
Centennial sweet potatoes have a vining growth habit similar to Beauregard. They produce long, sprawling vines that require ample space to grow and spread. You can trellis them or allow them to spread on the ground.
They’re relatively easy to grow and are well-suited to the Florida climate. They have good resistance to pests and diseases and can thrive with proper care.
Centennial sweet potatoes were also developed at Louisiana State University and released in 1967. They have a light coppery skin color with a pale orange flesh. The skin is smooth and thin, making it easy to handle.
Centennial sweet potatoes are creamier and moister than Beauregards. They have a smooth, velvety texture when cooked, and they’re not overly fibrous.
Also, they have a mildly sweet flavor with a subtle nuttiness. They’re not overly sugary and have a pleasant balance between sweetness and earthiness.
Vardaman
Vardaman sweet potatoes are a bush variety, meaning they have compact growth and shorter vines. They don’t require as much space as vining varieties. If you’re growing in a small garden or in containers, they’re your best choice.
They’re generally easy to grow and suitable for the Florida climate. They have good resistance to pests and diseases, making them a reliable choice for gardeners.
Vardaman sweet potatoes were developed at the Mississippi Agricultural and Forestry Experiment Station and were released in 1982.
These tubers have a reddish-brown skin color with a light yellow flesh that darkens once removed from the soil. The skin is slightly rough and may have shallow indentations.
Vardaman sweet potatoes are moderately firm and moist. They have a smooth texture when cooked but may have a slightly drier consistency compared to some other sweet potato cultivars.
Vardaman sweet potatoes have a rich, sweet flavor with hints of honey and caramel. They are known for their intense sweetness, making them a favorite among those who prefer sweeter varieties. The flavor is often described as luscious and candy-like, perfect for indulgent holiday meals.
All three cultivars thrive in Florida’s climate, and all three offer different flavors and textures. All three are listed on the UF/IFAS University of Florida Gardening Solutions website as the best sweet potato varieties for Florida gardeners.
Some other varieties to experiment with include:
Georgia Jet
Reddish-orange skin and sweet, moist flesh. It matures relatively quickly and is well-suited for shorter growing seasons. Good disease resistance and adaptability.
Murasaki
Striking purple skin and creamy white flesh, they offer a slightly drier texture and a unique, nutty flavor. This variety originates from Japan and has gained popularity for its vibrant color and distinctive taste.
Bonita
Tan skin and light-colored flesh, they have a smooth texture and mild nutty flavor. This newer variety is gaining attention for its versatility in both savory and sweet dishes.
Growing Sweet Potato Slips
Sweet potato slips are the young shoots that are grown from a mature sweet potato. These slips can be transplanted into the garden or containers to grow into full-sized sweet potato plants.
Many gardening gurus and ag experts will tell you to purchase certified, disease-free sweet potato slips to plant in your garden. That’s always a safe bet, but the last couple of years have shown us that you can’t always get what you want – sometimes, you can’t even order it online.
If you can’t find them for sale (or choose not to buy them), it’s really easy to grow your own sweet potato slips. The only real disadvantage is that it takes quite a long time. It has often taken me up to two months to get slips, which means that if you haven’t started early enough and decide to buy the, it’s likely there won’t be any for sale left anyway.
Growing Your Own Slips
If you want to try growing your own slips, here are two methods used:
Water glass method for growing sweet potato slips
The water glass method involves suspending the sweet potato in water to encourage the growth of slips. Here’s how you can do it:
- Select a healthy, medium-sized sweet potato. Ensure that it is free from blemishes or rot.
- Place the sweet potato horizontally in a glass jar or container, partially submerged in water. Use toothpicks or skewers inserted into the sides of the sweet potato to hold it in place, ensuring that the bottom end stays submerged.
- Place the jar or container in a warm location that receives ample sunlight. A windowsill or a sunny spot indoors is ideal.
- Change the water every few days to prevent stagnation and maintain cleanliness.
- After a couple of weeks, small sprouts known as slips will begin to emerge from the sweet potato. Allow them to grow to a height of 4 to 6 inches (10 to 15 cm).
- Carefully remove the slips from the sweet potato, gently twisting them to detach them from the parent tuber.
- Place the slips in a small cup of water for a few days to encourage root growth.
Once the roots have developed, the slips are ready for transplanting into well-prepared soil in the garden or containers.
Potting Soil Method for growing sweet potato slips
The potting soil method involves directly planting the sweet potato in a container with potting soil to encourage slip growth. Here’s how you can do it:
- Fill a shallow container or pot with well-draining potting soil about halfway.
- Lay your sweet potatoes on their sides and cover it the rest of the way with potting mix.
- Place the container in a warm location that receives ample sunlight, such as a sunny windowsill or a greenhouse.
- Keep the soil slightly moist but not waterlogged. Water when the top inch of soil feels dry to the touch.
- After a few weeks, slips will start emerging from the sweet potato and grow above the soil surface.
- Allow the slips to reach a length of 10 to 12 inches before gently detaching them from the sweet potato.
- Carefully remove the slips from the soil, ensuring that you don’t damage their delicate roots.
- Transplant the slips into individual pots or directly into well-prepared garden soil.
Both of these methods work. I prefer the potting soil method because I believe you get better root growth in soil than when propagating in water.
However, you should choose whichever method that suits you and your available resources best.
Grow Sweet Potatoes in the Florida Garden
Sweet potatoes are a long-season plant and take some months to mature. Depending on the variety, they can take from 90 to 120 days to form adequate tubers.
Sweet potatoes need a warm climate with temperatures between 75-95°F. They require well-draining soil, full sun, and moderate humidity.
In Zone 8: In Zone 8 of Florida, plant sweet potatoes from mid-April to late May.
For Zone 9: In Zone 9, the recommended planting time is from early March to mid-May.
Zone 10: Gardeners in Zone 10 can plant sweet potatoes from late February to early June.
These planting schedules reflect timing that lets you harvest mature tubers before any chance of freeze in December. However, note that in many parts of Central Florida and all parts of South Florida, you can plant sweet potatoes at any time of year. You may just not be able to harvest them before a freeze.
In Zones 9 and 10, sweet potatoes are frequently perennial and will simply bounce back from any freeze, even if the foliage dies off.
Even during the three nights of freeze and one night of near-freeze last December 2022, none of my sweet potatoes died back at all.
Plot Preparation for Sweet Potatoes:
Sweet potatoes prefer plenty of space to grow. Clear the area of any weeds or vegetation.
You may need to loosen the soil to a depth of 8-10 inches, if badly compacted. You can take the opportunity to add compost and any other soil amendments.
If you are planning well ahead, you can also prepare your plot with the Back to Eden method or use the No-Dig prep method by covering your future potato patch with cardboard and a thick layer of compost or mulch.
Water the area down well and regularly, and you should be able to plant into it in about 4 to 5 months.
Best Growing Conditions for Sweet Potatoes
Sweet potatoes aren’t picky, but you’ll want to give them good growing conditions for optimum yield.
Soil
Sweet potatoes thrive in loose, sandy soil rich in organic matter. Aim for a pH range of 5.8-6.2 for optimal nutrient availability.
Light
Provide full sun exposure to ensure vigorous growth and maximum tuber development.
Temperatures
Sweet potatoes prefer warm temperatures between 75-95°F (24-35°C). They are sensitive to frost, so wait until your last frost date to get them started in the ground. Mature plants are more hardy than newly planted slips.
Water
Water sweet potato slips well when first planted in the ground. If planting before the beginning of the rainy season in June (and most people do), you may need to water every day until plants become well established and begin to vine over the beds.
Afterward, provide consistent moisture. You may need to water two or three times a week if it doesn’t rain.
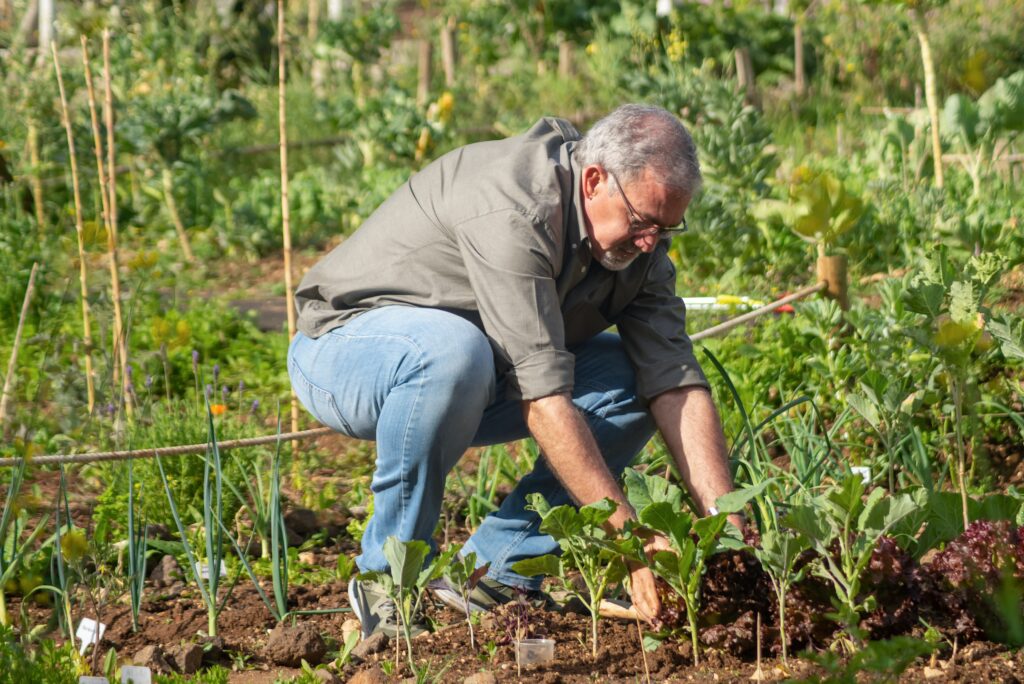
Planting Sweet Potato Slips:
Dig a small hole for your sweet potato slips 12-18 inches apart. You can plant in grids or in rows, as best fits your garden space.
If you haven’t amended the soil, you may want to dig in a little Espoma BioTone to help your plants get established and strong.
Bury the slips halfway into the soil, leaving the top half exposed.
Water thoroughly after planting to settle the soil.
Caring for Sweet Potato Plants
Care after planting out is pretty straightforward.
Mulching
Applying a layer of organic mulch, such as straw or wood chips, will help to retain moisture, suppress weeds, and maintain an even soil temperature.
Fertilization
Sweet potatoes benefit from regular feeding. Use a balanced fertilizer or organic amendments rich in phosphorus and potassium.
Pruning
Prune back any excess vines or suckers to focus energy on tuber development. They will try to crawl away and root down the length of the vine, which reduces the yield of tubers.
I recall one very experienced Florida gardener of my acquaintance said never to let them root more than three nodes from the planting spot.
Well, I think that’s what she said.
Besides, you can also prune them back and eat the greens if you like. (I compost them or feed them to my bunnies, which is really the same thing when I think about it.)
Pest and Disease Control
Monitor for pests like sweet potato weevils and aphids. Sweet potato flea beetles can eat up the leaves. Employ organic pest control methods when necessary. Cypress and eucalyptus mulch can deter weevils. And nasturtiums make a good trap crop for aphids.
Tips for Increasing Yields on Sweet Potatoes
- Provide adequate spacing between plants for good airflow and tuber expansion.
- Prune back excess vine growth.
- Improve soil with organic matter and appropriate fertilizers.
- Ensure consistent moisture throughout the growing season.
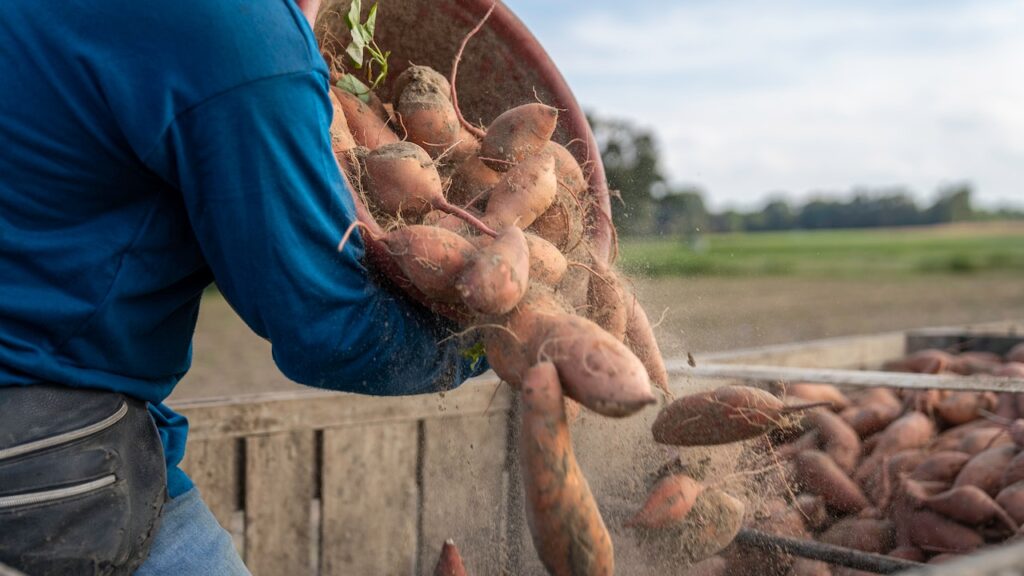
Harvesting Sweet Potatoes
You can begin to harvest your sweet potatoes when the vines start to yellow and die back, typically around 90-120 days after planting.
Gently loosen the soil around the base of the plant and carefully lift the tubers using a garden fork or spade.
Handle sweet potatoes with care to avoid bruising or cutting the tubers.
Do not wash your sweet potatoes. You’ll want to cure them first, and then wash them when you’re ready to eat them. You can vigorously brush off any dirt if you like, but be careful of cutting or scraping away the skin.
Curing Sweet Potatoes:
Curing sweet potatoes after harvest improves their flavor, texture, and storage life. What you want is for them to cure in a warm, humid area for about a week or even two.
You can cure sweet potatoes outdoors by laying them in a single layer on the ground, preferably on a dry, warm surface, for 4-7 days. However, you’ll want to gather them up or cover them up if it rains.
You can also place sweet potatoes in a warm, well-ventilated space, such as a basement or garage, with a temperature of 85-90°F (29-32°C) and 85-90% humidity for 4-7 days. You can use a small room or closet with a space heater and a humidifier.
I’ve cured mine at lower temperatures for about two weeks at 76°F to 78°F with good results. I packed them loosely in a crate, padded with crumpled paper to keep them from touching.
And They’re Good For You, To Boot
The nutritional breakdown of sweet potatoes is pretty impressive for something that tastes so good. A 1-cup serving of cooked sweet potatoes contains approximately:
- Calories: 180
- Carbohydrates: 41 grams
- Fiber: 6 grams
- Protein: 4 grams
- Fat: 0 grams
- Vitamin A: 769% of the daily recommended intake (DRI)
- Vitamin C: 65% of the DRI
- Potassium: 18% of the DRI
- Calcium: 4% of the DRI
- Iron: 6% of the DRI
If you’re serious about growing your own food in Florida and aren’t sure where to start, sweet potatoes offer an answer. Not only are they very well suited to the climate, but they’ll also grow through the summer here when precious little else does.
Whether you’re growing them as a staple source of calories or because you have a sweet tooth like I do, they’re definitely worth trying.