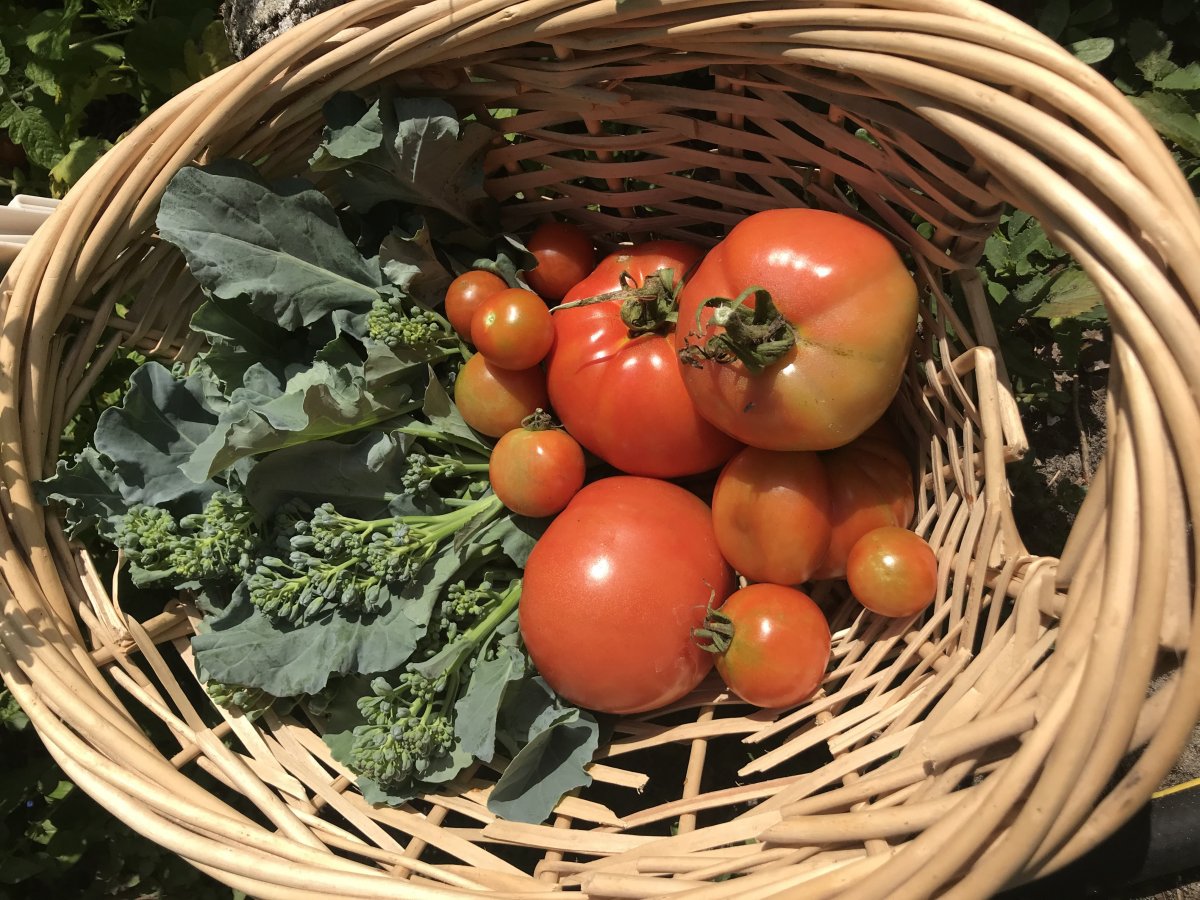
With our mild winters and subtropical climate, many gardeners assume we can grow tomatoes all year round in Florida. The…
With our mild winters and subtropical climate, many gardeners assume we can grow tomatoes all year round in Florida. The…

Gardening is hard work, with all the soil toil and heat and the lugging around of pots. But you don’t…
You’ve seen them on YouTube, right? All those market gardeners when their beaucoup cool soil blockers? You may have even…
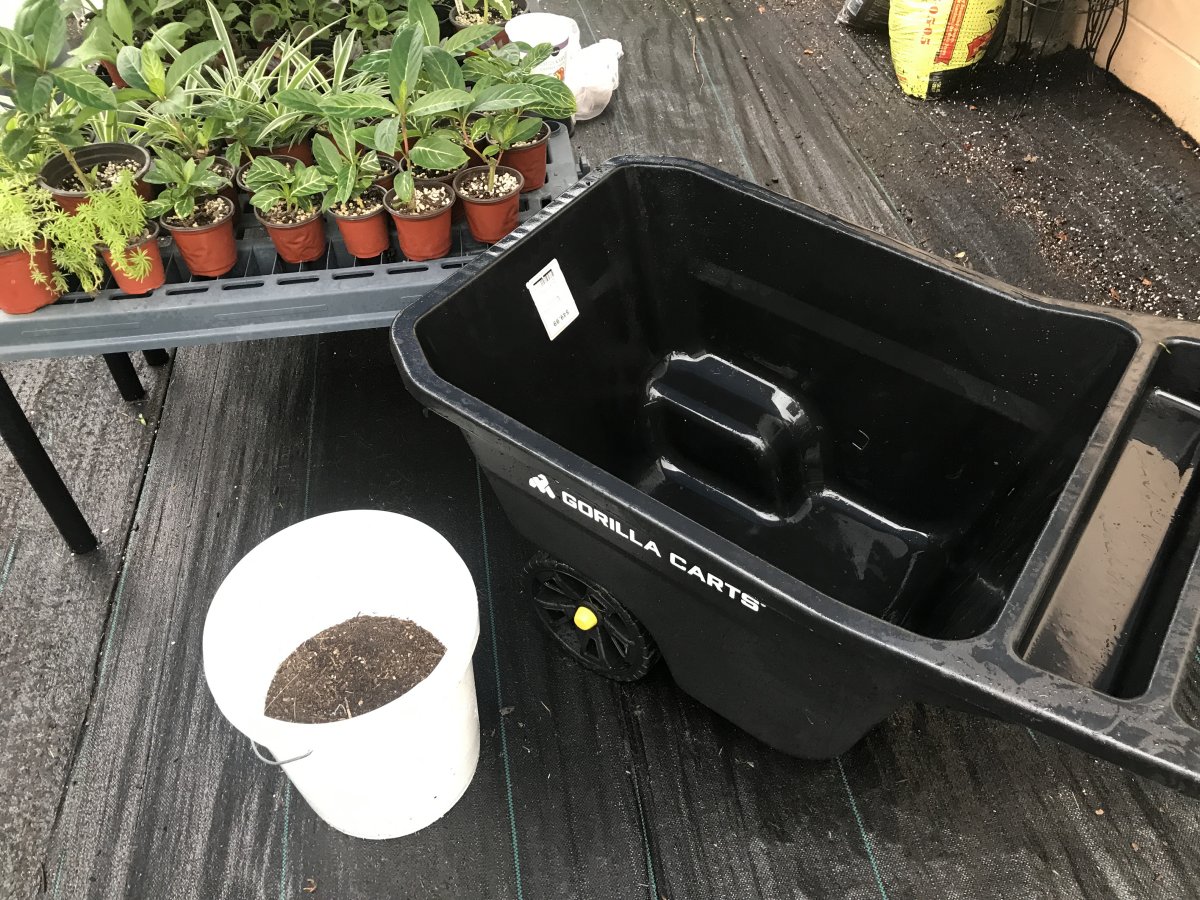
Have you ever thought about making your own potting soil? That stuff at the big box stores is expensive, and…
Recent decades have seen an explosion in new discoveries about soil health and its impact on agriculture. On a smaller…
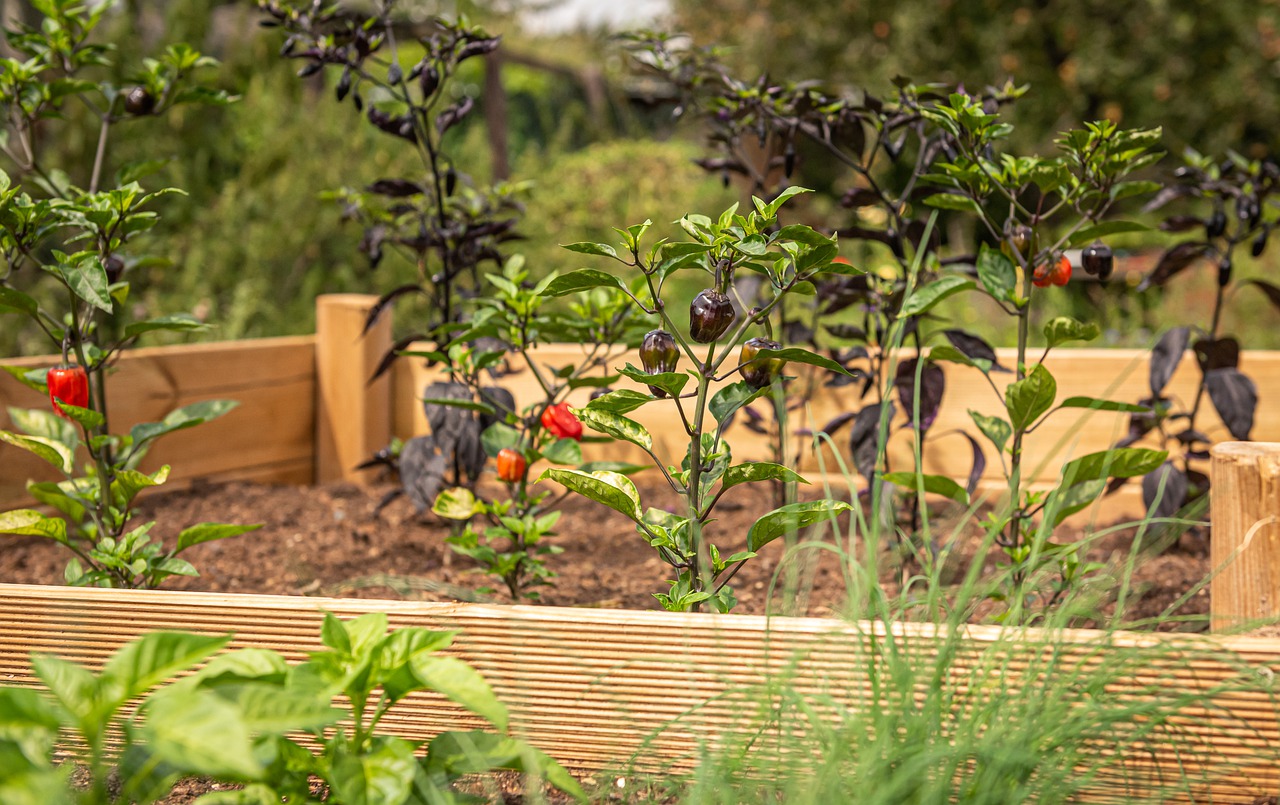
It seems like everyone is using raised beds these days, and they’re more popular with gardeners than ever. Experts from…
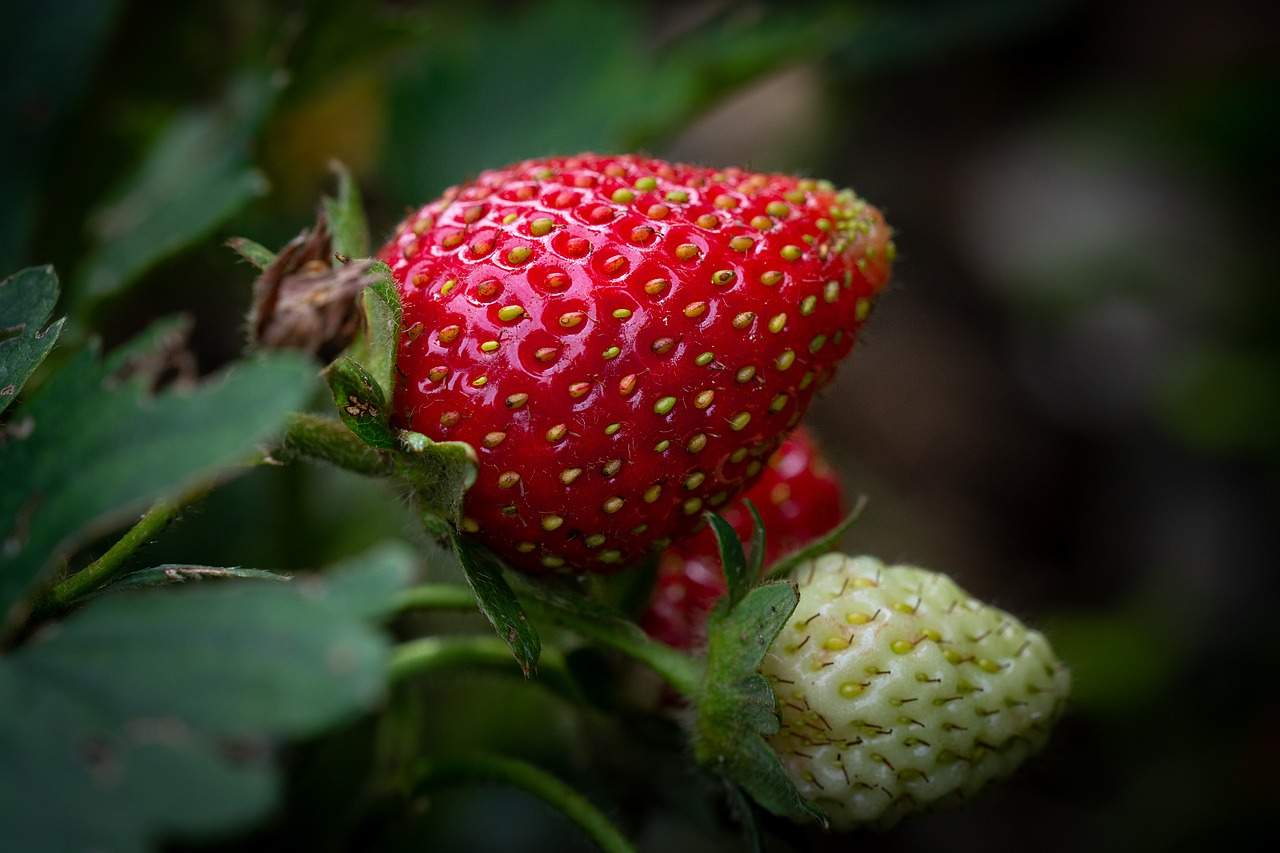
Growing strawberry plants in the South can be confusing. With three different growing and harvesting seasons, knowing which kind to plant can leave you lost. And in Florida, it’s even weirder.